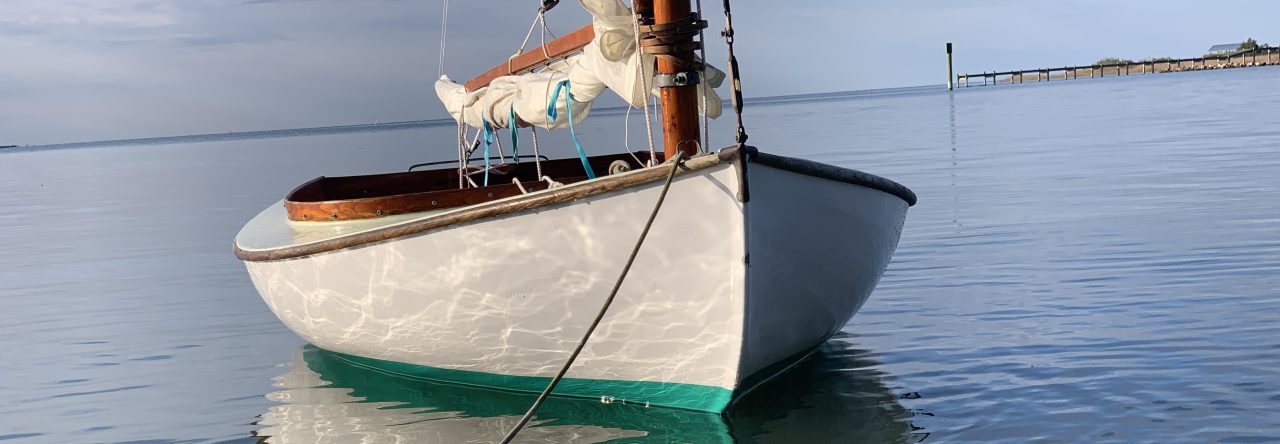
If only it was so simple for the rest of us. Hard to believe we have owned (had stewardship) of LUNA for 2 years now. After a few bumps and bruises, she needed a new coat. 3 years seems to be the limit for a linear polyurethane exposed to our sun and salt water anyway. That may be 1 year longer than traditional paint. I’ll take it.
Thought I’d offer a few tips in the rolling and tip method to covering, some I’ve scoped on-line and some I just had to learn by doing.
- Conditions: Warm, 70-75 degrees, still, somewhat humid, but early morning.
- Materials: Interlux Brightsides “Matterhorn White”, Interlux Brushing liquid 333, Tee shirt rags, white “hot dog” roller pads, small paint pan, 3m blue painter’s tape, 3m wet sanding block #220, etc.
- I previously had wooded, sanded (120 grit to 220) and applied 5 coats of LeTonkinois on the toe rail port and starboard. I’ve saving a final 6th coat until topsides are done.
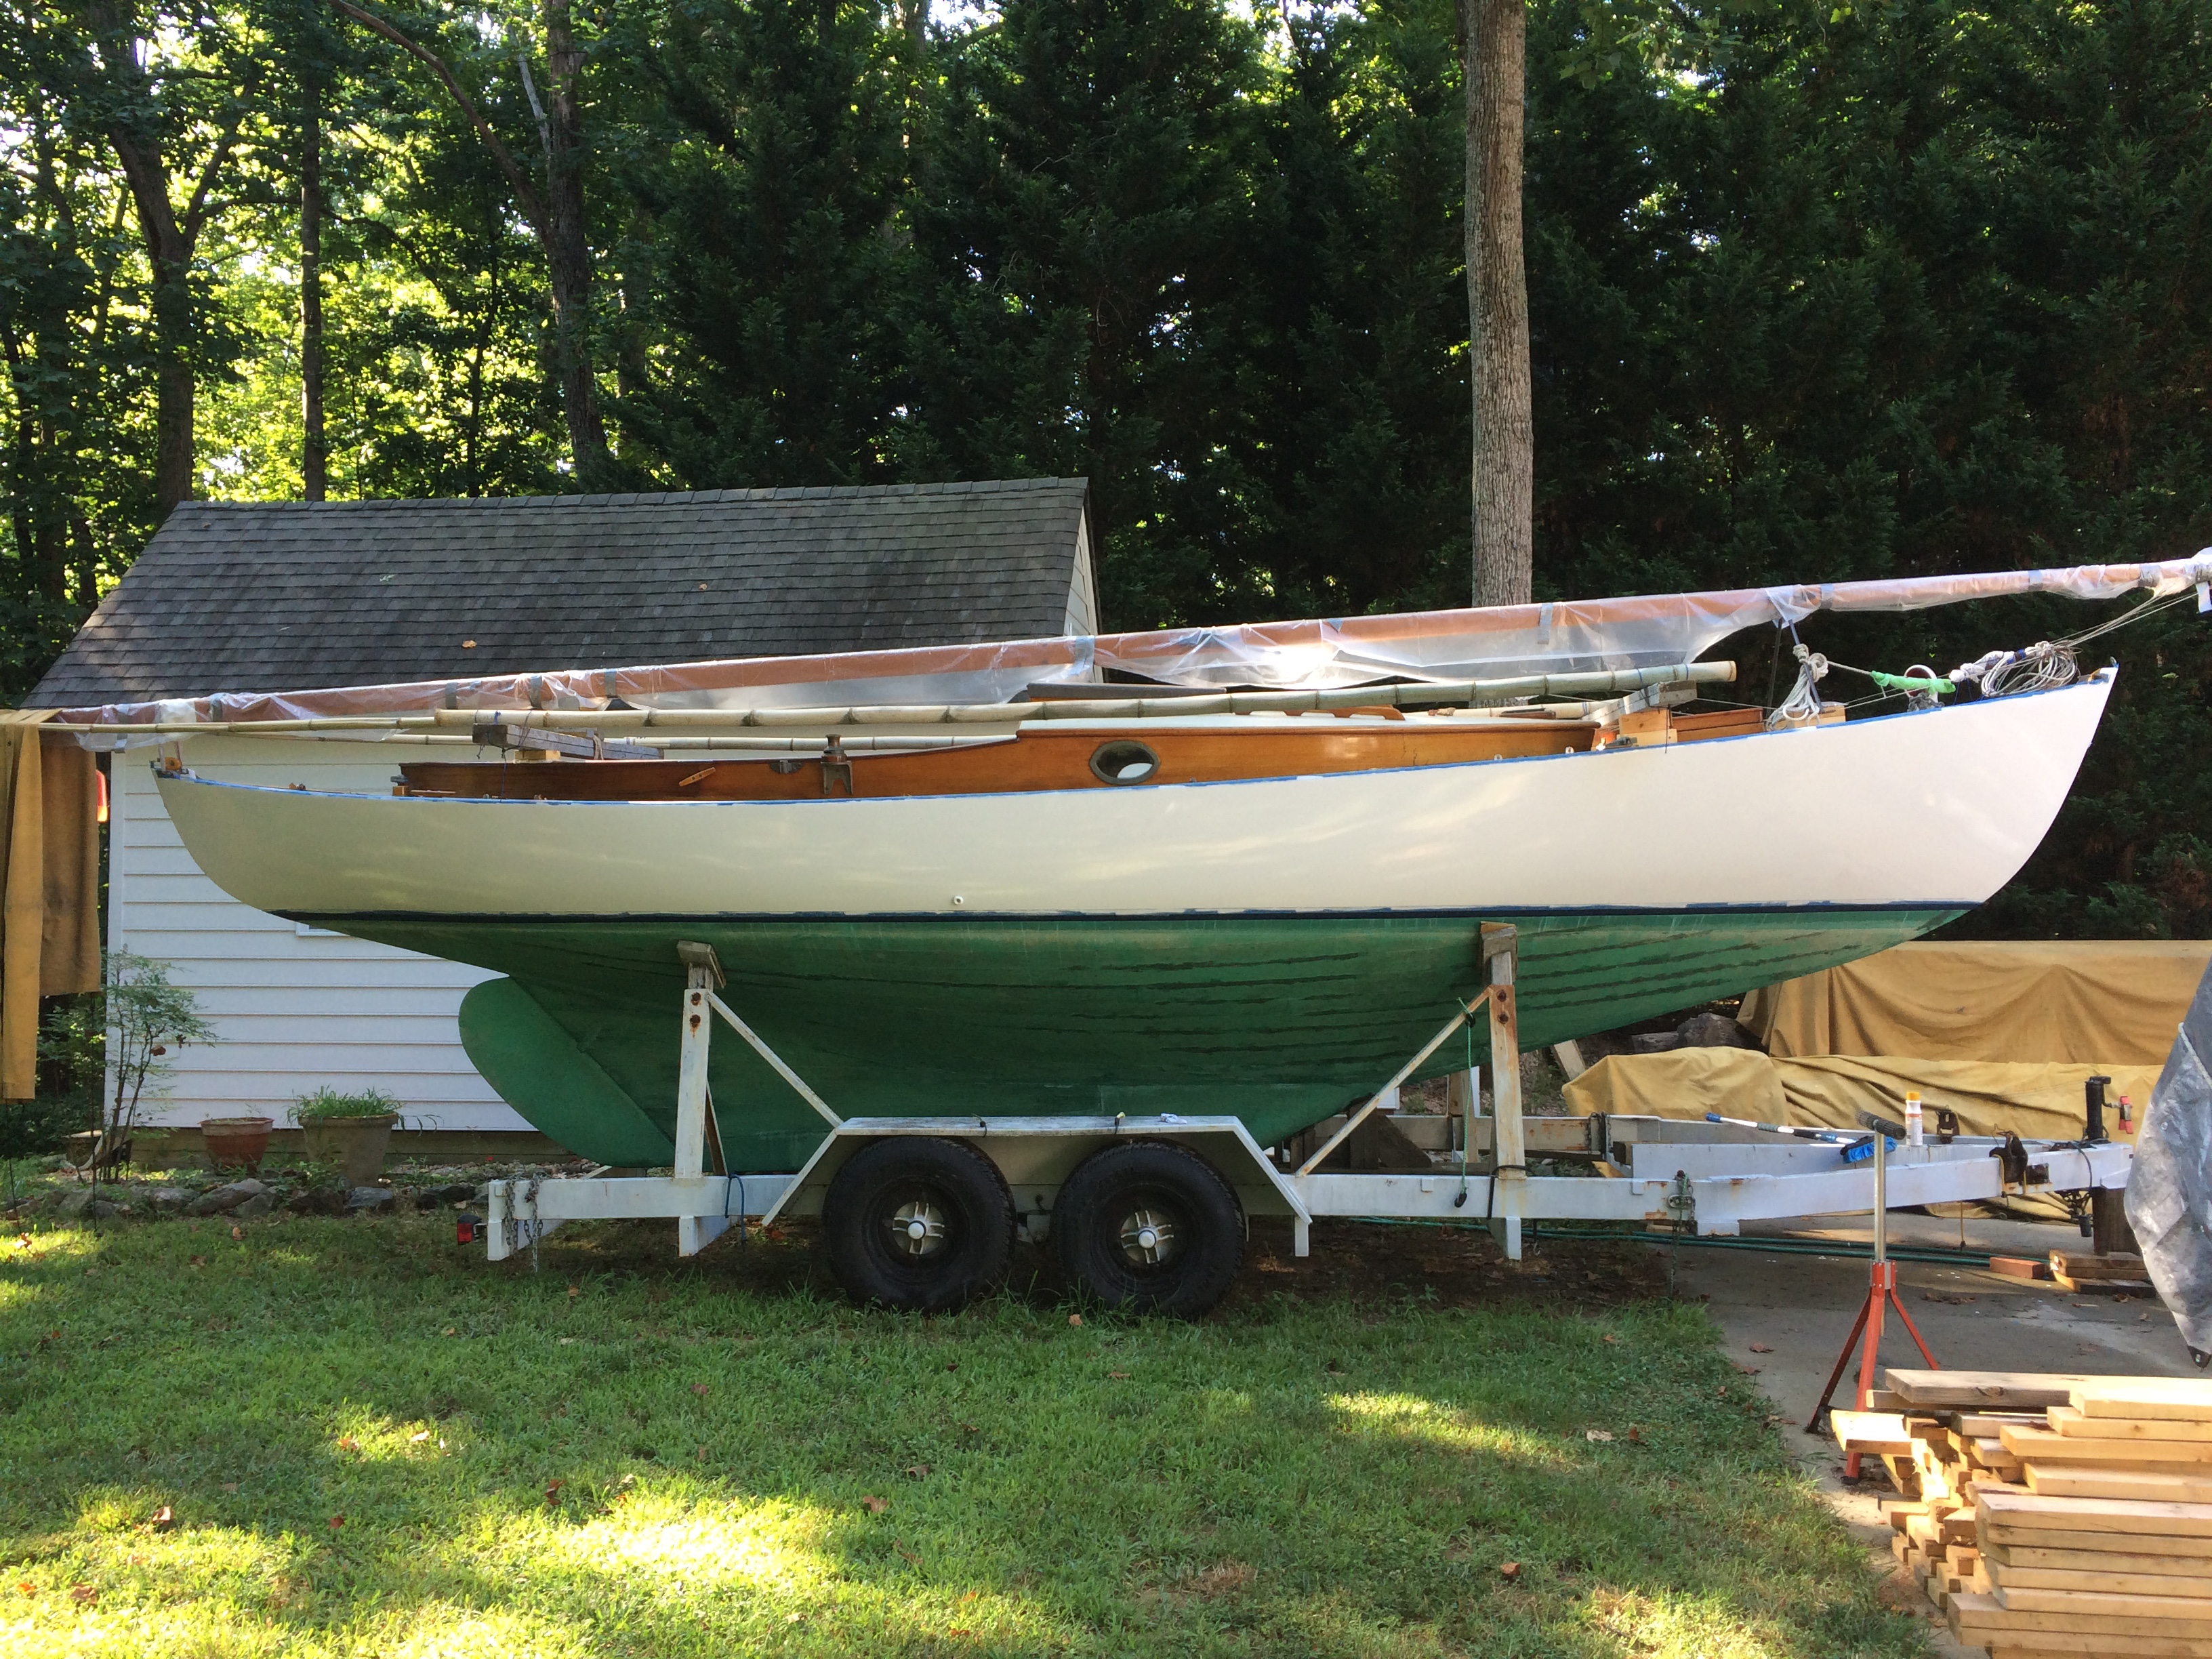
- Topsides were wet sanded with the 220 sponge, rinsed, and dings fared with a red glazing compound that worked on UNA well. These spots were then sanded.
- Before painting wetted the surrounding yard +/-20′ from the boat to knock down the dust.
- Topsides were then taped off from rail and boot top, sides cleaned with the 333 thinner and hit with a tag rag.
- A pint of paint was added to pan with 1 cap full of the 333. My middle son took rolling instructions and was a big help. We started at the starboard bow and worked around the boat. We are both right-handed. This allowed me to follow his 18-24″ application by roller with my backhand tipping from top to bottom.
- Even with the thinner, we had to move fast. Here is a big tip we learned after the first few applications: The brush tipping must overlap the previous patch by a good 8-12″ in order to not telegraph each start and stop.
- In rolling, place paint in thin coats from left to right and finish with up and down rolling for horizontal tipping from top to bottom, quickly. Do this twice. Once with more pressure to push the paint along evenly and the last with a delicate touch. By this time the roller boy has the next spot ready.
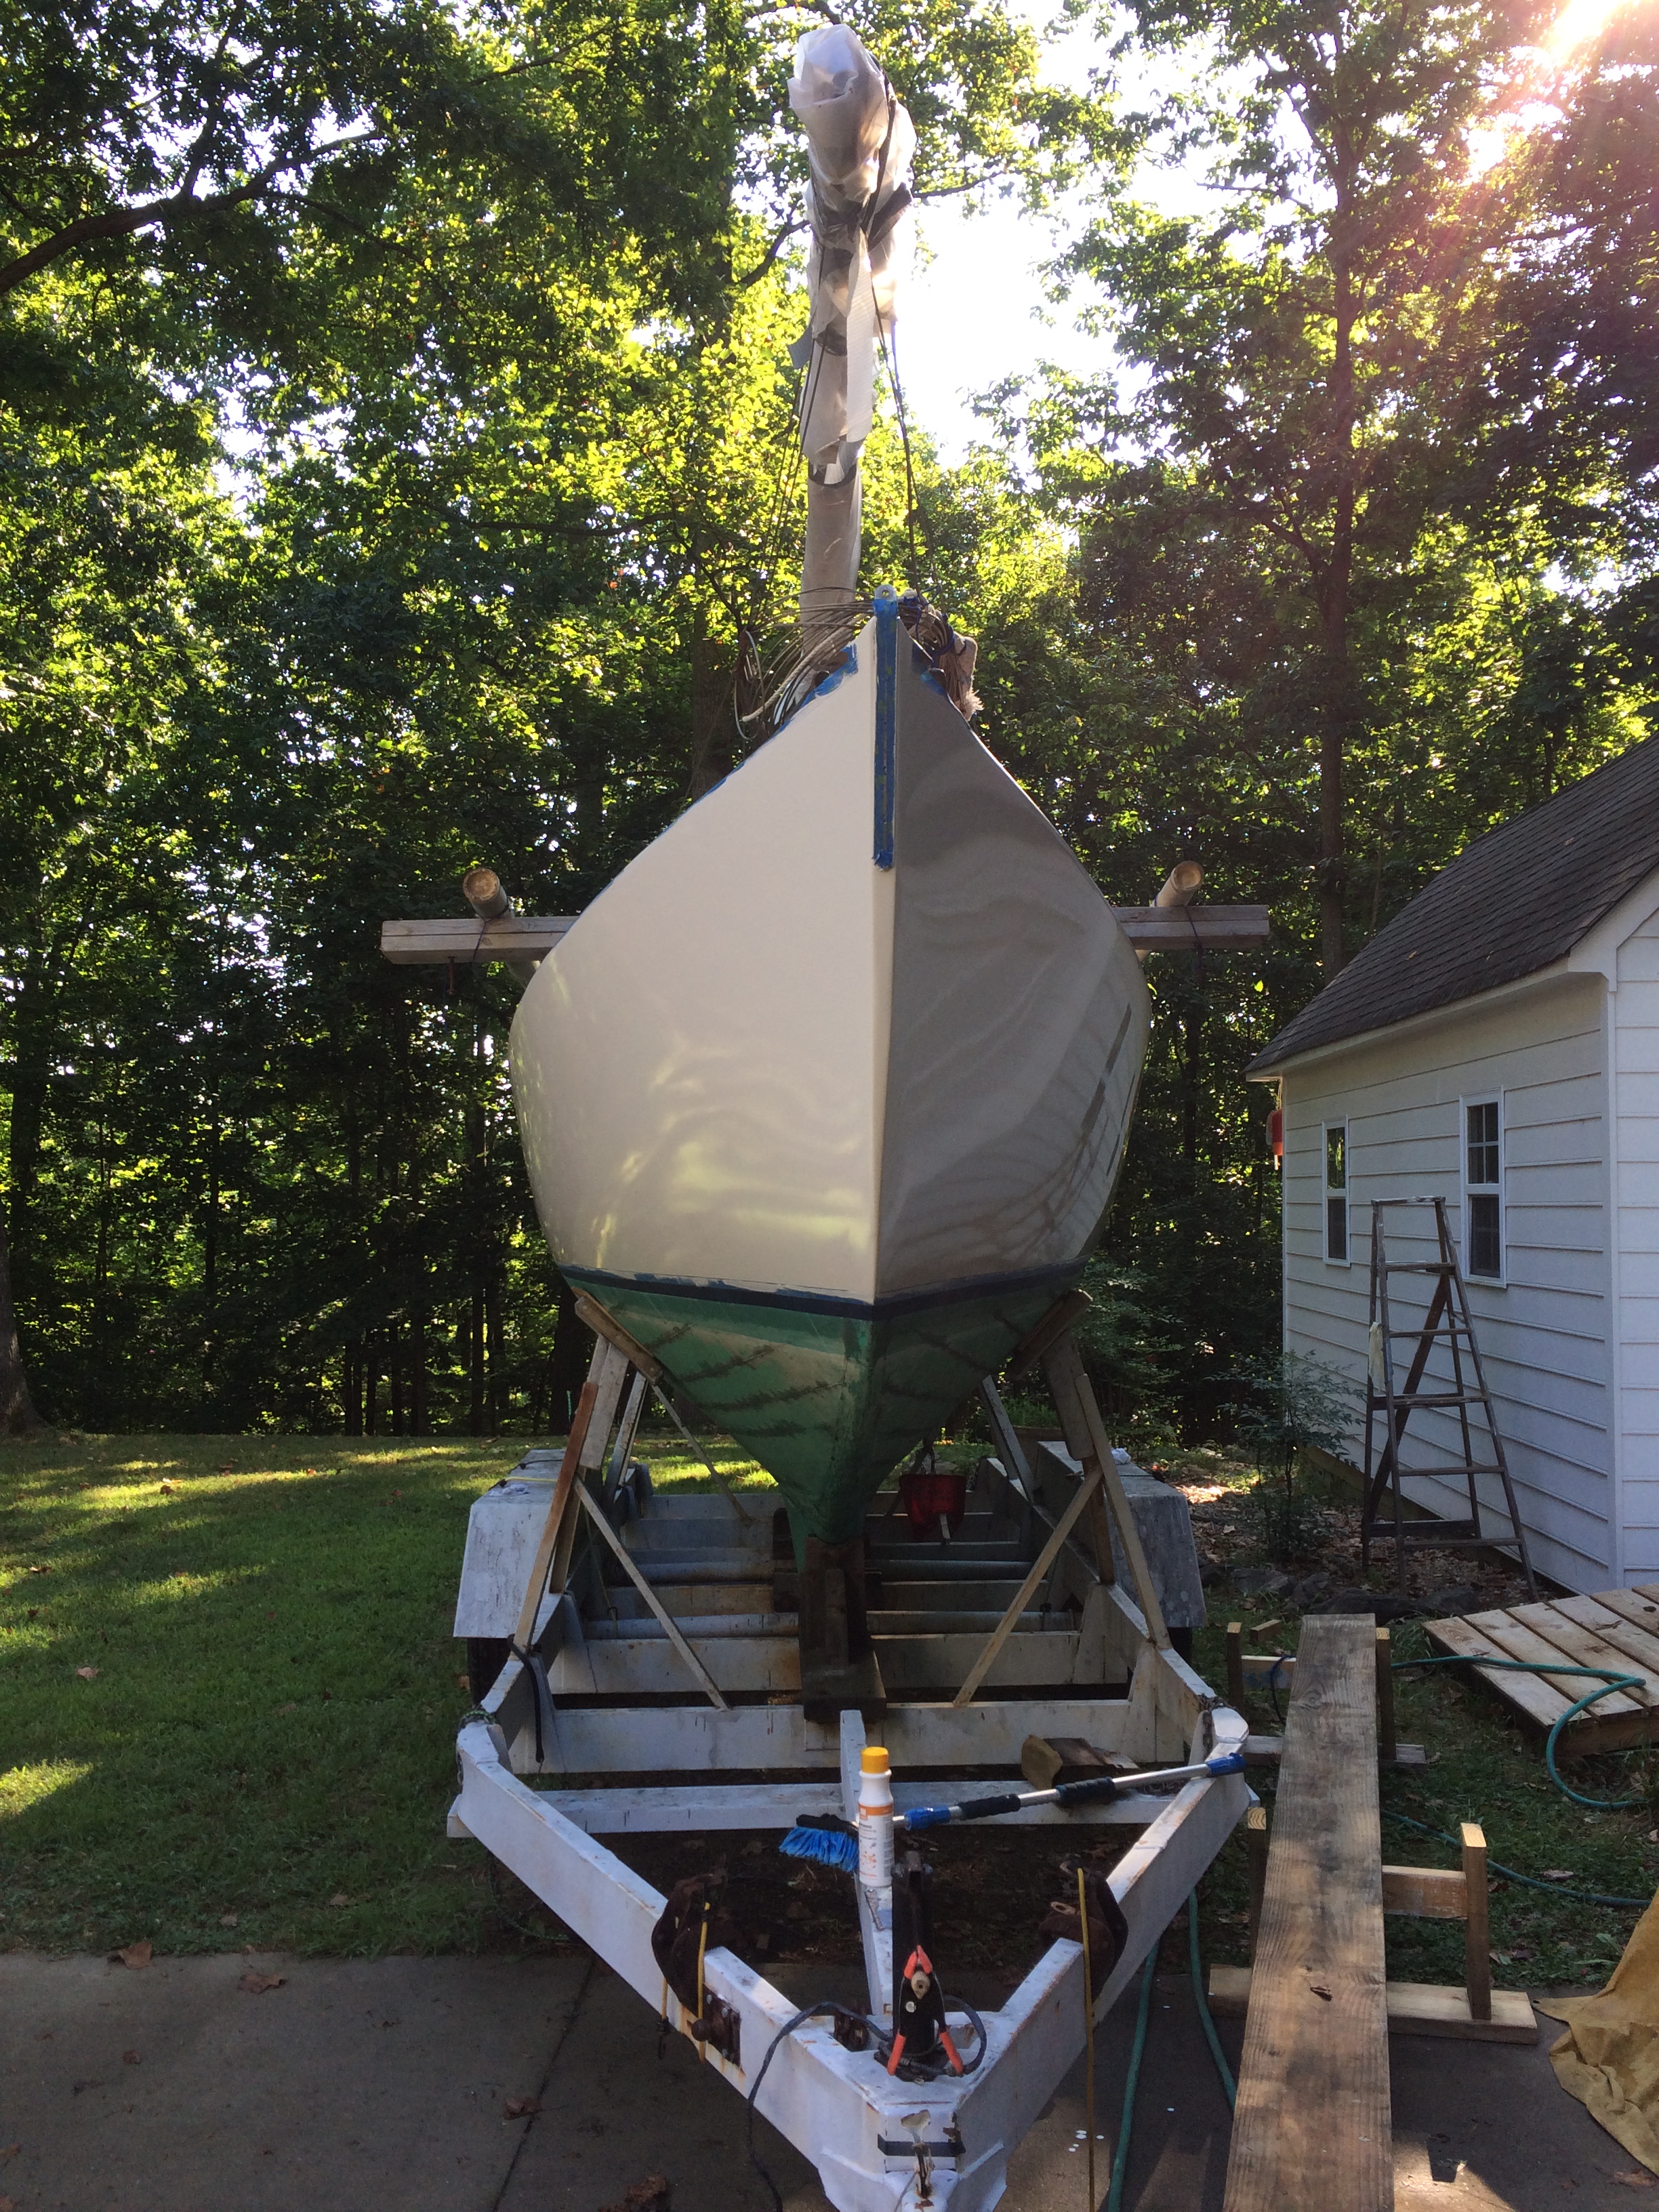
- We were done in 1 hour. The port side looks best as the technique was mastered by then. A little gentle wet sanding of the starboard side will improve it. You cannot go back and work out any drips or imperfections while the paint is drying. Forget about it. Save it for the next coat.
- 2 hours later and no drips whatsoever are evident. Thinner coats are better than heavier. 1 quart of paint may get 2 coats done.
We took the dog for a swim and waited 2 days before coat number 2.

Coat 2 was quicker and covered the sins from coat 1. Using the same color paint allowed 2 coat coverage and all with less than a quart! 28″ is so much easier to care for than 42. No surprise there, but it is a factor of 4. I’m very happy with the results.


Given the weather has not held rain (but it is coming), I sketched an idea this morning for shade to go after the decks.

But … Couldn’t finish the real thing in today’s heat, 99 degrees.

September is coming. More later. Stay cool.

Later: got the last trusses and tarps on. The whole elaborate thing took longer than expected, but not having to yank tarps on and off and to have shade makes the whole prospect of working the decks and cabin more appealing. The old tarps came from years ago when I renovated our first cruising boat “Emily”, a 1974 Pearson 1 Meter. She too was a nice boat. Too many of them out there. Here she is after an Imron paint job and 2-3 years of sometimes weekend alterations and repair. Too much to list. Emily took us for many, many weeks up and down the Bay for maybe 15 years. Memories.


Going to add some hurricane ties from rafter to beam wall and add a couple cross beams under the trailer for any uplift risk. Not today though. Real feel 105. Yep, it is out there.
