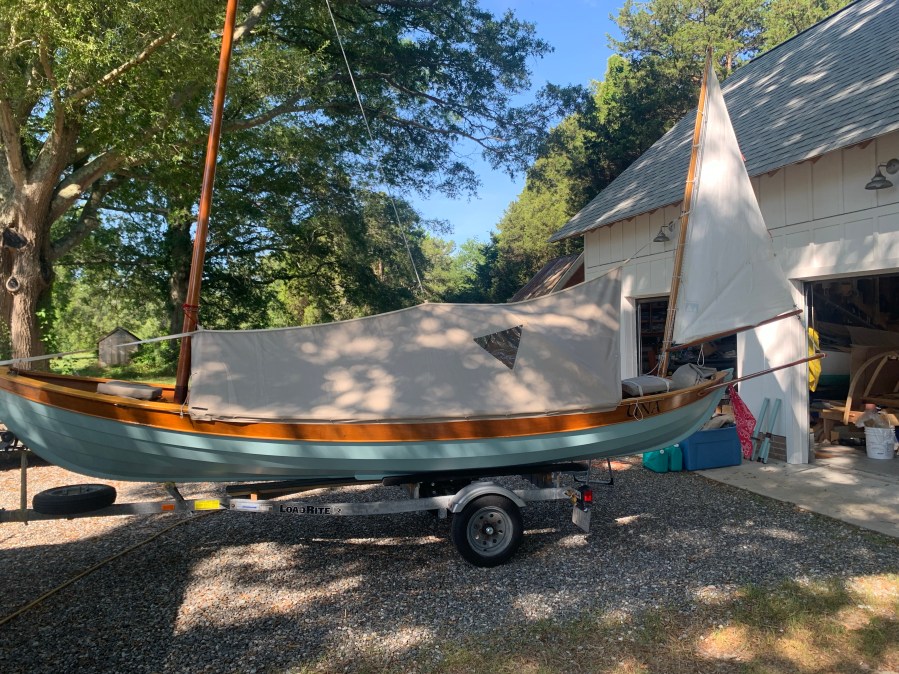
UNA, like most boats, has an ongoing list of improvements. Most usually get kicked along, but an upcoming cruise got me motivated. The respite from the miserable July/August heat certainly helped too.
What are they? See below from most recent:
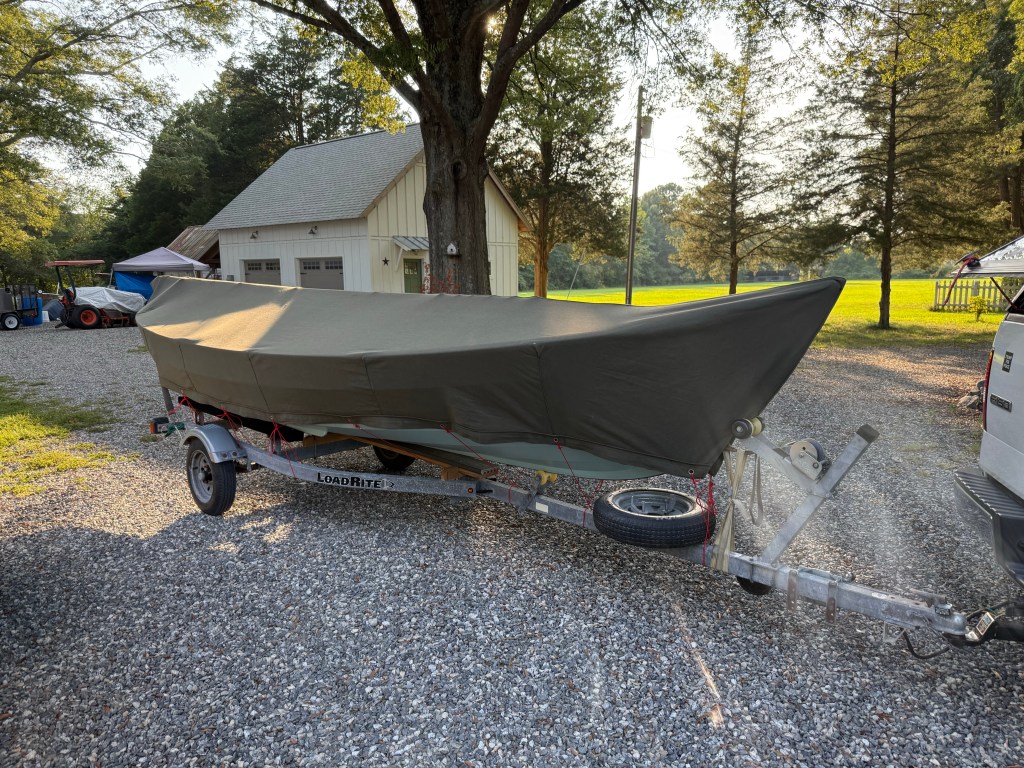
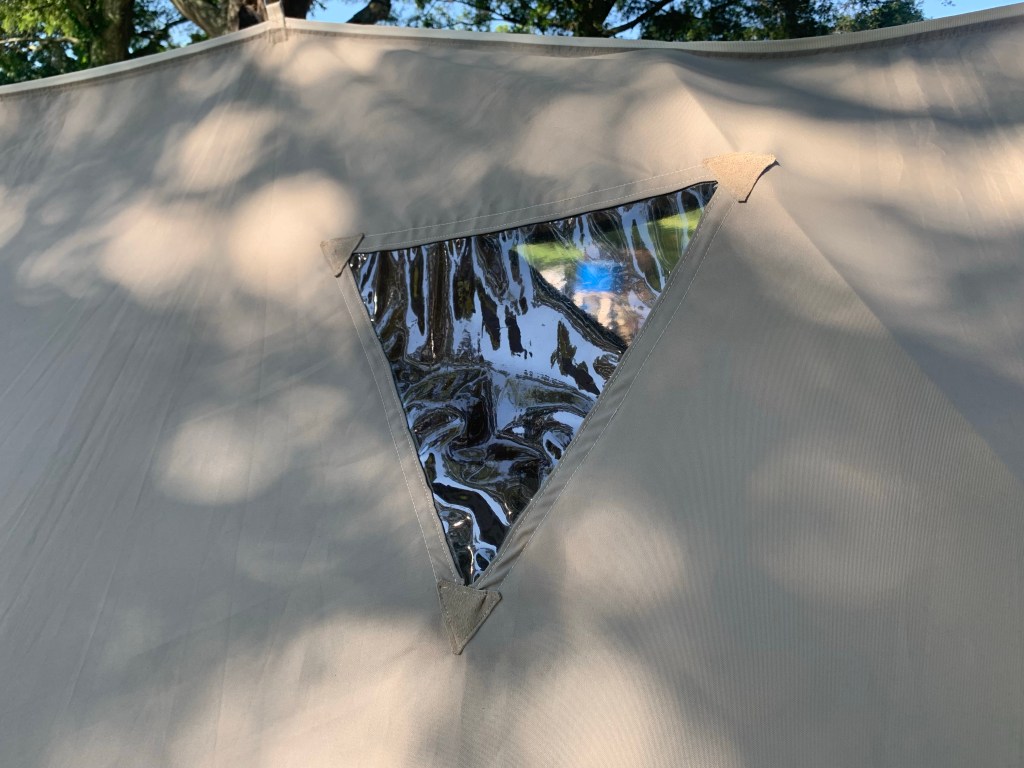
- A road cover. She deserved it after 11 years. Heavy duck canvass.
- A lighter, quicker tent fashioned from a rain fly with loads of eyelets, kiddie tent poles, miscellaneous plastic hooks and paracord.
- A repurposed cot, minus its legs, stretched between gunnels with webbing. works! Took a nap in the garage one day.
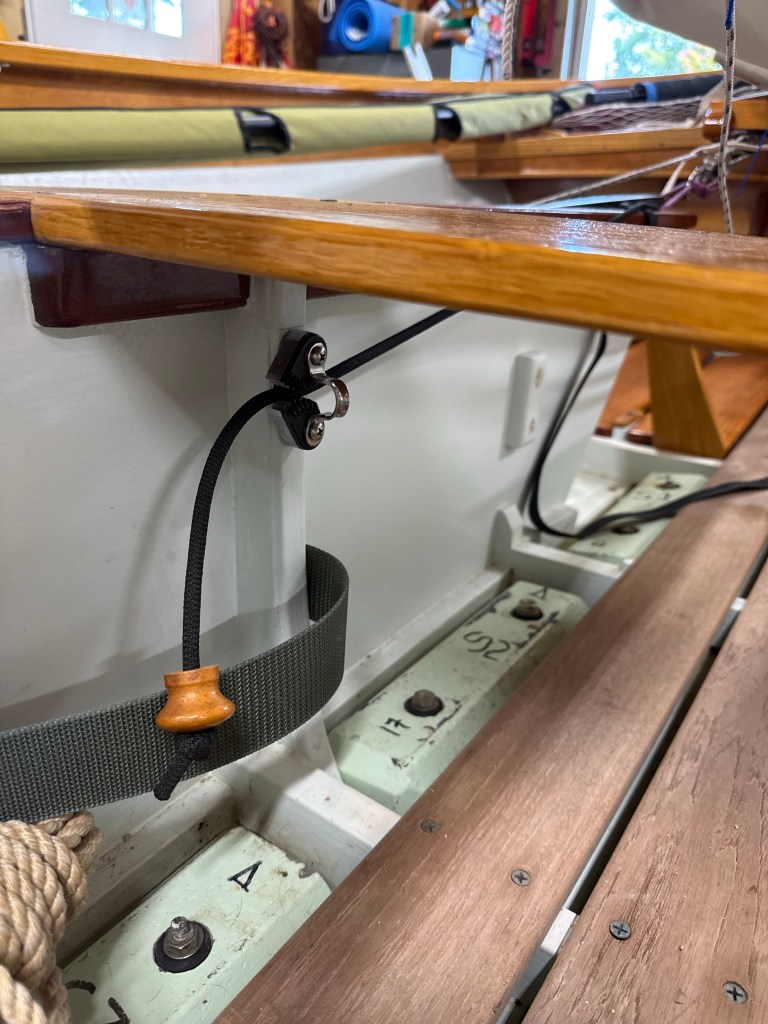
- Ganged floorboards port and starboard for easy access to the bilge. Now 3 bolts replace the some 50+ wood screws.
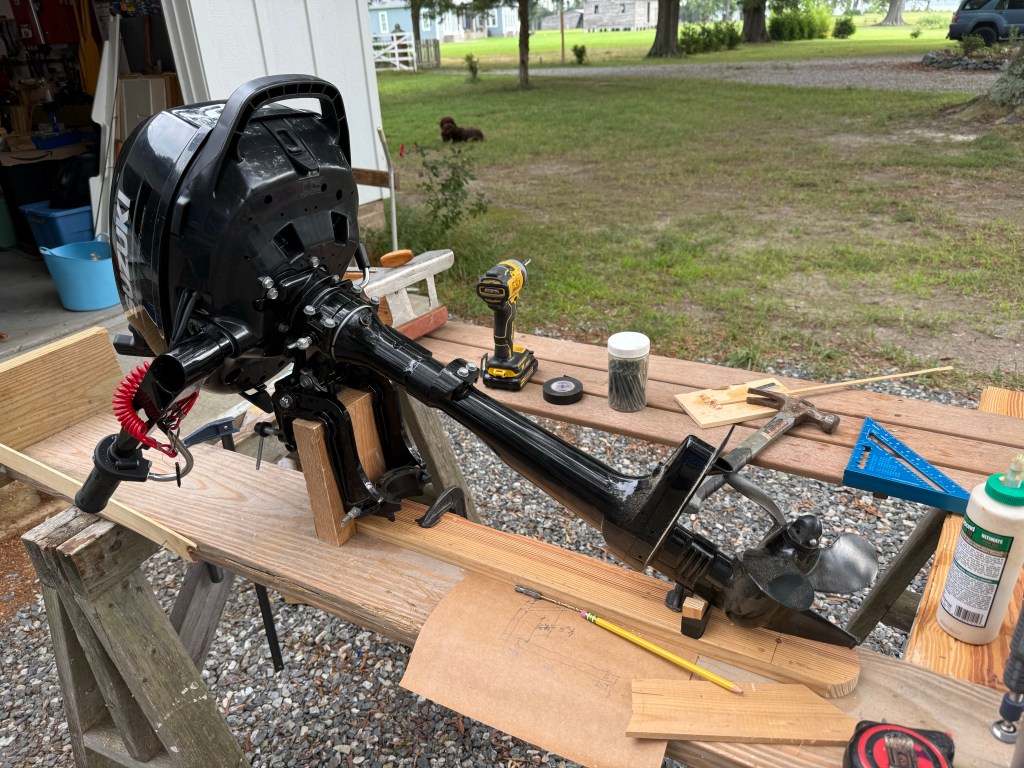
- An engine storage mount inside the boat. A couple mock ups led to the final.
- Widened cockpit seats. It’s amazing what an extra 3” has done in comfort.
- A bottomless box for the lazarette for organizing gear. Before, everything wanted to occupy the center of the bilge there.
- A repeater for the ammo battery box 12v meter and charge ports. The box is lashed under the aft deck now.
- New halyards and sheets using New England Ropes “Vintage”.
- A modified toilet flapper valve to protect boat from flopping main sheet block.
- Cam cleat for shock cord centerboard hold down.
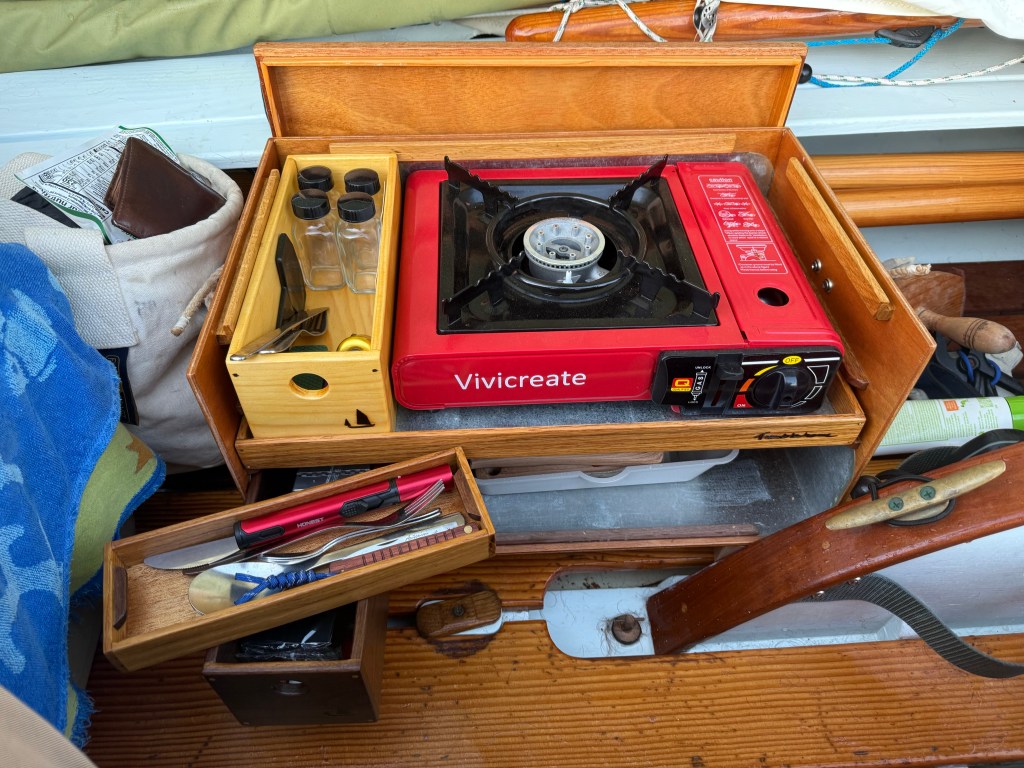
- Galley box 3.0.
I feel like I’ve a new boat now! Will report on the success/ failure after our journey. Pics below-