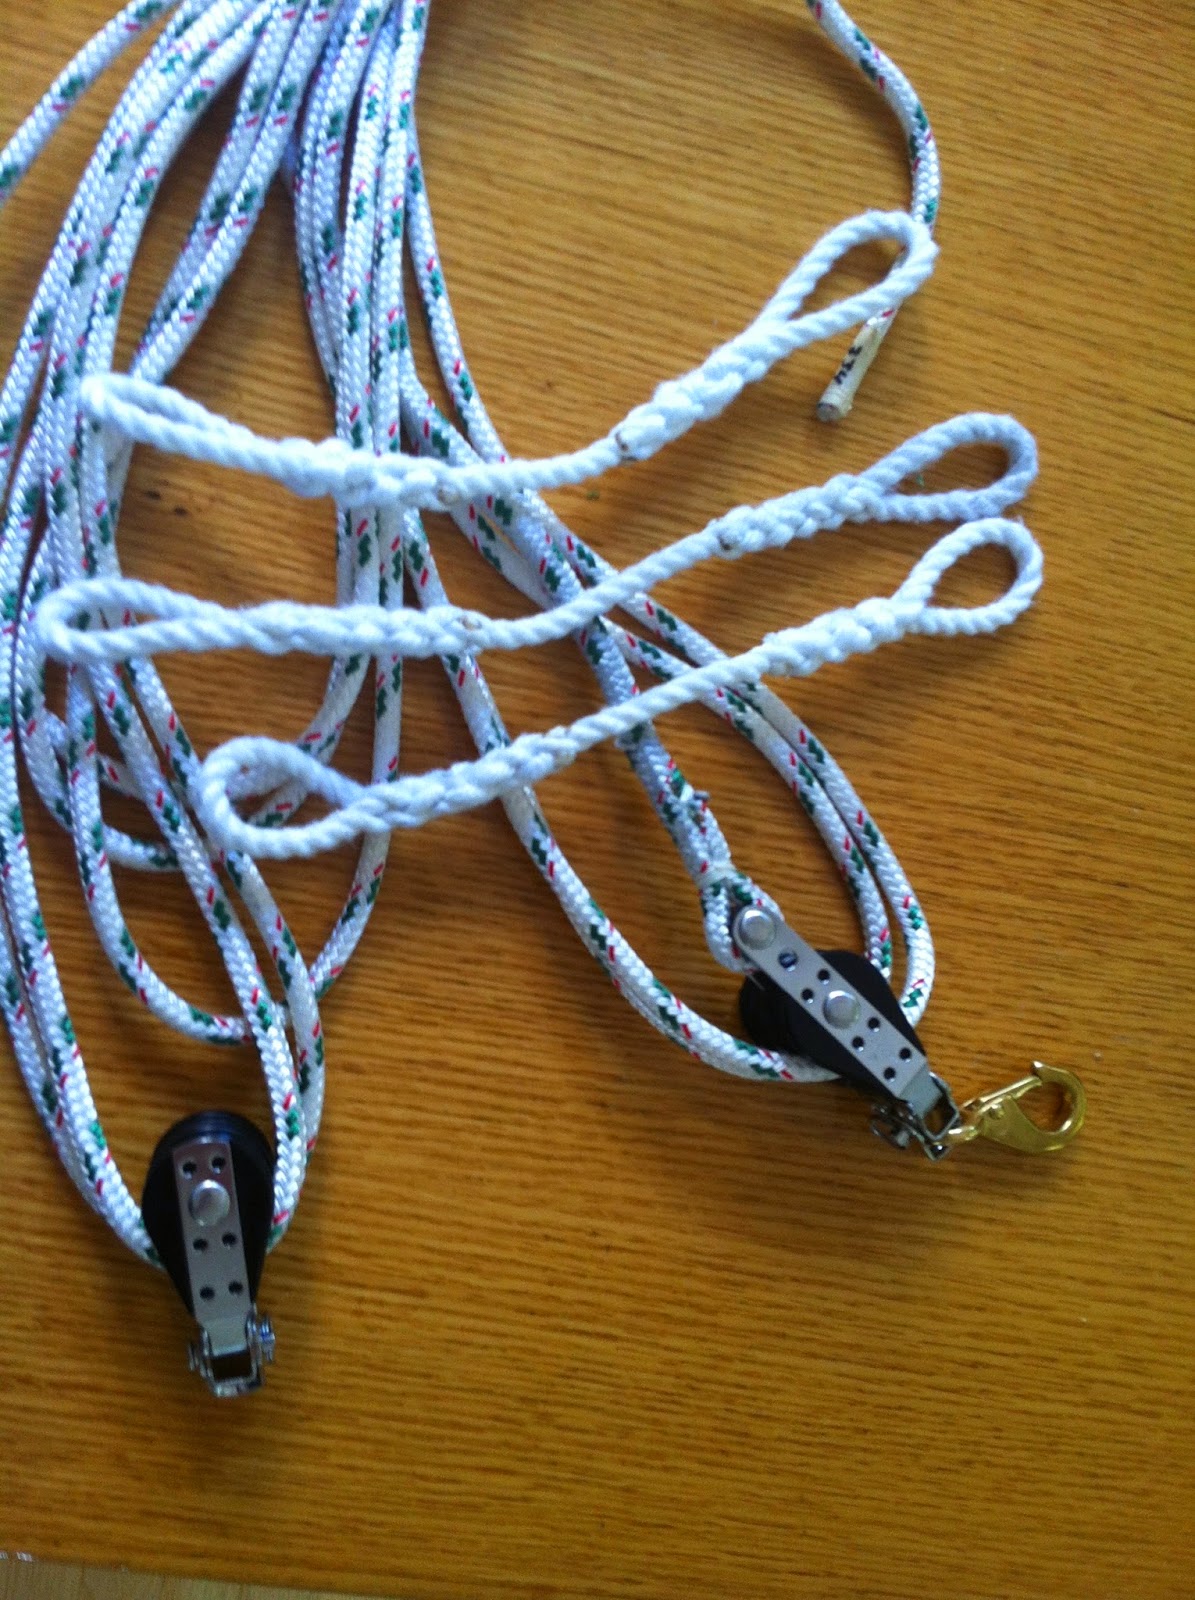
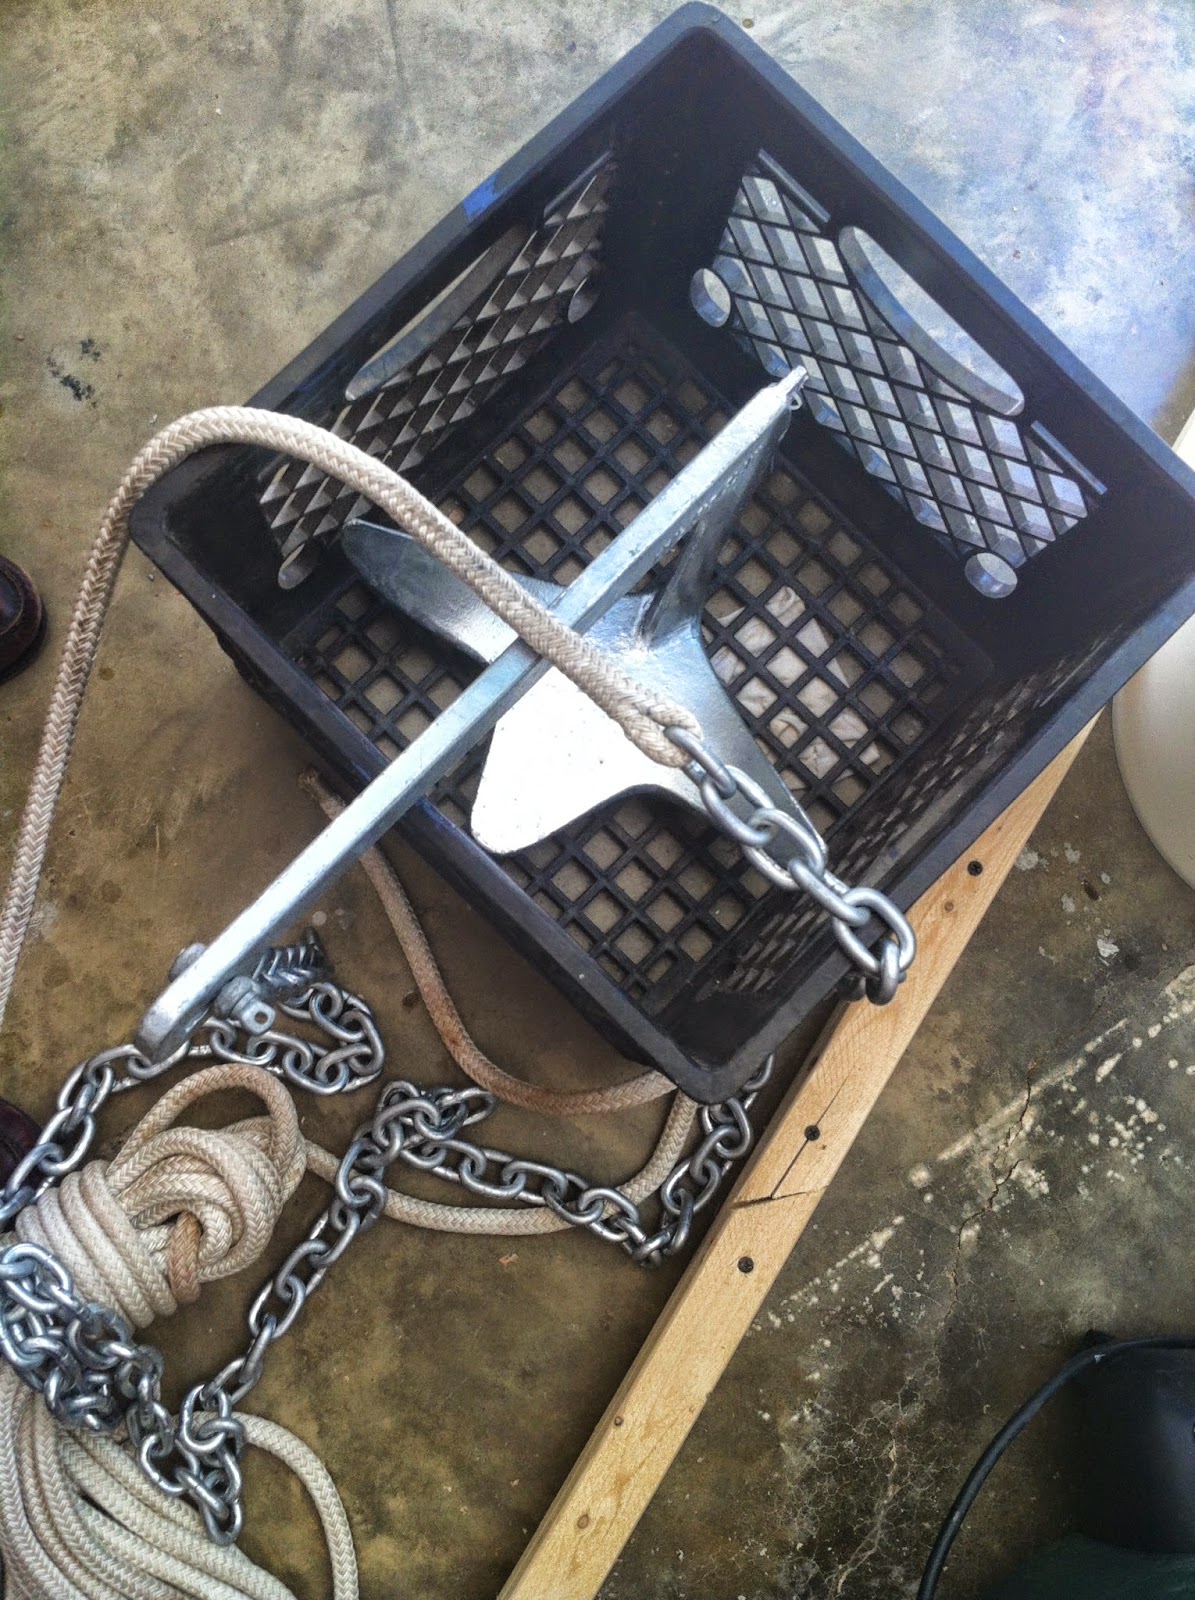
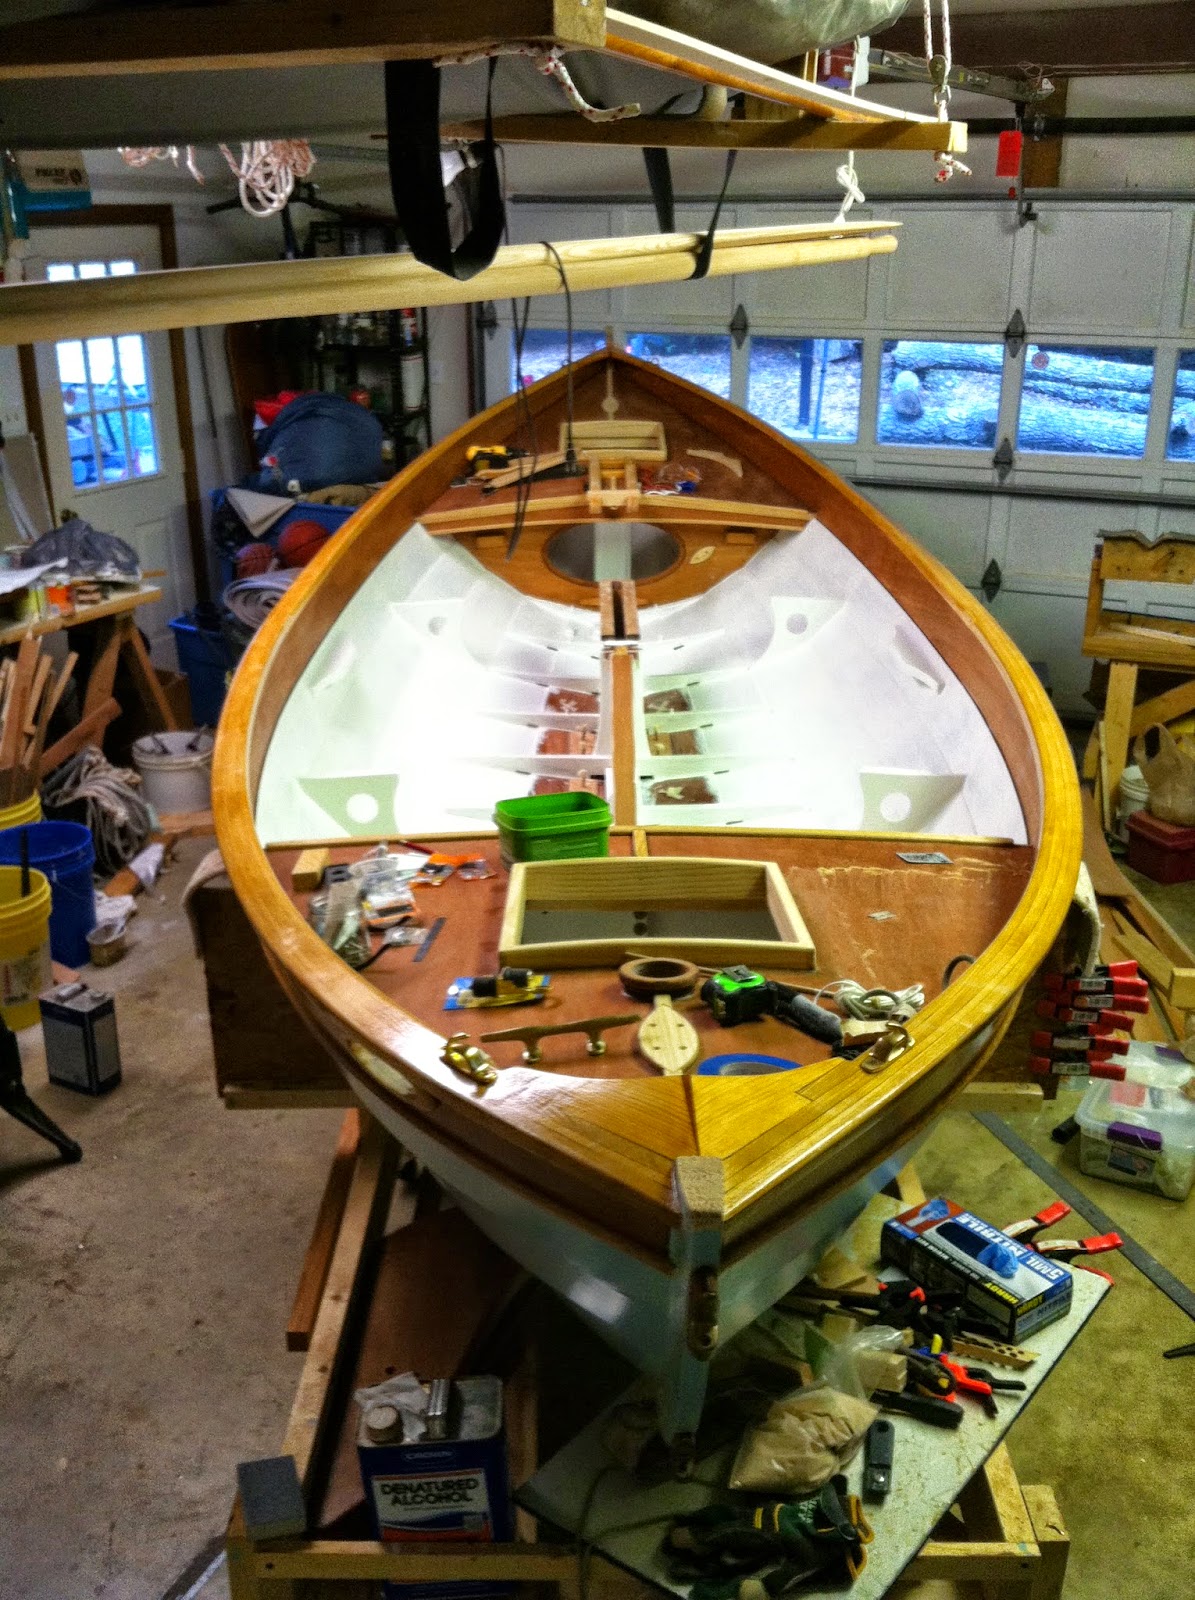
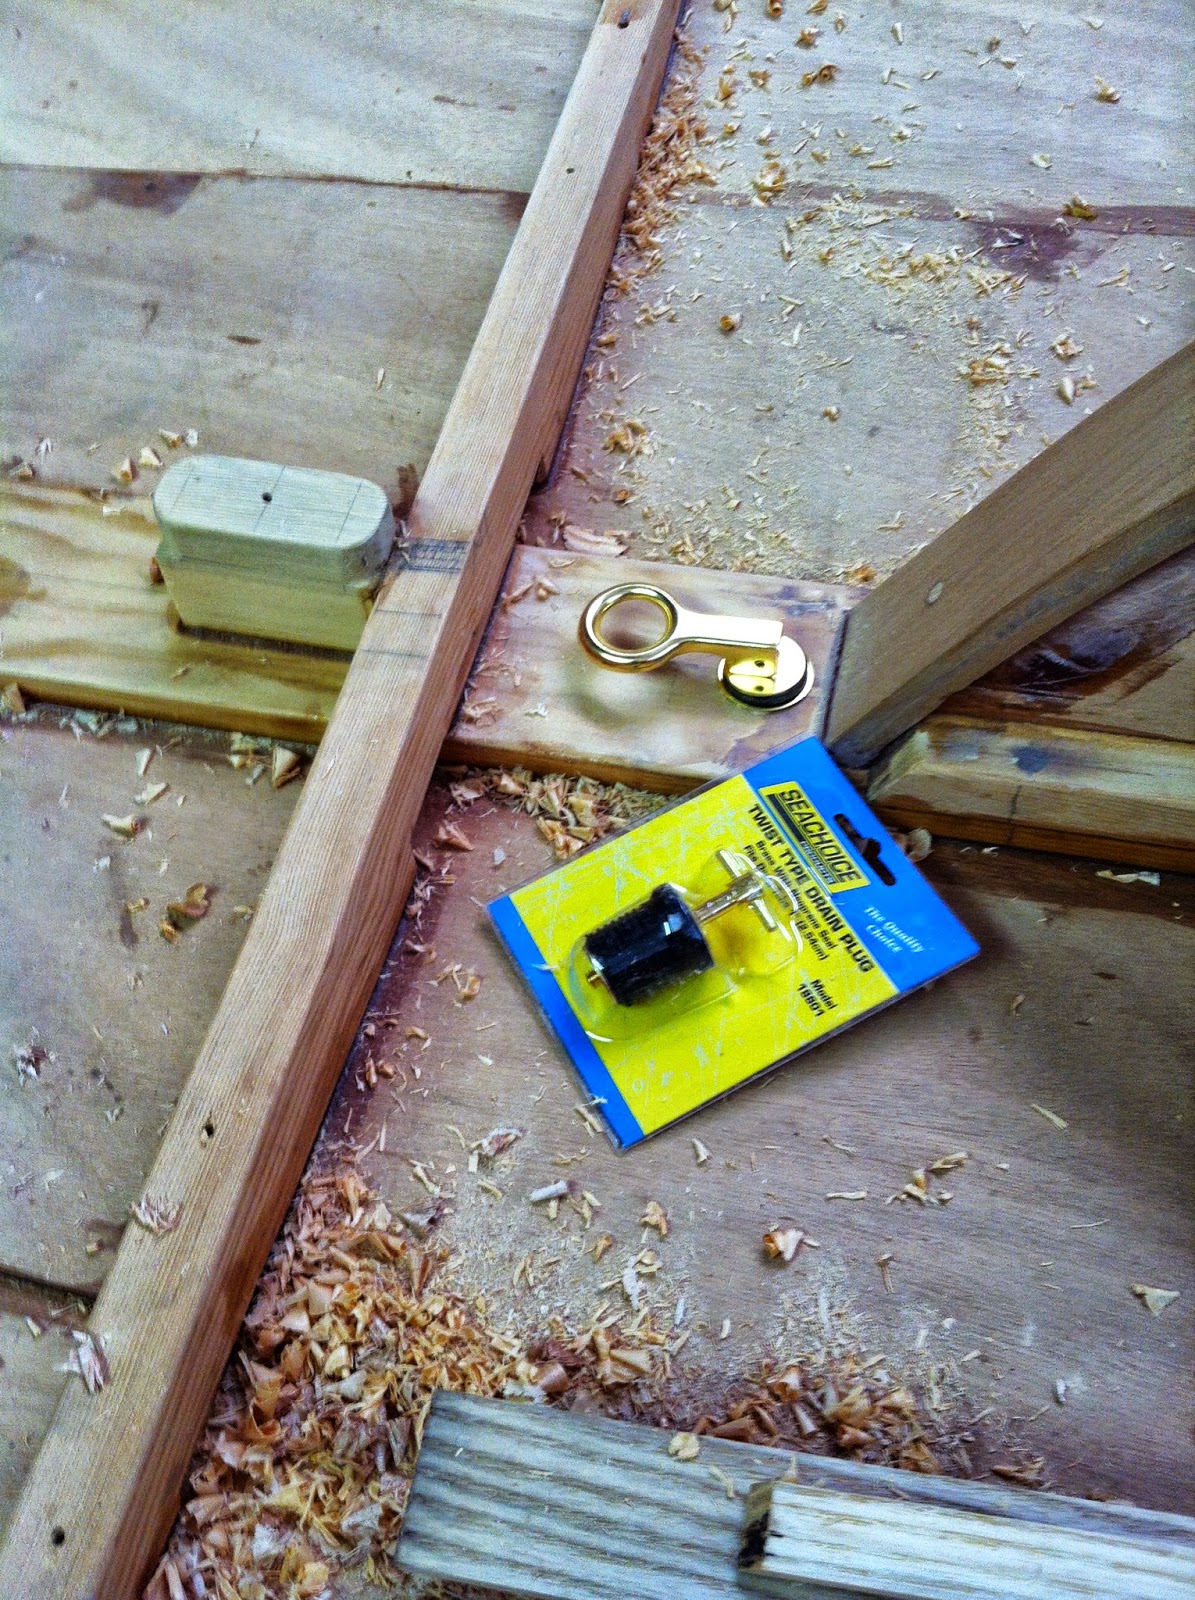
As the heat of the summer here dissipates, I have begun to focus on a few small projects to make sailing easier. One made the tiller push stick to tiller arm connection more rigid. I wasn’t happy with the rope connection. Perhaps I’ll post that solution later. Another task involved splicing anchor rode to chain for my 11# Lewmar claw (Bruce design) and a lighter 6# aluminum Danforth style anchor that will be kept in the aft lazarette for back up. Both have 10′ of chain spliced to quality 3/8″ twisted nylon.
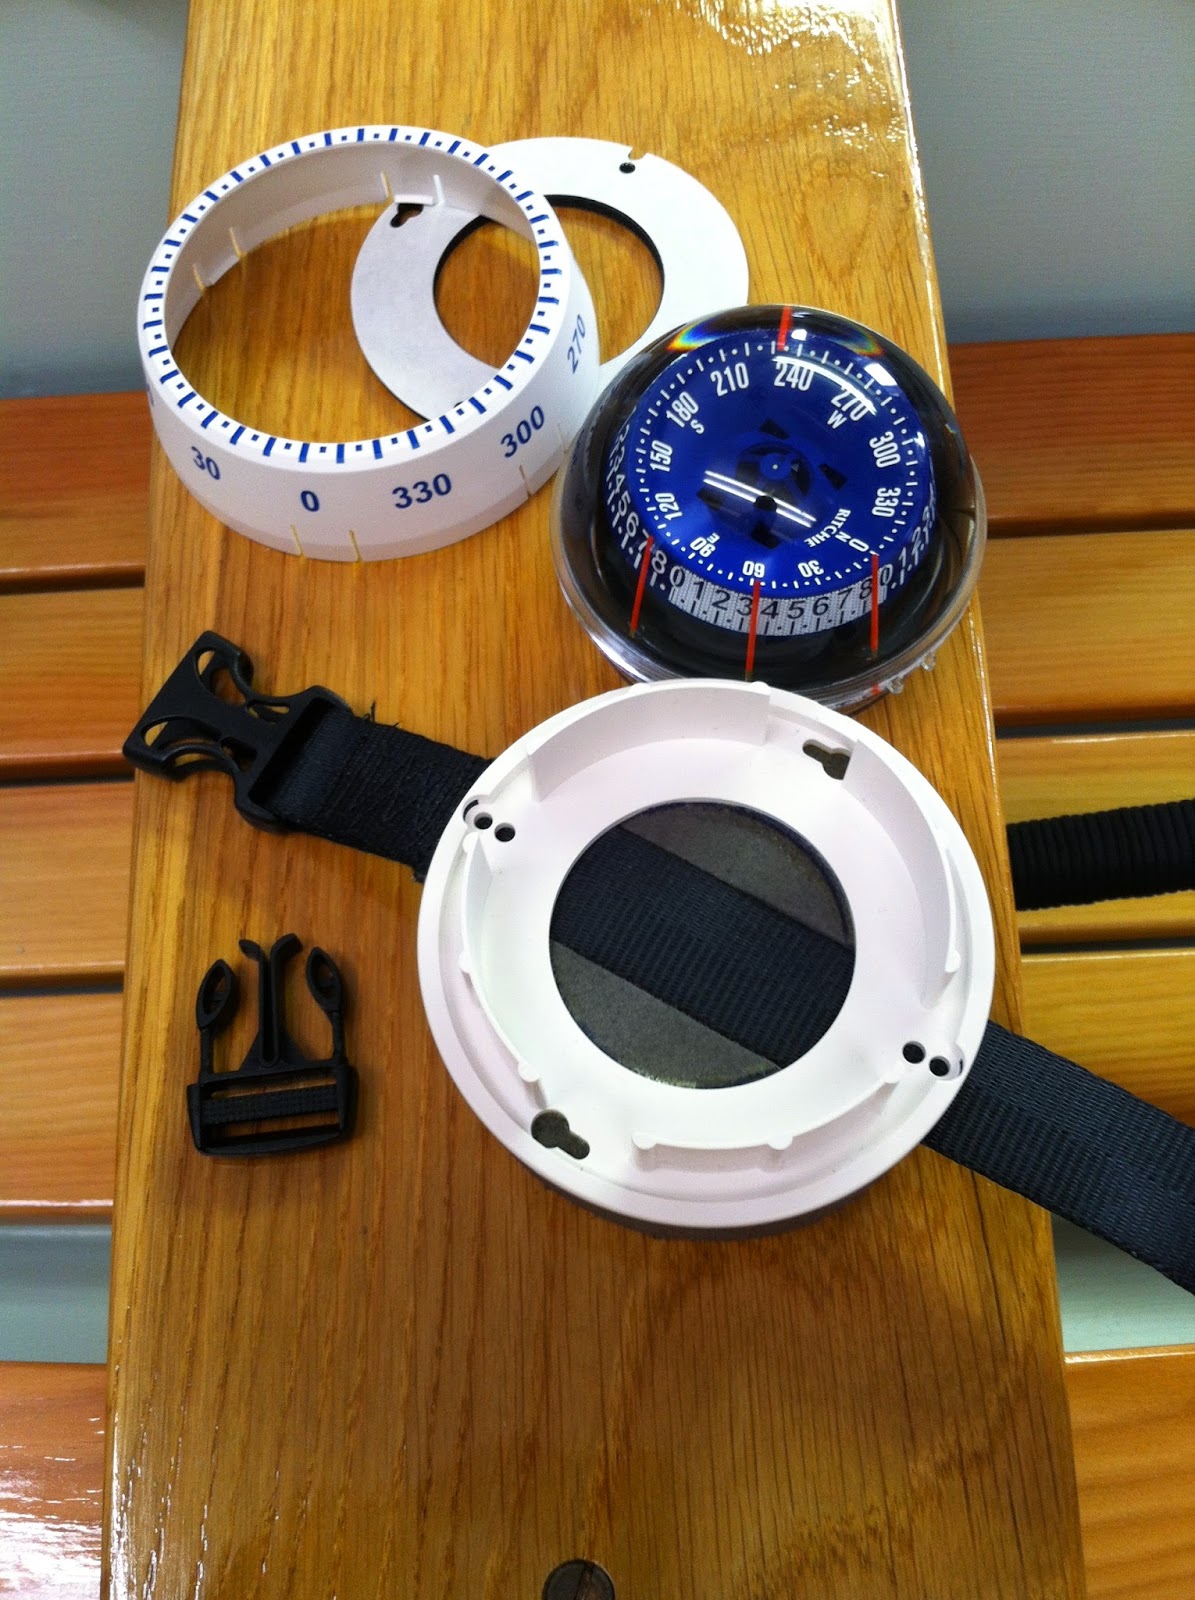
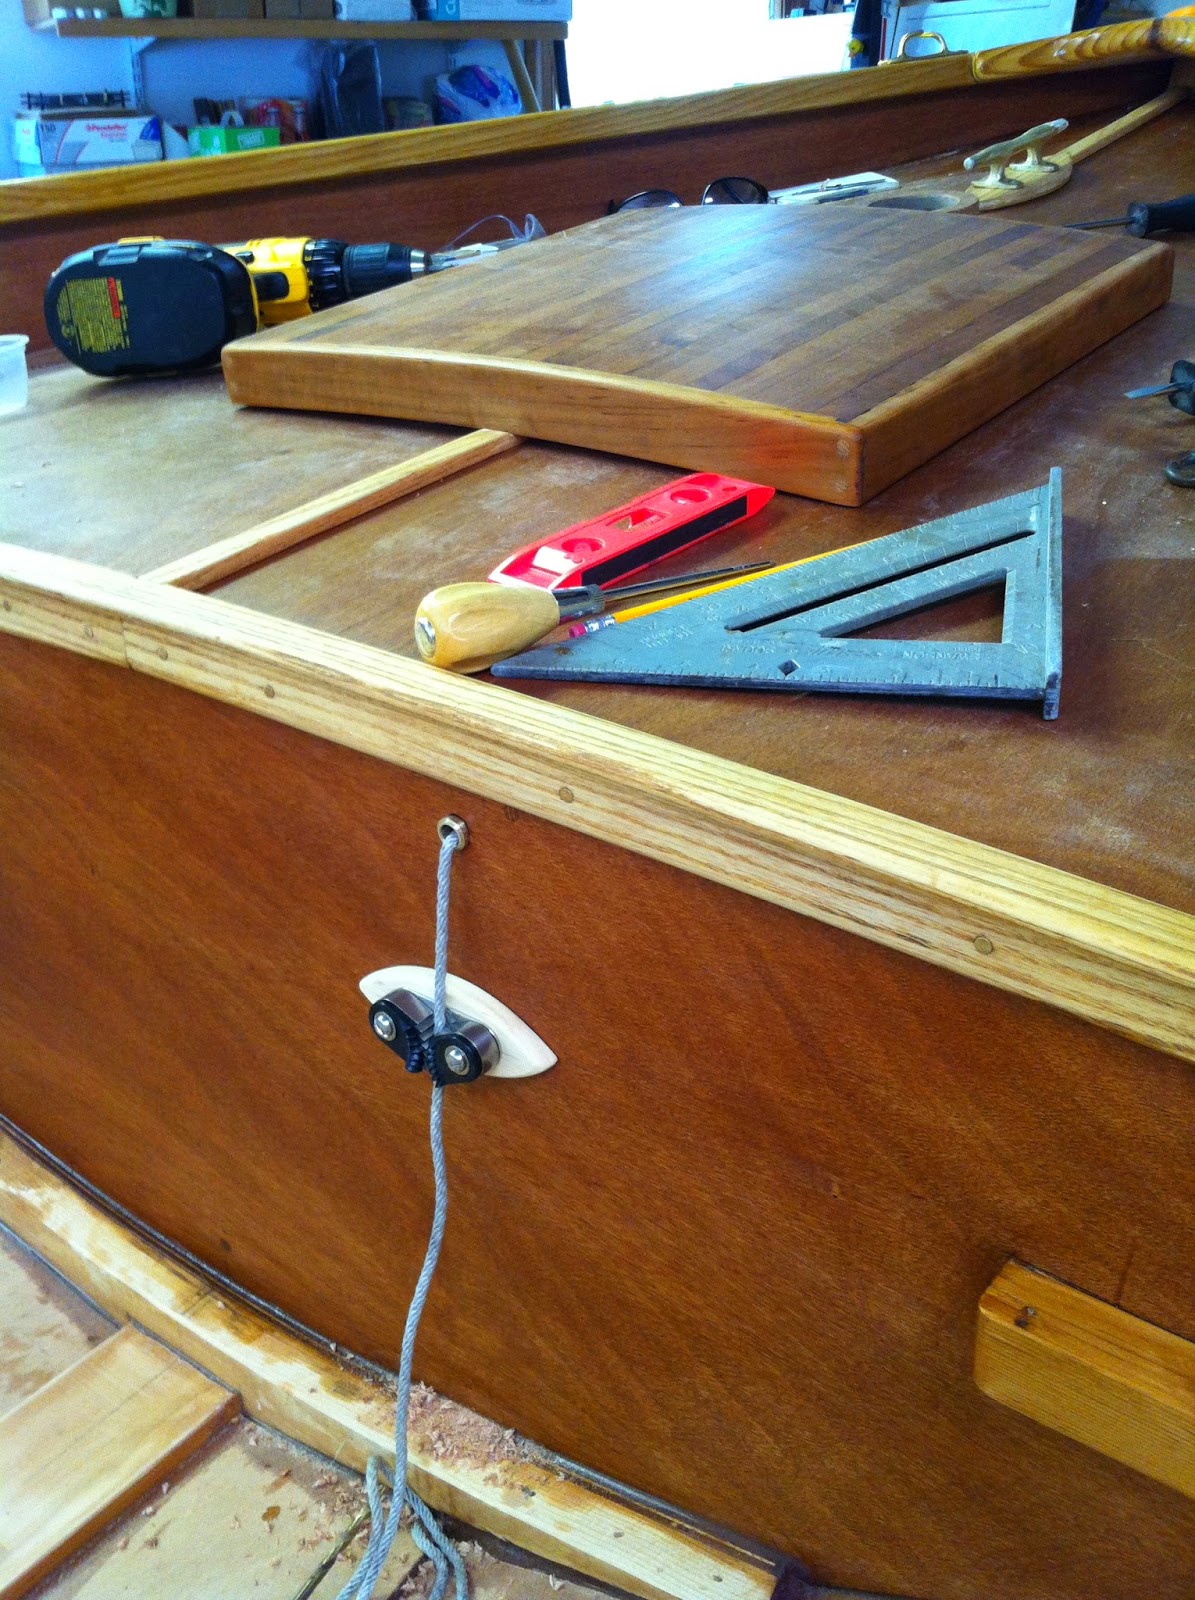
The recent task I am most satisfied with is a mount for the compass my father gave me as a “well done” congratulatory gift. It is a Ritchie Tactical compass which is the perfect size for Una and much appreciated.
 |
| Ritchie Tactical Compass |
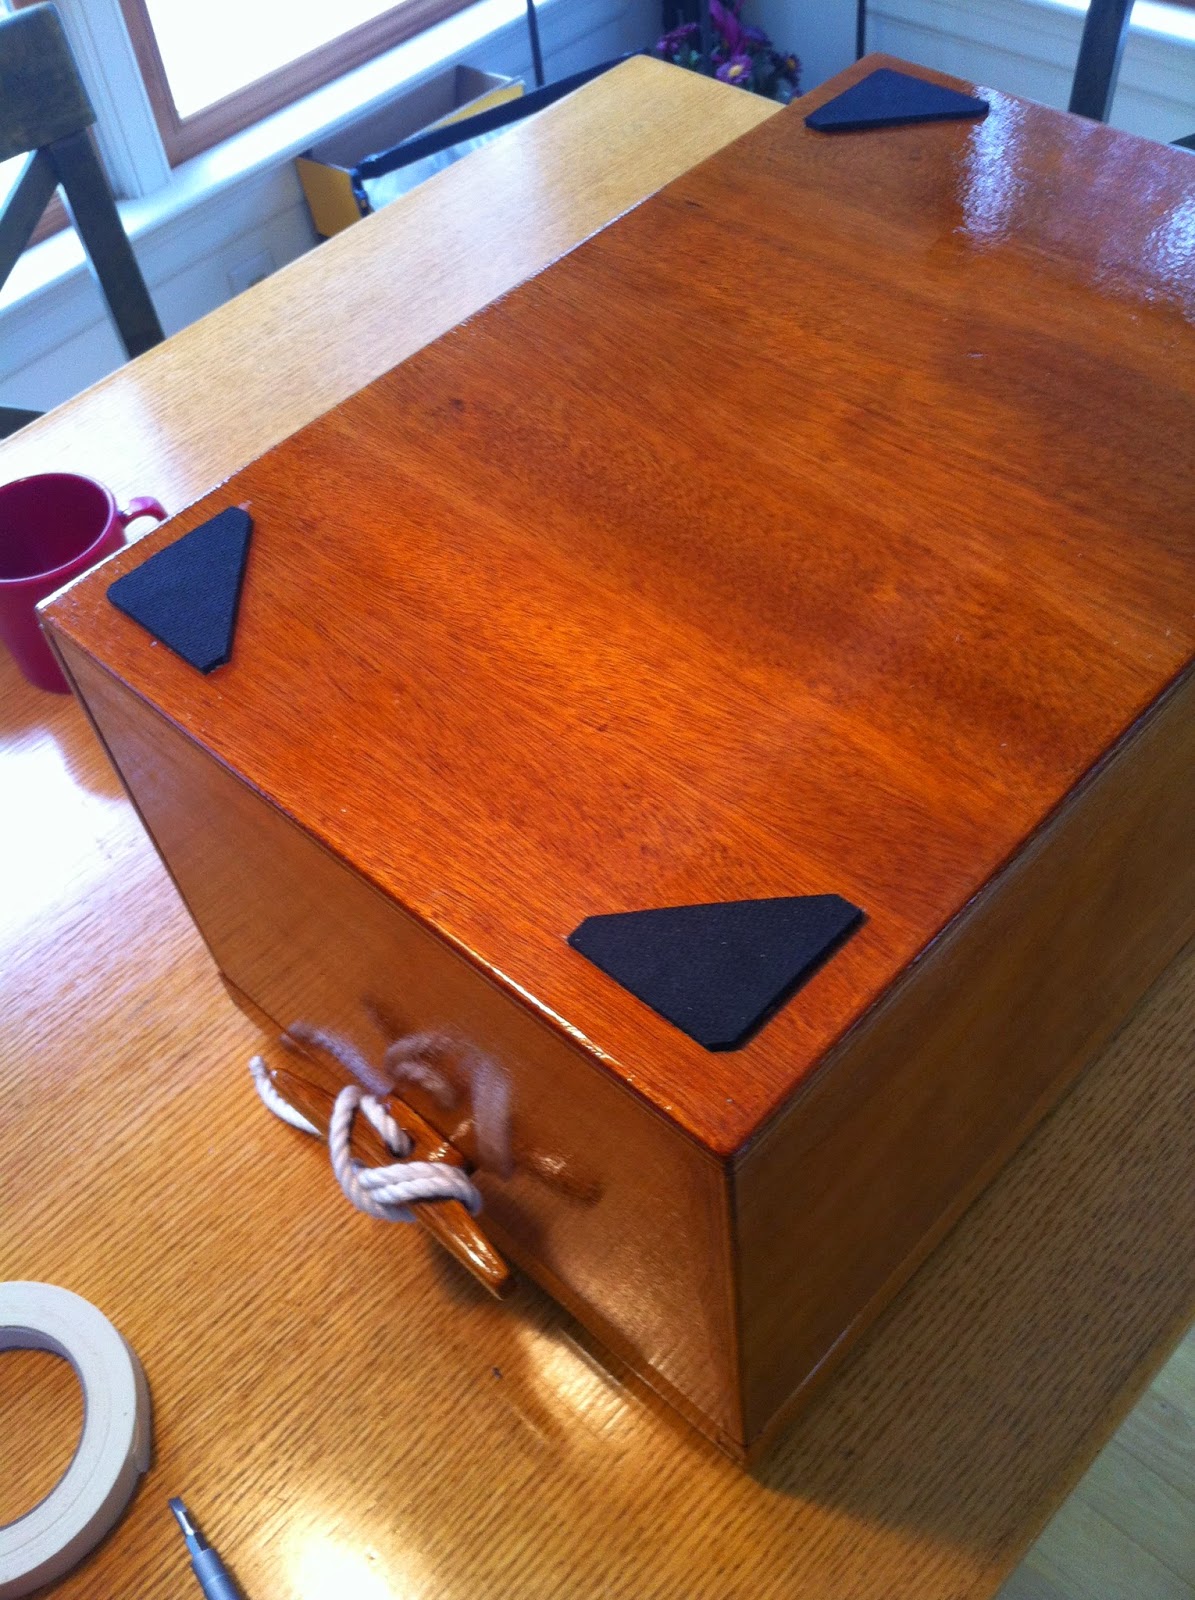
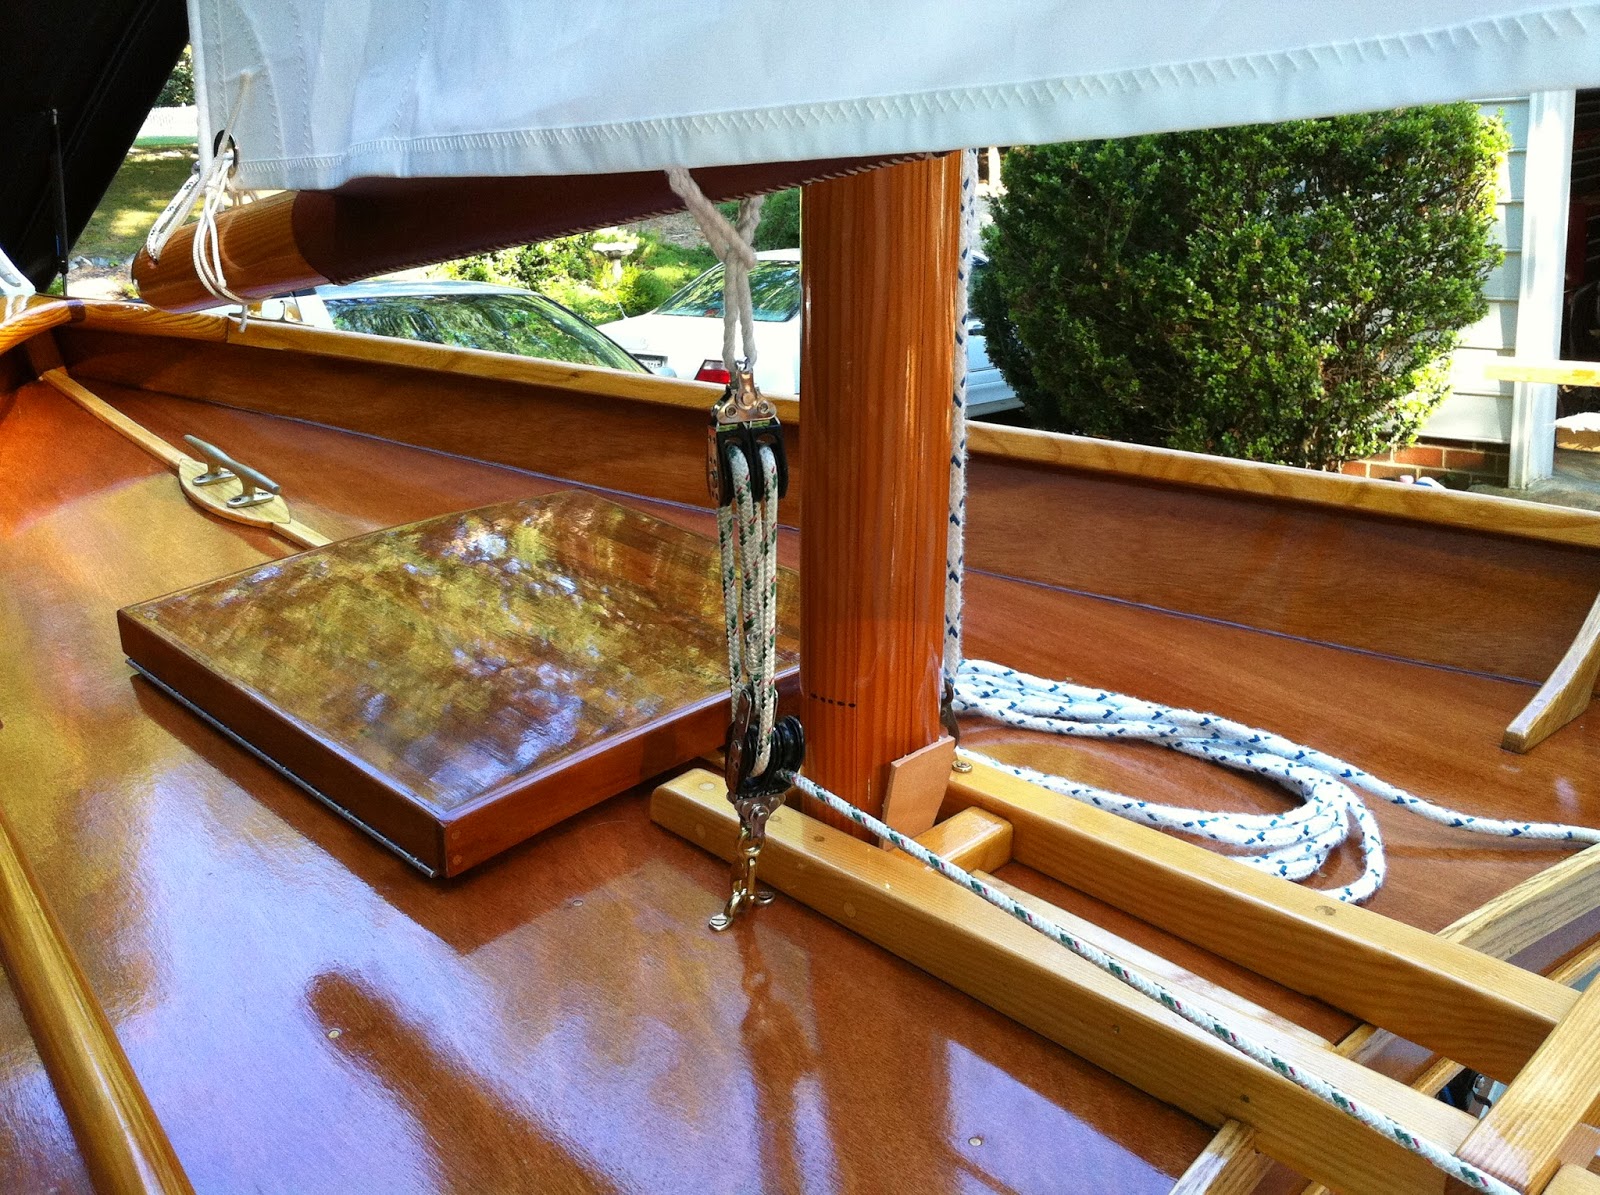
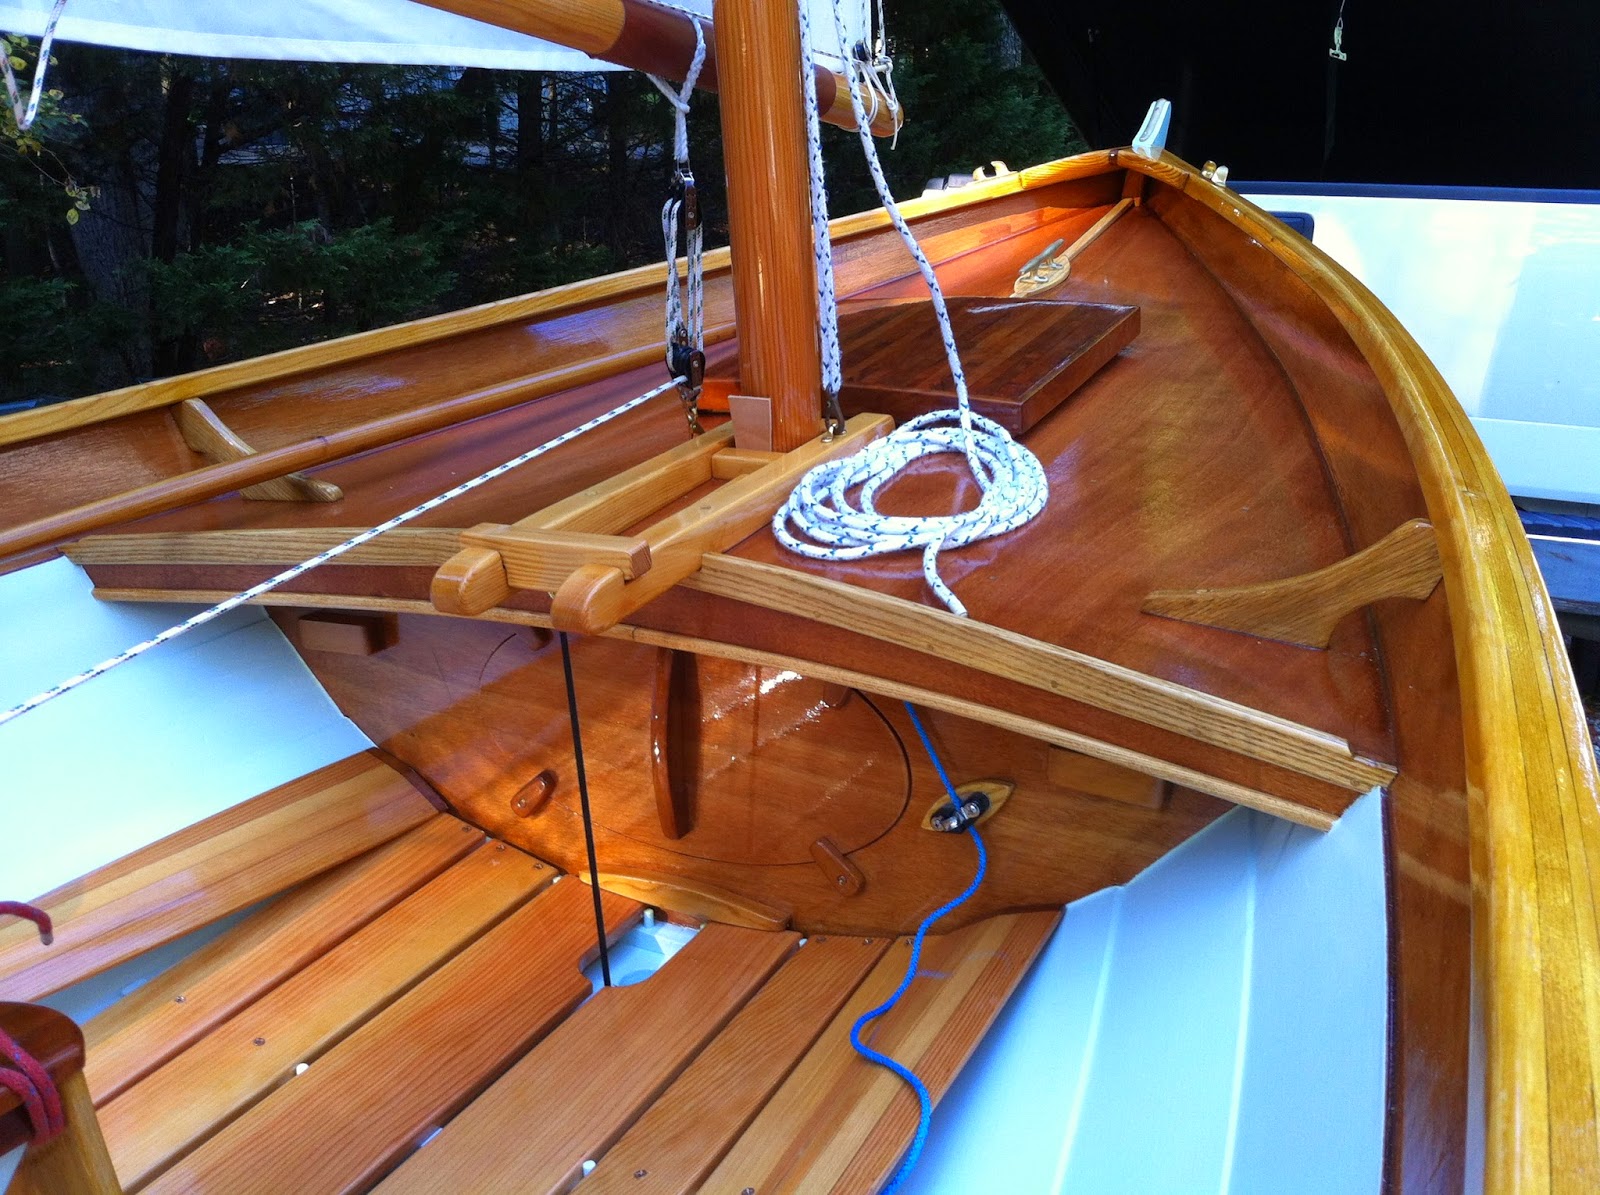
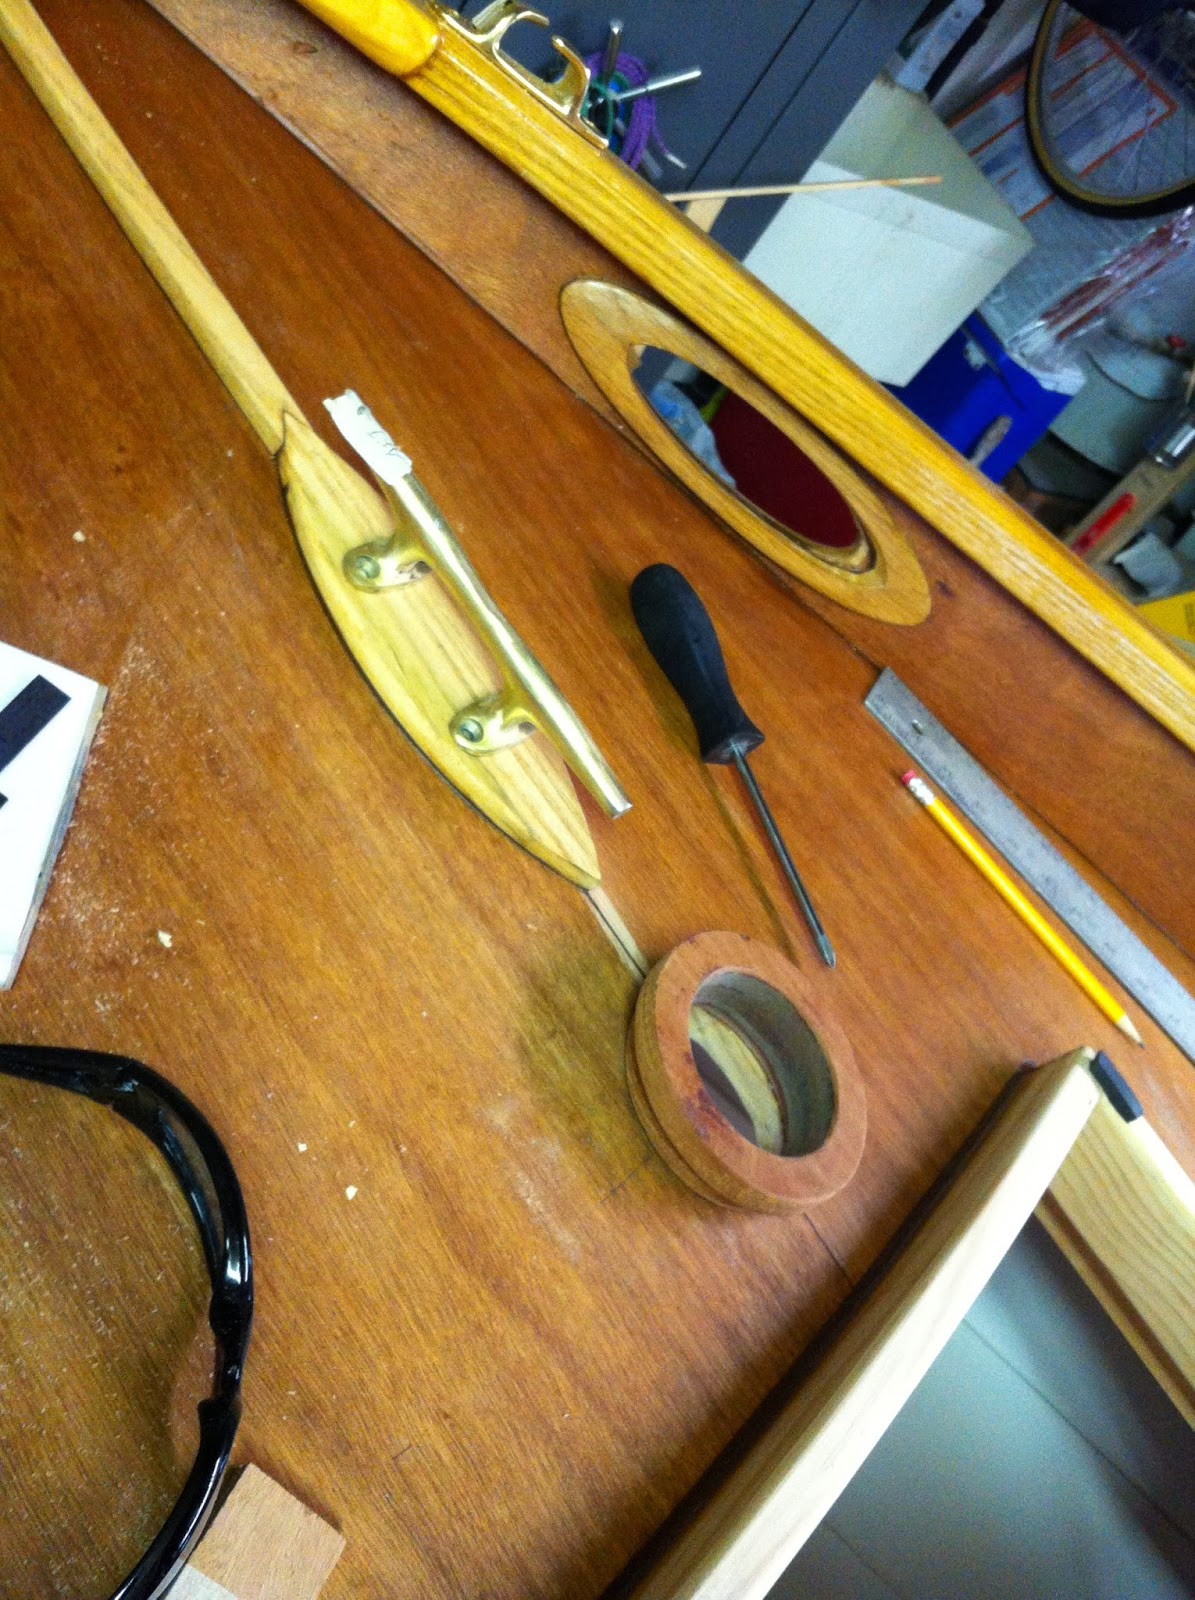
Wanting to be able to use the compass with my kayaks. It had to be removeable. Positioning the compass where it could be left in place and offer good viewing from port and starboard didn’t prove possible. Centered on the thwart is ideal for sailing, but not for rowing. I considered mounting the bezel on a thin board held down with wing nuts or dogs. That proved too elaborate. A simpler and I believe more satisfactory answer was to trace the compass base on mini cell foam, cut out a puck using my small band saw ( I finally found a suitable use for it) and contact cement the foam to the base. A small 1″ wide channel was let into the foam for a tubular strap to pass through. Plastic buckles hold the works in place.
 |
| Pieces. Bezel detaches. |
 |
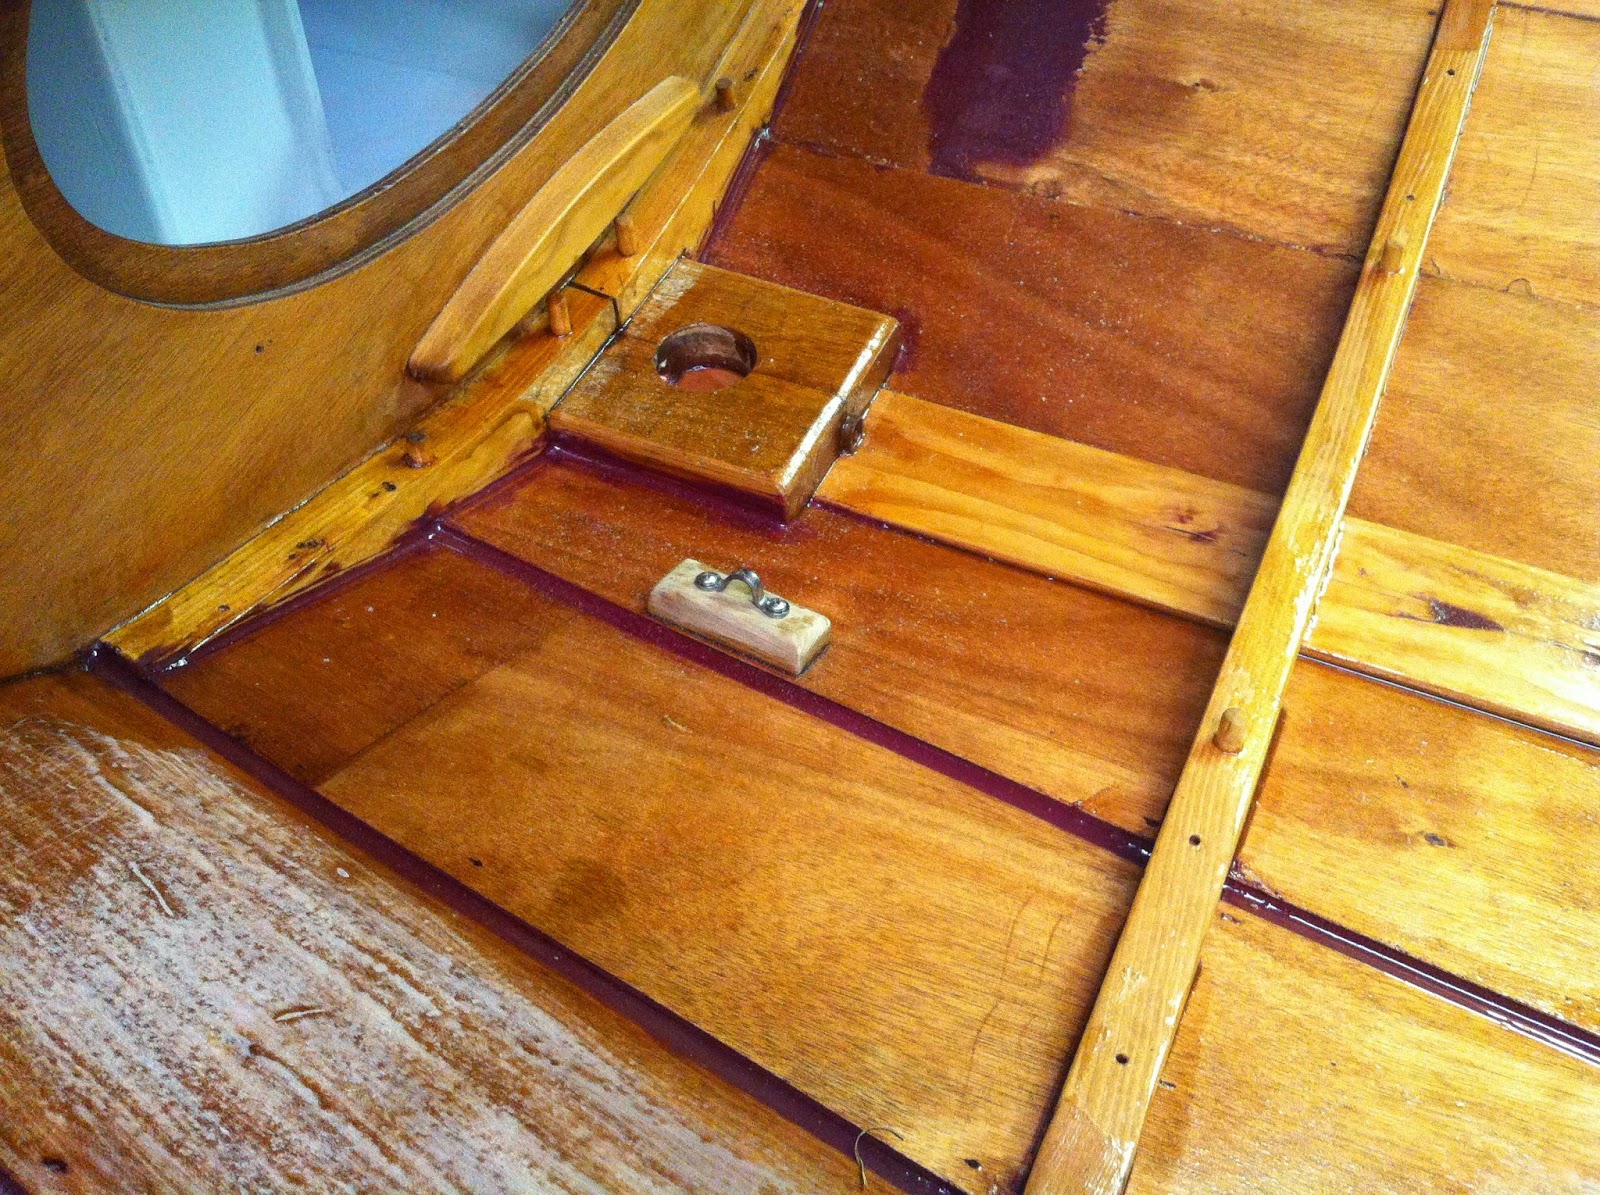
| Puck glued in place. |
 |
| Strapped under thwart. Very secure. |
Once strapped down the mini cell grips the thwart. While not rigid, the whole rig sits tight and is relatively fixed. I’m looking forward to an in-the-water test.
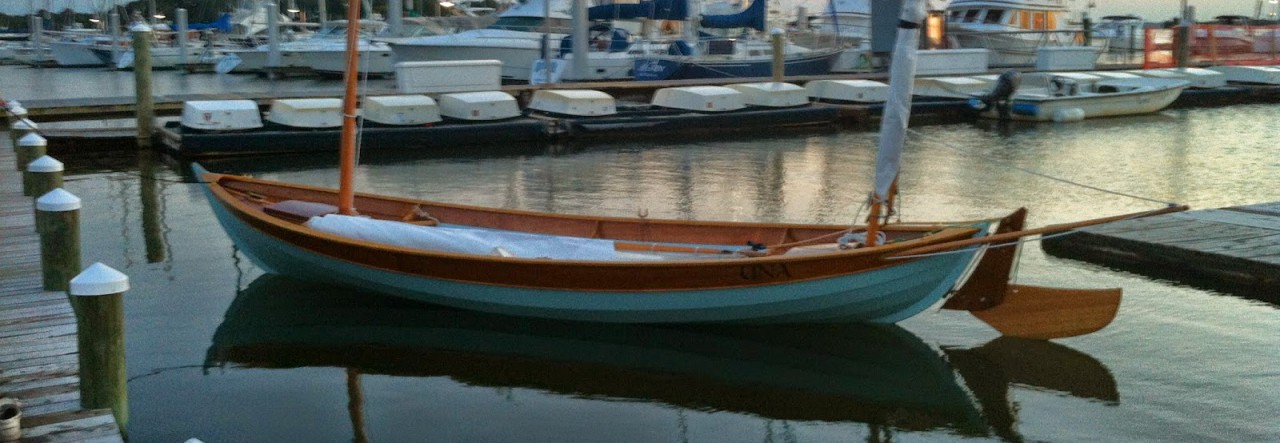
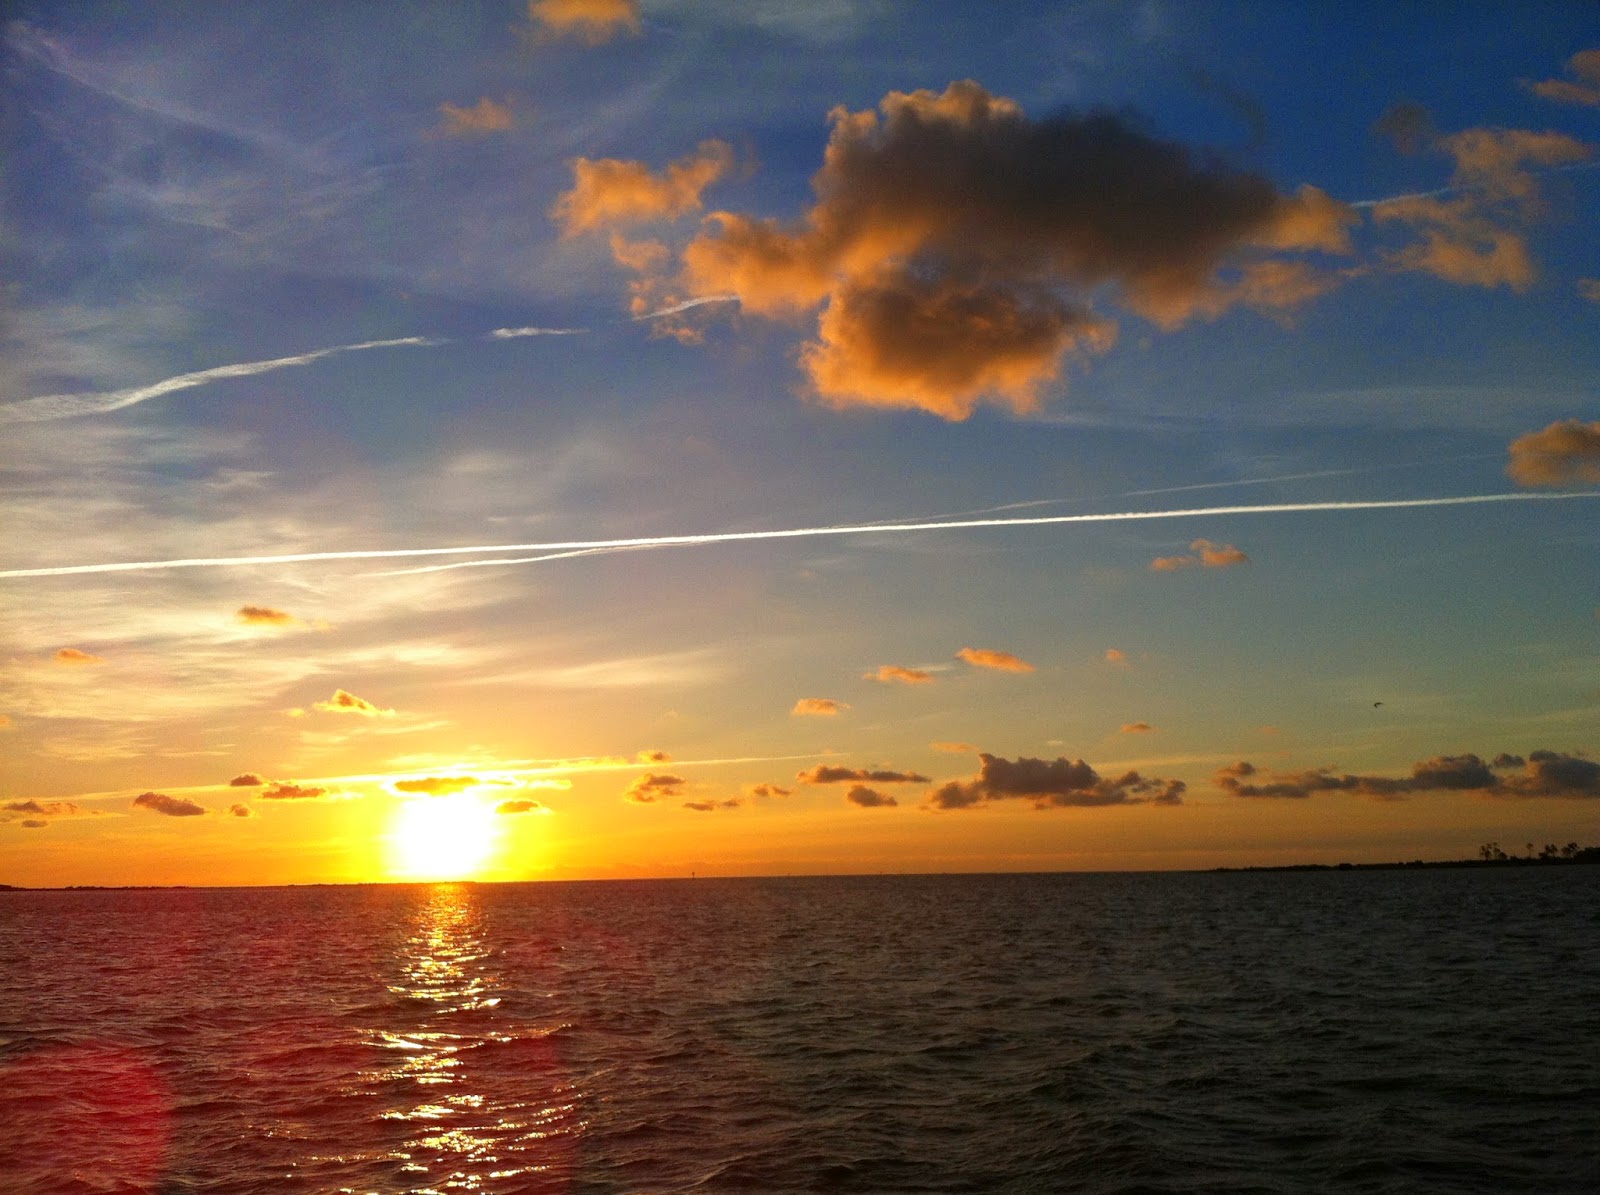
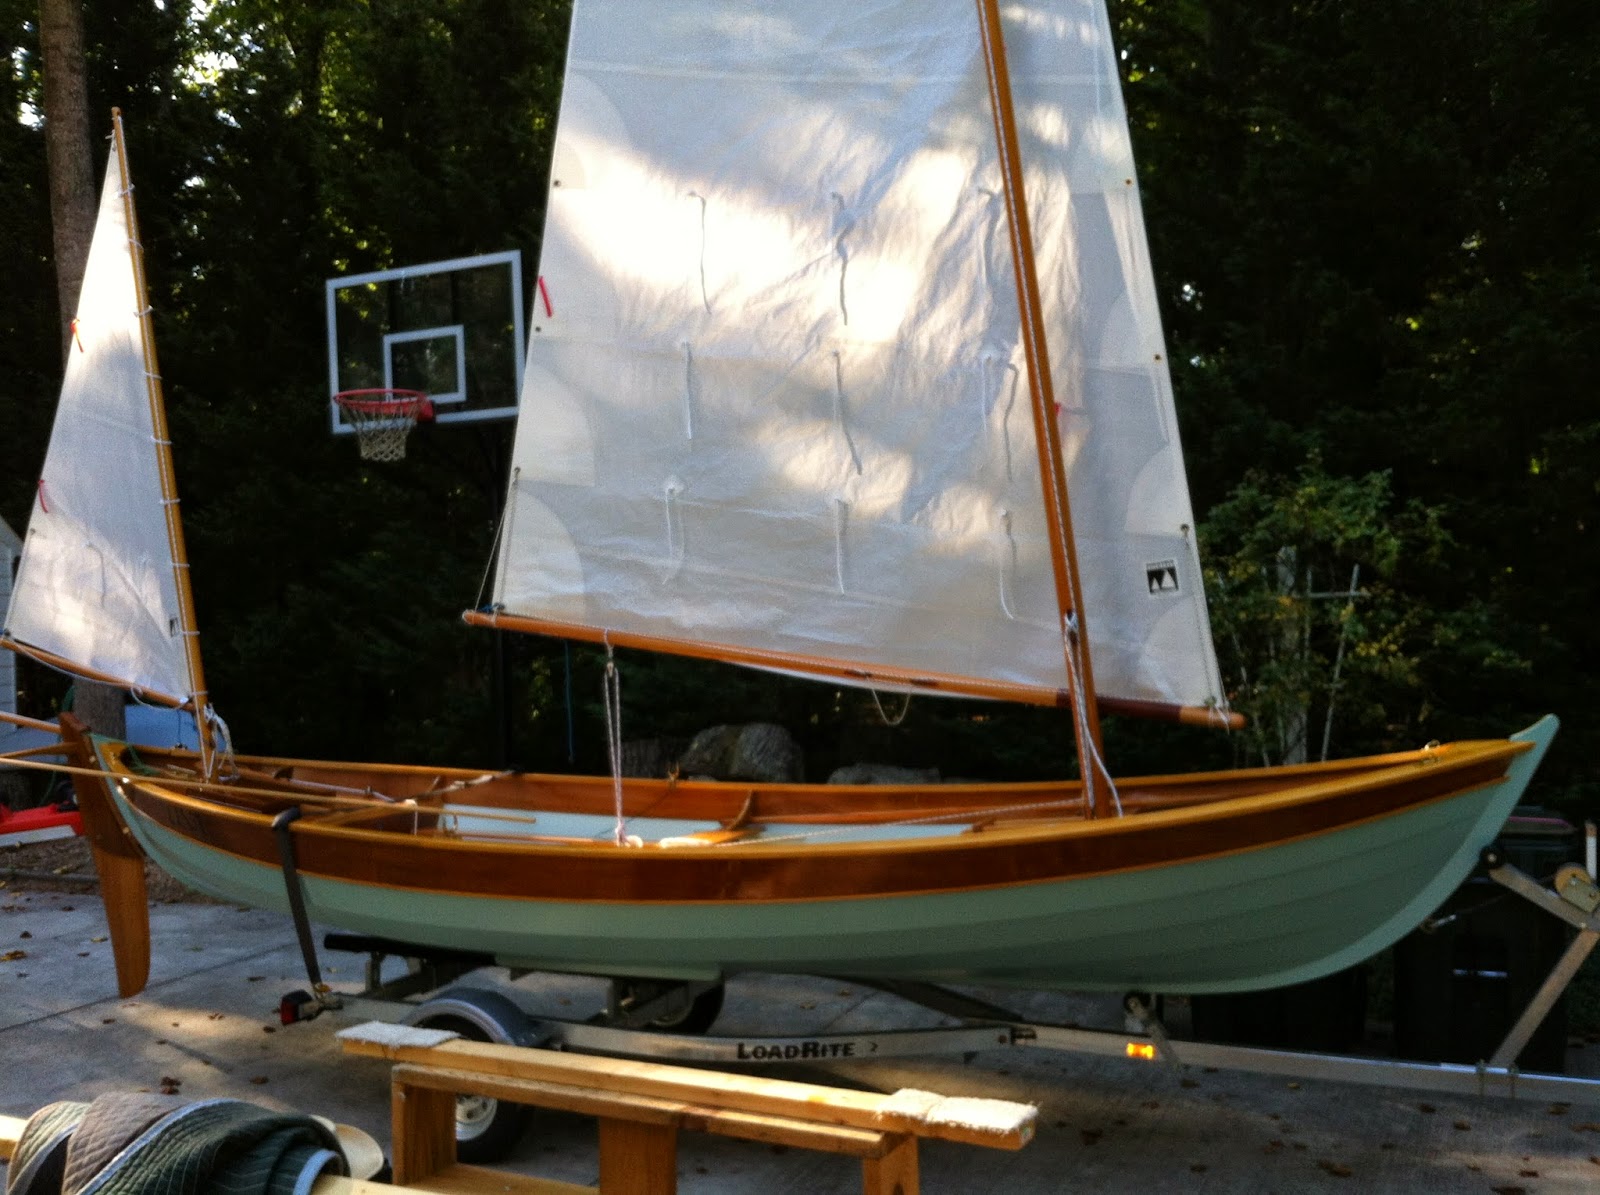
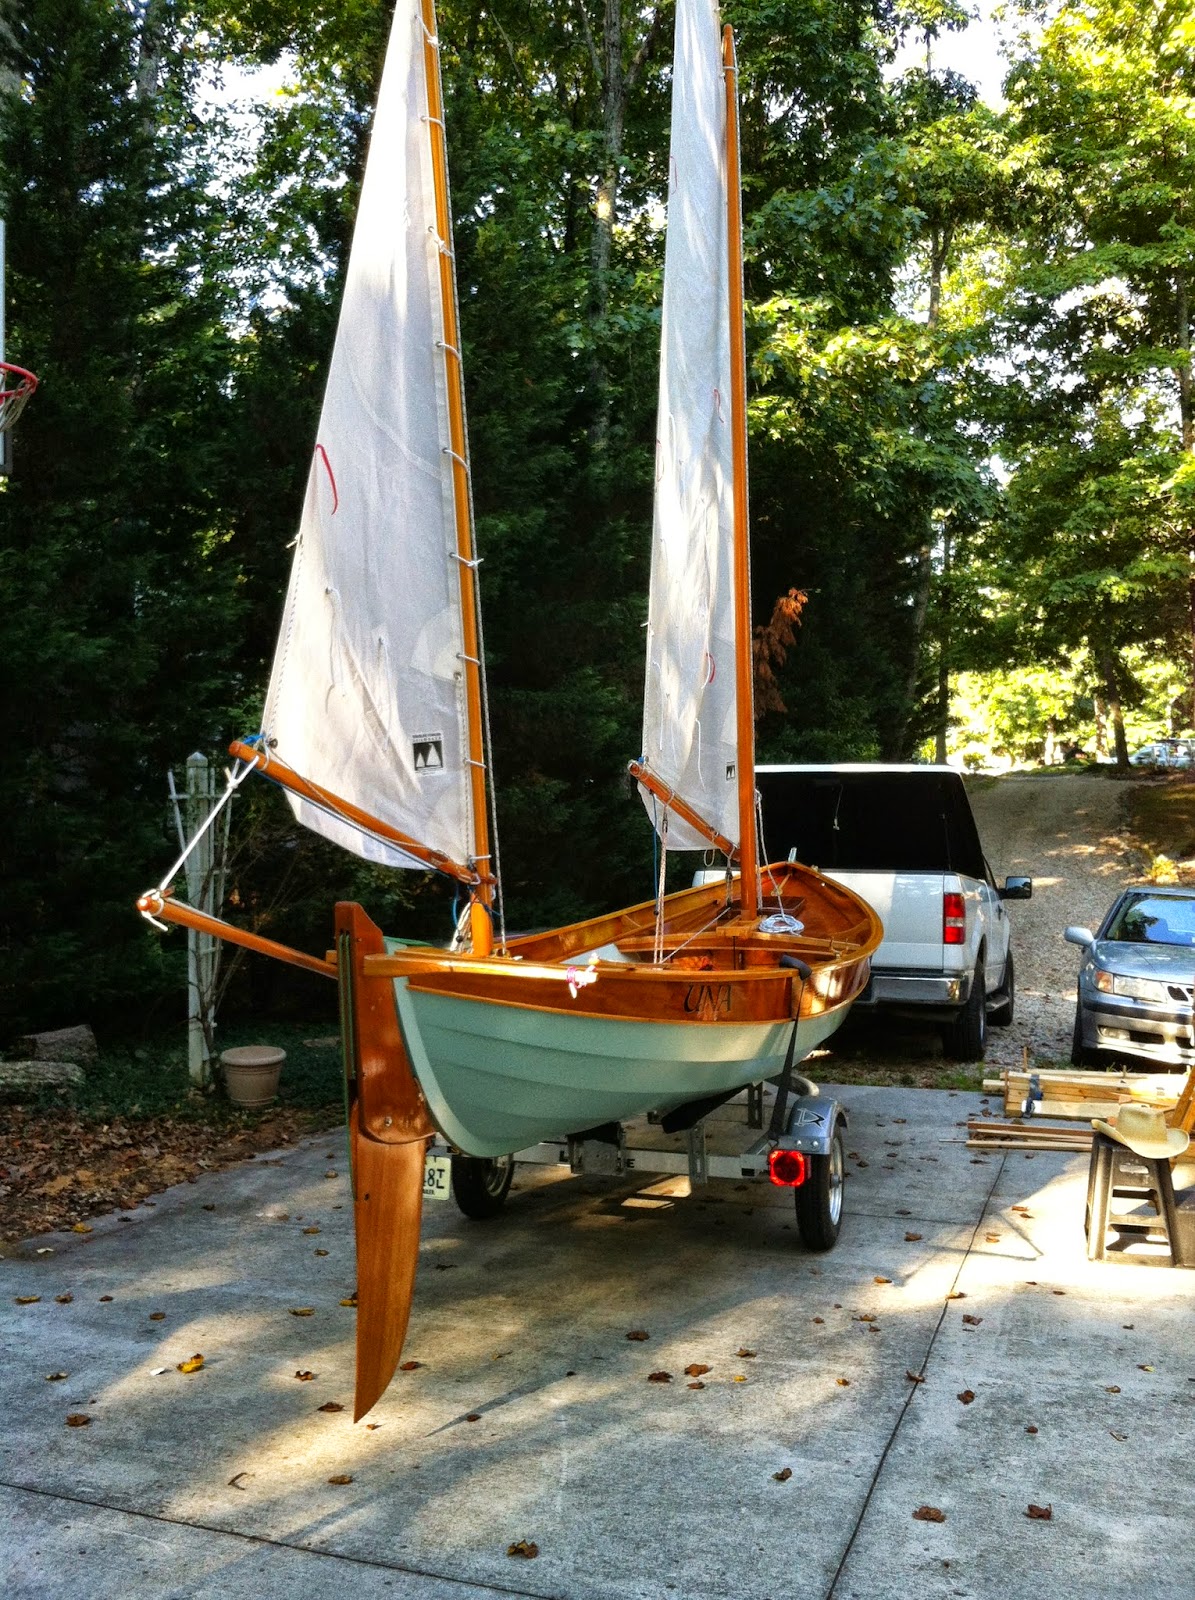
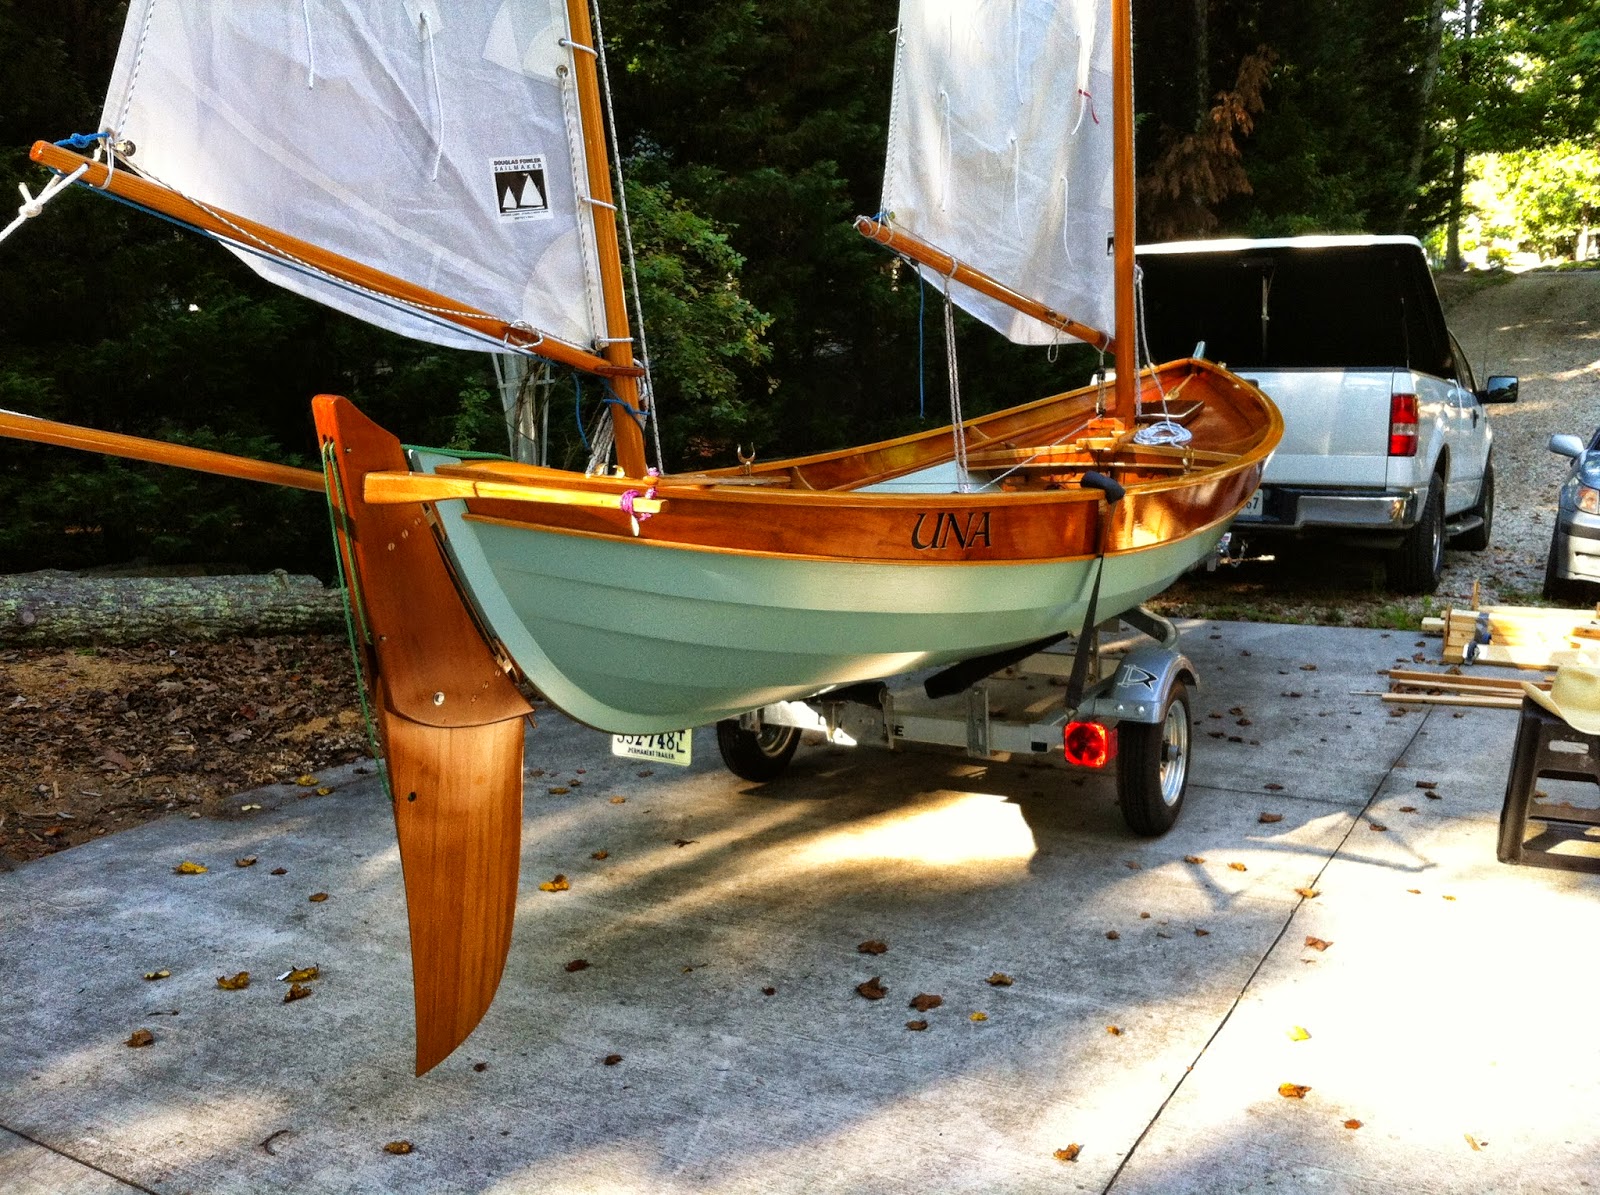
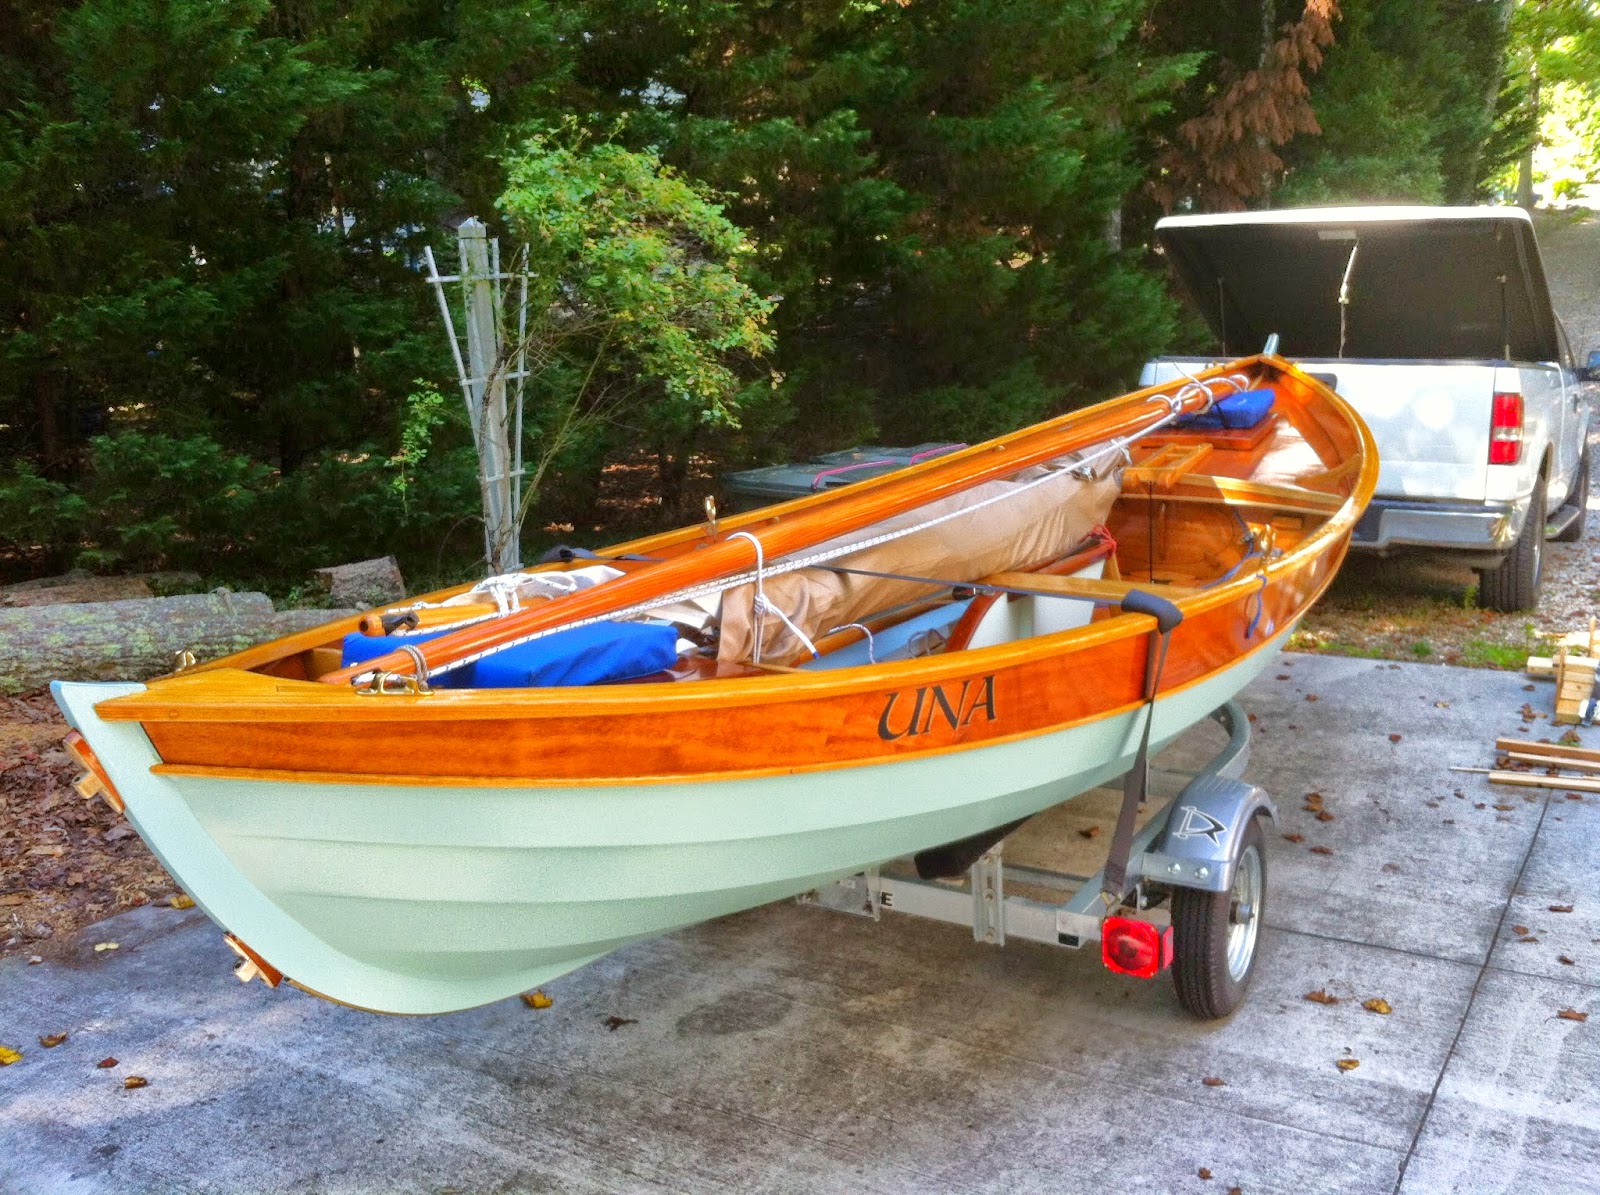
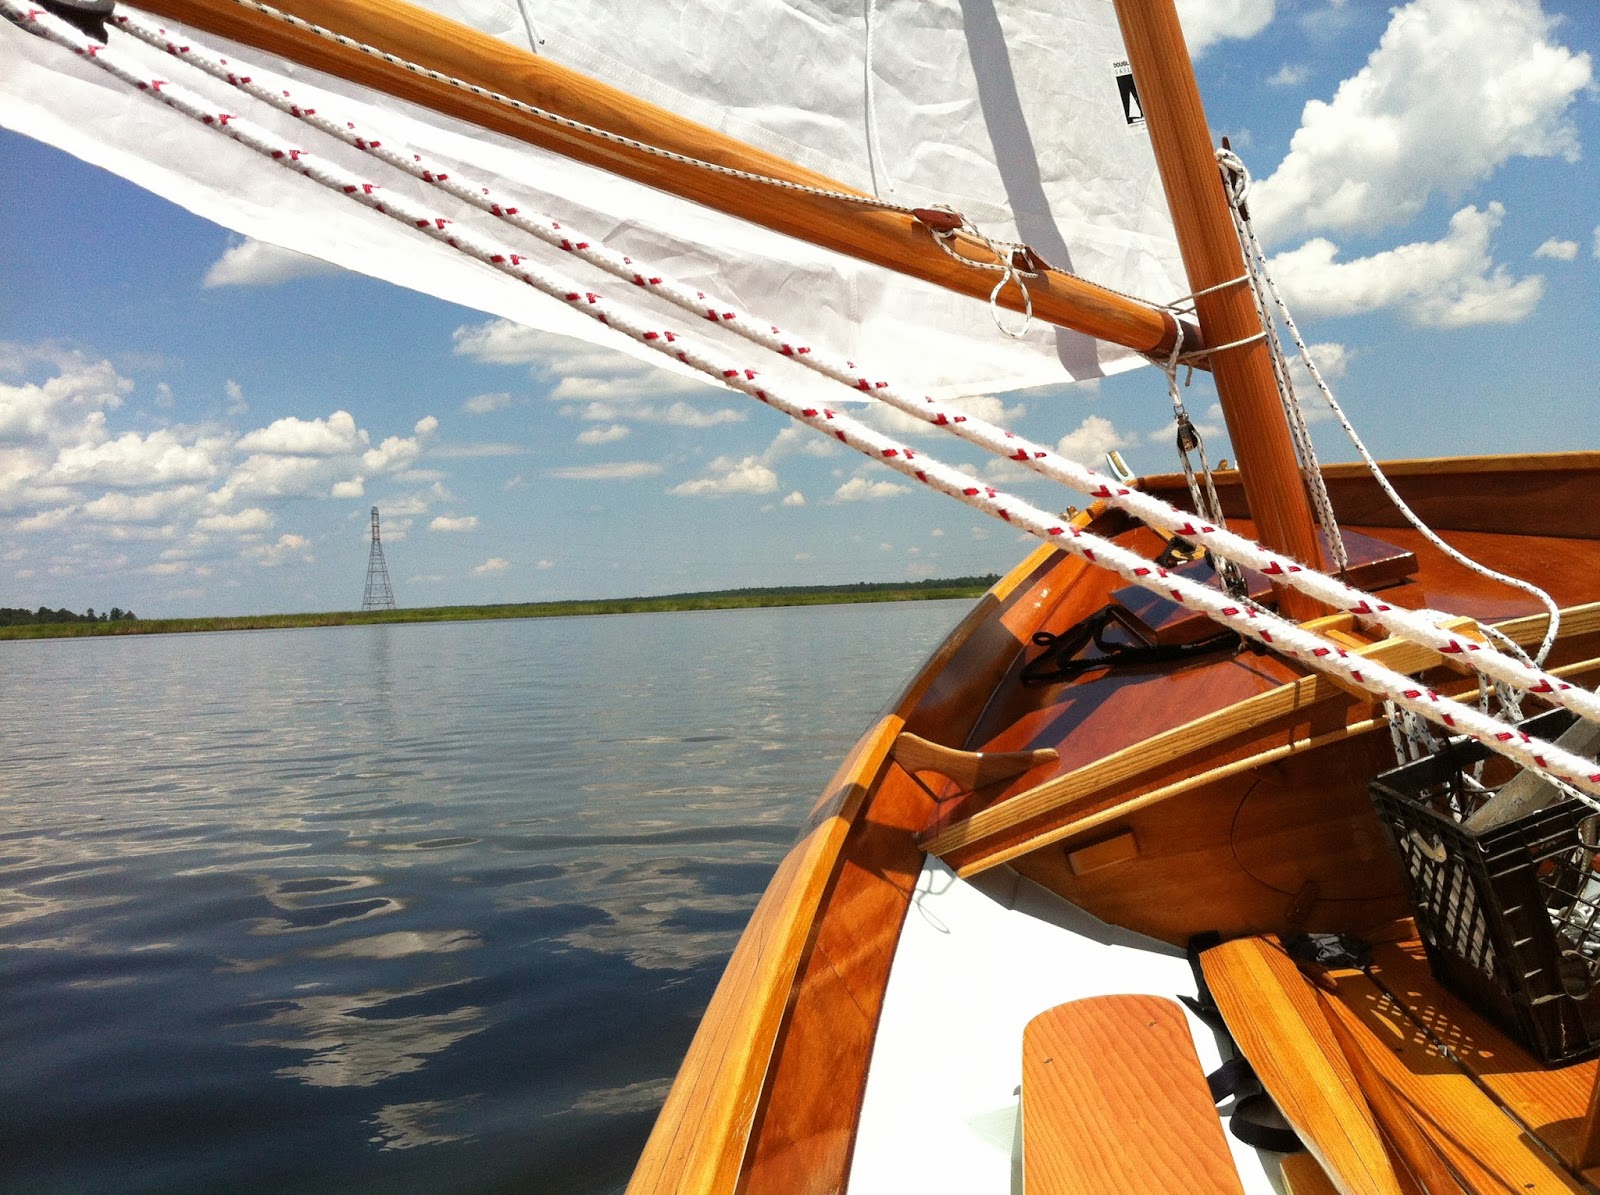
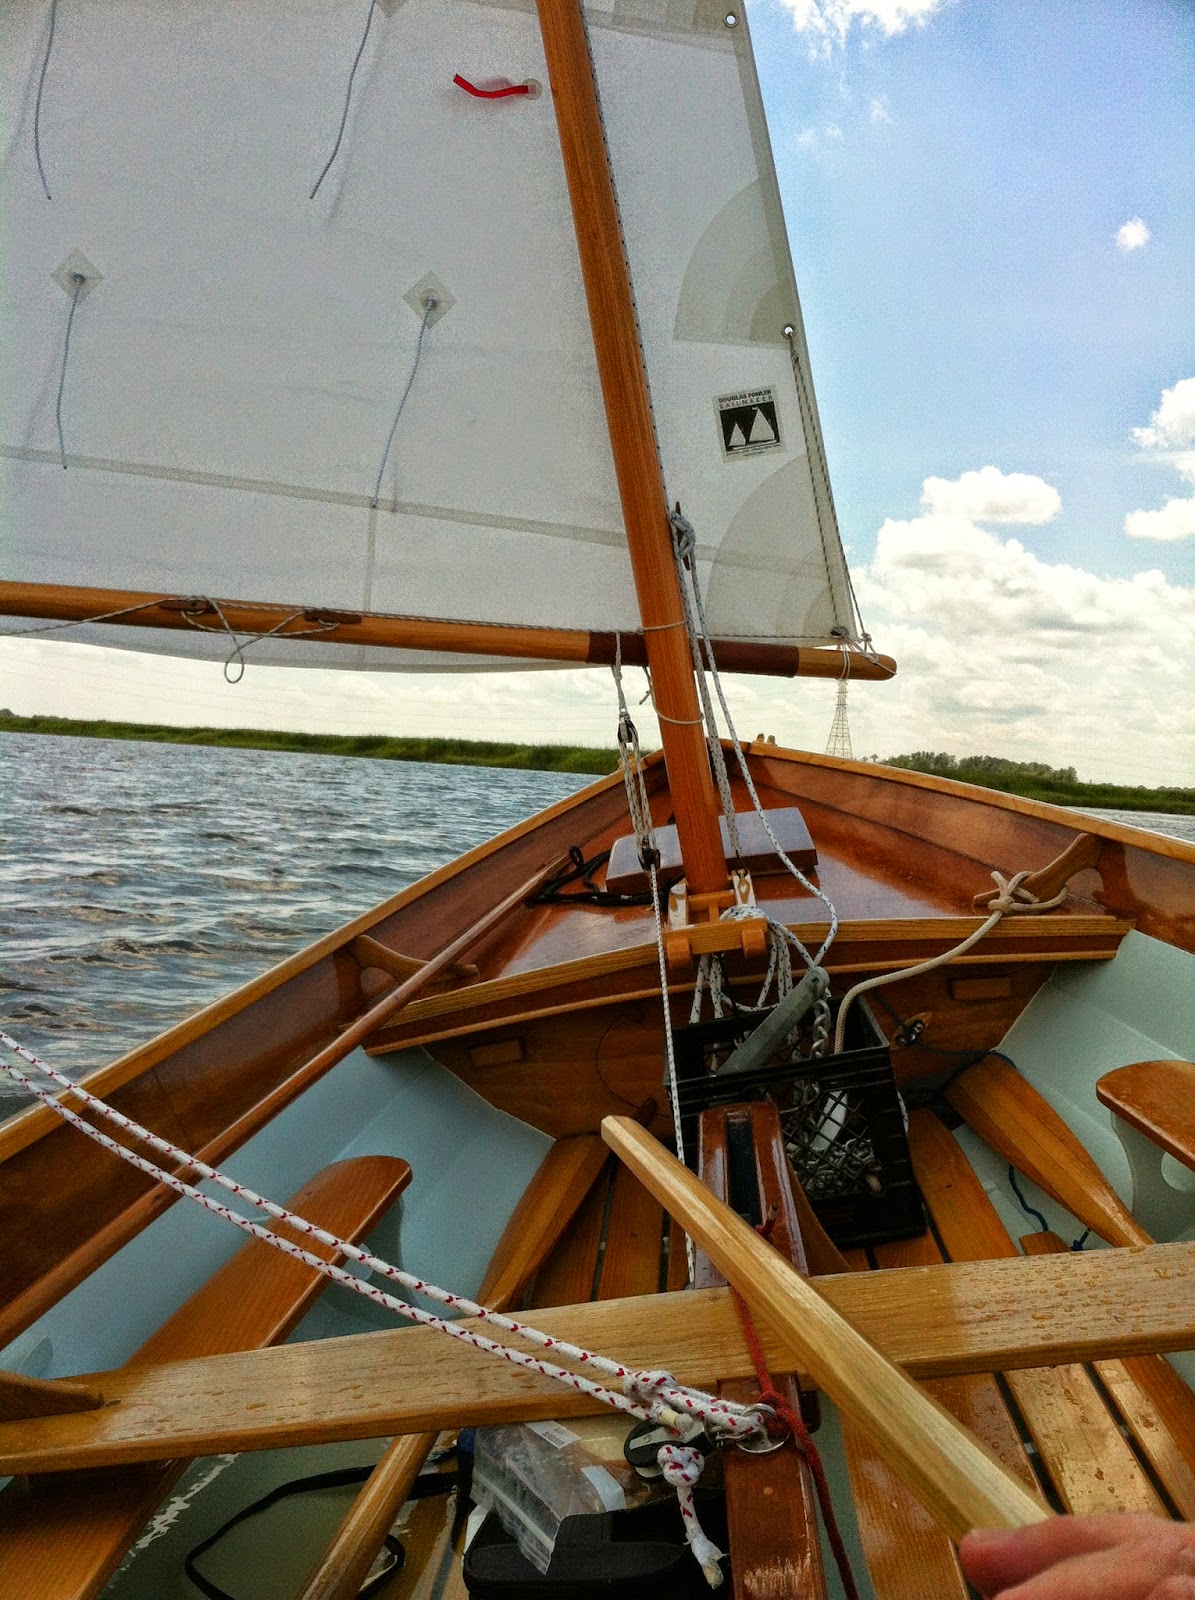
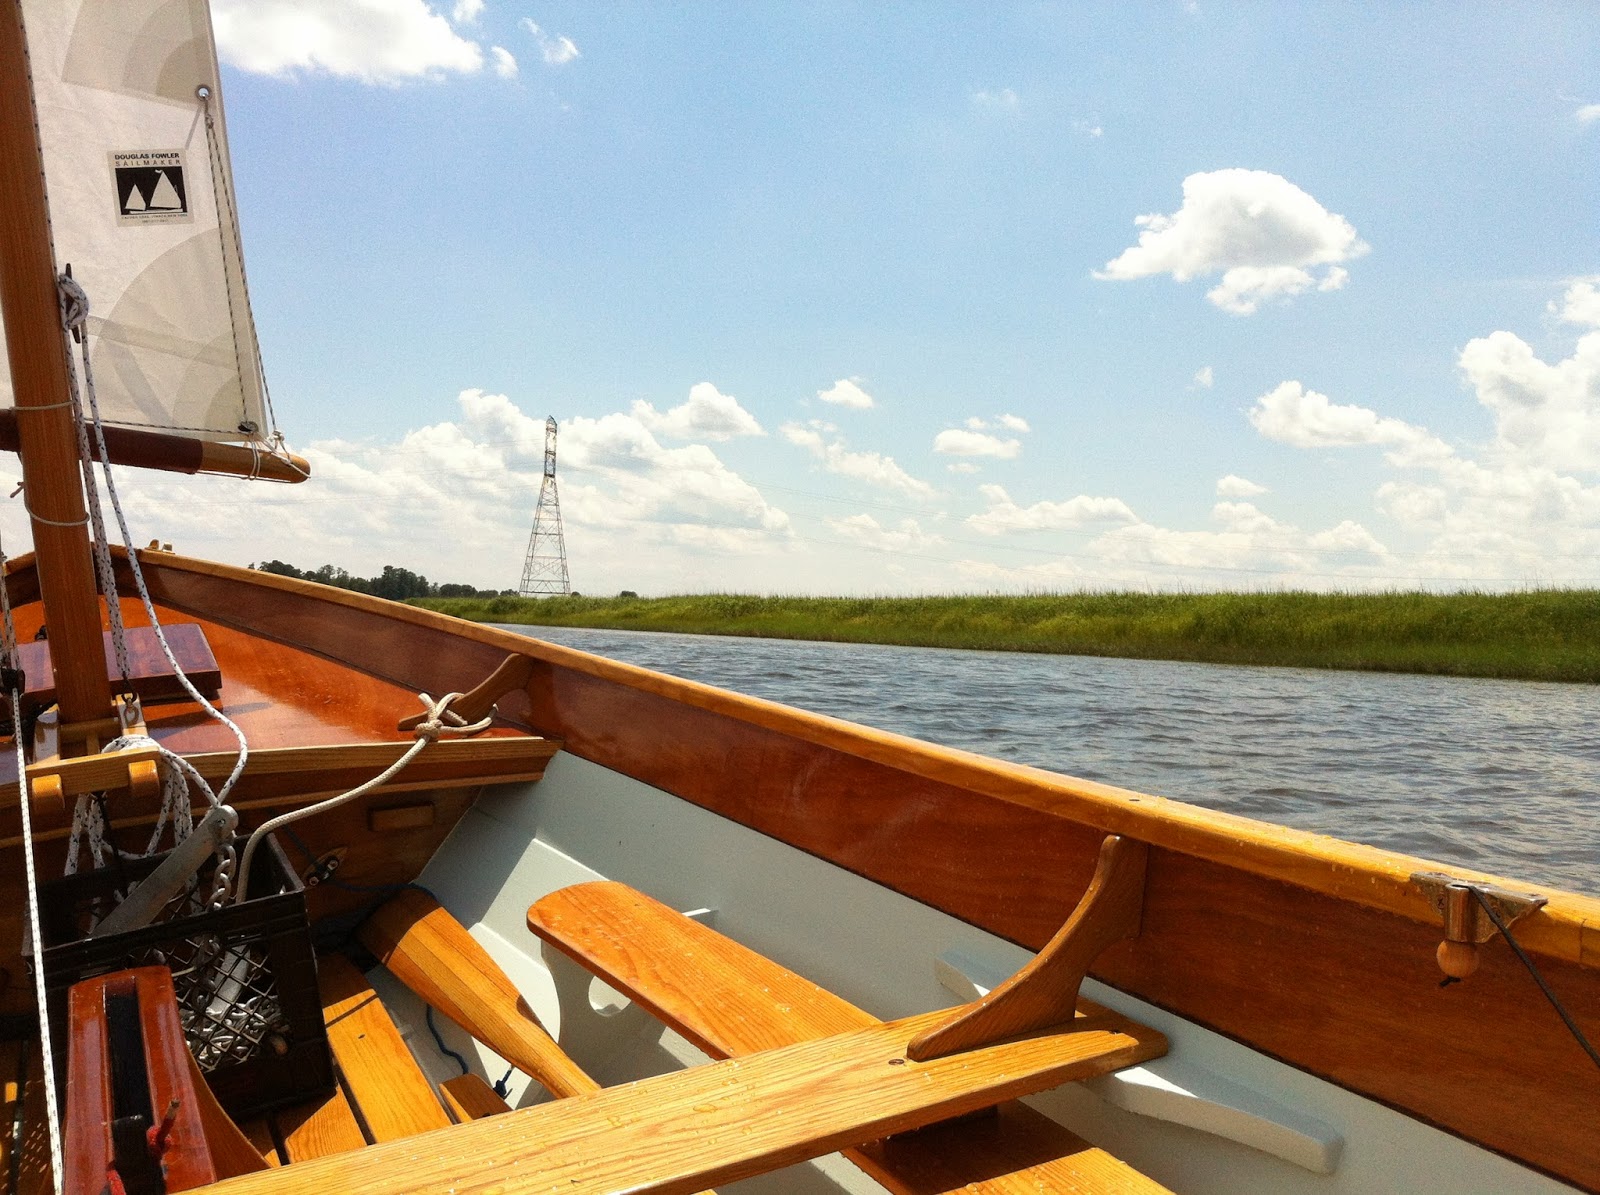
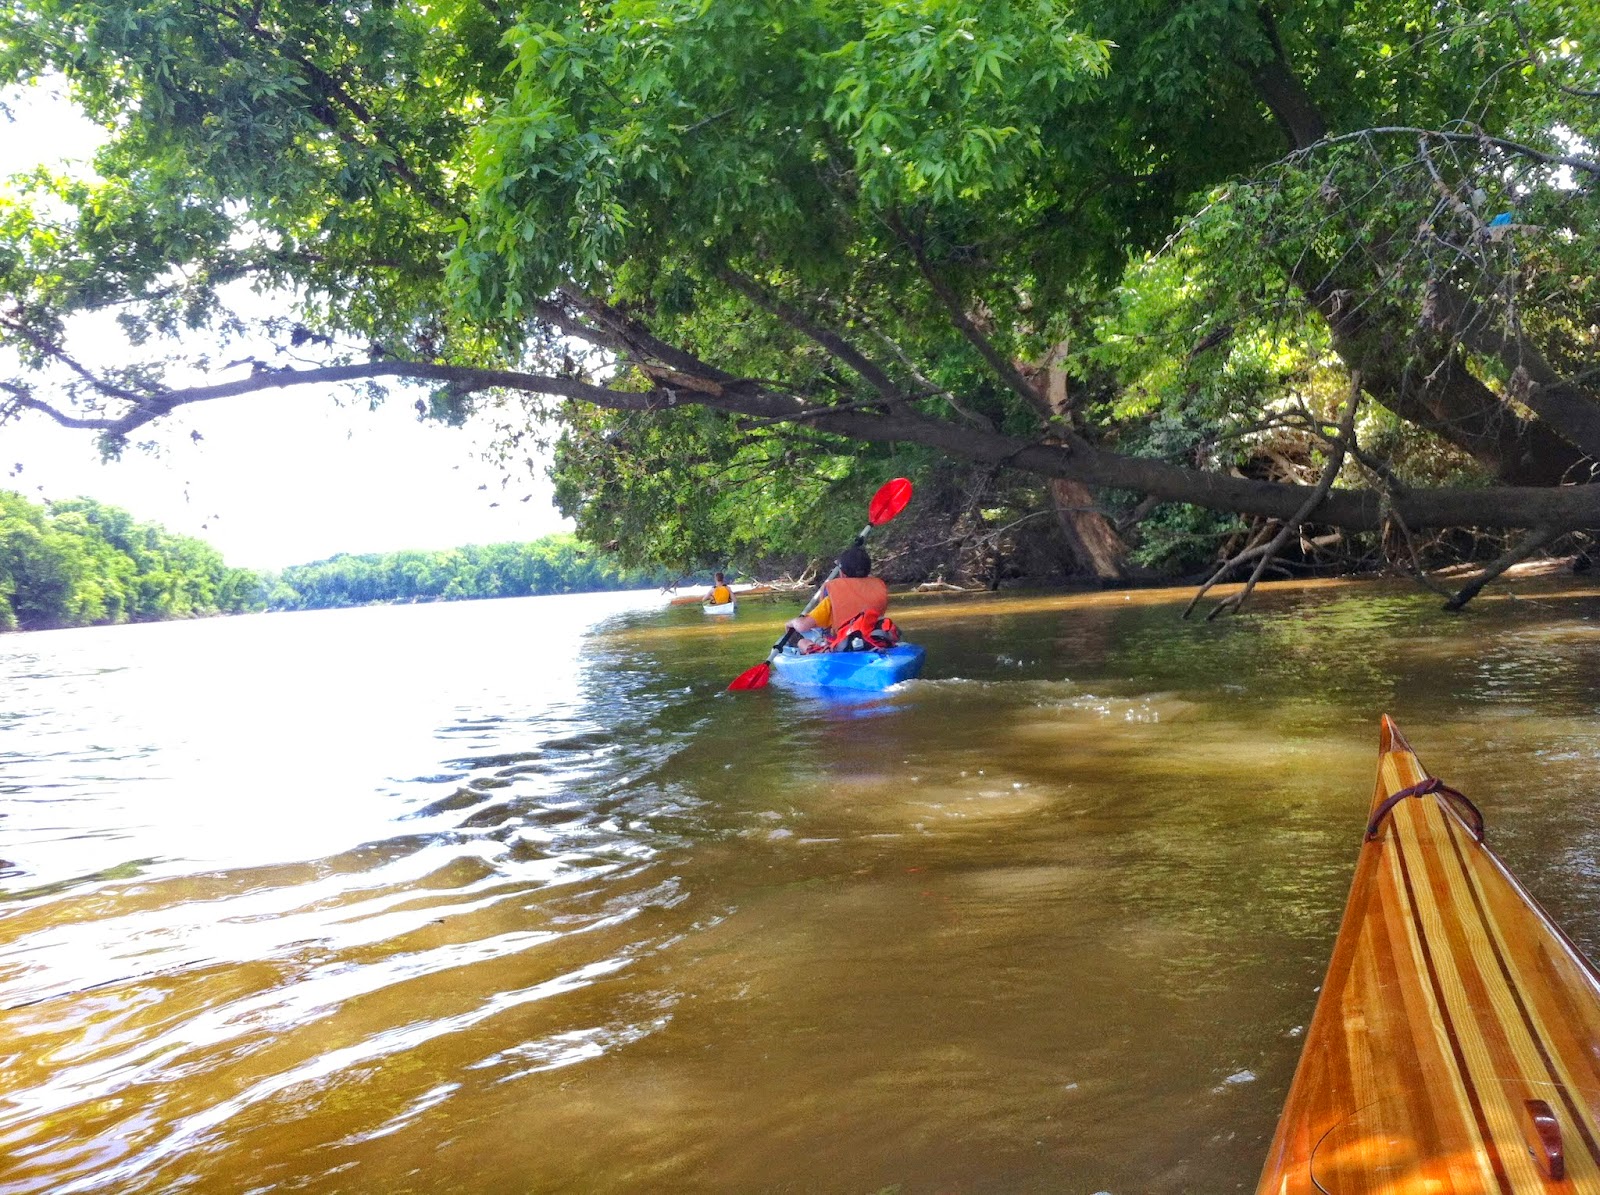
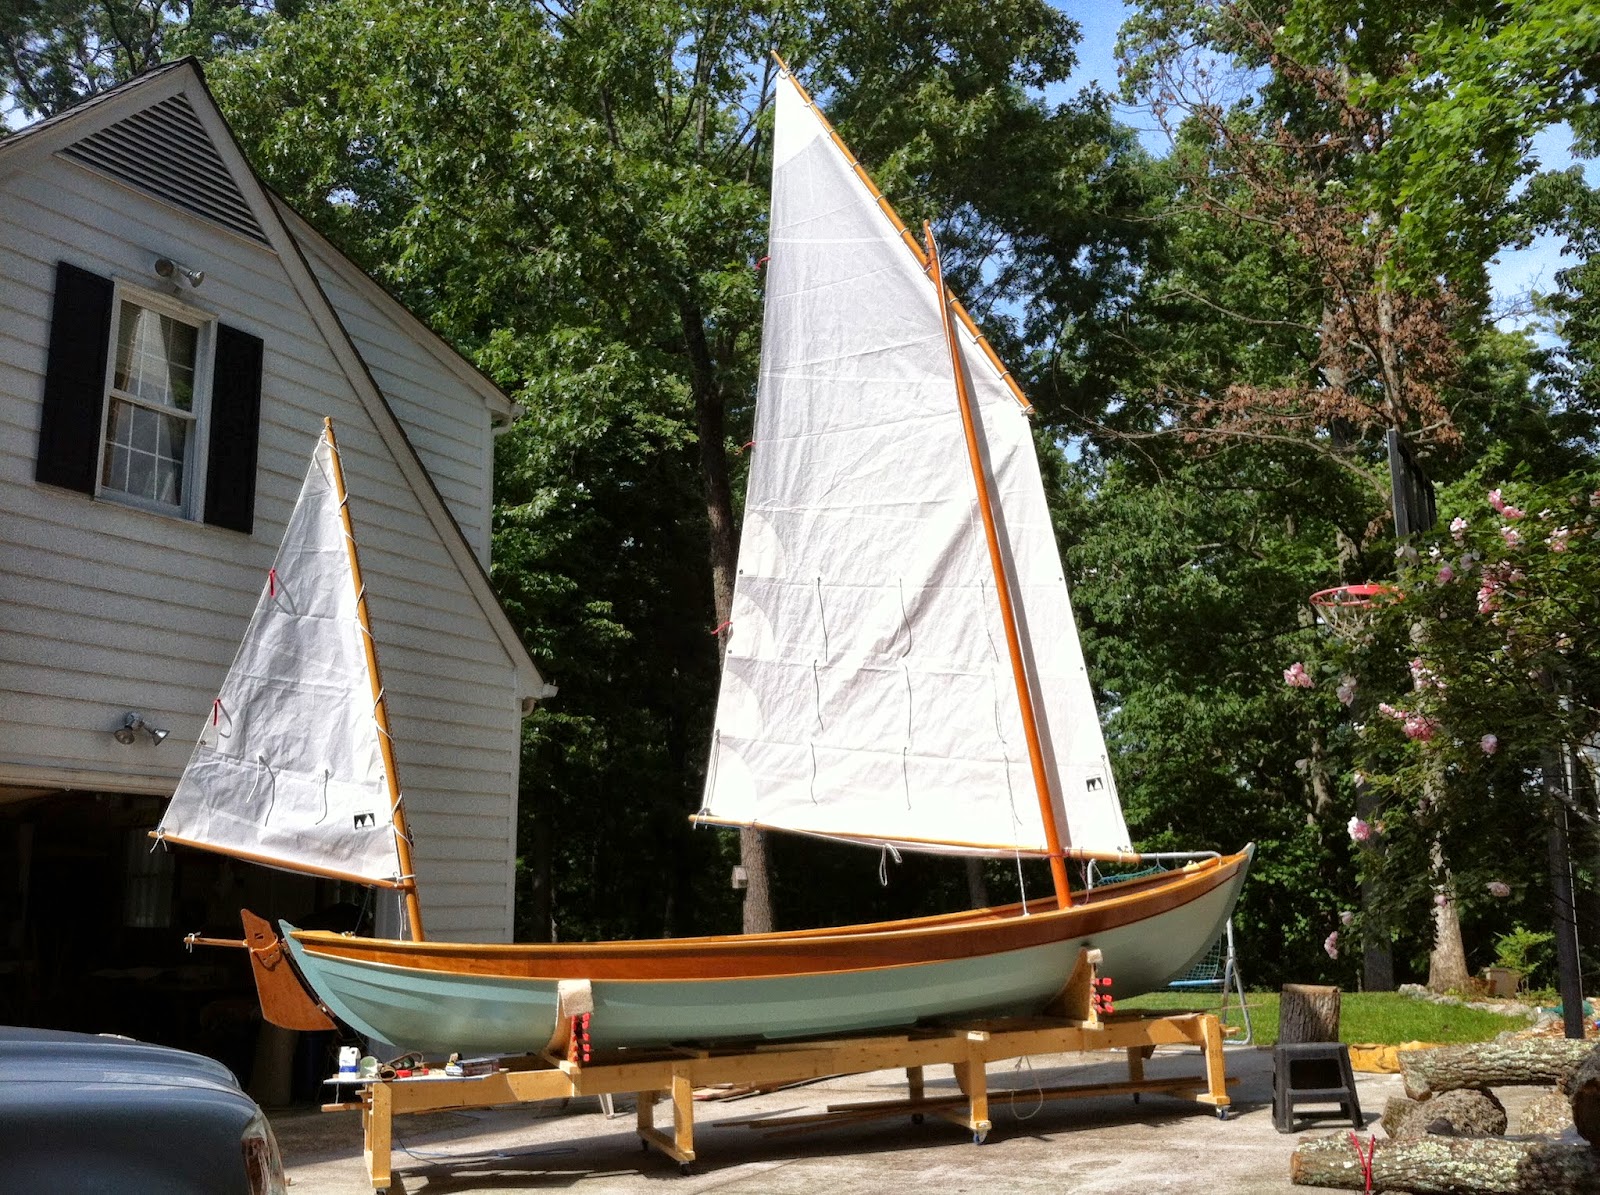
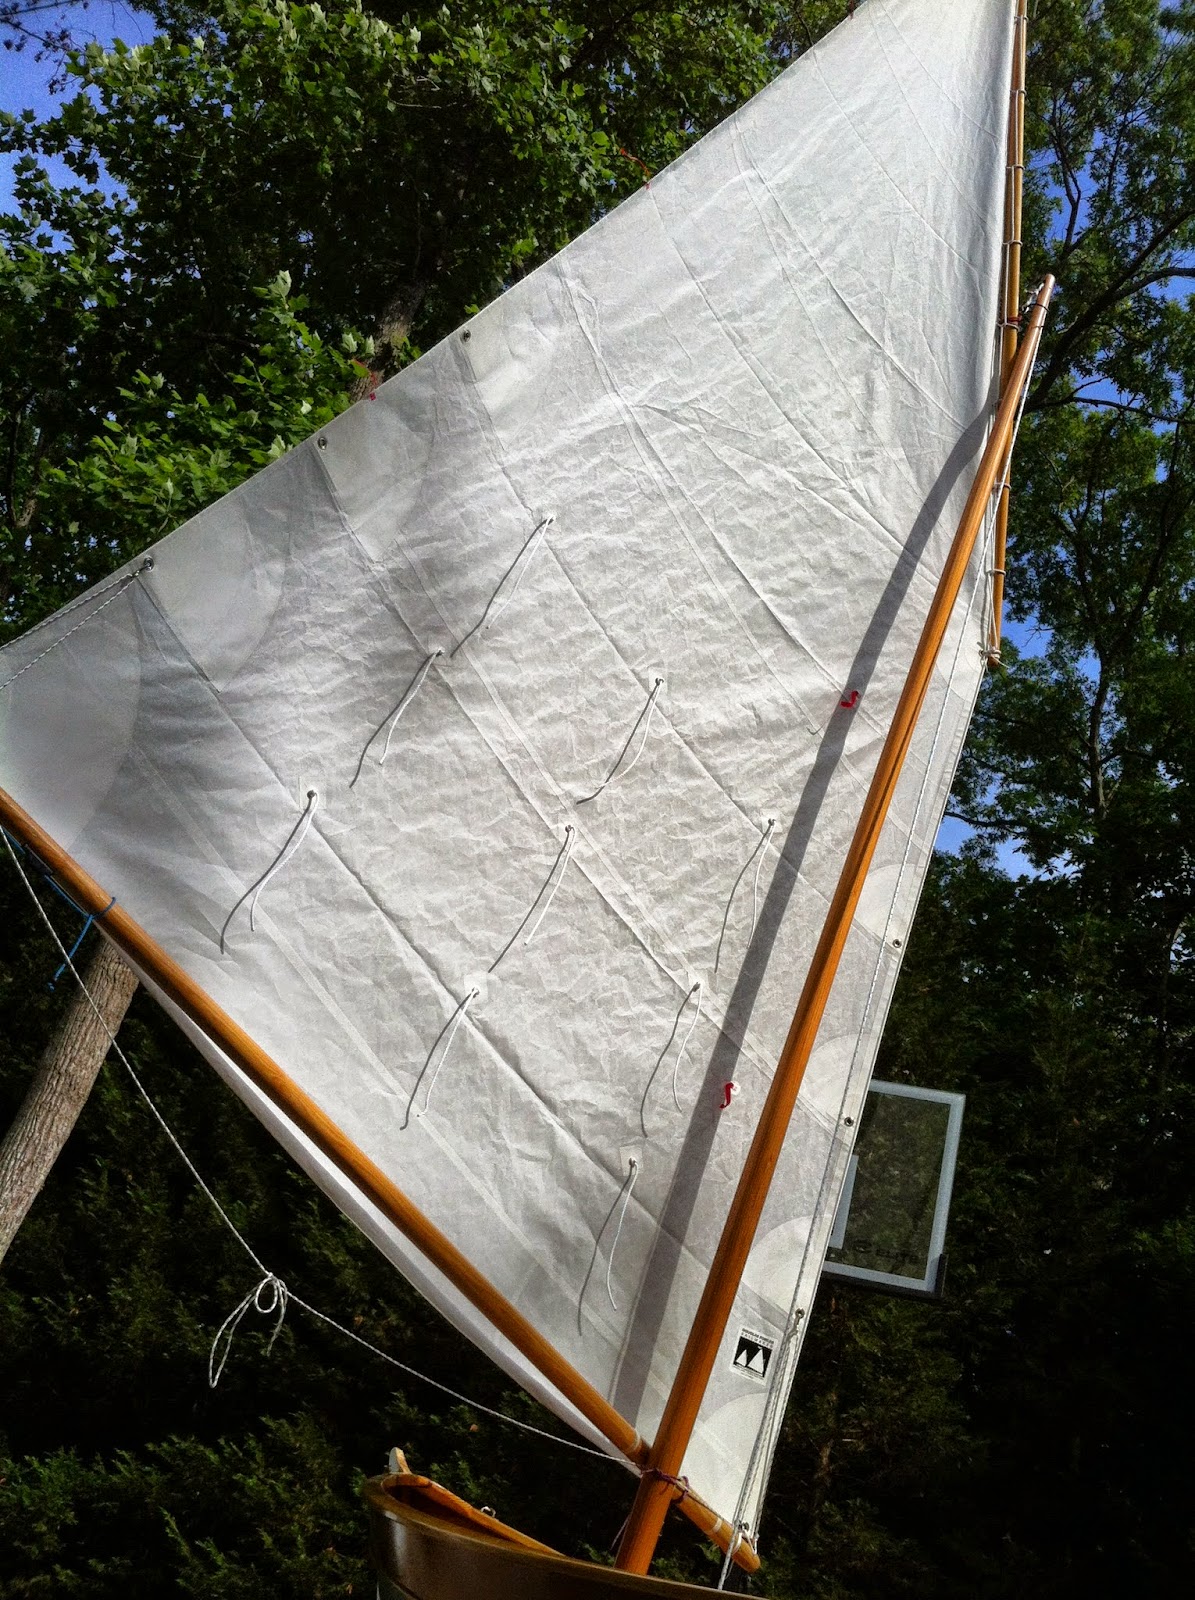
Now it seems like forever ago, but about a month ago I did truck Una south to sail on the Lafayette River where I grew up in Norfolk, VA. With light 3-5 kt winds, she ghosted along one evening. What better way is there to enjoy a Friday night? Wonderful memories evoked countless nights of sailing as a teenager. Add to that, my father joined us for a sail back down the river that Sunday. Una gains looks and comments everywhere she goes. What a joy this boat has been and we’re just getting started! I can’t wait to get her back out soon. I’ve yet to sail in anything more than maybe 8 kts.
 |
| Sunset colors. Barely a breath. |
 |
| Ghosting toward Granby Street Bridge. |
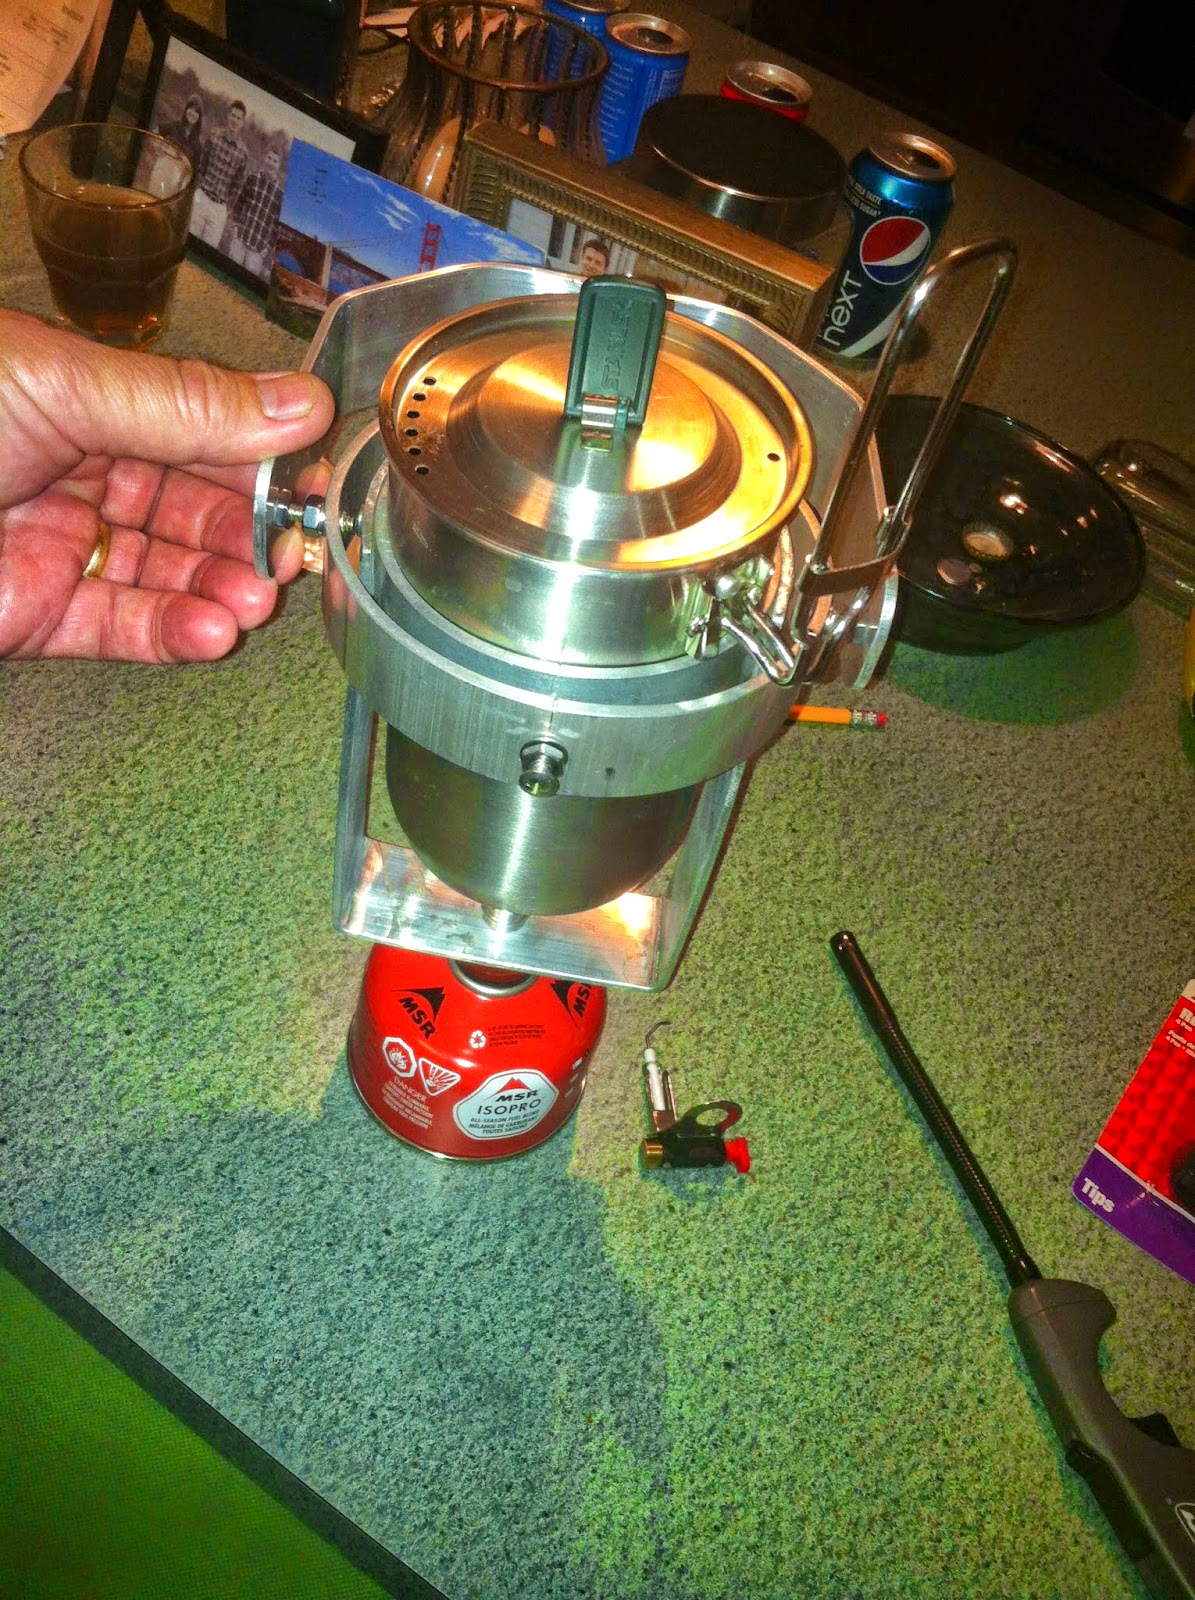
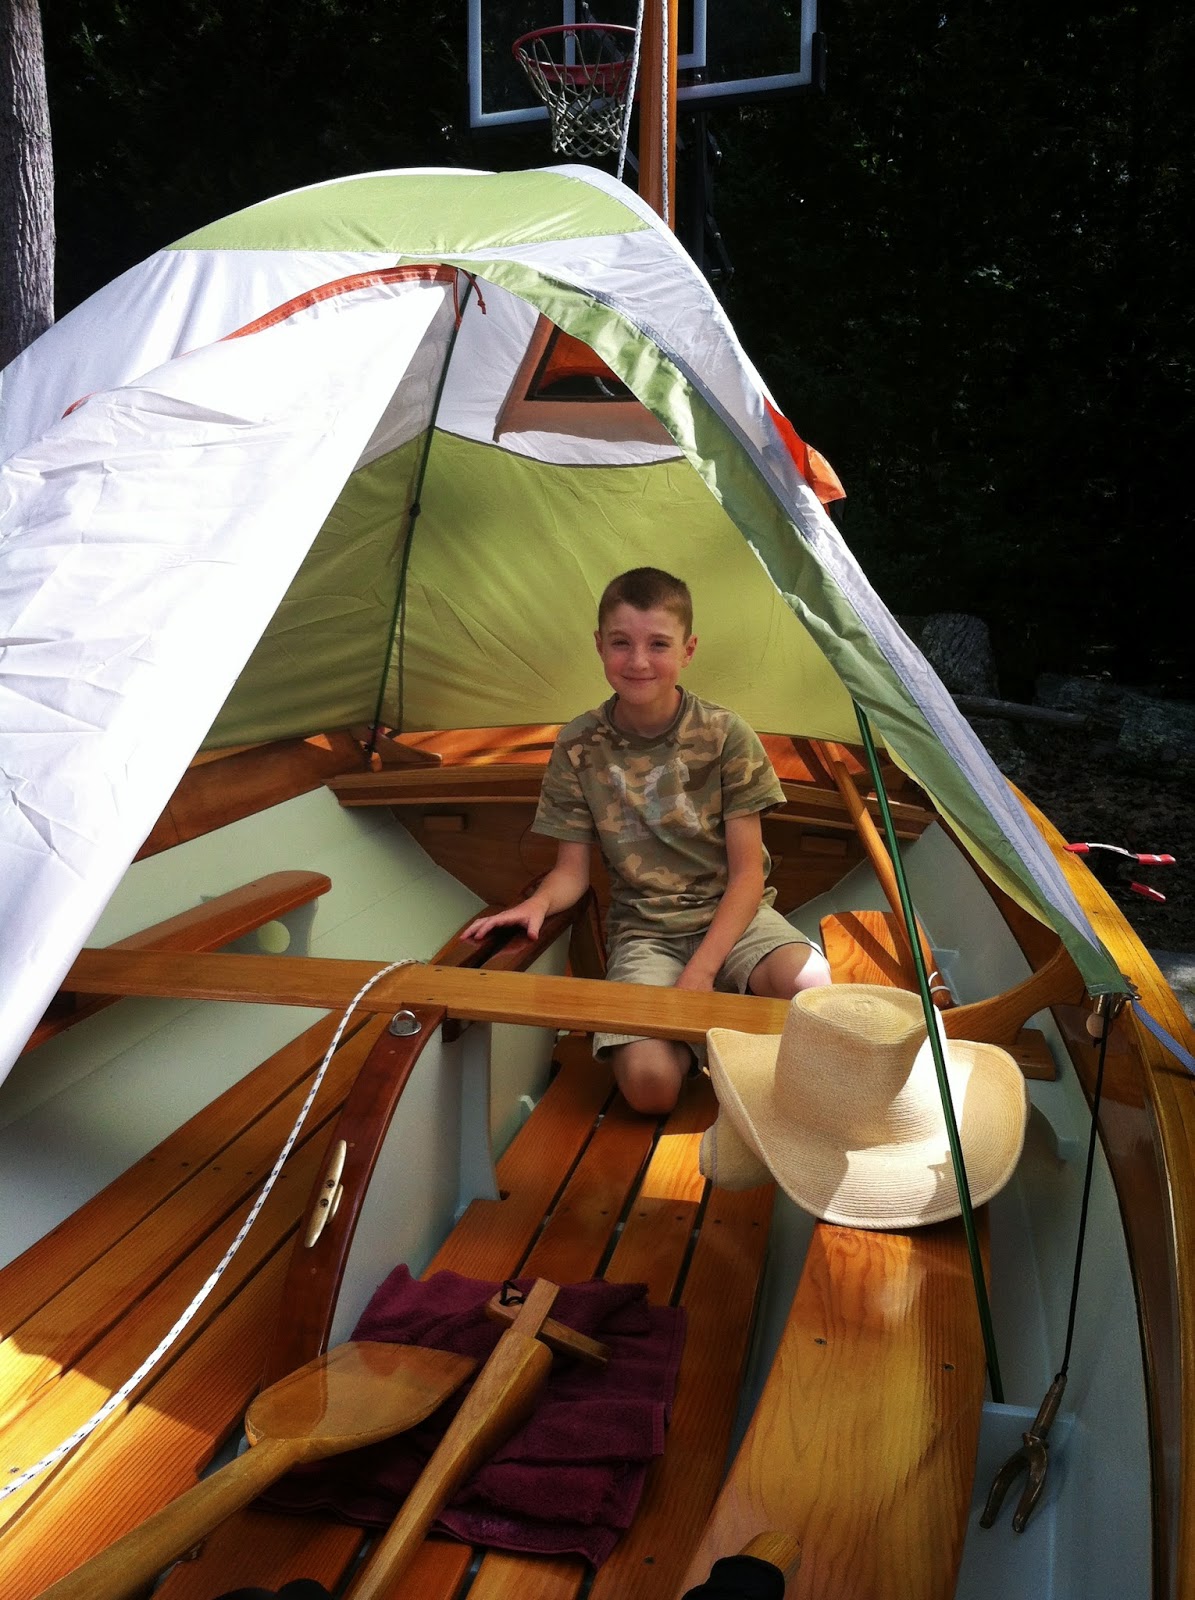
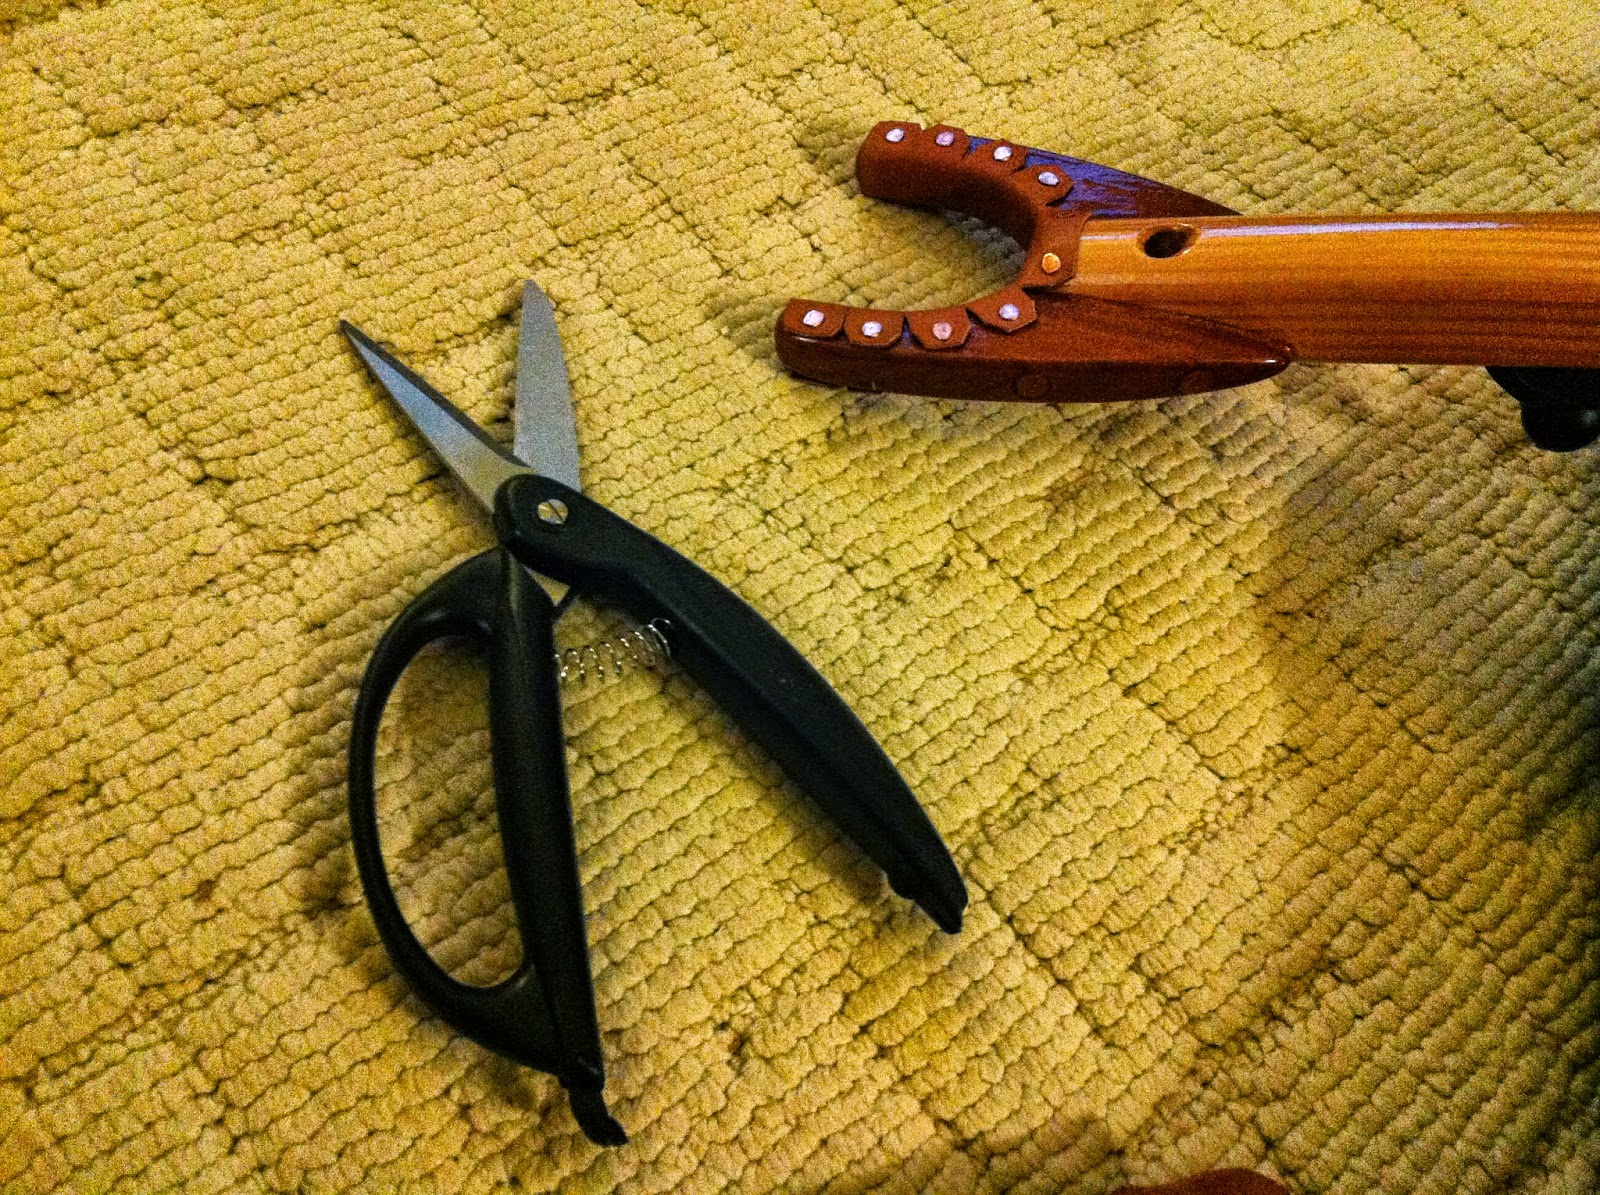
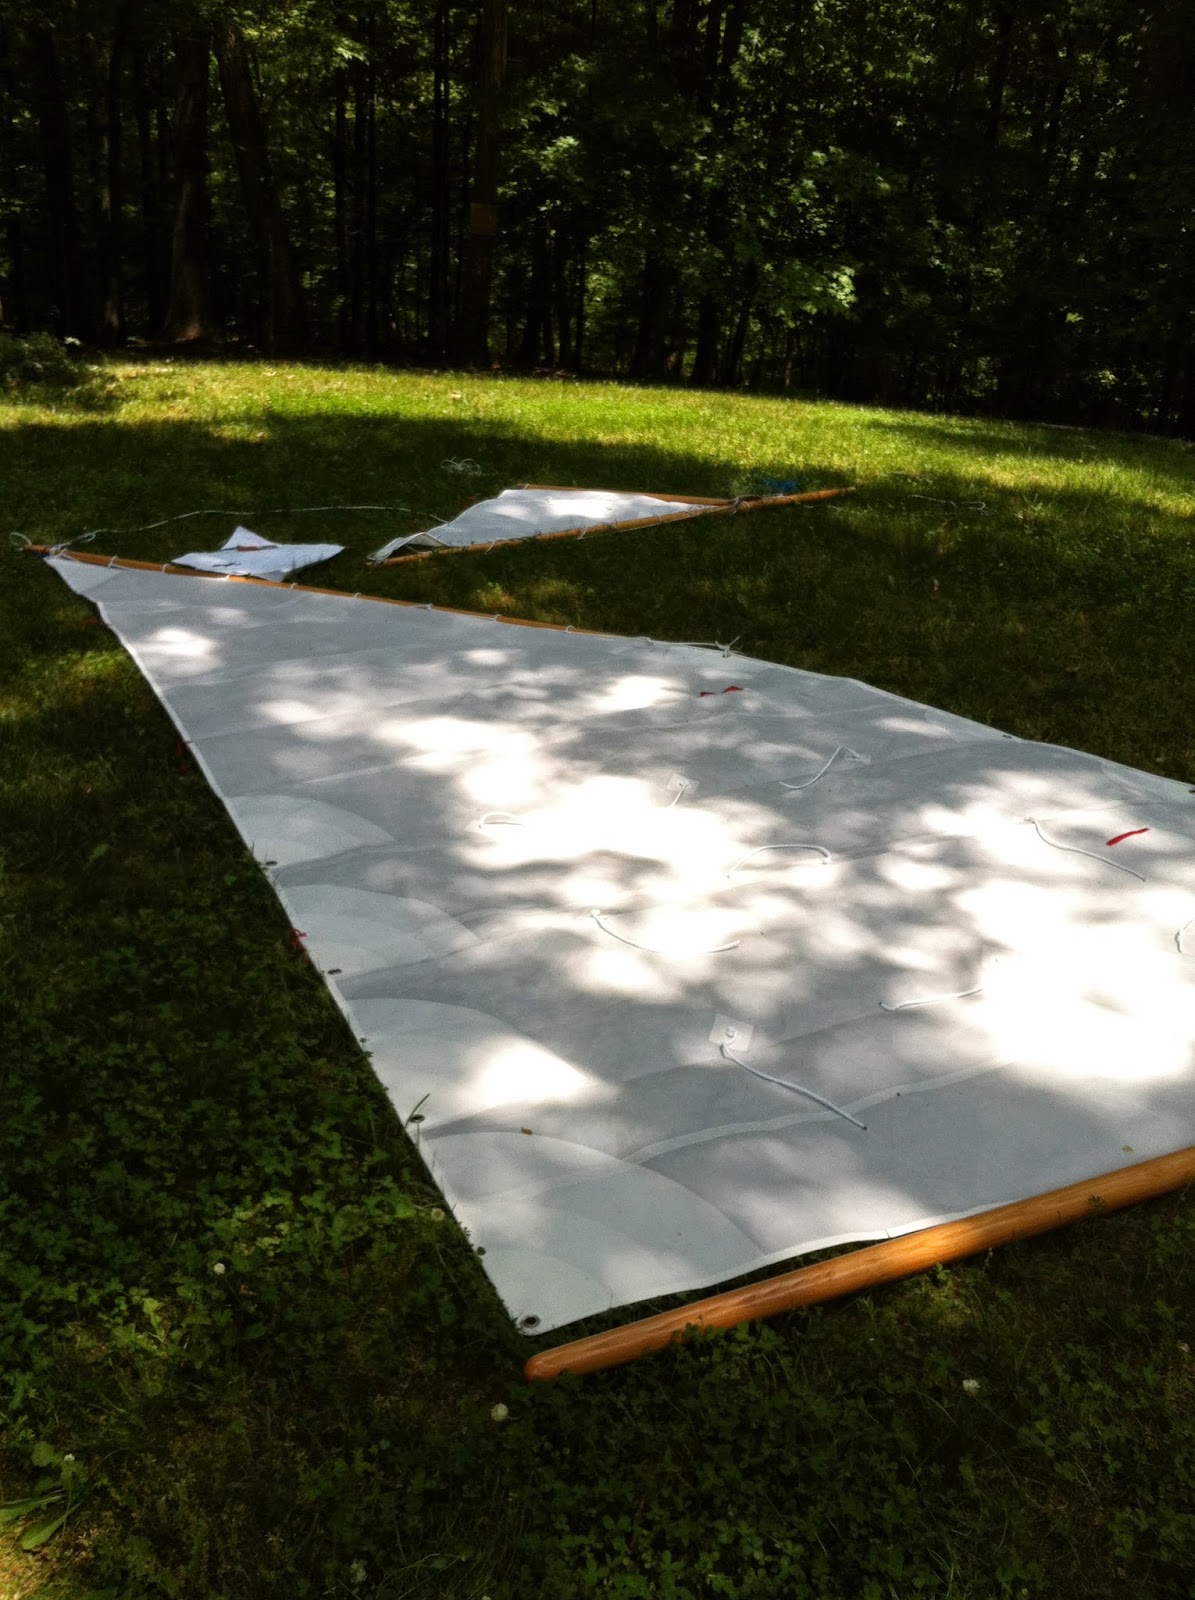
Otherwise, I’ve been collecting gear for an upcoming overnighter. This list includes everything from food knives, tools, line and lights. Add to that list is an awning/tent I’ve designed and want to make. I had bought an old sewing machine last Fall thinking I’d build some sails, but I’m very glad I went with Doug Fowler’s craftsmanship. Very well cut and detailed. I highly recommend his work.
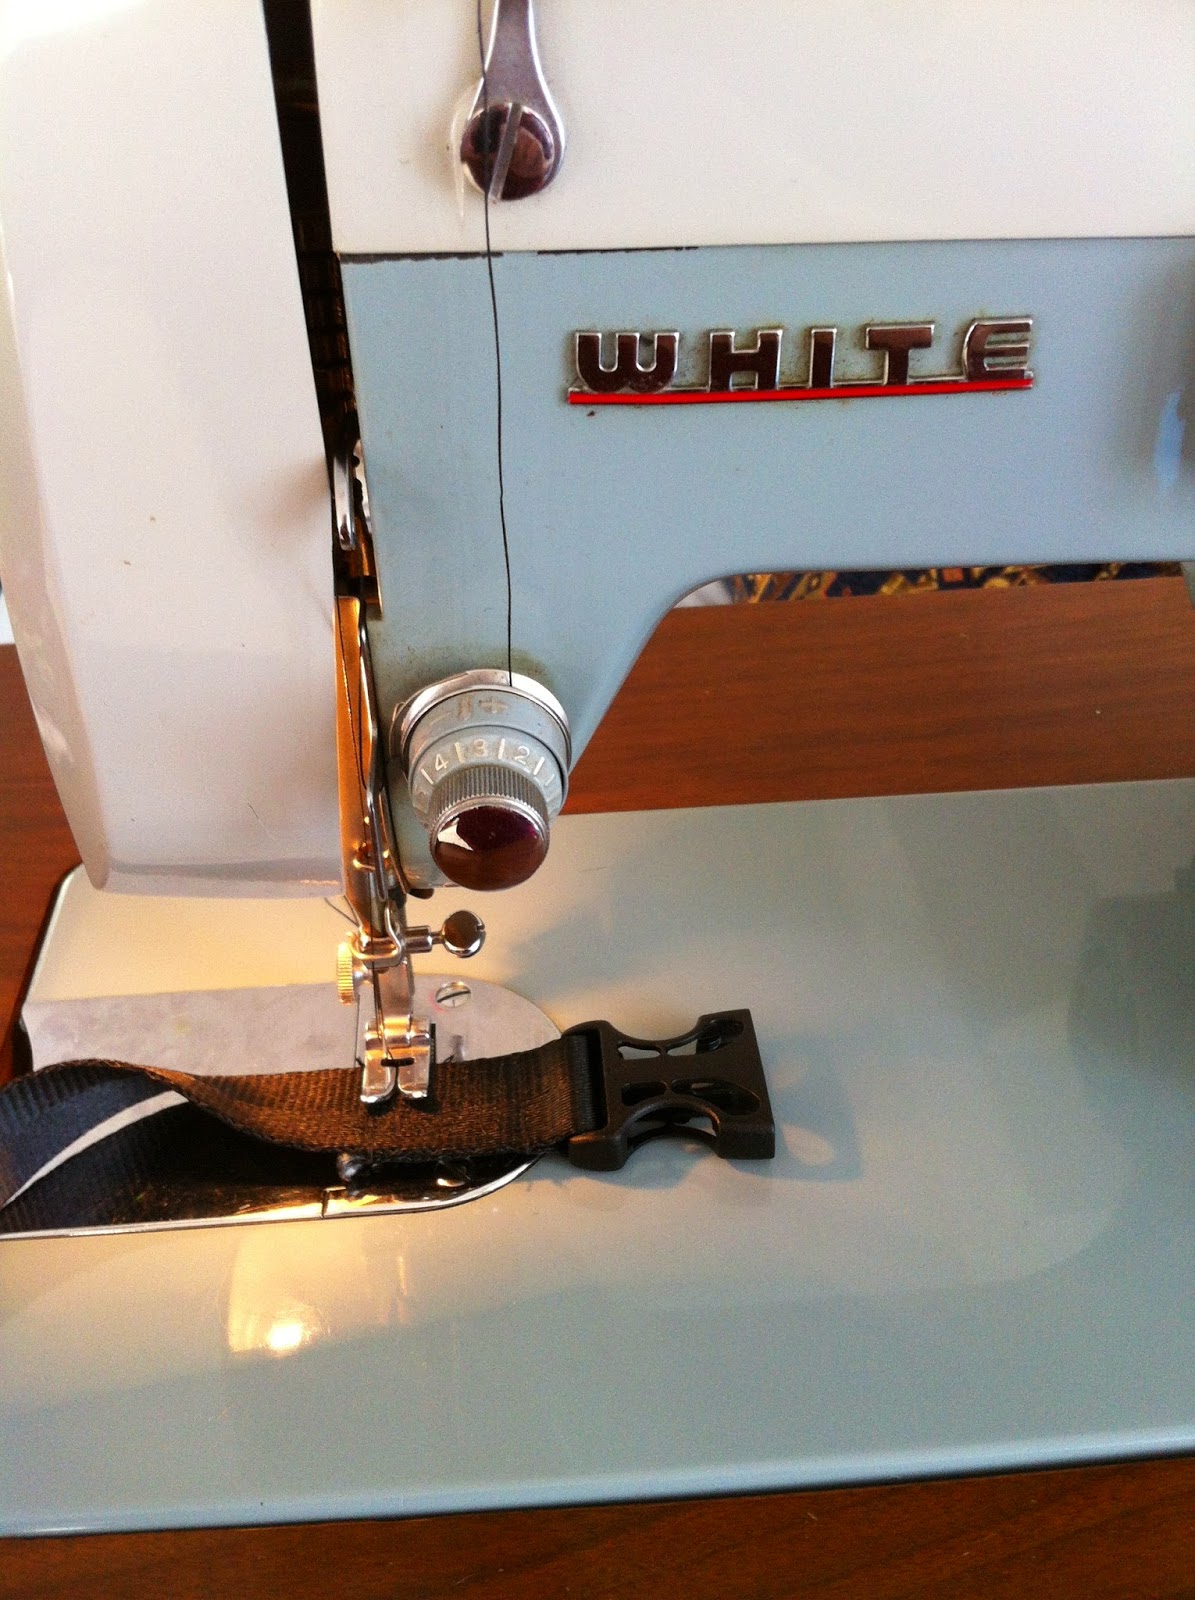
However, I still have the machine. It is a very well made “tank” and seems to bulldoze through sailcloth and denim without hesitation. It isn’t industrial, but built to last … a White model 2134 from the early ’60s I’m told. While I’ve tons to learn in its operation (it took me over 1.5 hours to understand how to thread the sucker), it made sewing the buckles on the compass strap was a breeze. I’ll tackle a ditty bag before the awning. In the meantime I’ve a couple light tents. I’ll throw one in the lazarette. Perhaps the tent fly will readily string between the masts.
C’est tout.