The Sailing Life Well Blogged

Since I’m maybe one more post (1 week) from completion of this Sooty Tern, I thought I’d point out a couple local sailors who have, perhaps unknowingly, kept the dream going for me at times when the build became drudgery. On more than one occasion I’ve hit a wall and an email notified me of a new post from either of these guys. A quick read got me realizing I wanted to be where they were doing what they were doing. For those who follow blogs on small boat cruising, these two perhaps are not news. Both sail in my home waters, the Chesapeake. Both have boats of comparable “Sooty” size. And both have a real camera eye and the ability to tell a tale (I’m guessing mostly based on truth).

The first is Curt Bowman. His blog is Thin Water Annie. His boat is a wood built Drabscombe Coaster from Maine. Actually, he came by for a visit just last week to peak at my boat’s progress. He’s a very good chap. Curt also paints and is an accomplished artist. Here is a “self portrait” of him with his boat.

Curt and Annie.

The second blogger is Steve Early. He and his boat “Spartina” spend more time exploring the shores of the Chesapeake and Pamlico Sound than anyone I know. Spartina is a home-built John Welsford design called a Pathfinder. His blog is The Log of Spartina. Steve has a career in photography and his entries are always entertaining and wonderfully pictured. I’ve yet to meet Steve, but I know people who regularly spy Spartina sailing across the waterfront in Norfolk. I’ll catch him one of these days … soon.

Spartina at rest.
I truly appreciate the stories these fellows share. Their enjoyment of sailing is a journey and I aspire to have such simple, real, and pure adventures they regularly log. Thank you guys.

Brass Bling and Splicing

Got the crew in the driveway the other morning to flip the hull. Devising a mattress of old tires and moving quilts to roll the boat made me just nervous enough. Dropping the project at this stage would not be good.

Adding brass.

Mounting the brass really puts a finished look to the boat. It will be removed for one last (third) coat of paint. I may add some varnish on the interior as the chance of dust settling on the surface is reduced.

Bow stem bending.
Transom gudgeon.


End to be tapered.
Bow eye.


Bow stem conformed.

Bends in the brass were achieved by brute force, a smooth faced hammer, a woodworker’s vice, and blocks of hardwood. There is simply many test fittings and a tad sanding on the stem to get a good fit. You must be careful not to bend on one of the screw holes. There the half oval will fold (Ah, experience).

I will file round and tapered the few ends that are exposed.

Got the mizzen boom jaw leathered. I could have stitched the protection on, but elected to use copper tacks.

Jaw leather.
Great scissors.

When I bought extra thick leather for the oars, I grabbed these super scissors. Cuts leather like paper. Always helps to have the right tool. I still wish for a bandsaw.

Lastly, did up a few splices: some 3 strand loops for boom and yard fittings, the double braid down haul, and anchor rode. Some are better than others. Later-


In a State of Varnish

Now there are no more pieces to fabricate. The last 2 knees have been installed, bunged, and shellac coated for varnish (and, of course, more varnish). Such is the state of the build. Paint is looking better and better as an alternative, but the additional coats of varnish just make the boat glow more. I’m shooting for 4-5 on everything for this go-round. It will be a short season, but I do plan on a good shake down into the Fall. I’ve had no intention of making a piece of furniture, but the floor boards have looked good stacked in the living room.

I’ve decided that many details simply can’t be resolved properly until the boat is sailed. One example is the working of the mainsheet. I question whether a 2 part system is adequate, but several sister boats use such. Not having miles of line in the cockpit is good, but is it adequate purchase as the breeze pipes up? This could aid in prompting a reef. We’ll see. So, I haven’t decided on a second block on the center case or a cleat.

A pair of knees ganged for rough belt sanding.


Plug cutting ash for knees and gunwales.

At this point, I’ve no insight or techniques to offer. My patience is being tried with all the finishing really. I’m ready to sail her. We’re almost there. A few more coats and we can flip, paint the bottom once more and install the rub strakes. So close …

Boomkin supported by screws on manning bench for varnishing.


Long shot. Floor boards resting.

Tinting the white interior paint with the hull green works to kill the brightness. I would rather have floors with an oiled finish, but I don’t think douglas fir is that wood. The local cypress was of poor quality and teak too dear at the moment.

Oars.


Aft deck. Painted underside of hatch.

There you have it. Another coat on the spars and we can leather where appropriate. We’re getting there (maybe sooner than expected). Stay tuned!

Small Triumphs

I met with some success this weekend.

1st: After attacking the warped centerboard with the heat gun and scraper, the board seemed to relax and straightened a bit. Some judicious clamping over a board and pouring boiling water on the concave side helped further. Finally, I set an old boat battery on the board while suspended at either end overnight. This action and drying brought it all back into alignment. With some sanding and glassing on both sides simultaneously, we are back on track.

Ugly, but corrected and straight.

2nd: ballast installation detail is worked out and 50% fabricated. I have six pieces of lead. In pairs, they are 15#, 17#, and 19#. I will have 6 spots around the center case for moving the extra weights fore and aft as required to place boat on its lines. Each piece of ballast was drilled with 2 holes to receive the brass toilet tank bolts which were cut to stay below the floor boards. A paddle bit and drill press made  a countersunk recess to keep the nuts and keeper washers low enough. The bolts went through a plywood backer plate glue to the bilge as reinforcement. I will epoxy the bolts to retard any corrosion save for the last 1/2″. I’ll use a piece of rubber rooking to separate the led from the plate once epoxied, primed and painted.

2 of what will be 3 ballast positions per side.

Blocks between ballast and logs were required as plates keep slipping downhill on wet epoxy.

Ballast plates and dreaded sanding begun.

3rd: The interior finishing began. After an epoxy coat, two coats of primer have been placed while sanding in between. We’ll let this sit for a couple days and then fine sand for the finish coats of paint which will be white tinted slightly with the hull “green” to be easier on the glare.

Primed minus ballast areas to be epoxied.

4th: I have the rig and control lines all figured out. I found myself mounting hardware after much study and then coming up with better ideas. So, I’ve a few holes to fill. Once the boat is complete (soon I hope), I’ll take more detailed photos. I expect to be done with painting the interior this week and be moving on to varnishing.

The main only position requires a second attachment for the down haul. I epoxied an ash block in the bilge forward with an eye for securing a rope loop for the down haul. This will sneak up between floor boards.
2nd down haul attachment point.

I still hate sanding. After this weekend, maybe more than before, but progress is evident and getting the rig solved was a boost to buckle down and hit the painting.

My rough estimate of time worked thus far is 470 hrs. I should be done in about 40-50 hours more. Hard to believe. None of this includes the time pondering about what to do while away from the boat. Not sure how that computes. Multiply by three!? Who knows. She will be a great boat for sure and aside from the sanding, it has all been fun.

Where I Dream …

You can have dreams without work, but they will never come to fruition without work.

Occasional periods of drudgery have risen throughout this build.  A few days ago I hit one of those “bumps” and had to walk away from the boat for a bit. The sanding and faring was getting to me, but what really slapped me was a warped centerboard. It went from a straight and true foil after glassing one side, but the second side glassing created a potato chip. I had added graphite to the epoxy for lubrication purposes and I expect the black heat sink got too much sun when I turned my back. I’m not sure if I can remove the glass to correct it or more quickly just start over. So, we went for a paddle.

Along the James.

The kayak trip restored a better outlook, but I wasn’t ready for the board or more sanding so, I lay the spars and sails in the backyard, studied how to lace and add controls, and finally raised the sails. That sent me dreaming again. Now I can face the drudgery again.

Laying out.


Needs downhaul tension.


Too tight on yard outhaul.


Mizzen lacing. Boomkin not yet installed.


Trailing wake.


A rose.
 While I did not complete the running rigging entirely, I have got it all figured out. The process was an enjoyable puzzle. And, I really love the simplicity of this rig. I believe she will be light, fast, and responsive.  (A decent centerboard will probably help too.)
Lastly, I sold my Penguin dinghy yesterday. Watching the new owner haul her out the driveway was a sad moment. She is a boat that’s beautiful from all sides, but her insides and outs needed a new coat of varnish and fresh black paint. The truth is she hadn’t left the shed for maybe 5 years and deserved to be loved better. The proceeds will provide a new trailer for the new love. Selling a boat and a trailer for a trailer somehow doesn’t sound equitable.
Anyhow, here is to “Tar Baby”. Someone told me you couldn’t have a boat named that nowadays. Really? What is the world coming to? Ignorance for all?
Tar Baby!! Moving on a wisp.


Brooklin, Maine (aka Boat Heaven)

The boat progresses. The foils are being glassed and the interior is getting a coat of epoxy. There are loads of small details I won’t get  into. I just wanted to post a few pics from the weekend. After Friday night seats at Fenway, my middle son and I rented a car and headed north. We saw beautiful boats in Rockport, Camden,  and Belfast. We lingered longest in Brooklin, Maine where the Wooden Boat School resides and where Doug Hylan has a boatyard. Here are a few images.

Belfast- French & Webb renovation.


Camden schooner.


Boston- Rose.


Cape Dory.


12 1/2


Camden schooner.


Awaiting sponsors.


Ultralite canoe.


Cedar stack.


Carvel and steamed ribs.


Rozinante.


Old and new.


Stuck in the 5%

What do they say about the time required for the last 5% of a job? Well, I’m in the thick of it.

Both decks are on. Hatches are glassed inside and out (I feared stepping through the stripped maple).
In order to hide a lot of the hardware associated with the hatches, piano hinges are installed and a pull string secures the hatch through a grommet manufactured from a brass hose barb cut and chamfered. I prefer hardware store items over pricey boat store items.


Aft hatch and deck with secure line with cam cleat.
Gasket will be installed to underside of hatch.


Lashing line lead through eye and hole in bulkhead.

The mizzen mast deck collar and cleat bases are epoxied in place. The bases are echoes of the double ender.

Cleat base and collar before epoxy.

Main mast partners and foredeck coaming are now screwed and glued.

Coaming and partners.


Hatch with epoxy glass shine.

A 1″ drain is now in the bottom of the boat. This will aid in clean up after those future trips. A brass tube is epoxied through the bottom. Two different plugs were purchased. One is a compression lever. The other is a screw fitting. One will serve as a spare.

Drain plugs.


With the arrival of the sails from Douglas Fowler, the subtleties of spar bee holes, thumb cleats, and jamb cleats can be addressed.
A centerboard and a few shear knees are all that remain to be manufactured.
… the beat goes on.

A Little More of Many Things

I confess that the organized side of my brain tells me to finish a task (i.e. building oars) and then post all of the particular details and photos in a singular post. However, the other side of my skull says, “lets just do something”. And then there is the chaotic synapses that delight and create in having many projects going at once. It offers an outlet when a particular task may get arduous or boring as is sanding.

So be it. In such fashion, here are random pics of pieces and parts of the boat in various stages of completion. “Completion” is the operative word here. This past week’s sailing has made me long ready to end this build, stop this scattered documentation, and take this new boat on her own adventurers.

Since oars have been mentioned previously, here they are, nearly ready for final sanding and finish.

Cut blade tips for hardwood insert.


Handle shaping.


Final shape.
2 makes a pair. Tips gluing up.


The breasthooks as previously blogged I thought too fat. I planed them down, sanded, and added shellac for varnishing.
Stern breasthook.

After staining the hatches, I noticed some scratches requiring further sanding. I will glass the top of these. I’ve yet to decide on hinges. I do have some stainless piano hinge available.

Cherry stripped hatch.

I dowelled the center case trim where screws had been for accent.

Centercase cap.
Fairing has been applied to interior hull laps using epoxy thickened with micro balloons.
Faired laps.

As an after thought I glassed the inside of the rudder head to help assure it doesn’t split. Also, the rudder pivot hole was widened and filled with epoxy to be drilled later for bolt.

Rudder head glassing.


Aside from much sanding, I do have 2 coats of varnish after 1 coat of shellac on all the removable brightwork. they are stacked out of the way for now. Final coats will be attempted in a less dusty environment.

A Sailing Respite

The Sooty Tern sat alone for a good week while I took my 2 younger boys for a first sail of the season with Emily’s Grace. The weather was a mixed bag. Fantastic for 2, rain and blowing for 2, and finally sun and blowing. Not quite the idyllic run of days the weatherman had predicted last week, but even a bad day sailing … (you know the rest).

A break from routine and turning away from winter was rejuvenating. Here is a different way to wake up:

With southerly breezes we jumped from Mobjack to Poquoson and on to Norfolk.

Then the fair temps and sunshine stopped. With the edge of a front due to force the winds northerly, we decided to ride a gale back north in the rain. The thought of a cold bash to windward home and a rolling Norfolk harbor persuaded us to go. Winds stayed 20-25 and gusted to 30-35. With just the jib flying and a following tide we escorted a large tanker from downtown to Sewell’s Point. There the ship rounded east, got up her steam, and shot past forts Wool and Monroe. By the time we reached them, the tanker had dissolved in the rain. Hugging the western shore to avoid the seas, we were back in Mobjack Bay in a few hours and reached far up the East River to drop anchor in Woodas Creek.

An hour later the winds veered 180 degrees to the north pushing gusts to 35 kts. Cold and wet, but with a sense of accomplishment, a warm dry cabin was welcomed.

Shoe Shines and Sunshine

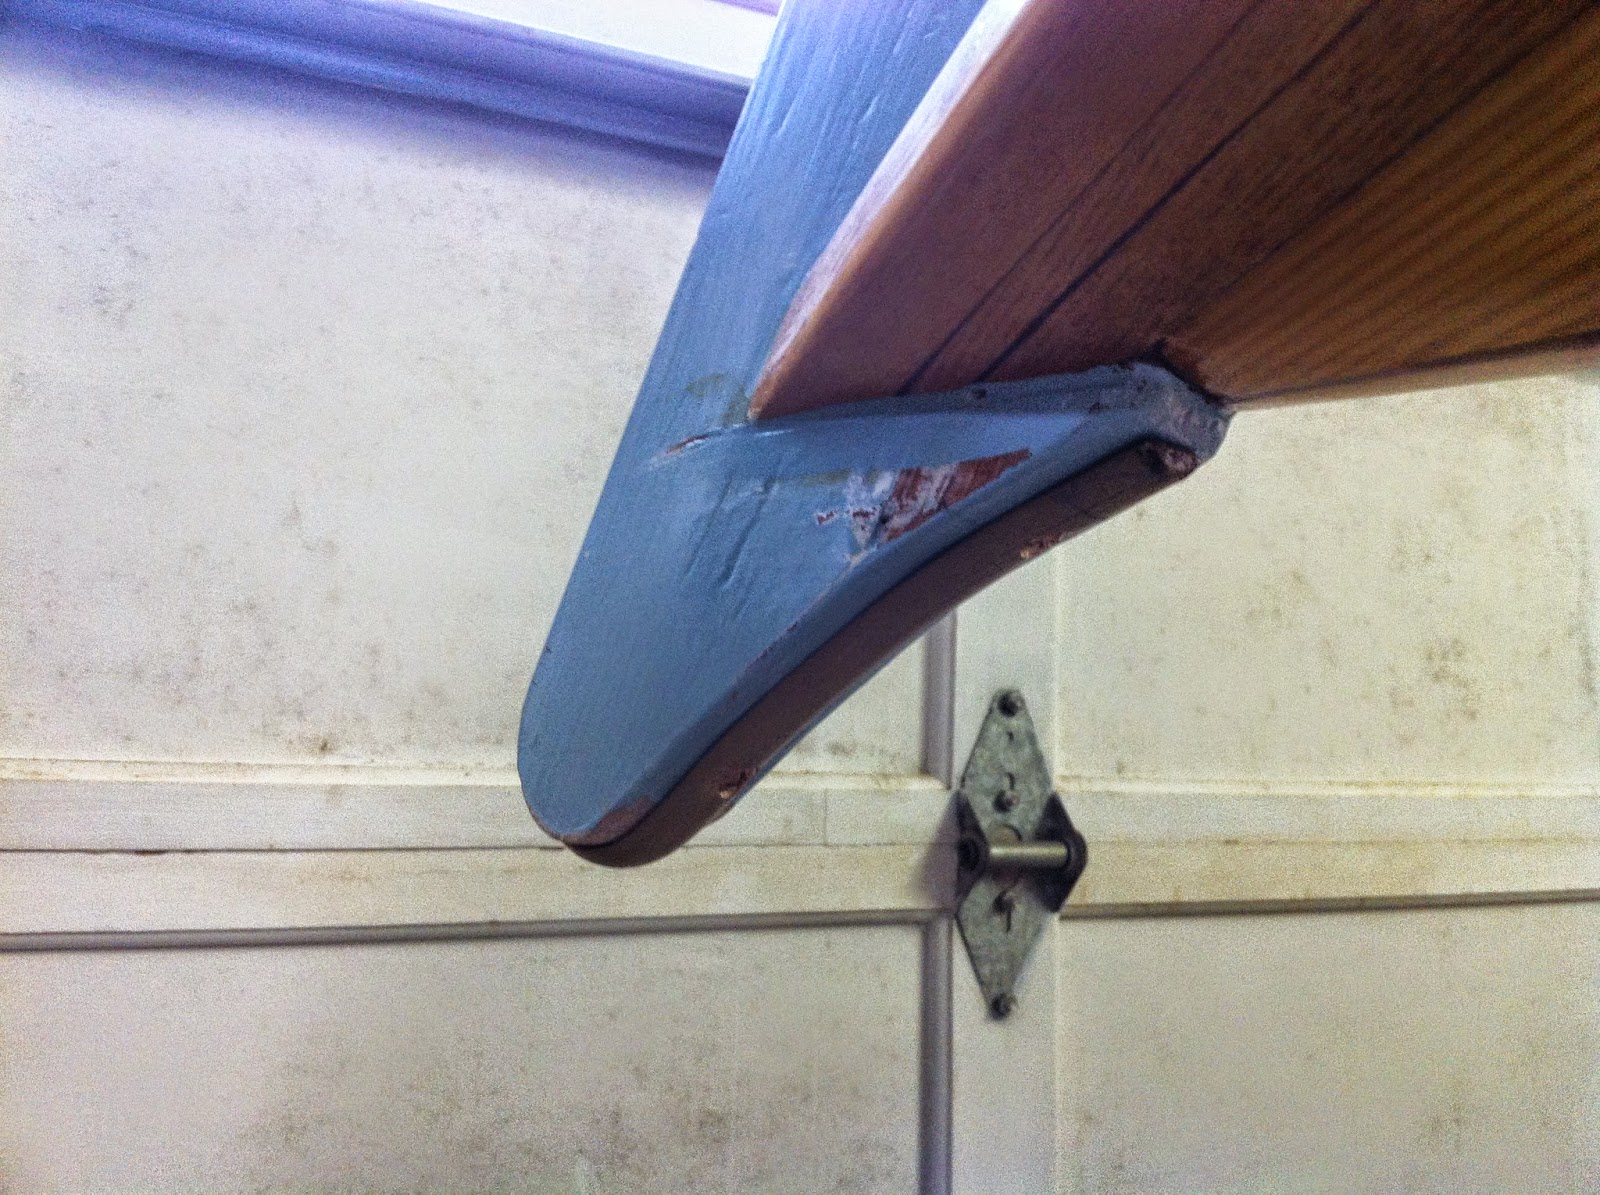
Cooperating weather makes this building deal much more enjoyable. In Central VA we had temps in the low 70s, sun, and breezy conditions. So, as much as I dislike the sanding process, I was able to  move on with a few tasks. The biggest was knocking down the gunwale with the belt sander, 36 grit, and the router. The results are smooth and satisfactory. The breast hooks are close to their final shape too.

A second bout of sanding went after the floor boards with the ROS and 120 grit. Several boards were cracked at the ends from too vigorous screw action. To fix this I saturated the end grain and flooded the countersunk holes. Hopefully that will hold.

End epoxy repairs.

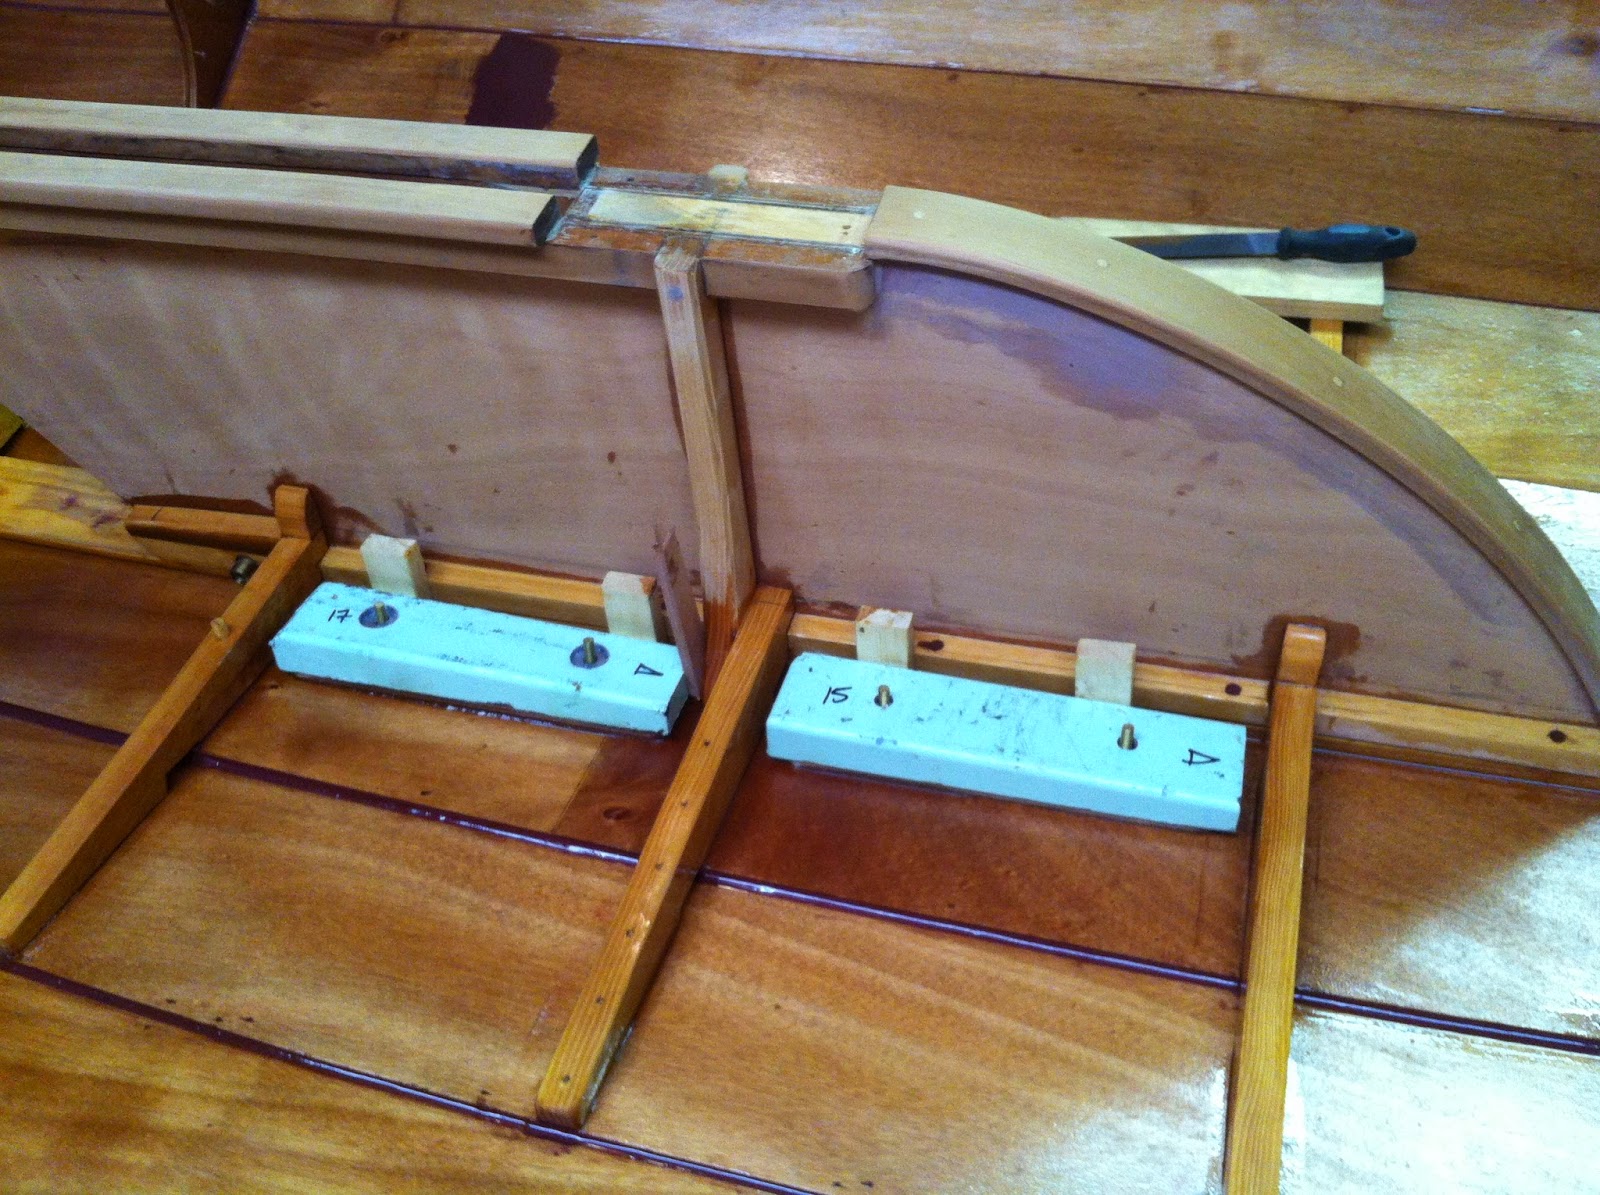
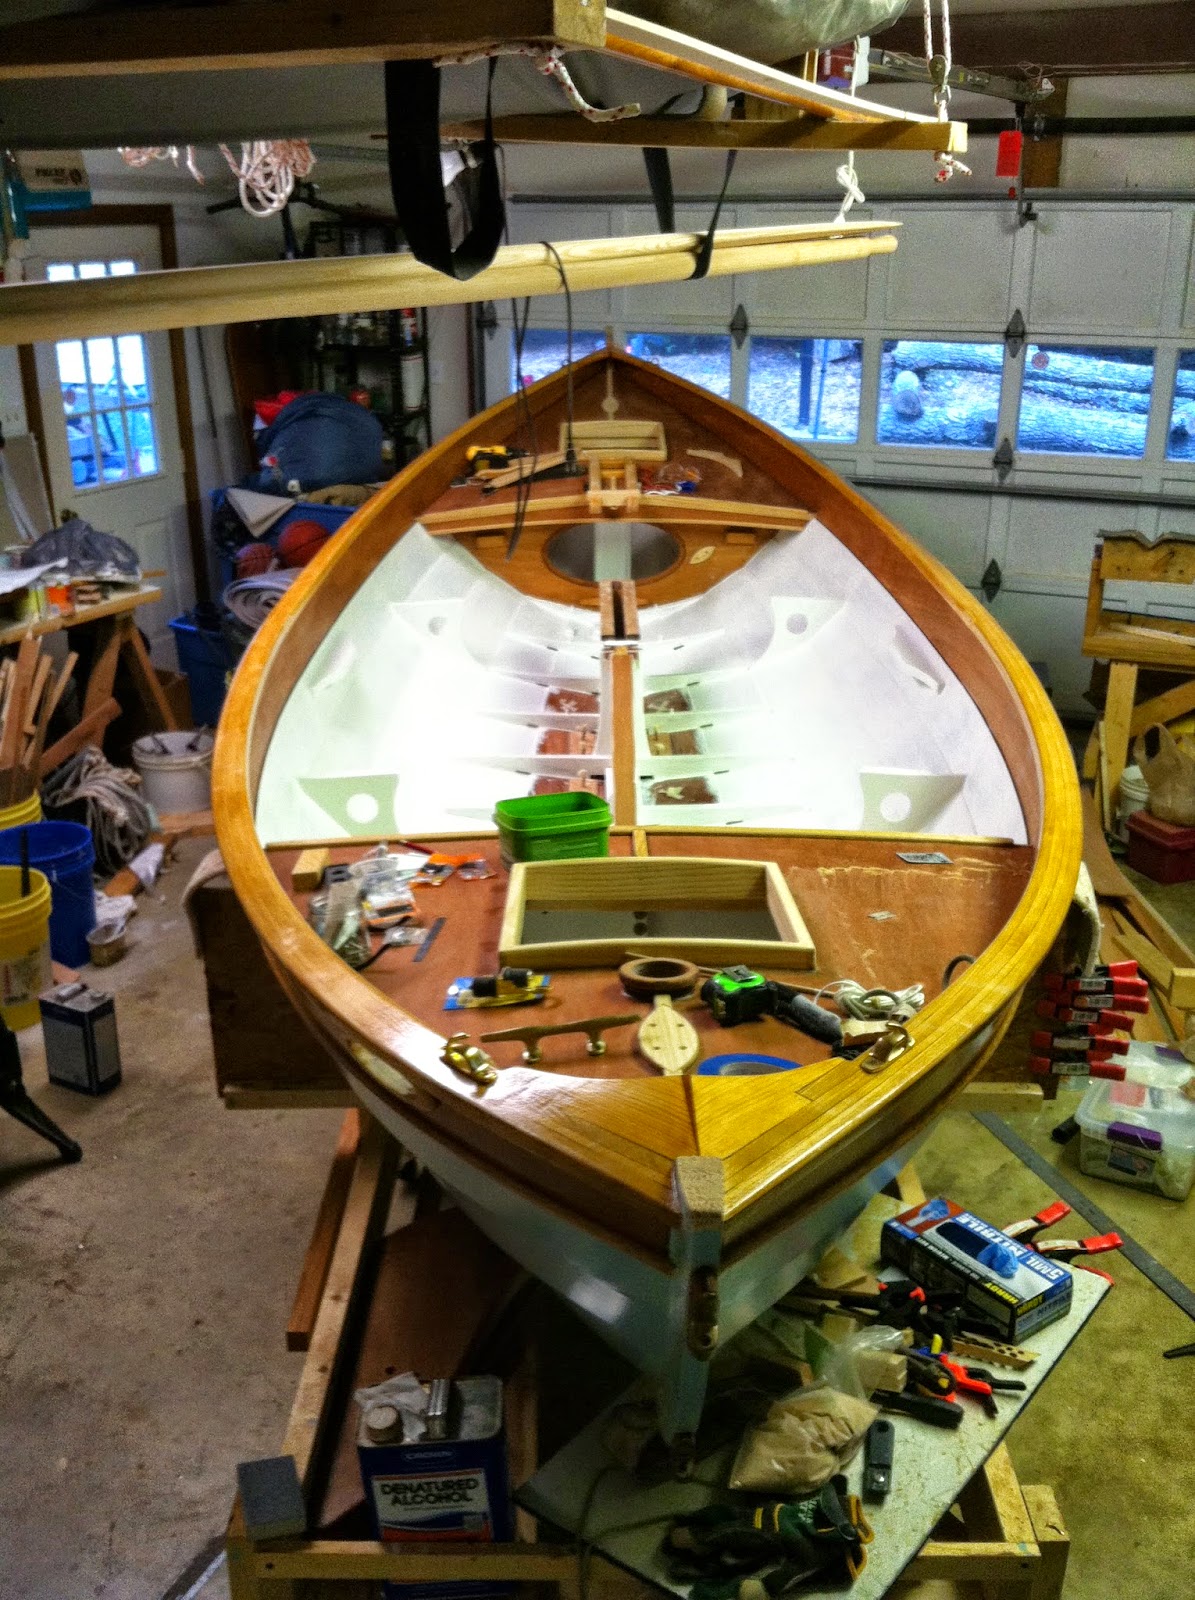
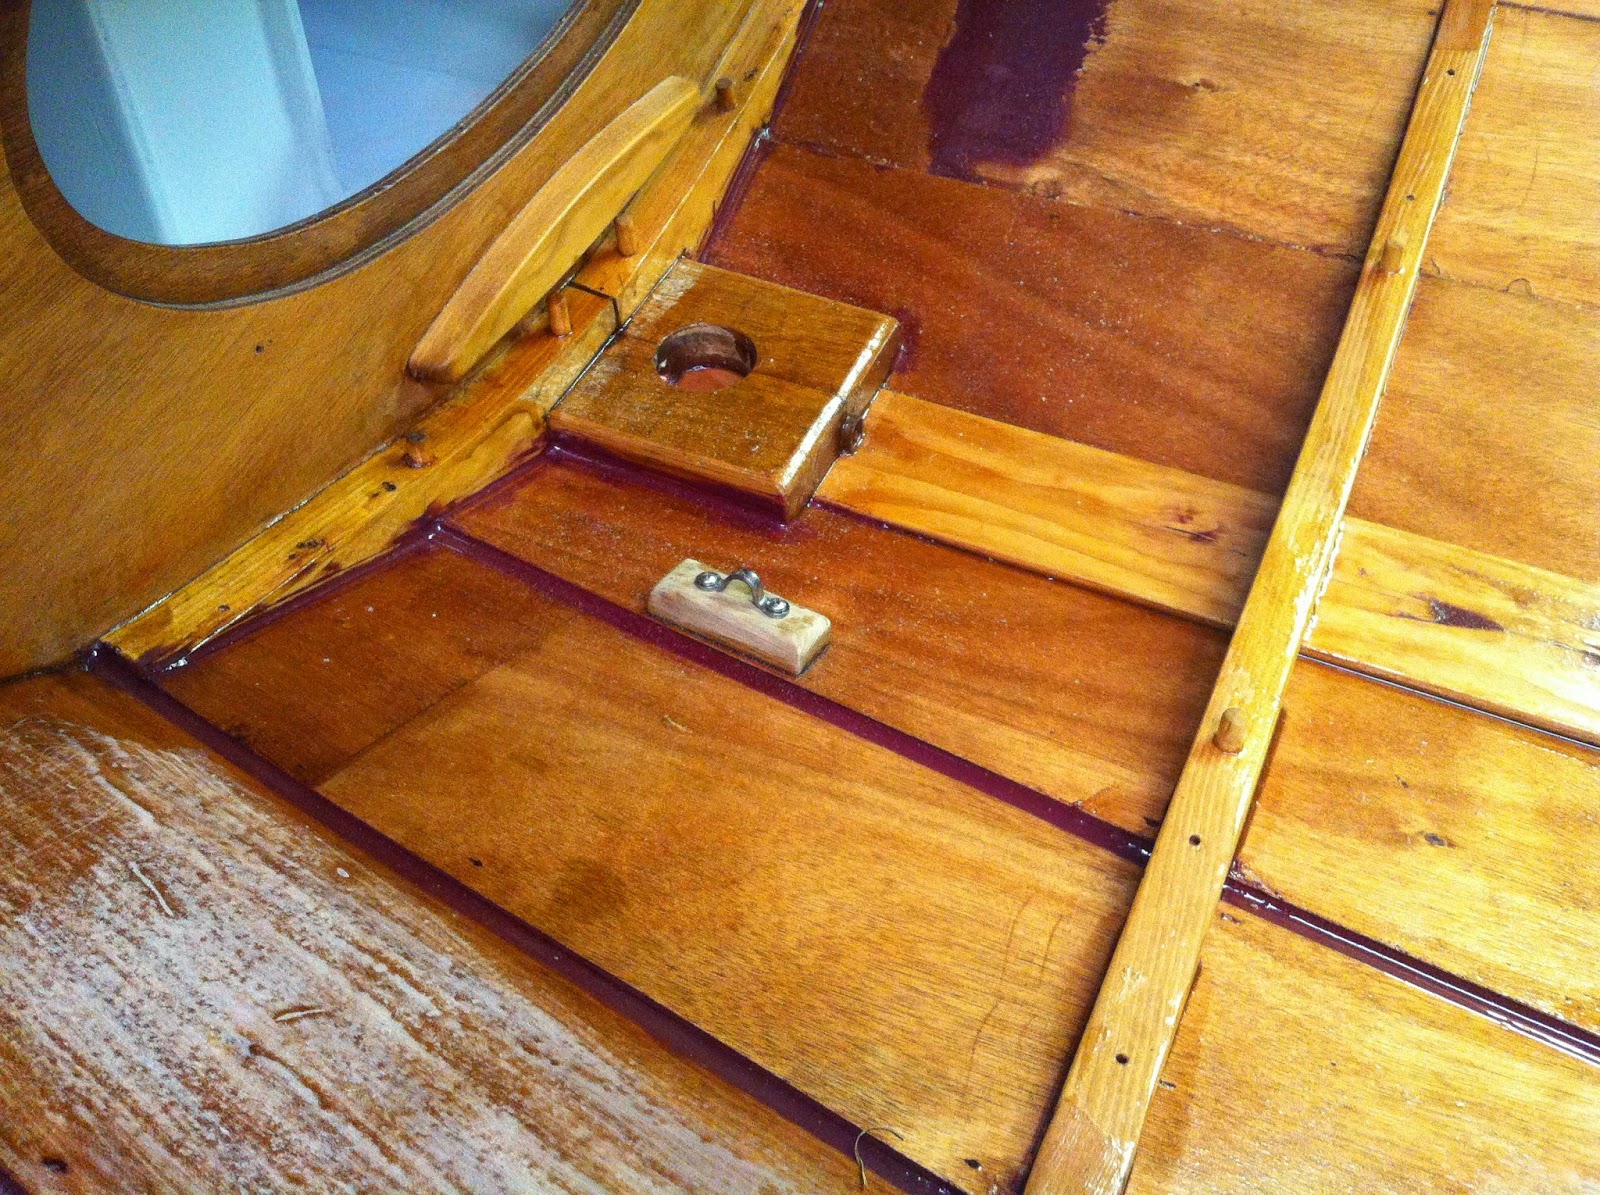
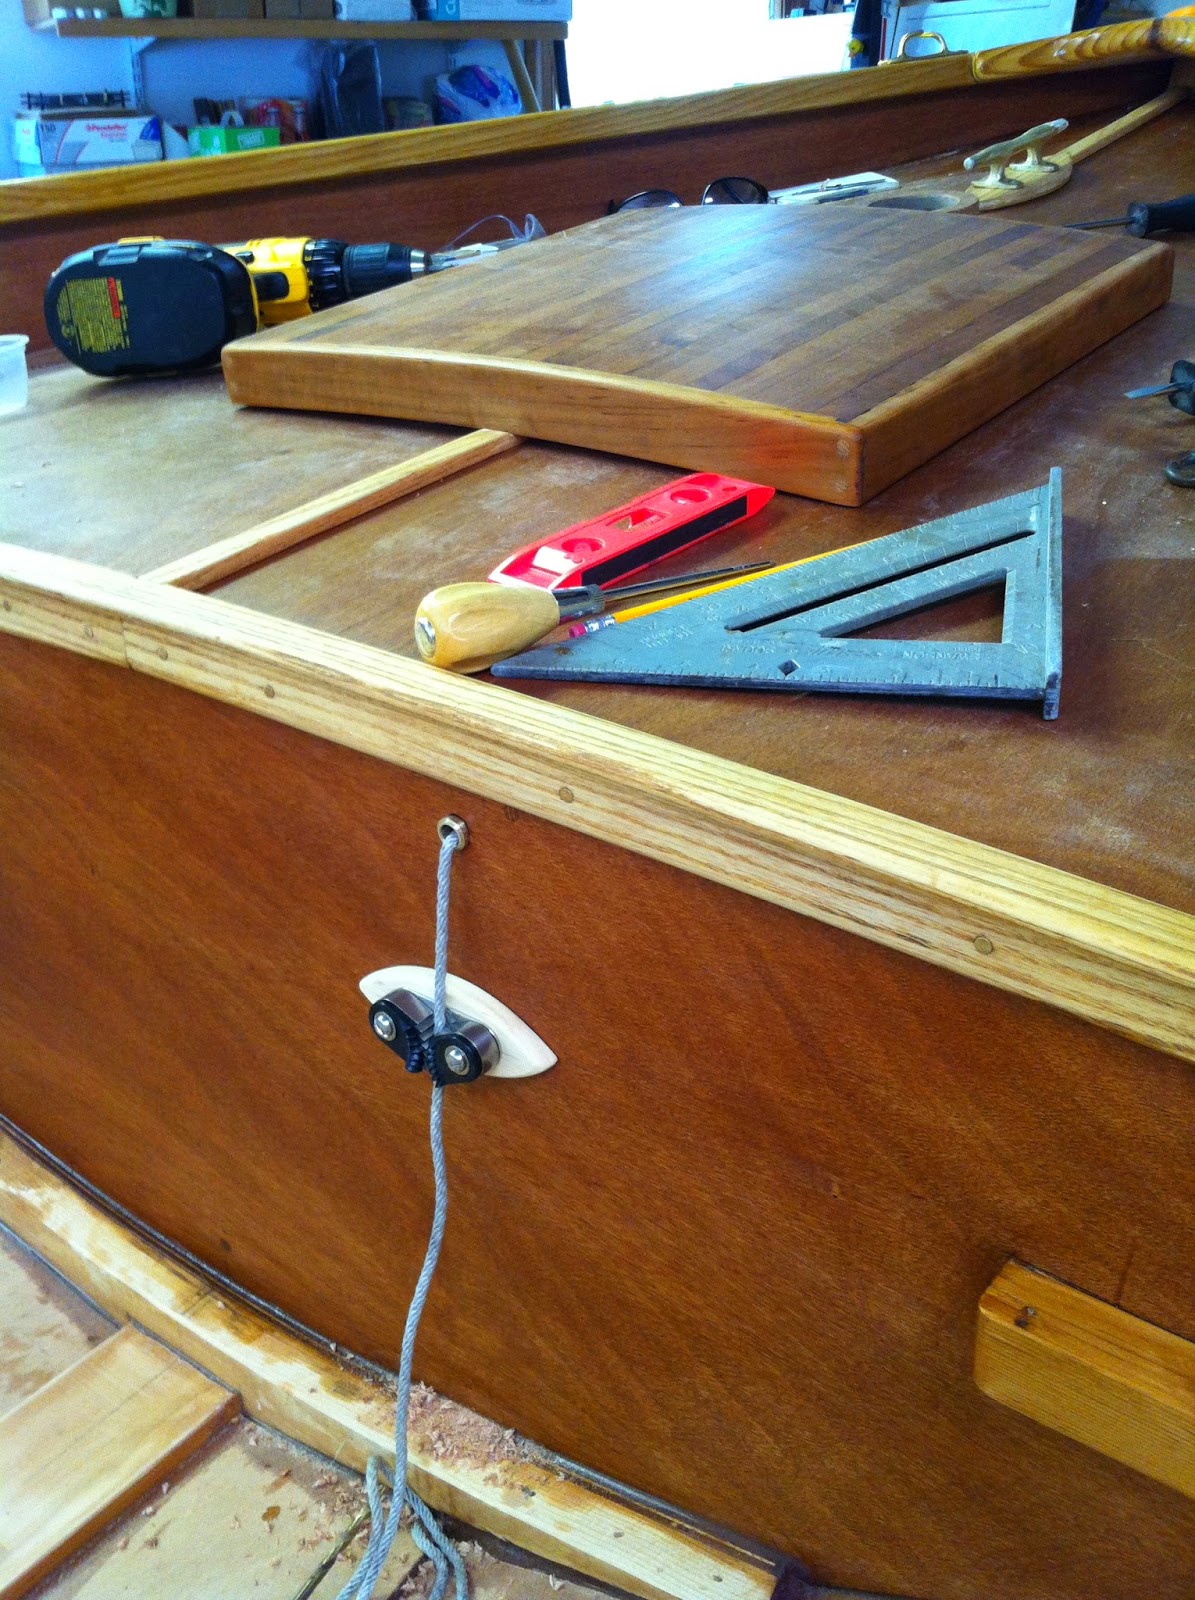
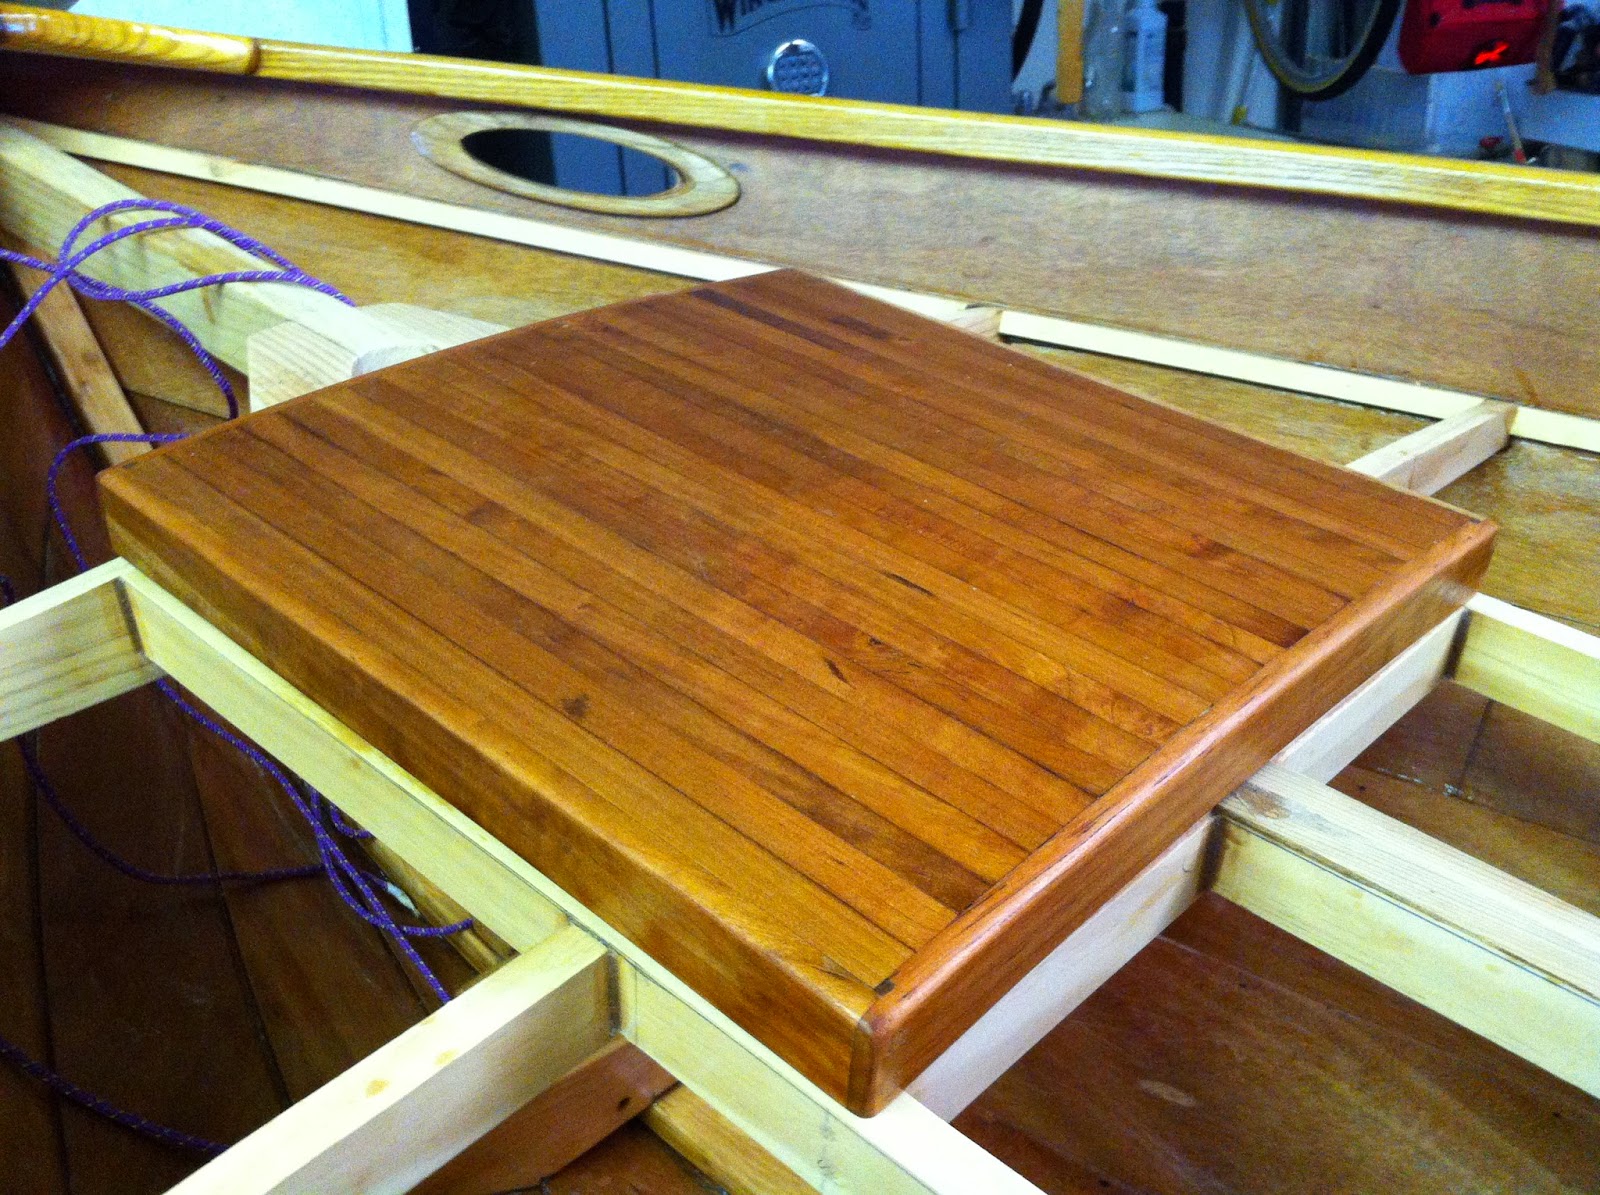
Since the plans for the open boat do not show any of the side bench web supports I reduced the 4 shown on each side to 2. Support is gained from resting on blocks at the end bulkheads, the plywood webs, and hanging from the thwart. For that I bevelled a piece of teak and through bolted it between seat and thwart. The result is quite rugged and stiff. You can get just a peek of it in the next pic.

Teak bench spacer under thwart.

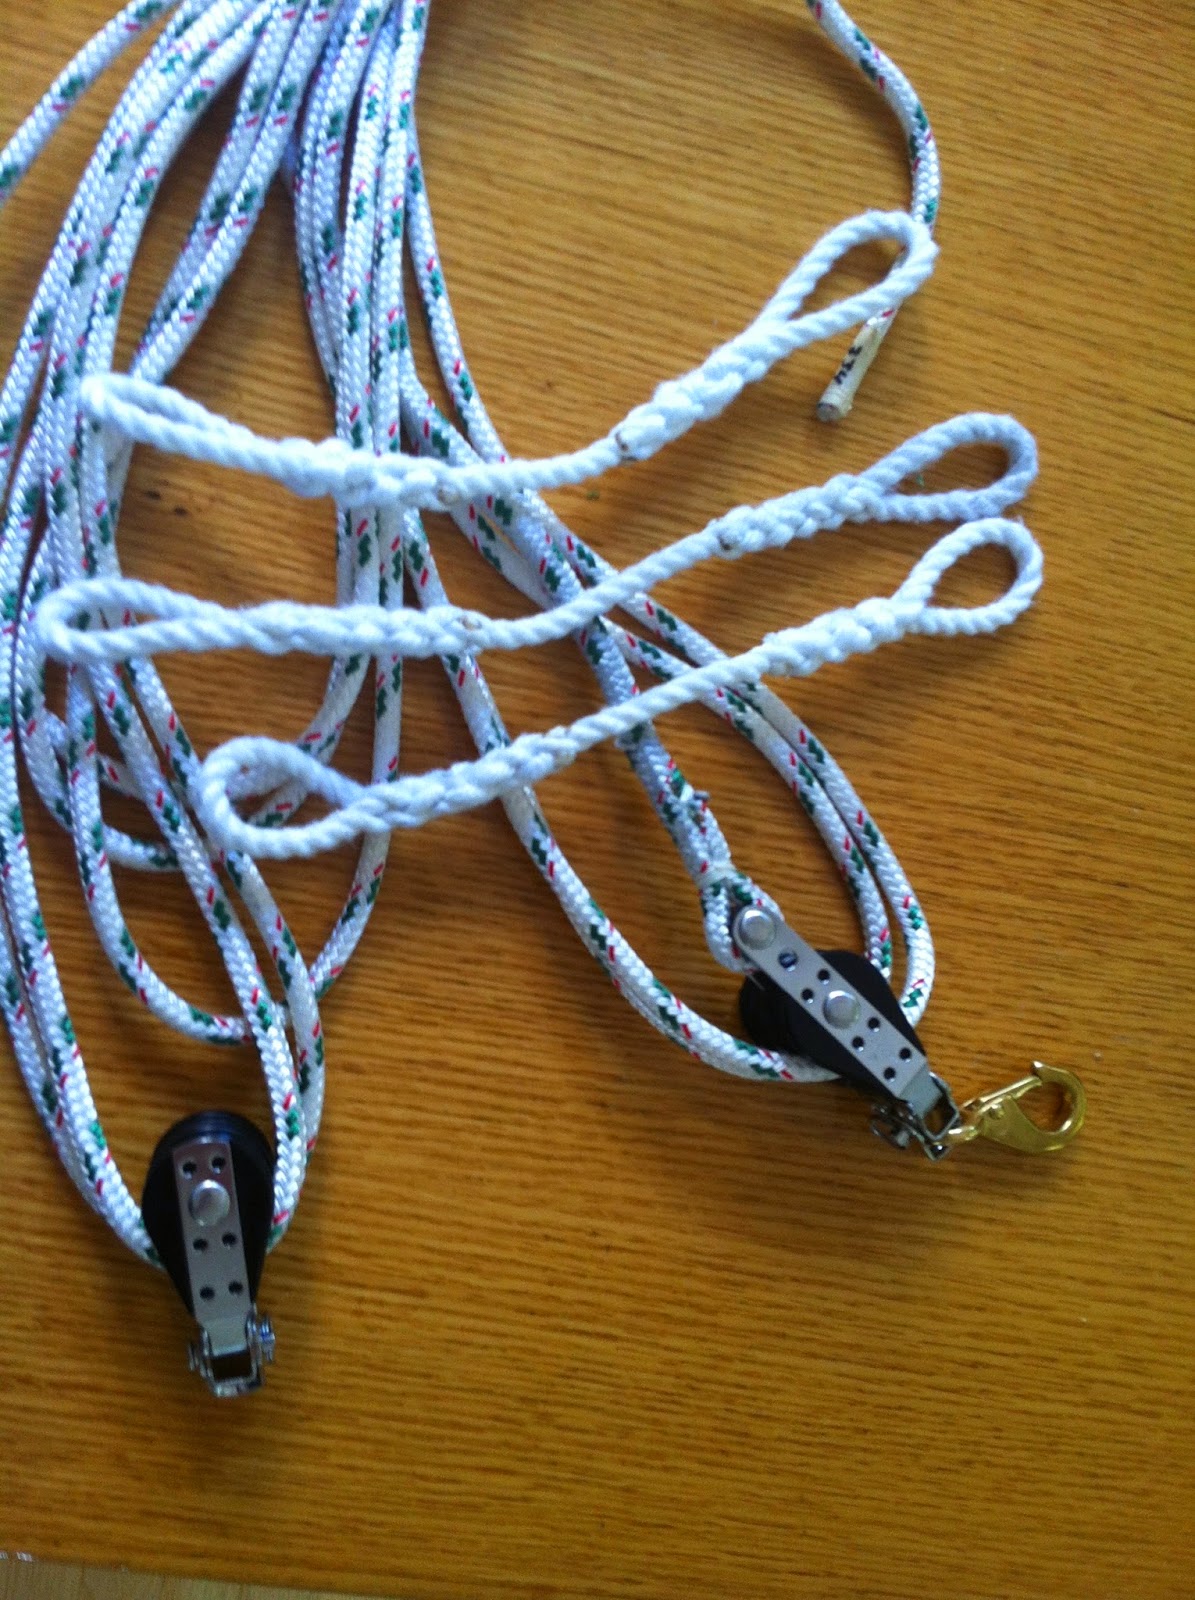
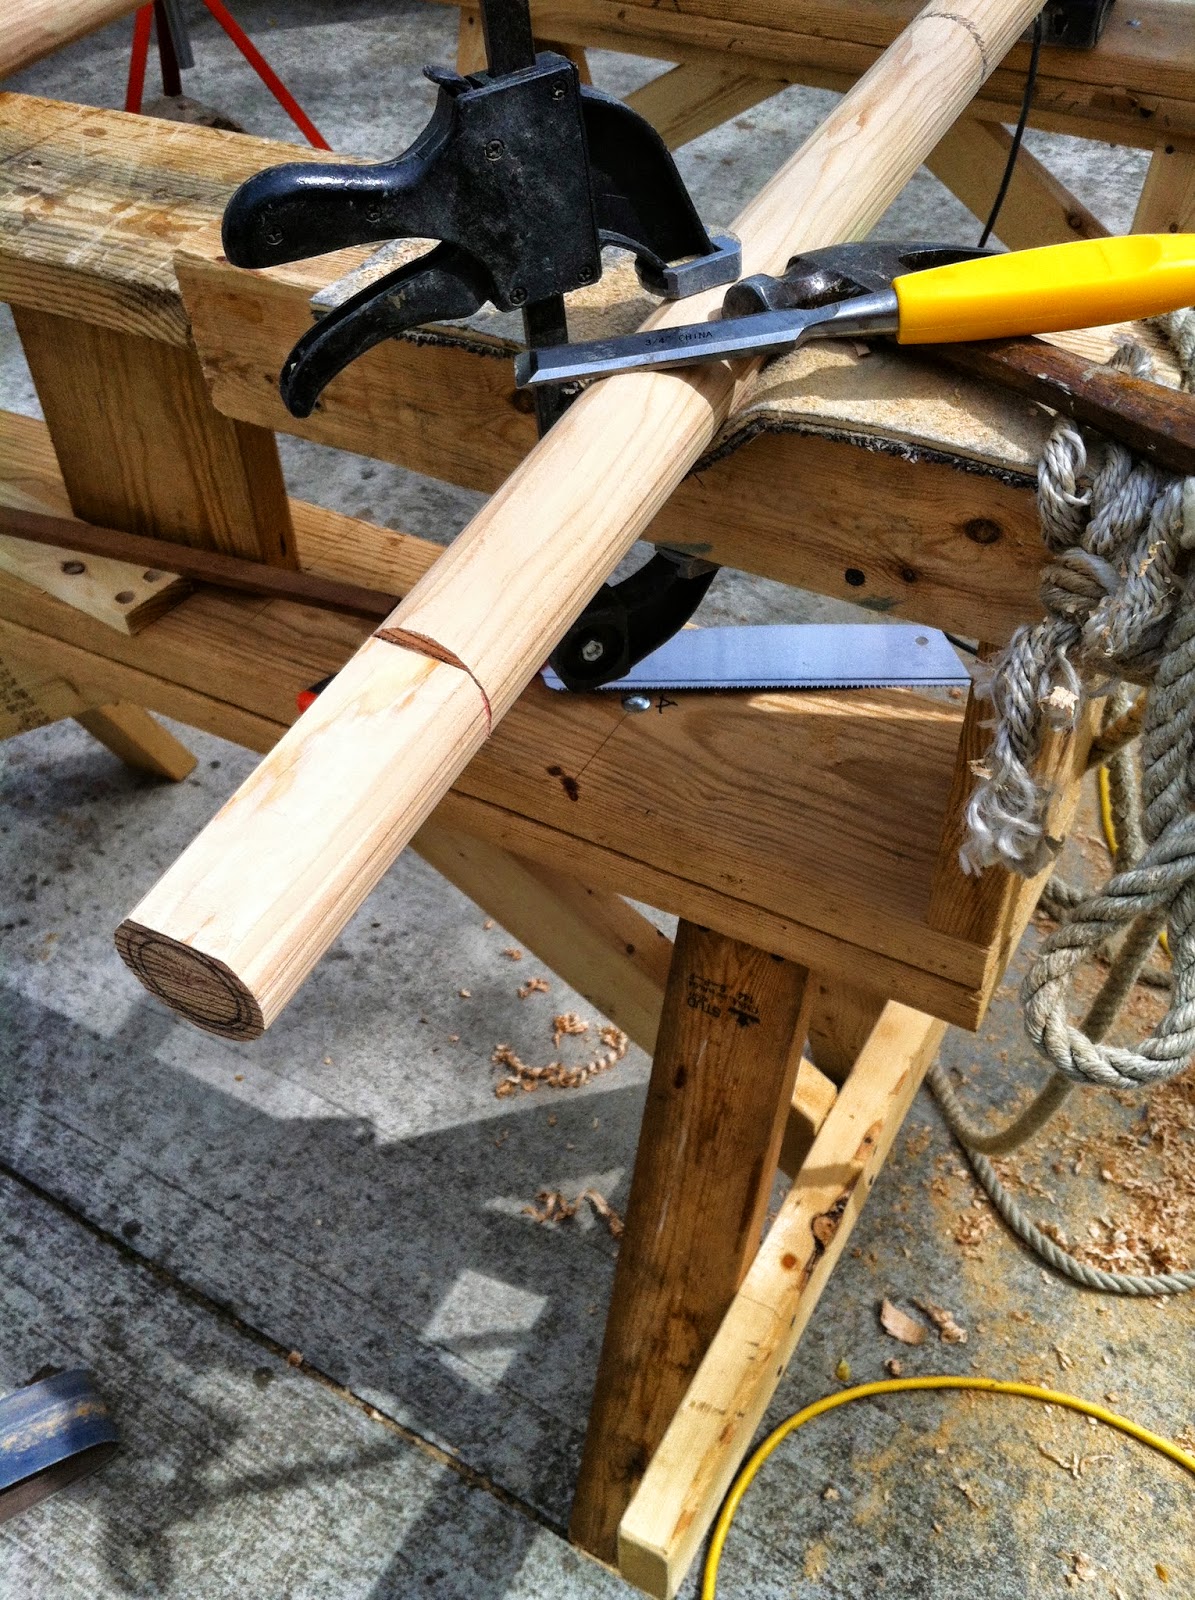
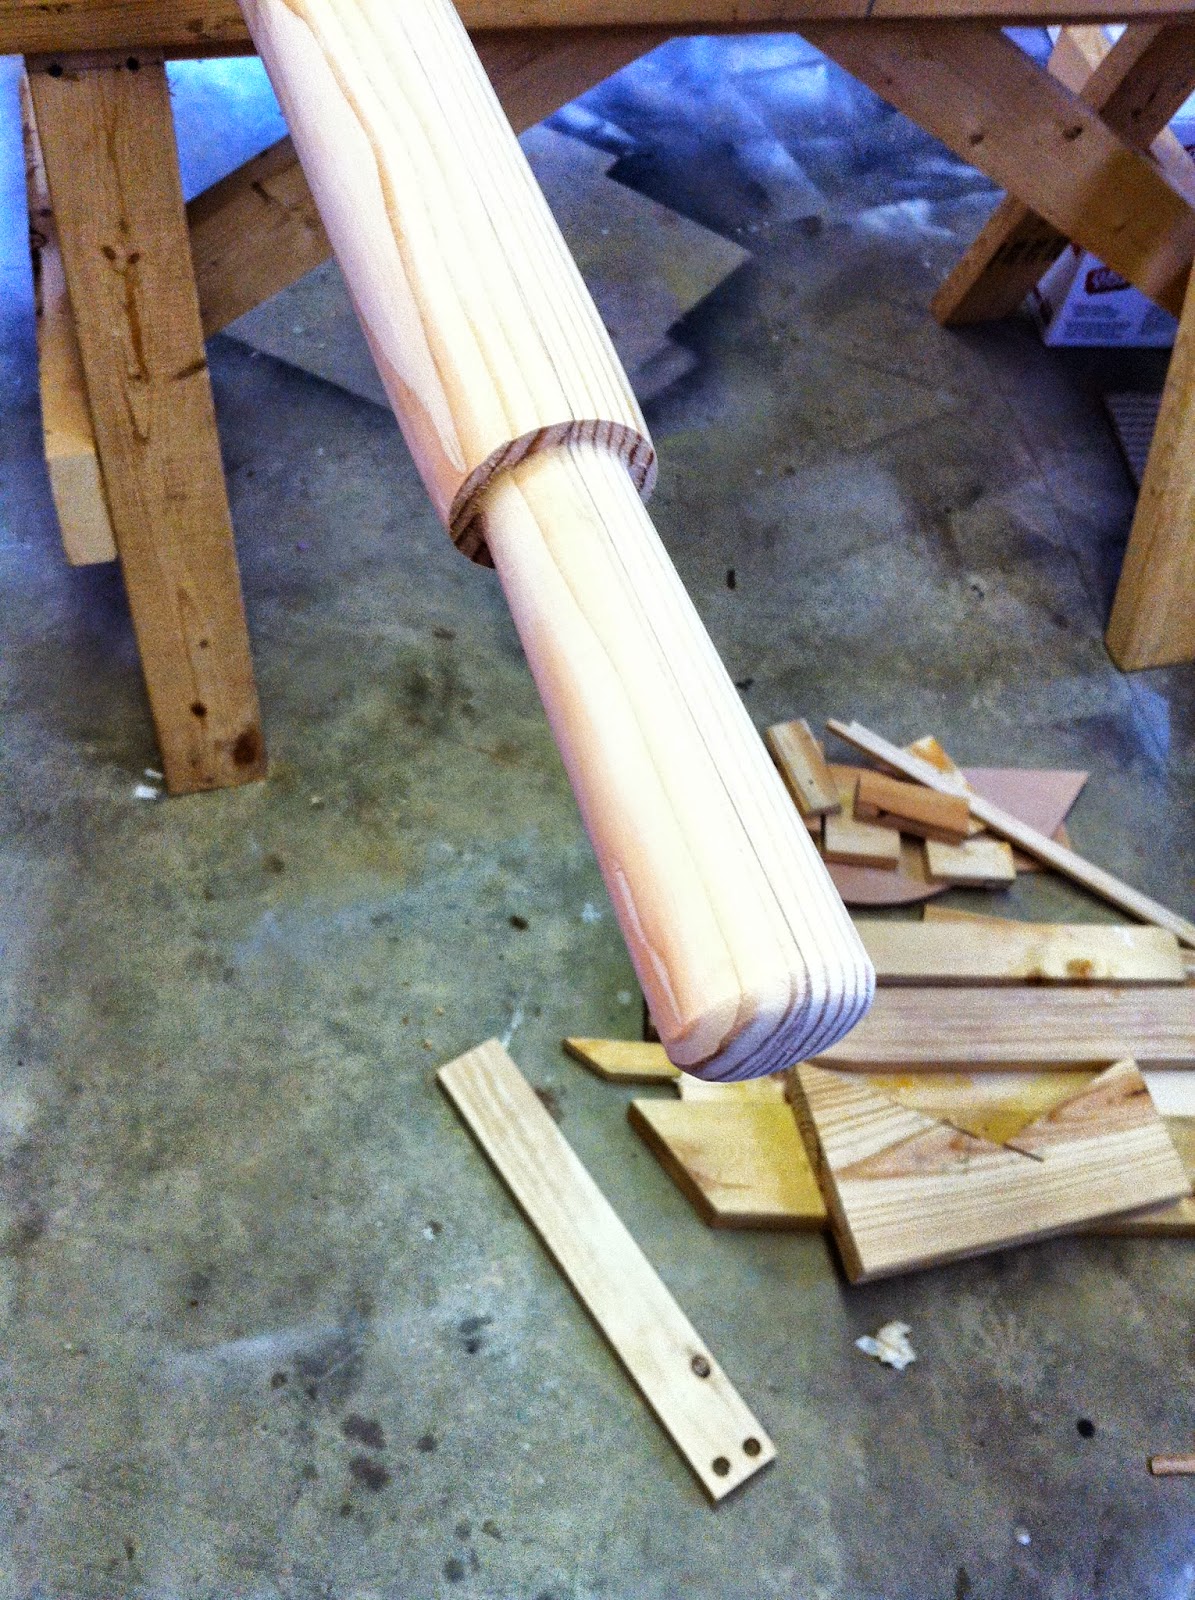
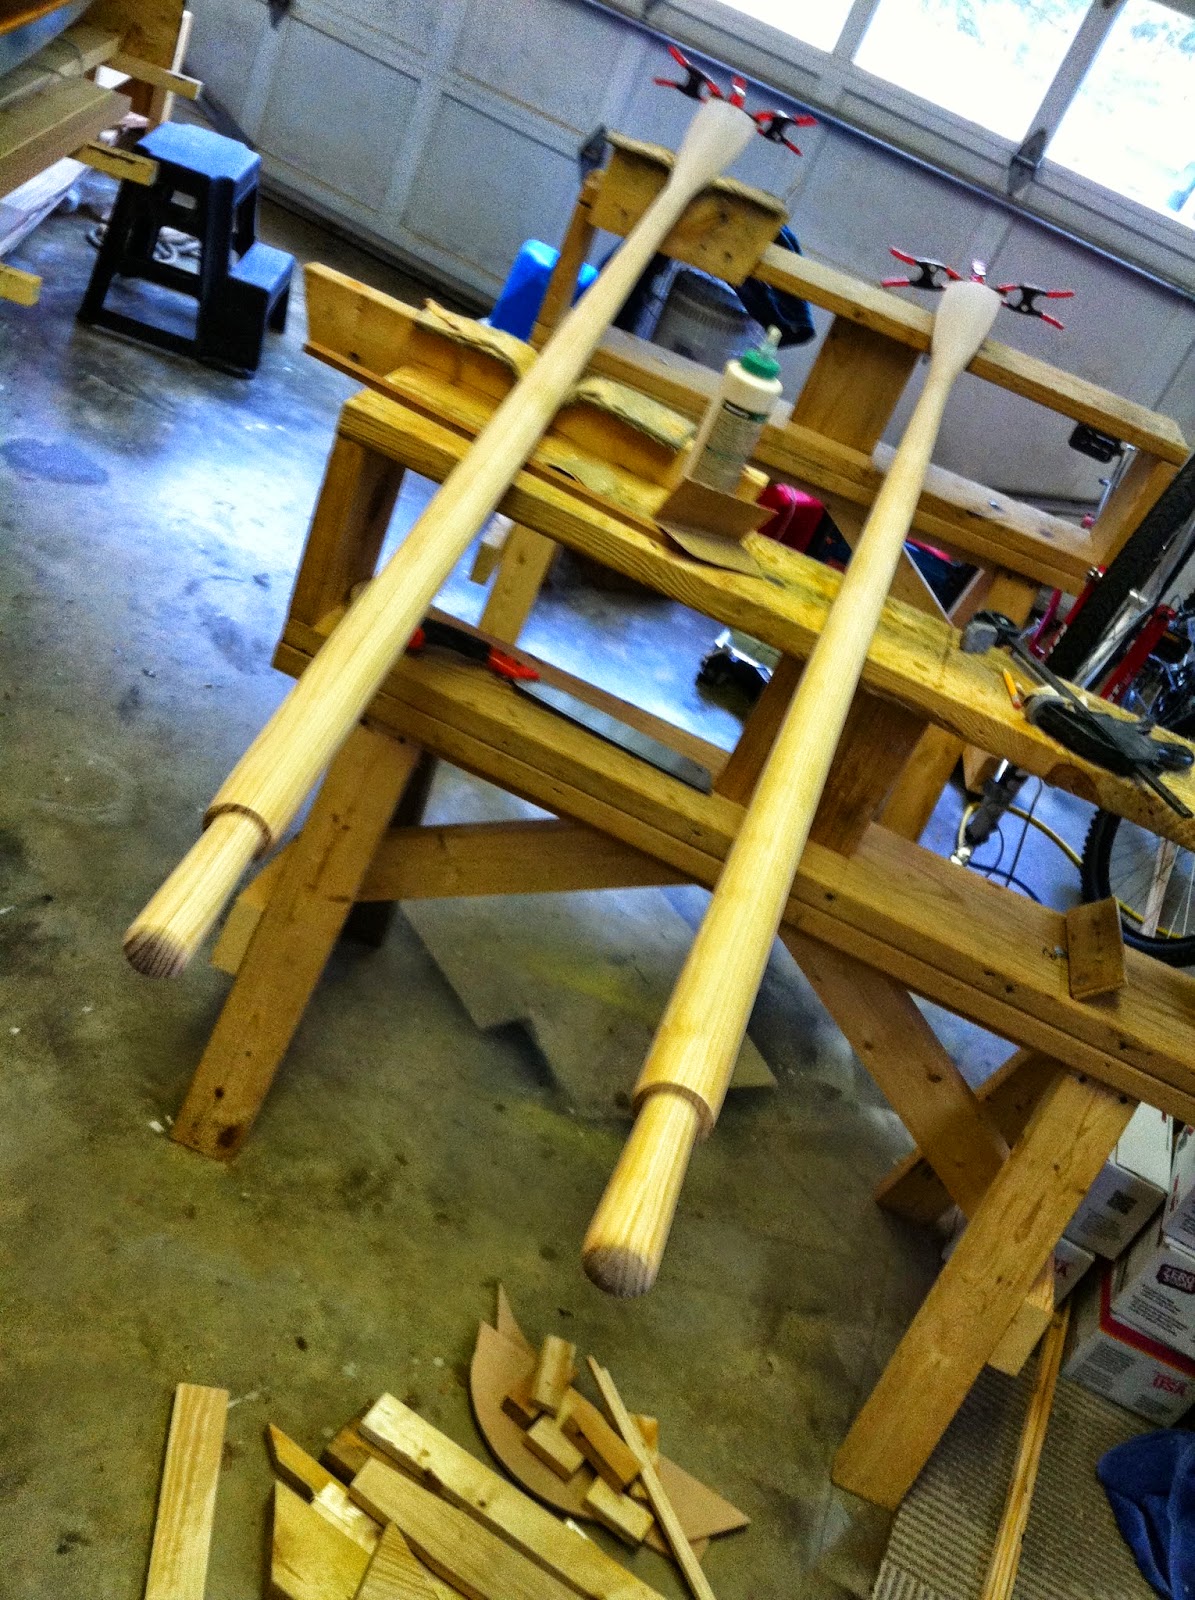
While the epoxy was flowing I blocked up the main boom and blanks for a pair of oars. Aside from the epoxy dry time, I think I had maybe 2.5 hrs in getting from board to rounded spar. The real trick to this is of course an electric plane and going from 4 sided all the way down to 32 sided before breaking out the dreaded sand paper. Actually, a cut 80 grit sanding belt with wood blocks nailed to the ends for grips allowed for gentle removal and rounding. A shoe shining technique worked great. That and my employ of a doubled up loop of rope as a breaking stirrup to hold the work in place. You can make this as easy or hard a workout as desired. My previous sanding drum could remove too much material before you knew it. More control is in the shining.

Manning benches with boom in carpeted chocks.
Shoe shining with the stirrup.

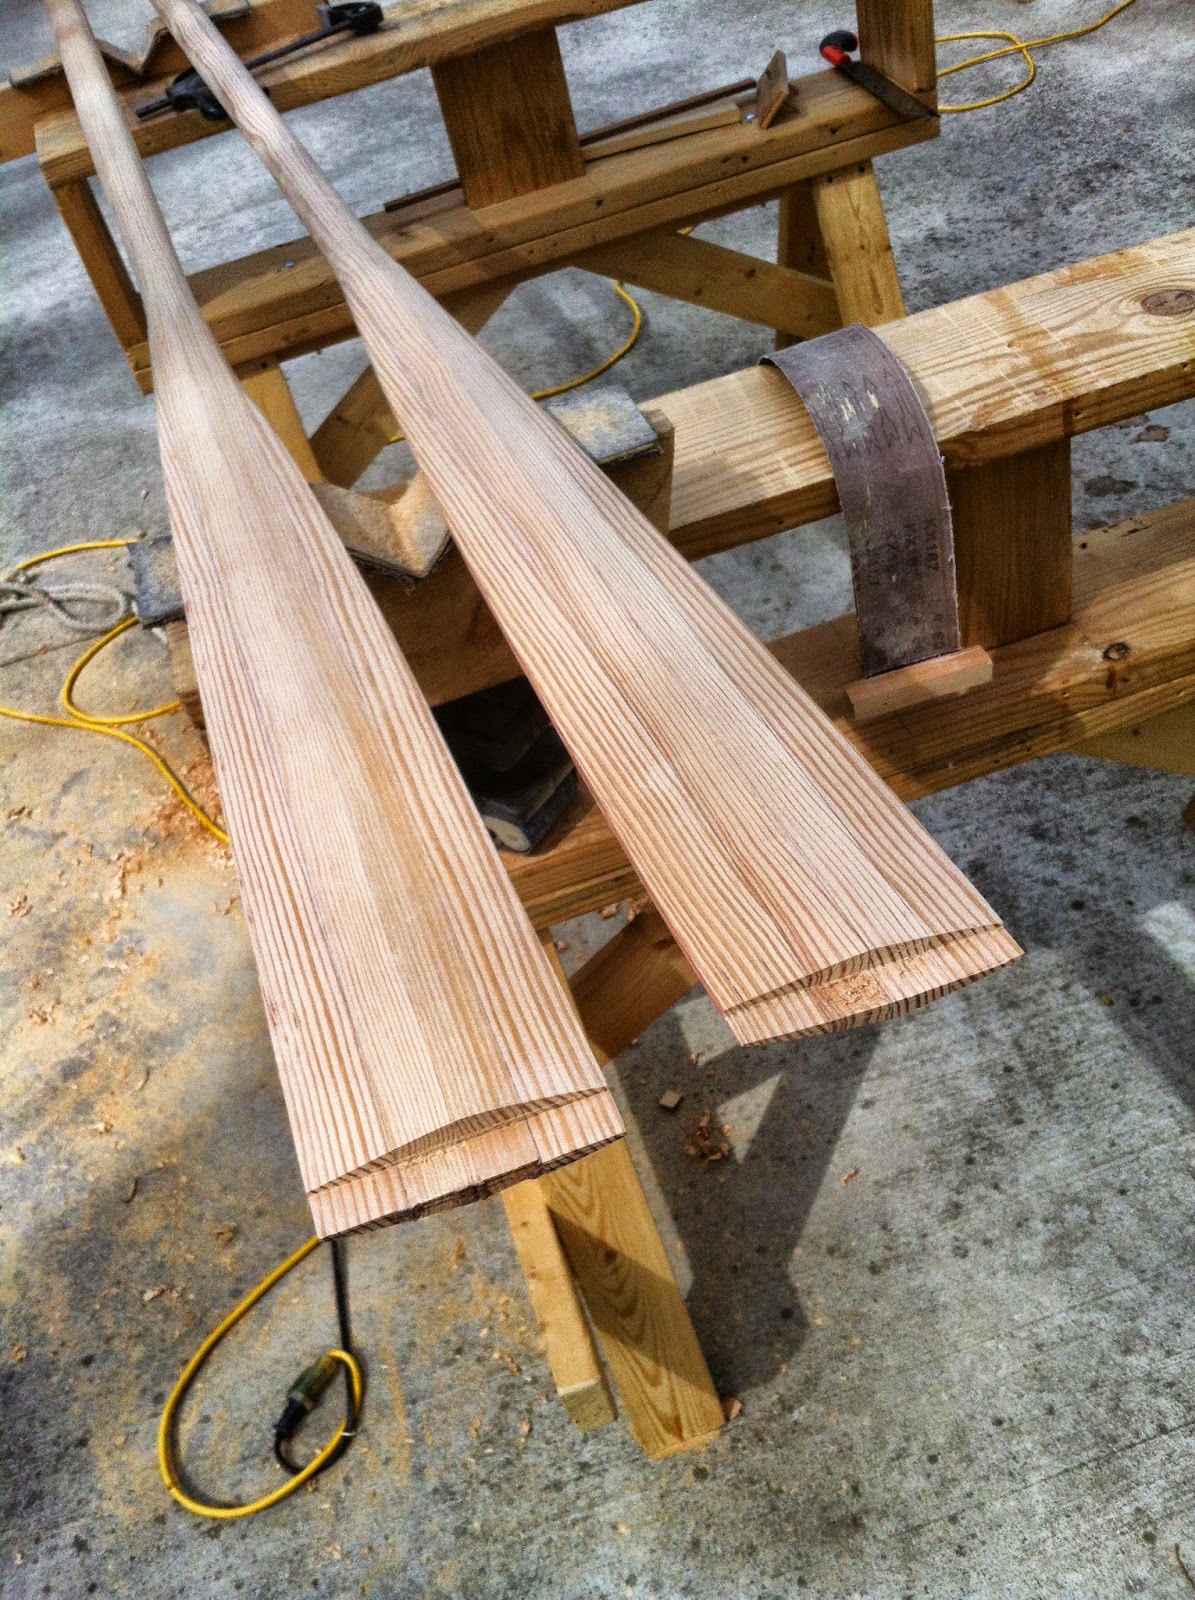
I chickened out of the spoon bladed oars and decided to go conventional. Here are the blocks and the different sided ends of the pair.

Oar blanks.


4 sided.
8 sided.
16 sided.


32 sided. Ready for “shoe shine”.

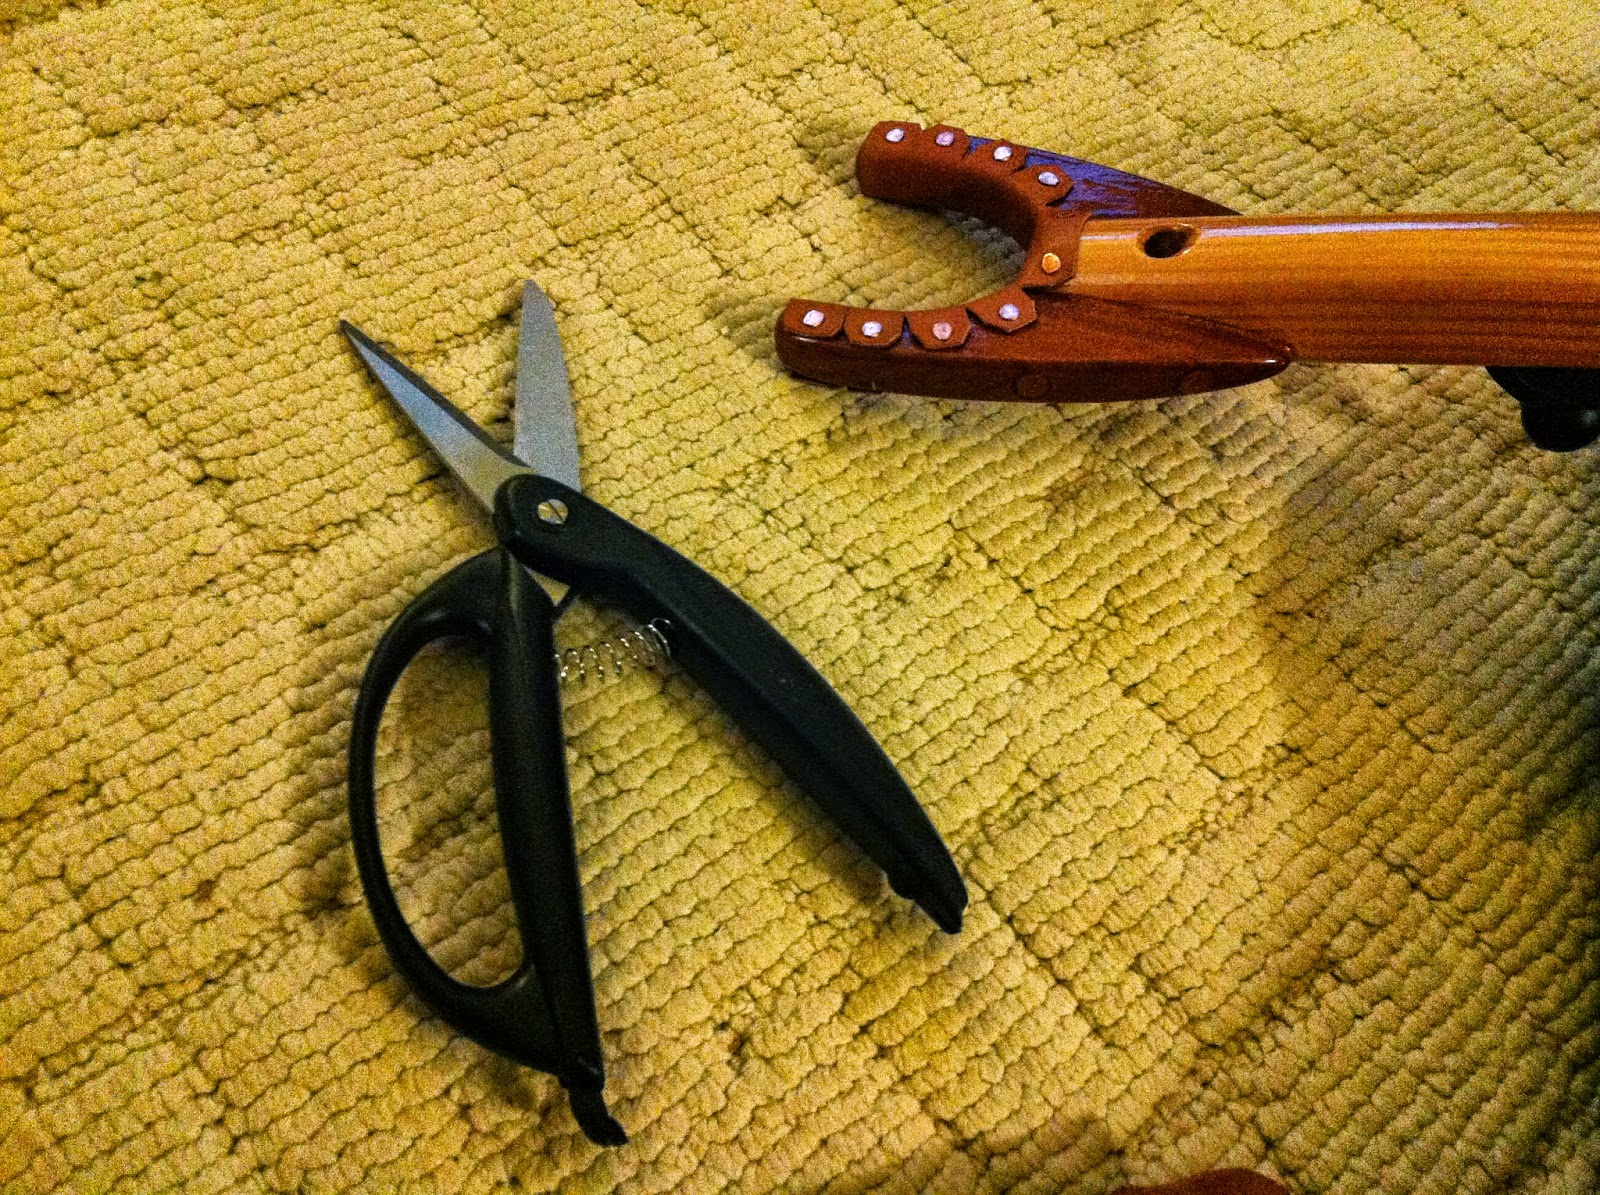
 I broke my last jig saw blade and used the hand saw to trim the oar blades.


Handle ends. 


Here is a bit of advice: don’t trust the guy at the lumber yard to know where to cut the middle of the board. In triple checking the final oar length, I got this 2.5″ difference. The dark shading above is defined from rolling a sheet of paper at the cut line.
 
Rough blade outline.


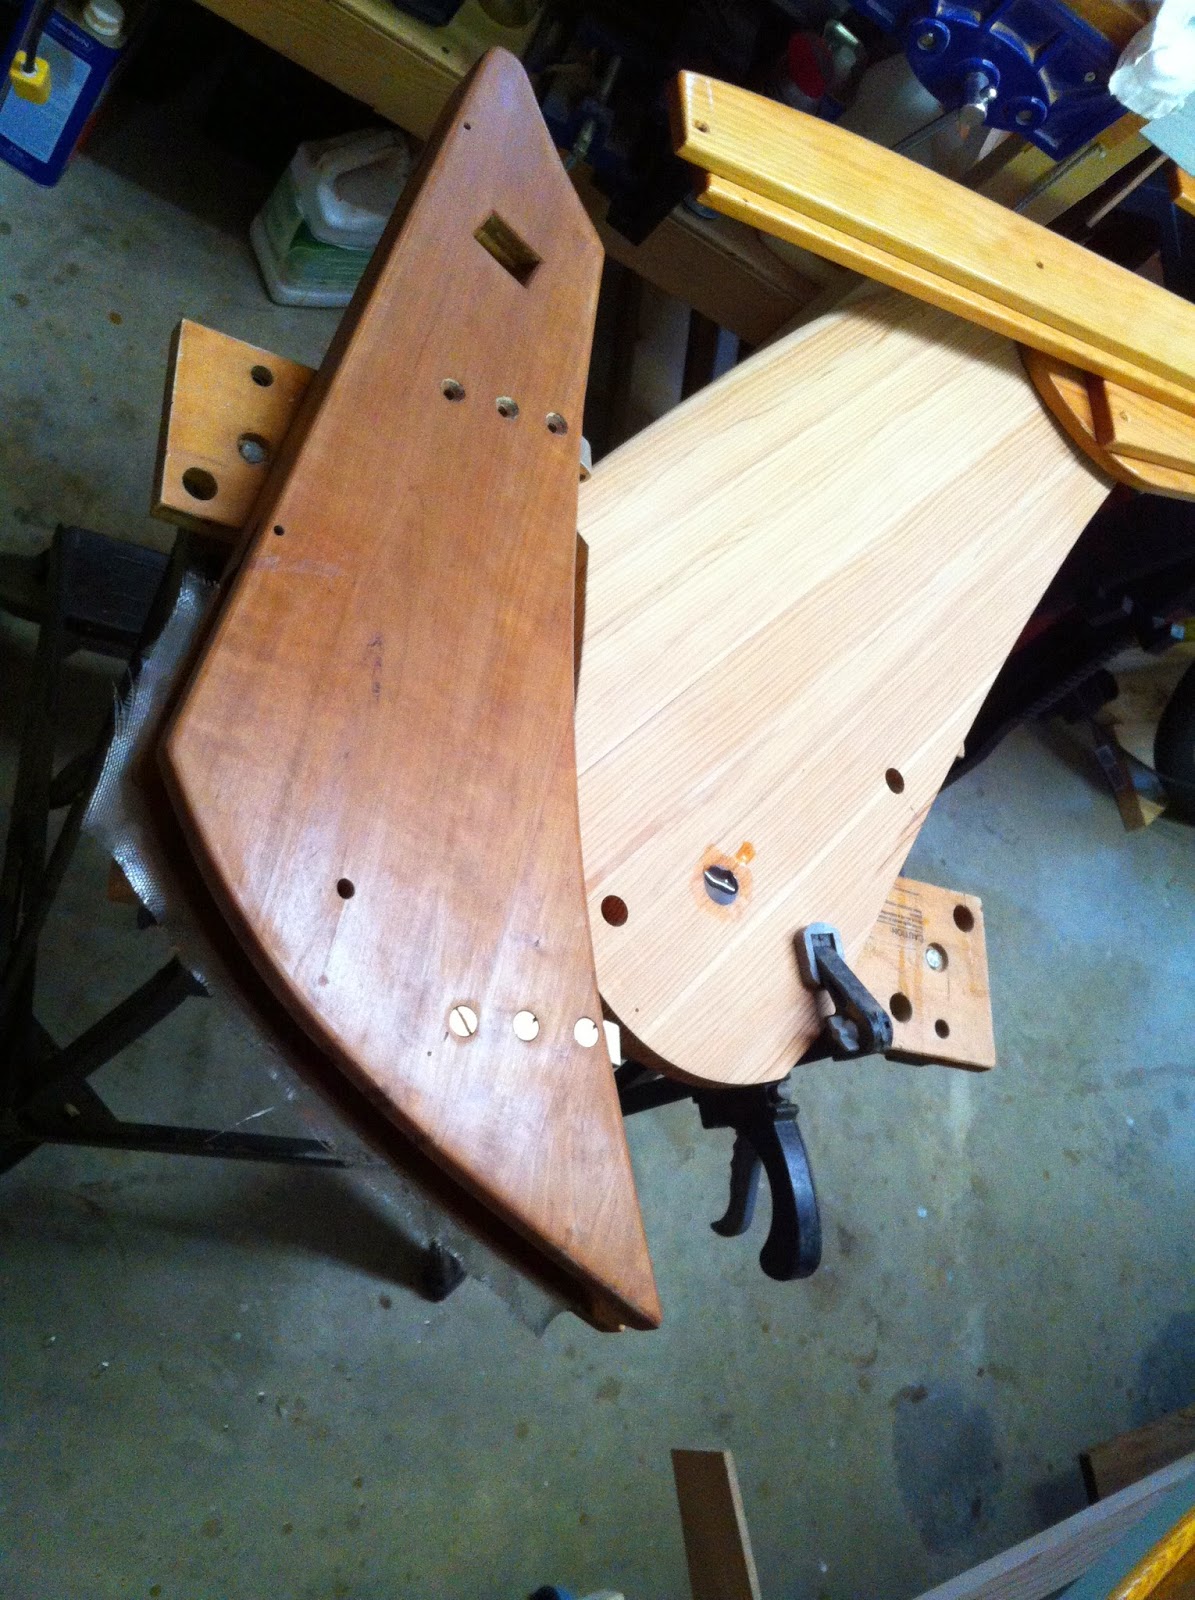
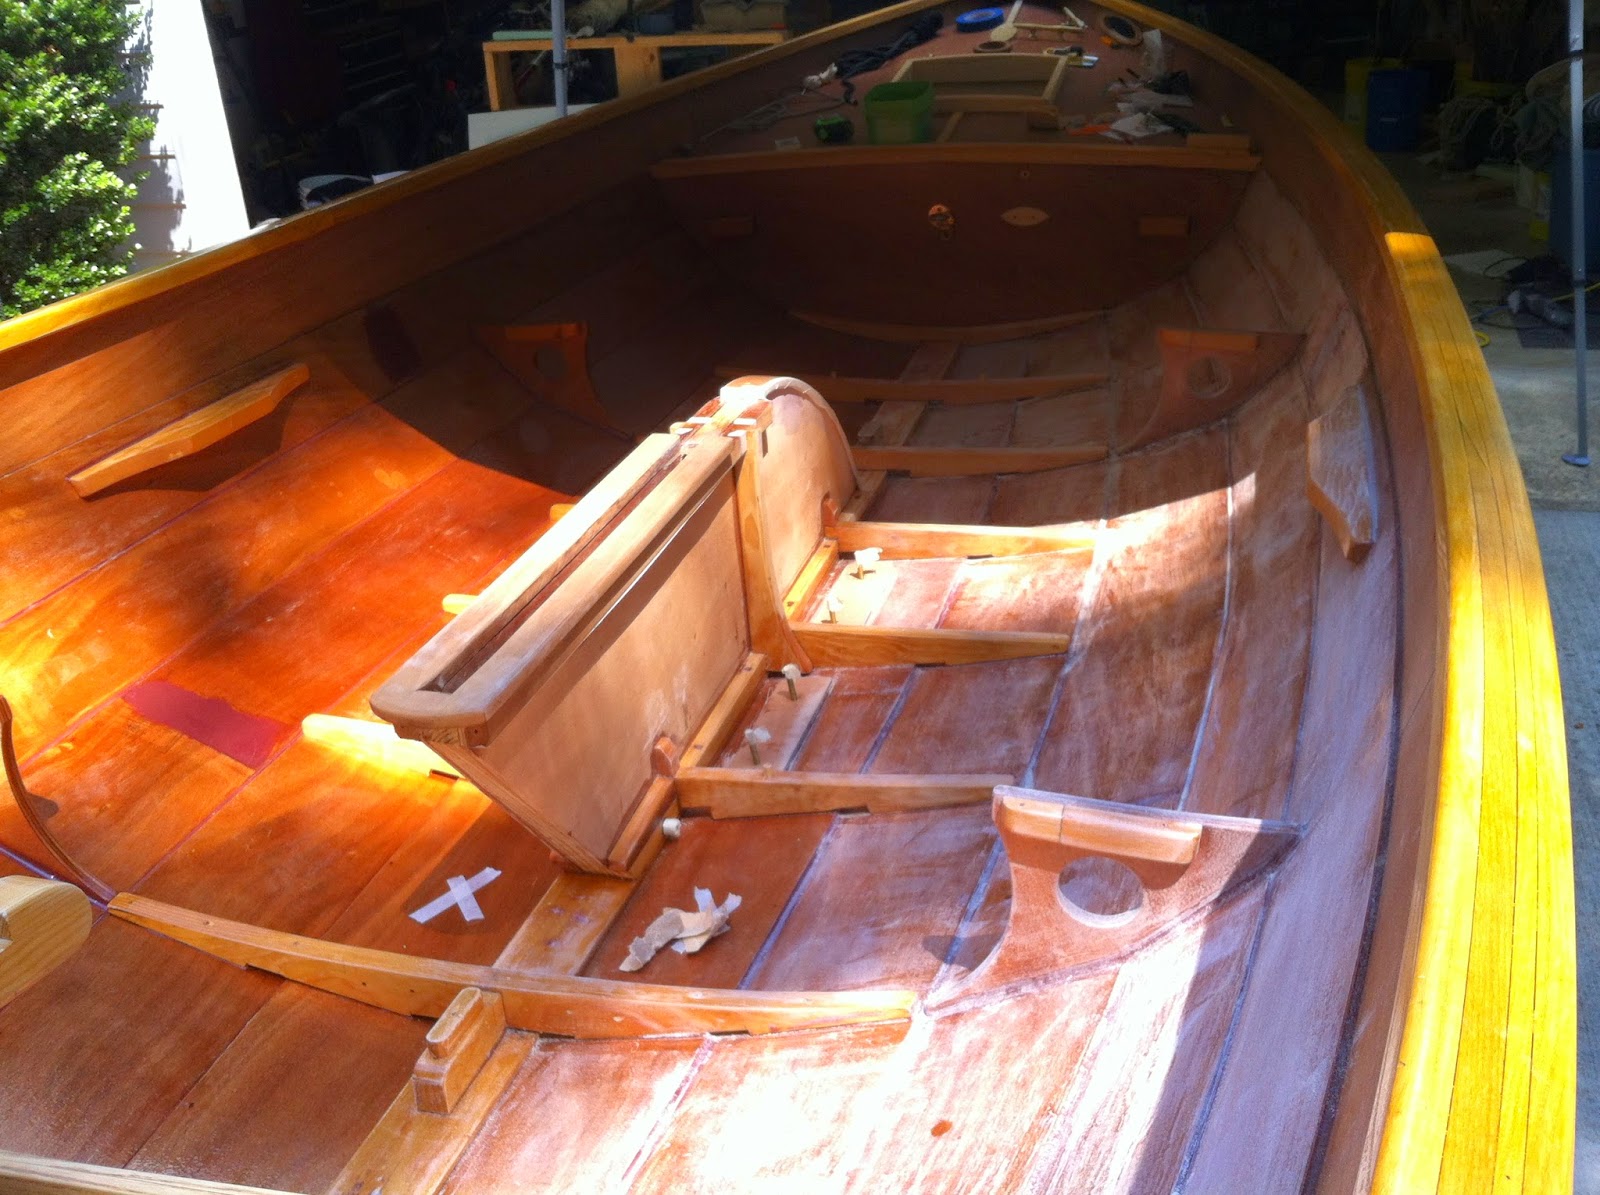
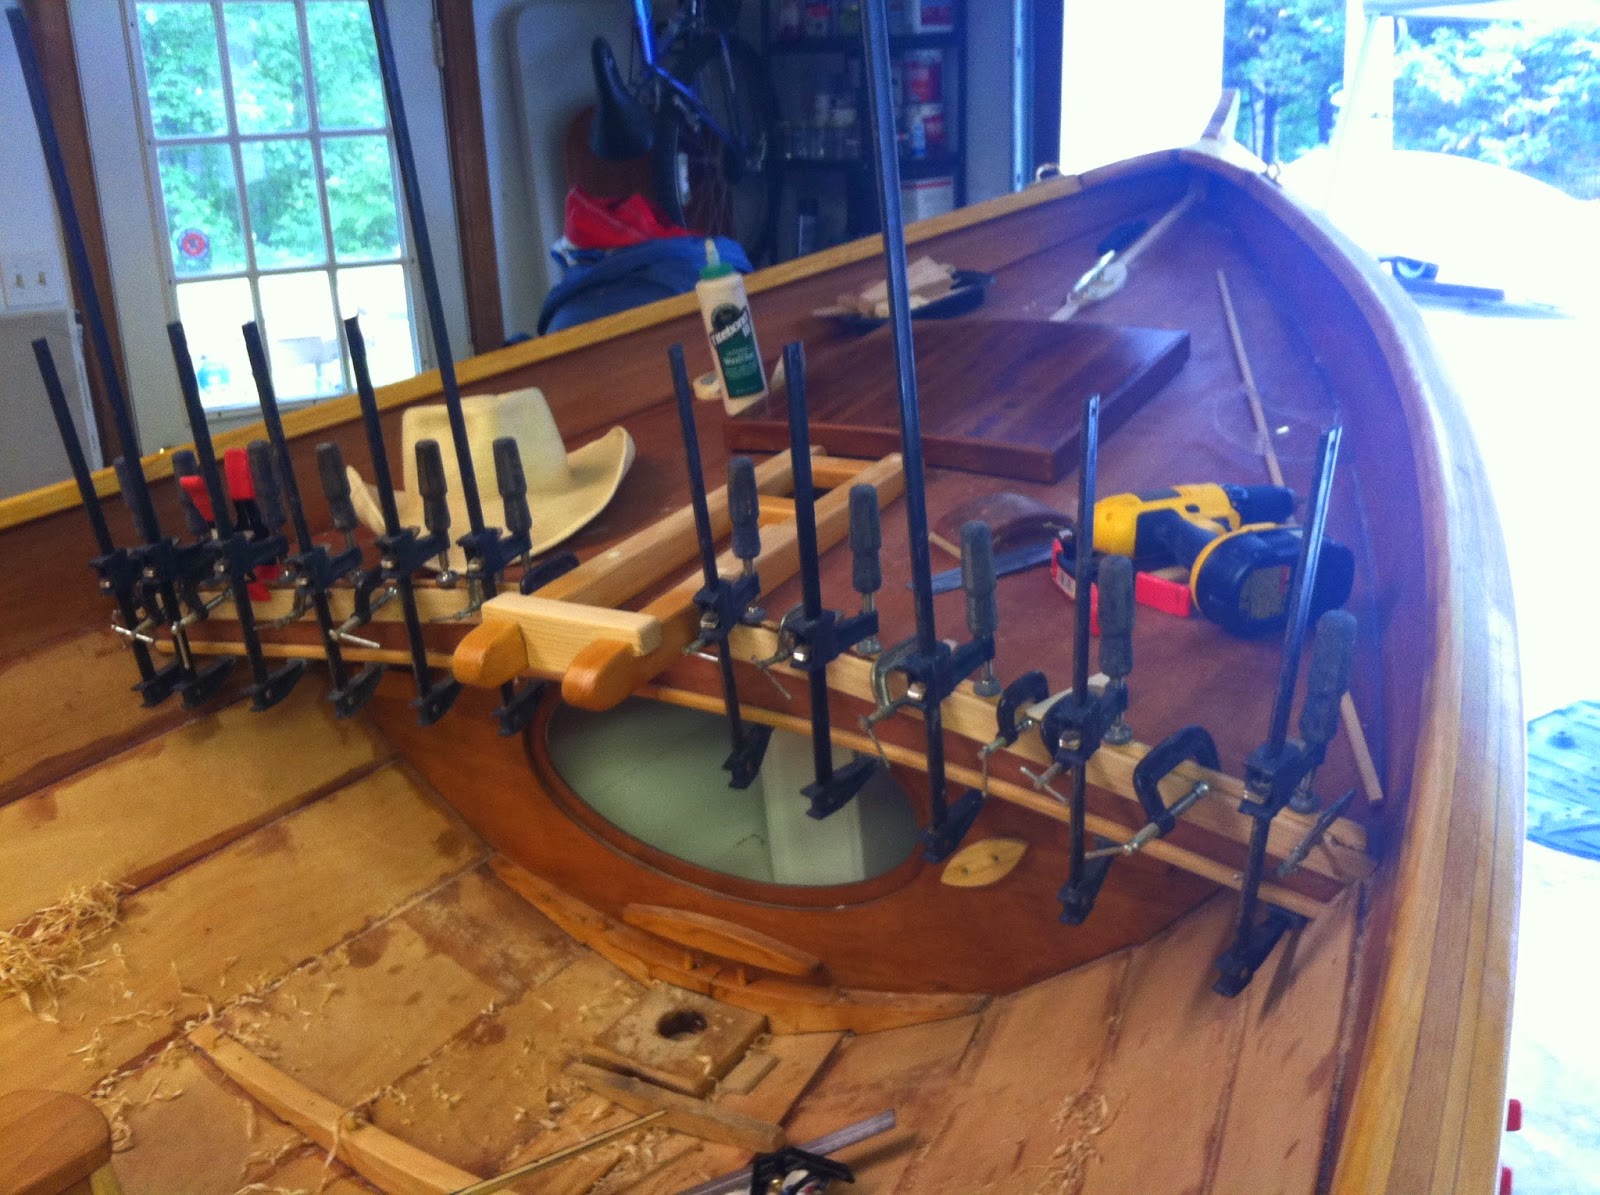
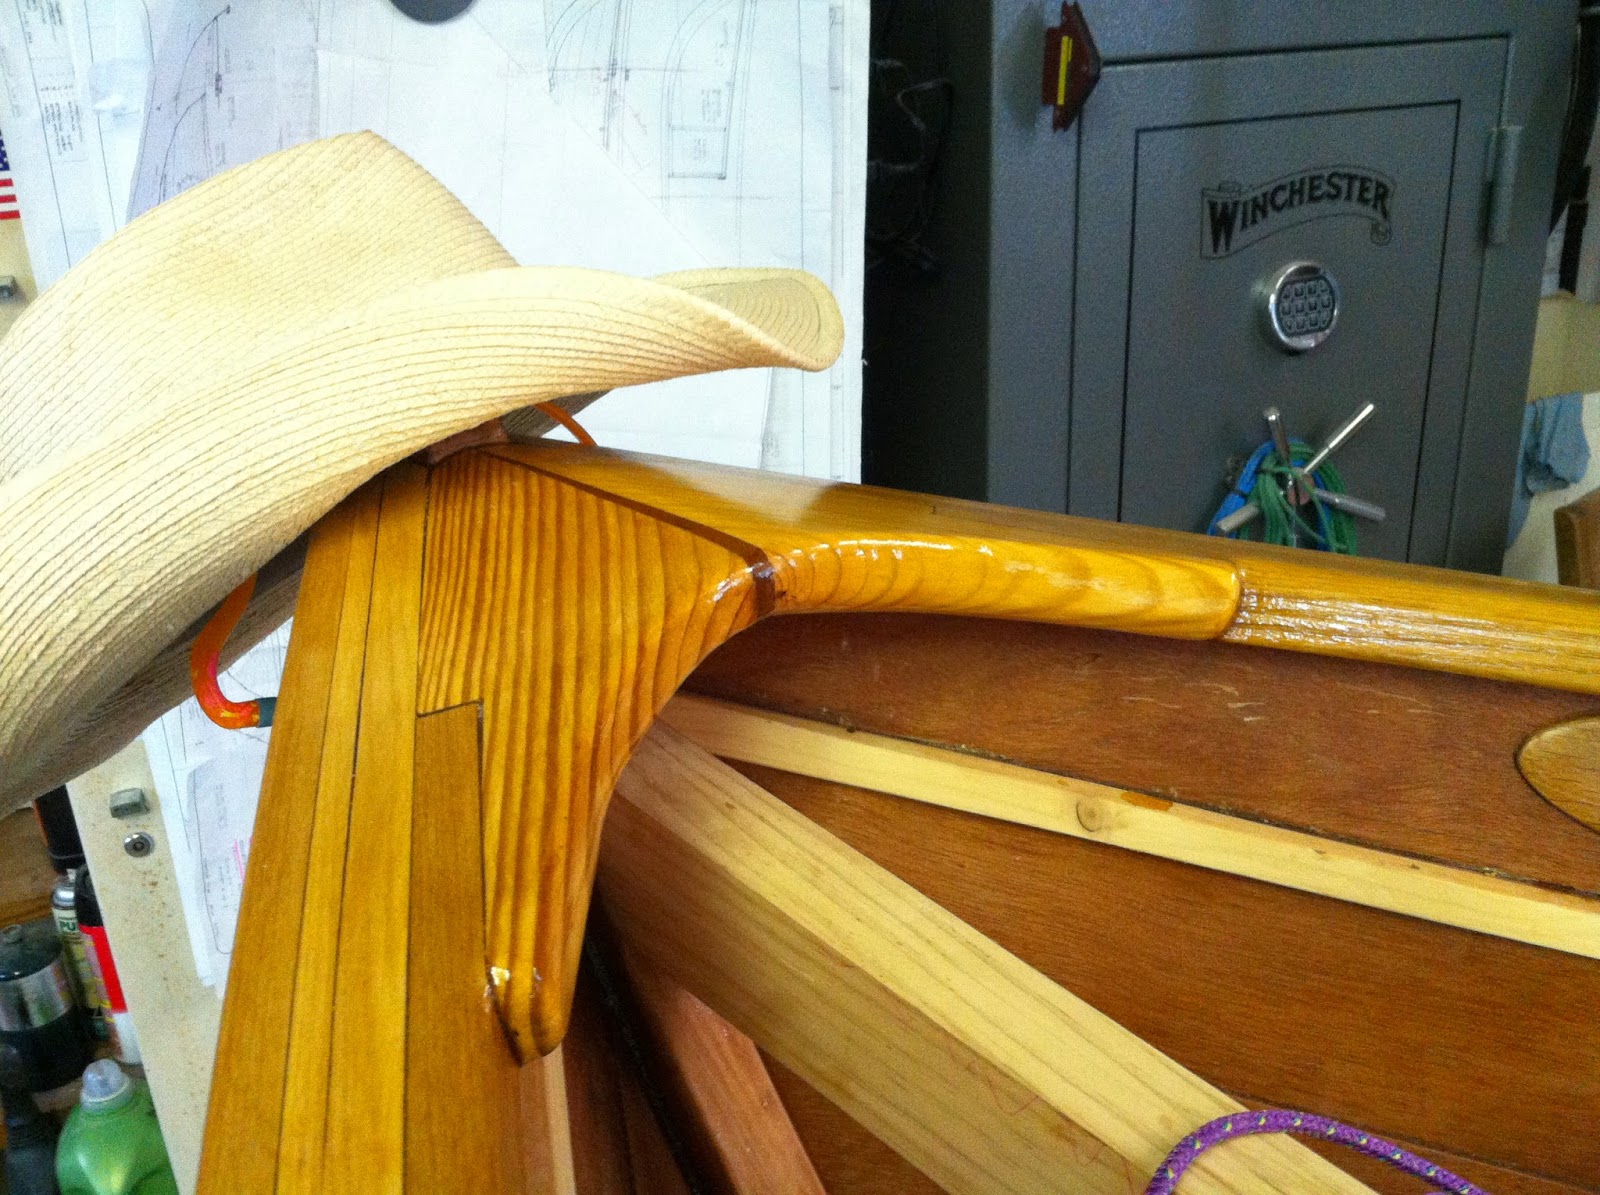
Oar in stored position after some shaping.

Shawn & Tenney has a good formula for oar length based on boats size. The Sooty would need 10′-3″  sticks (with a 2″ overlap) based on this. However, The fore and aft bulkheads are just shy of 10′ separation. Given that and my suspicion the added length will be a disadvantage in a troubled sea, I settled on 9′-8 1/4″ blades. These fit nicely in the boat and without the other two seat web supports, almost tuck up under the side benches. I like this. If necessary I can lash them to the webs. The blade nestles in the curve of the hull. I may glue a check forward to receive the handle end or vice versa.

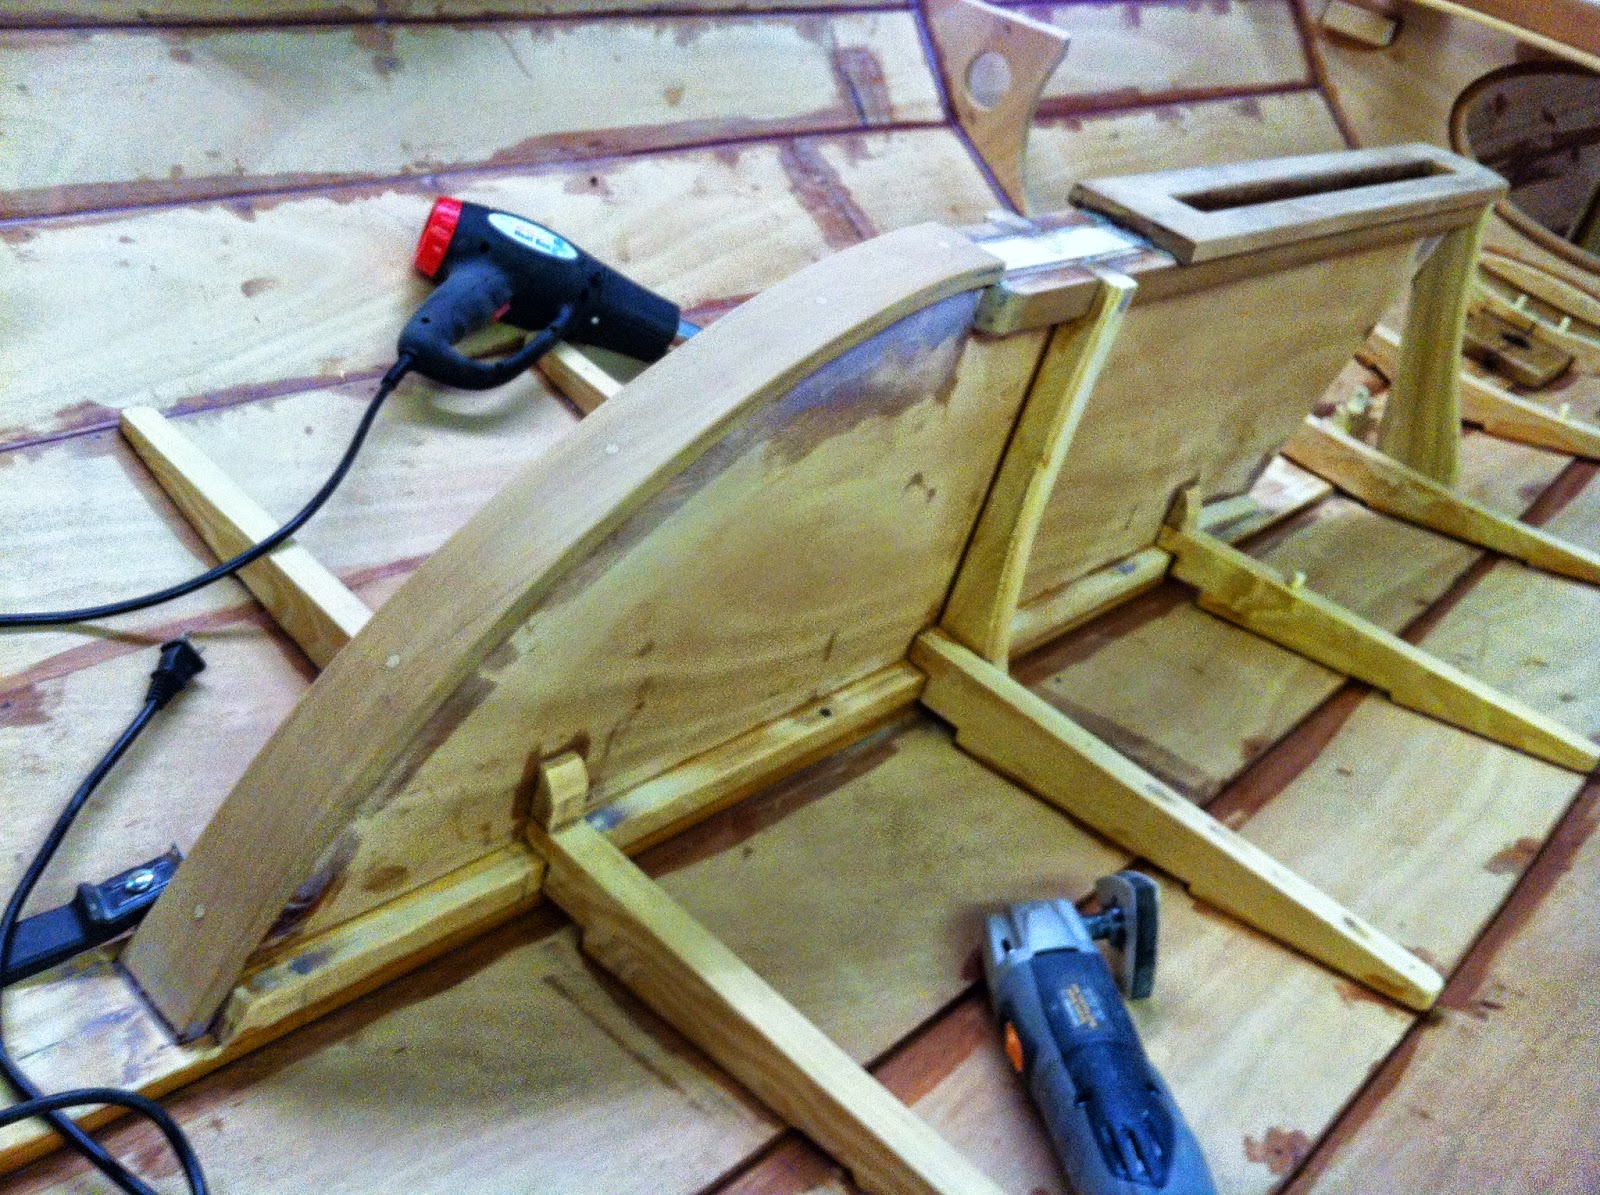
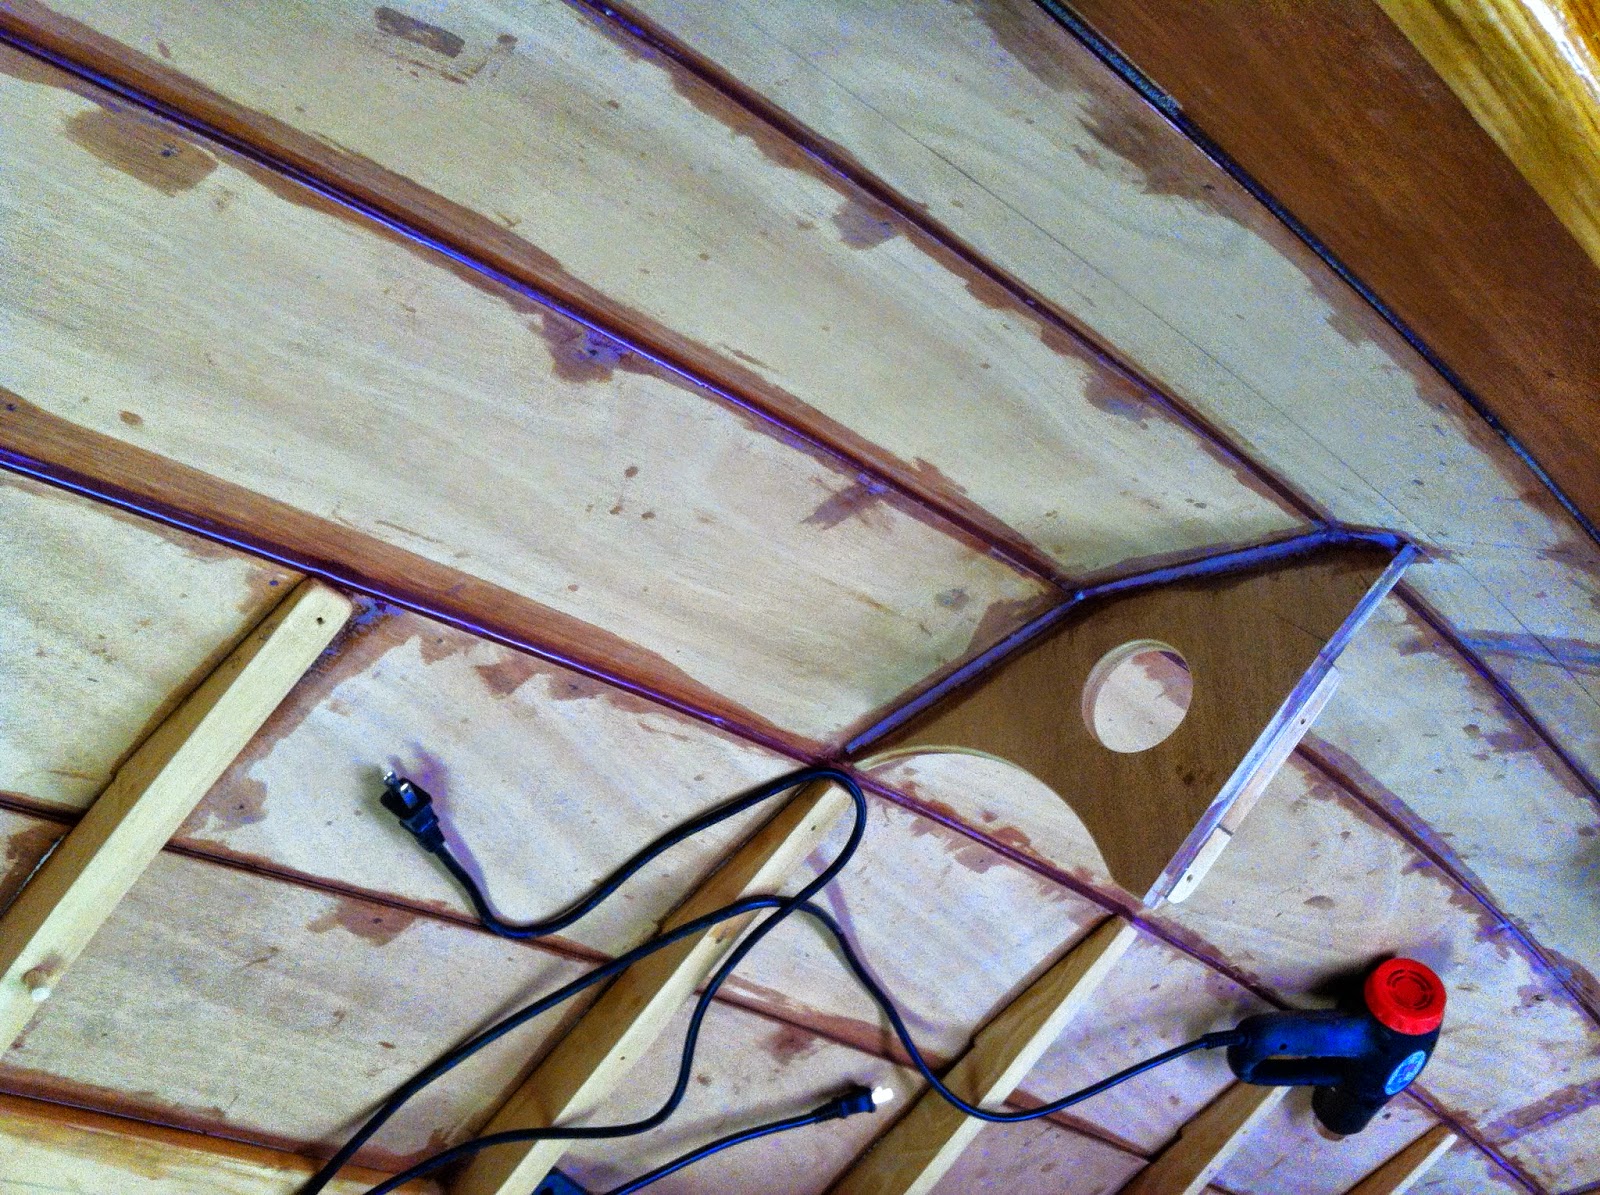
Lastly, used the red microballons to fair a couple fillets to either side of the webs, thwart support, and a couple scuffs from the saw on the centercase.
Support web fillet.


Thwart support.
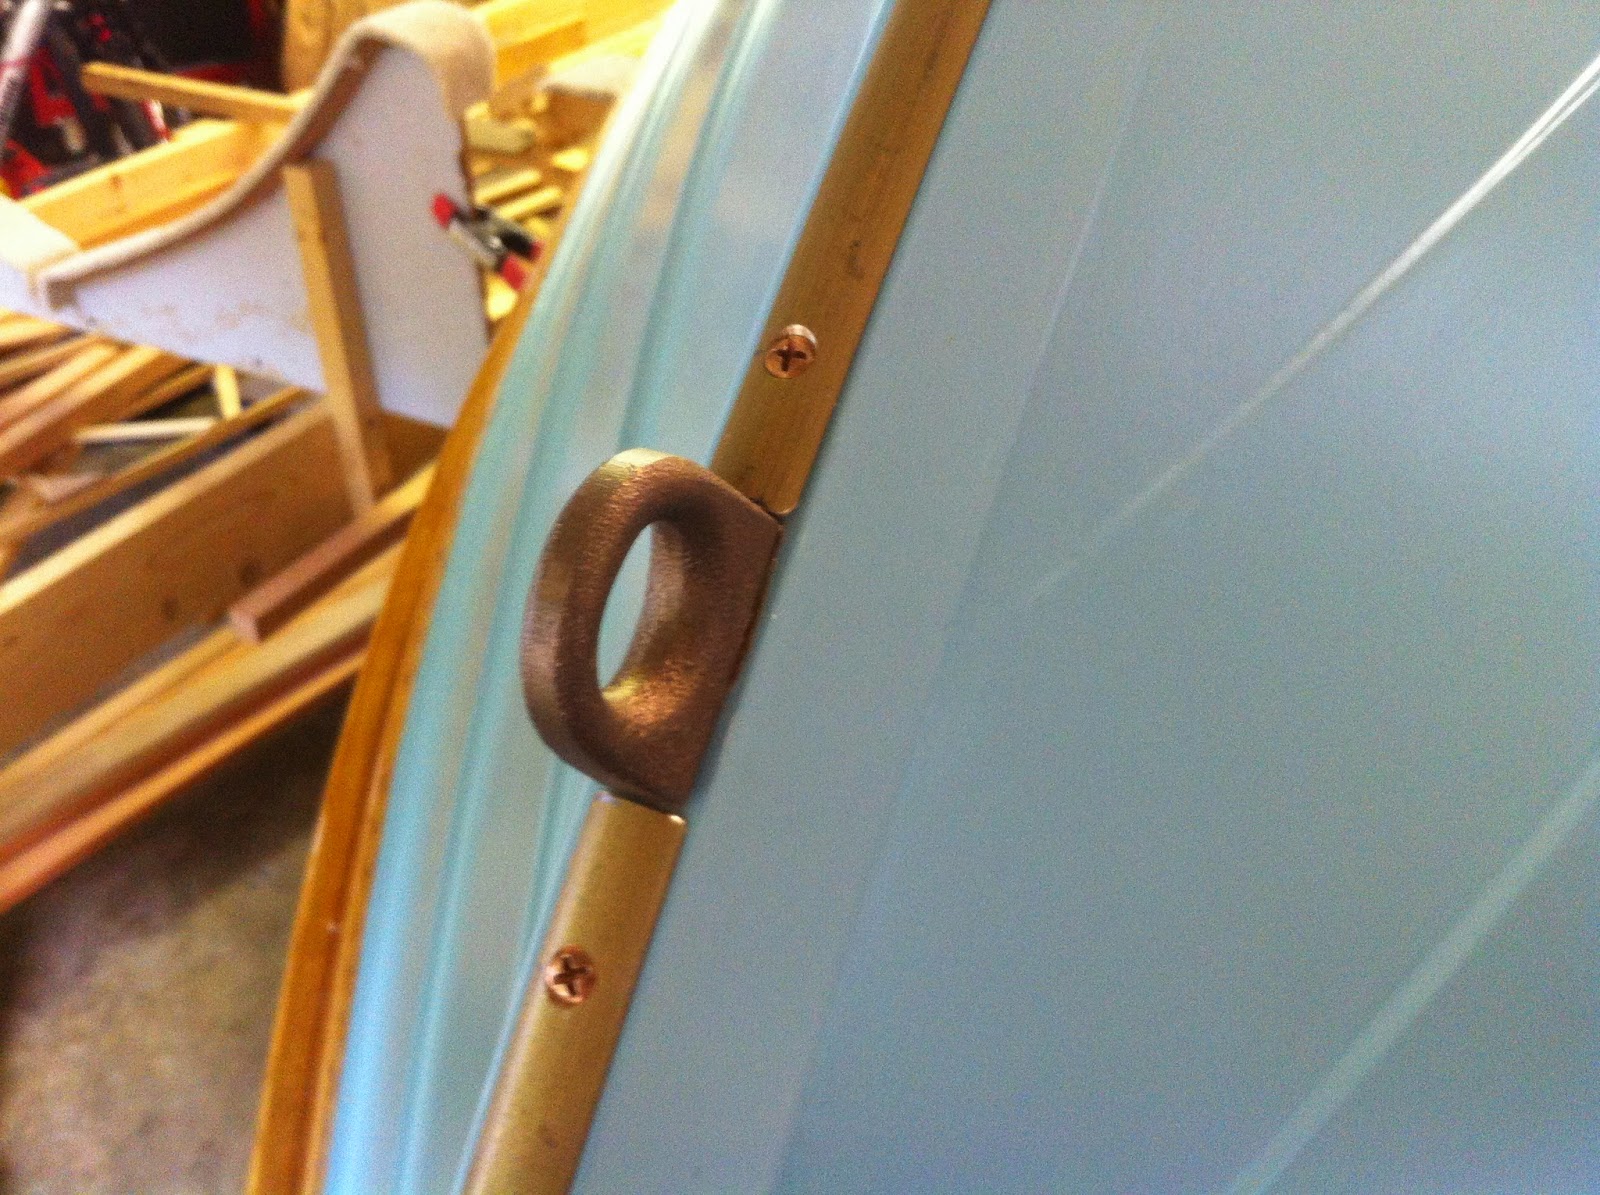
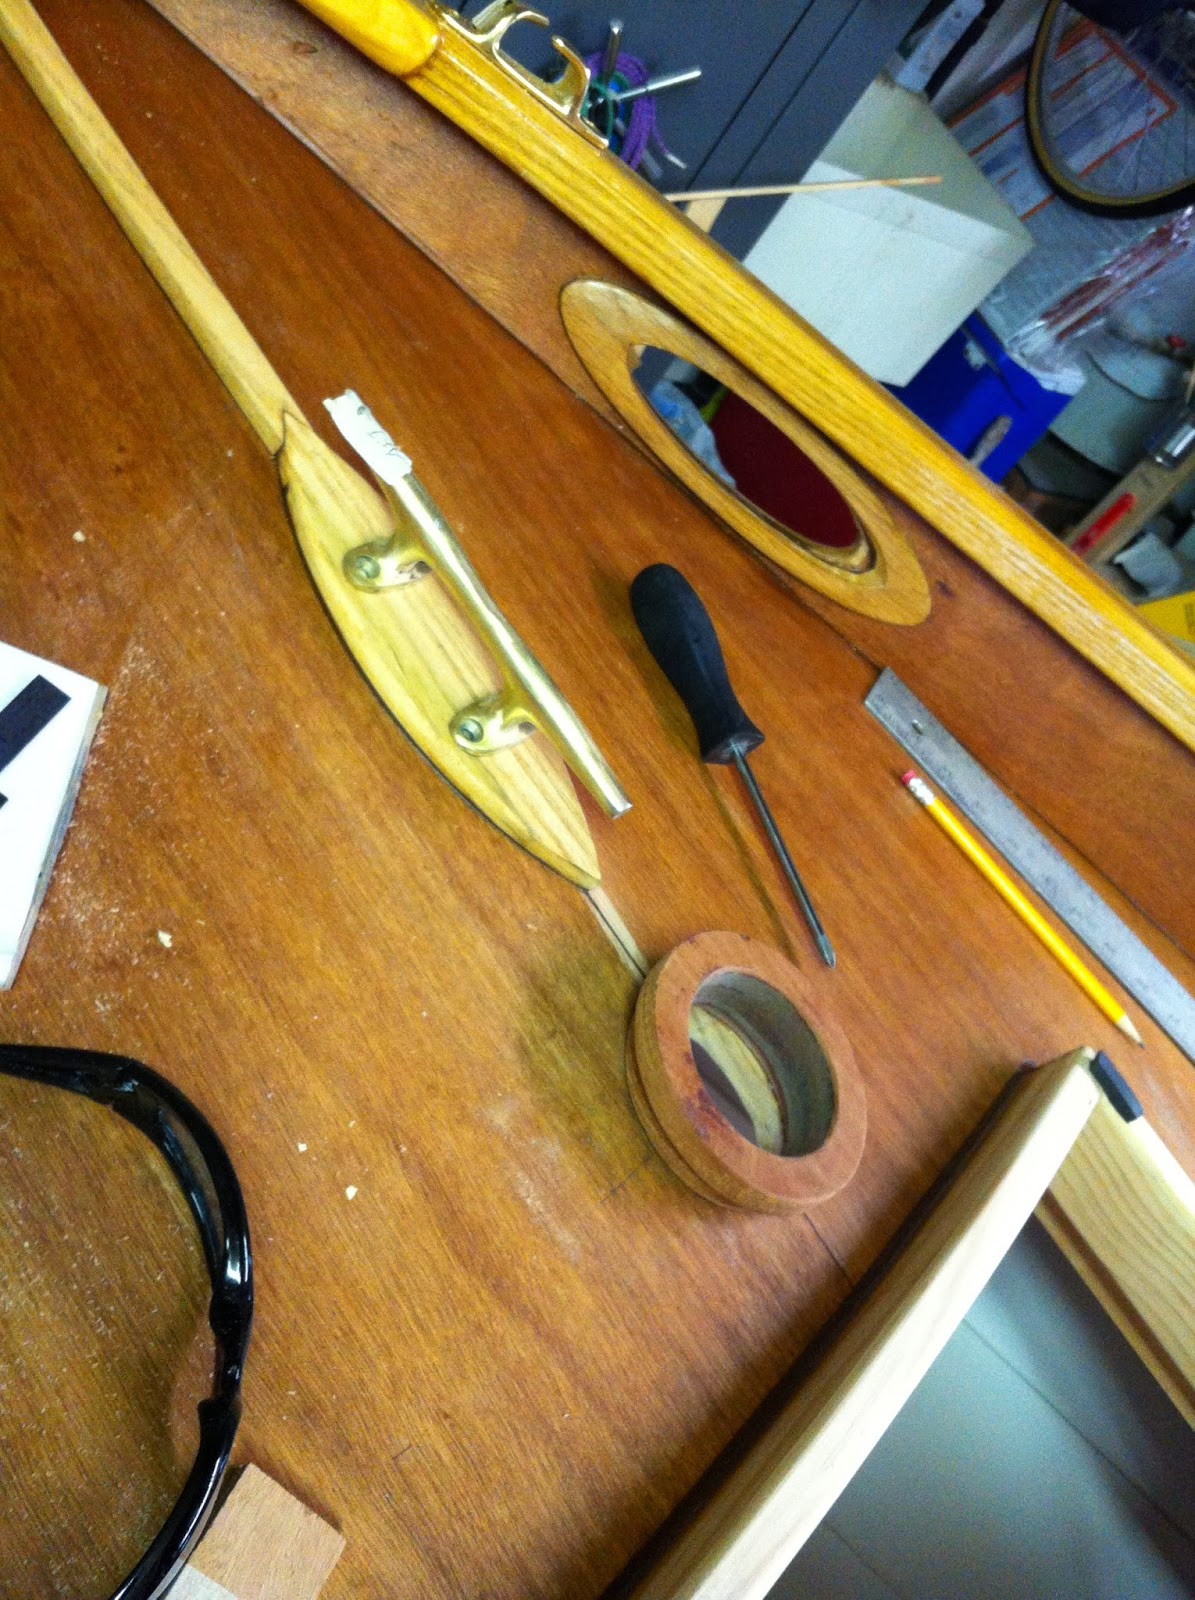
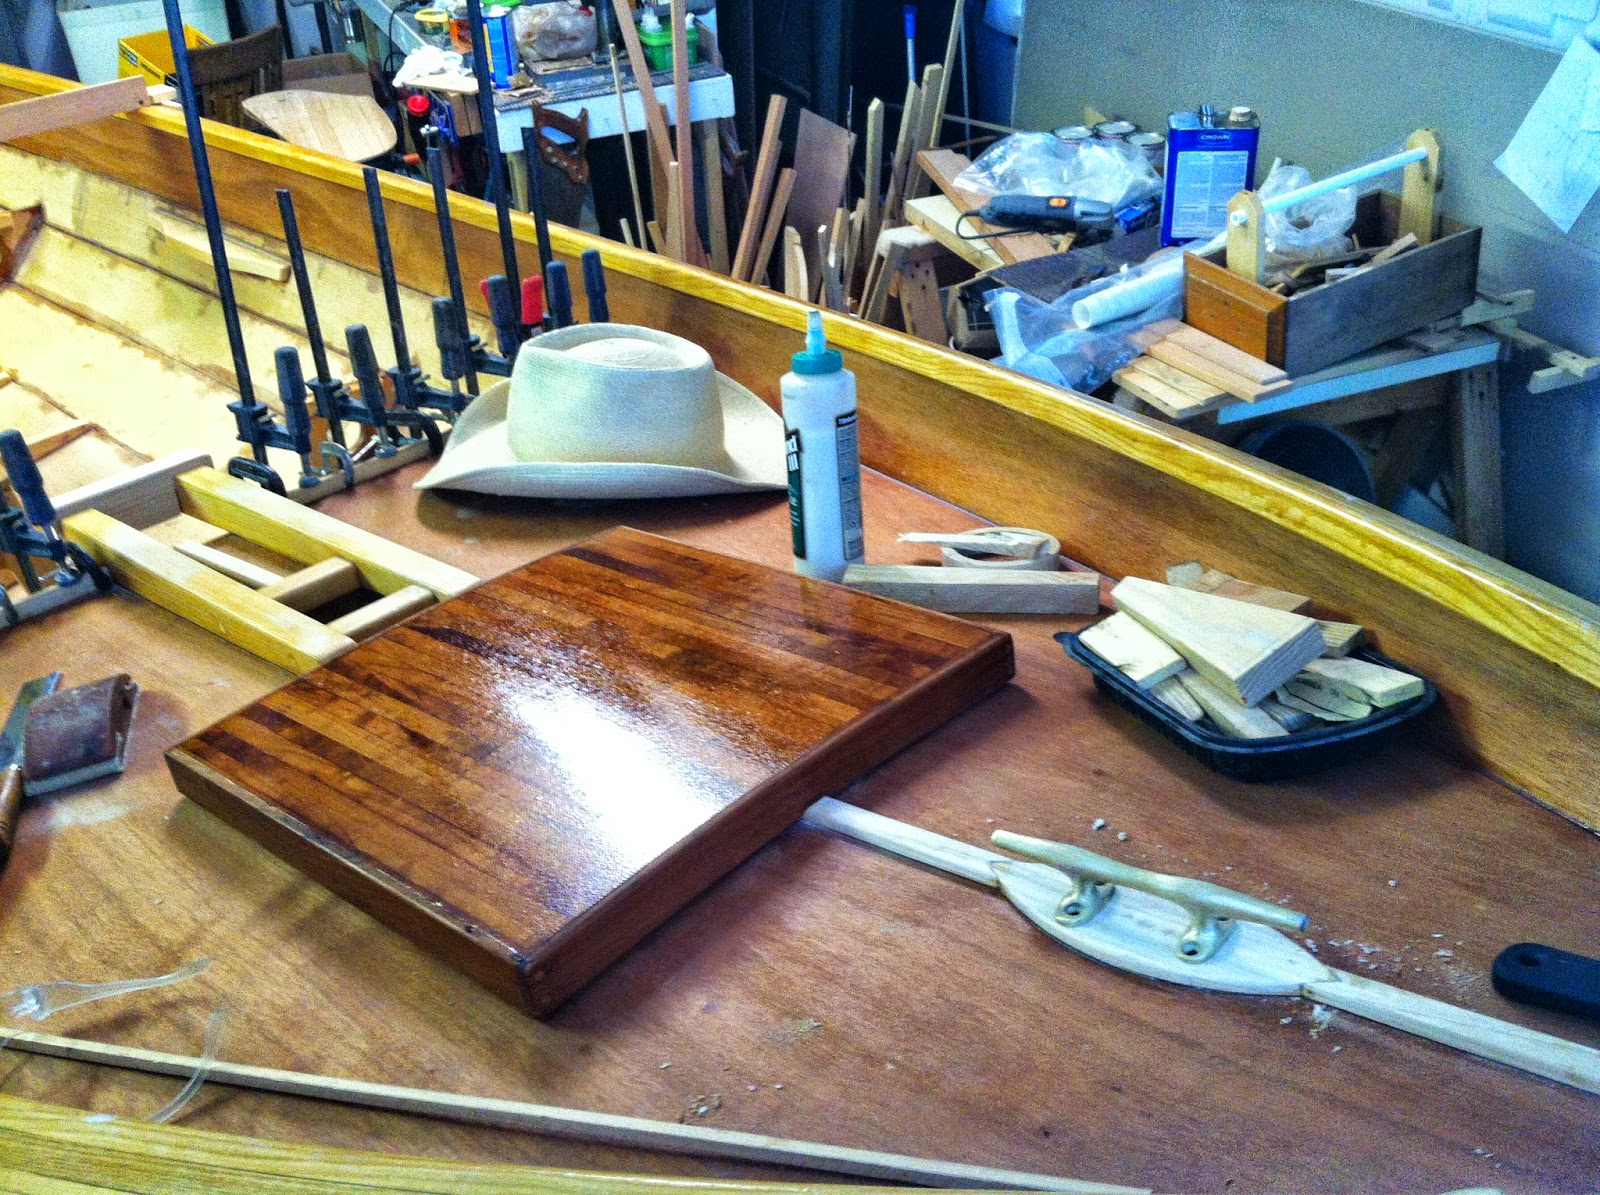
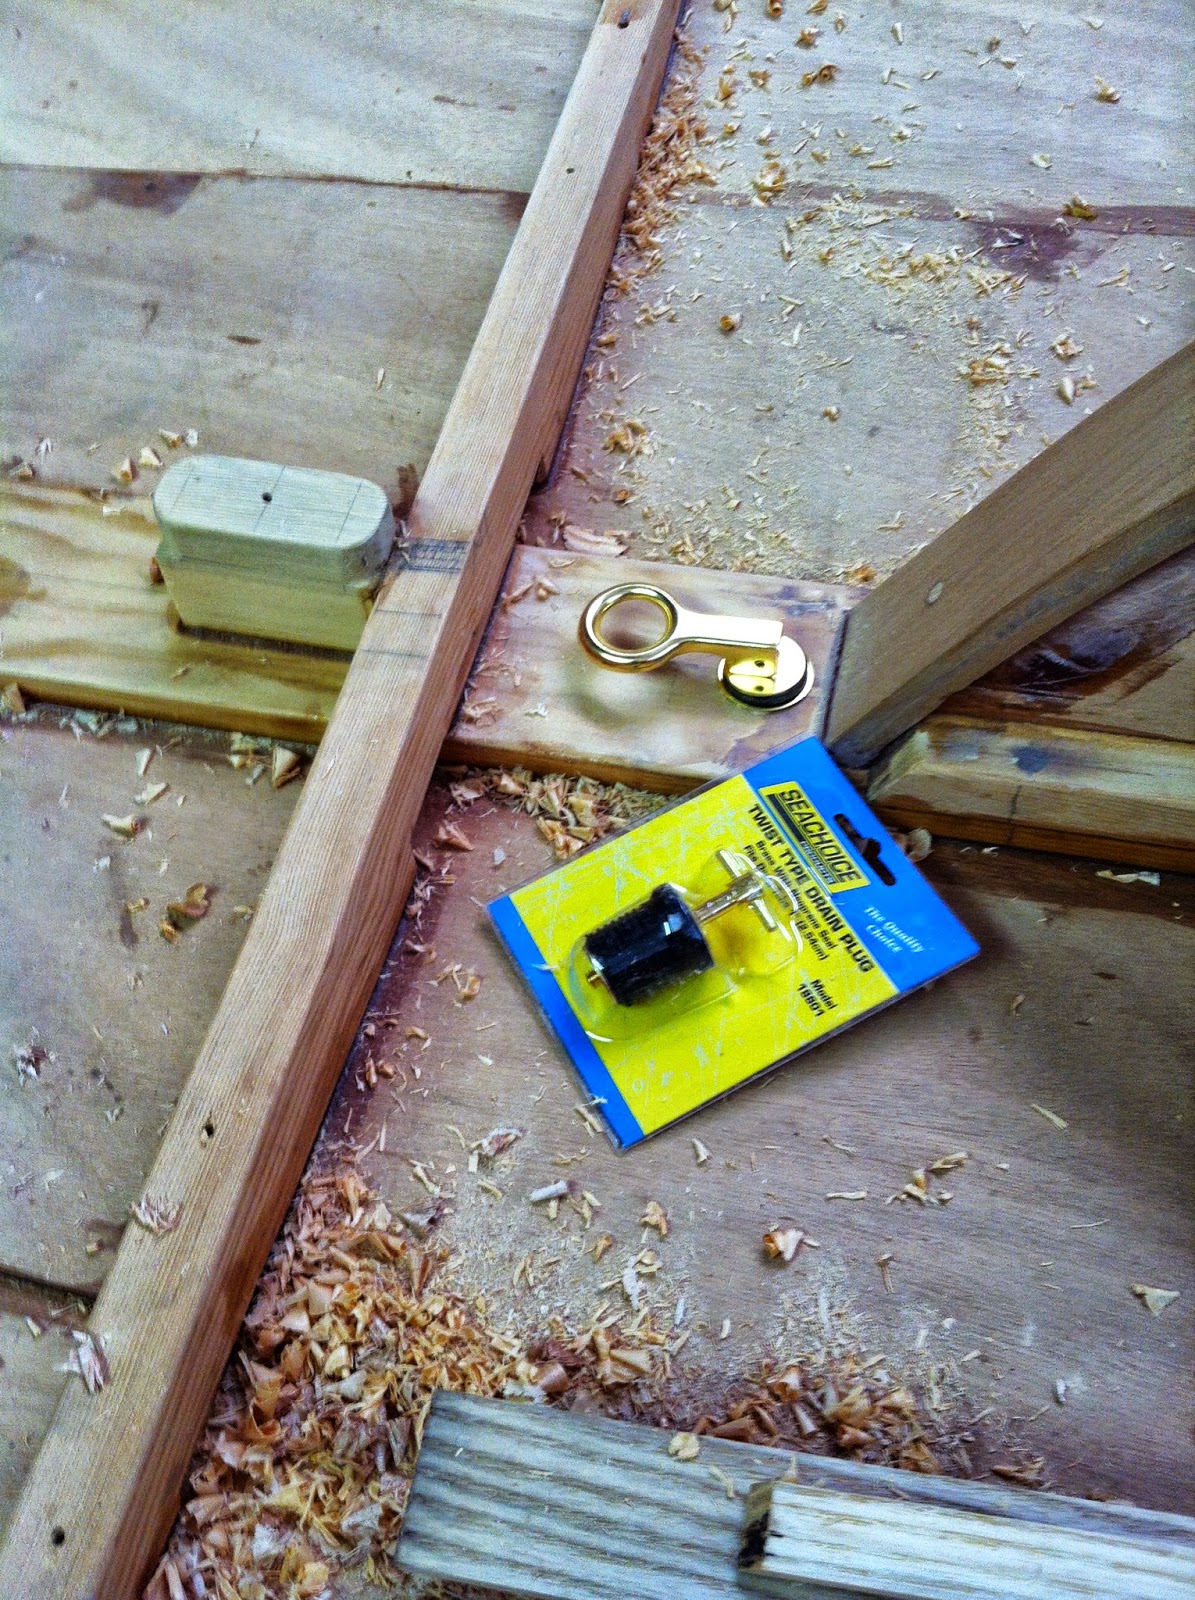
Ah, almost forgot. I got Horns and oarlocks from Shaw & Tenney. I went with the angled brackets and fitted them to the inwales. The typical sockets seemed to remove too much material in this key structural elements and raising them on cheek blocks would eliminate that as a seat on the rail. I’ll post that pic when I mount them again.