A Short Paddle

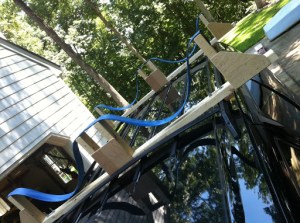
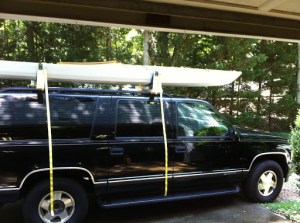
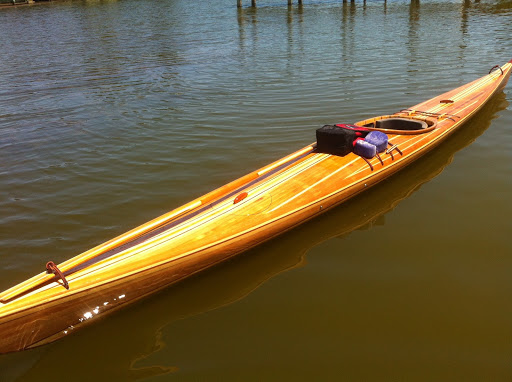
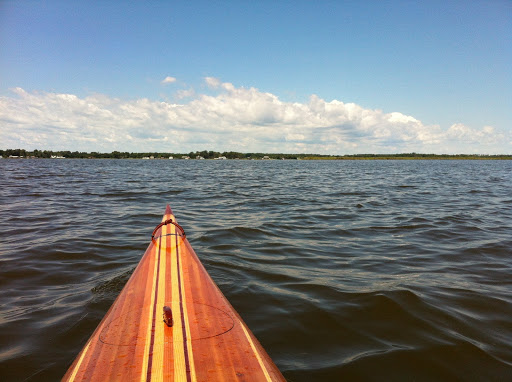
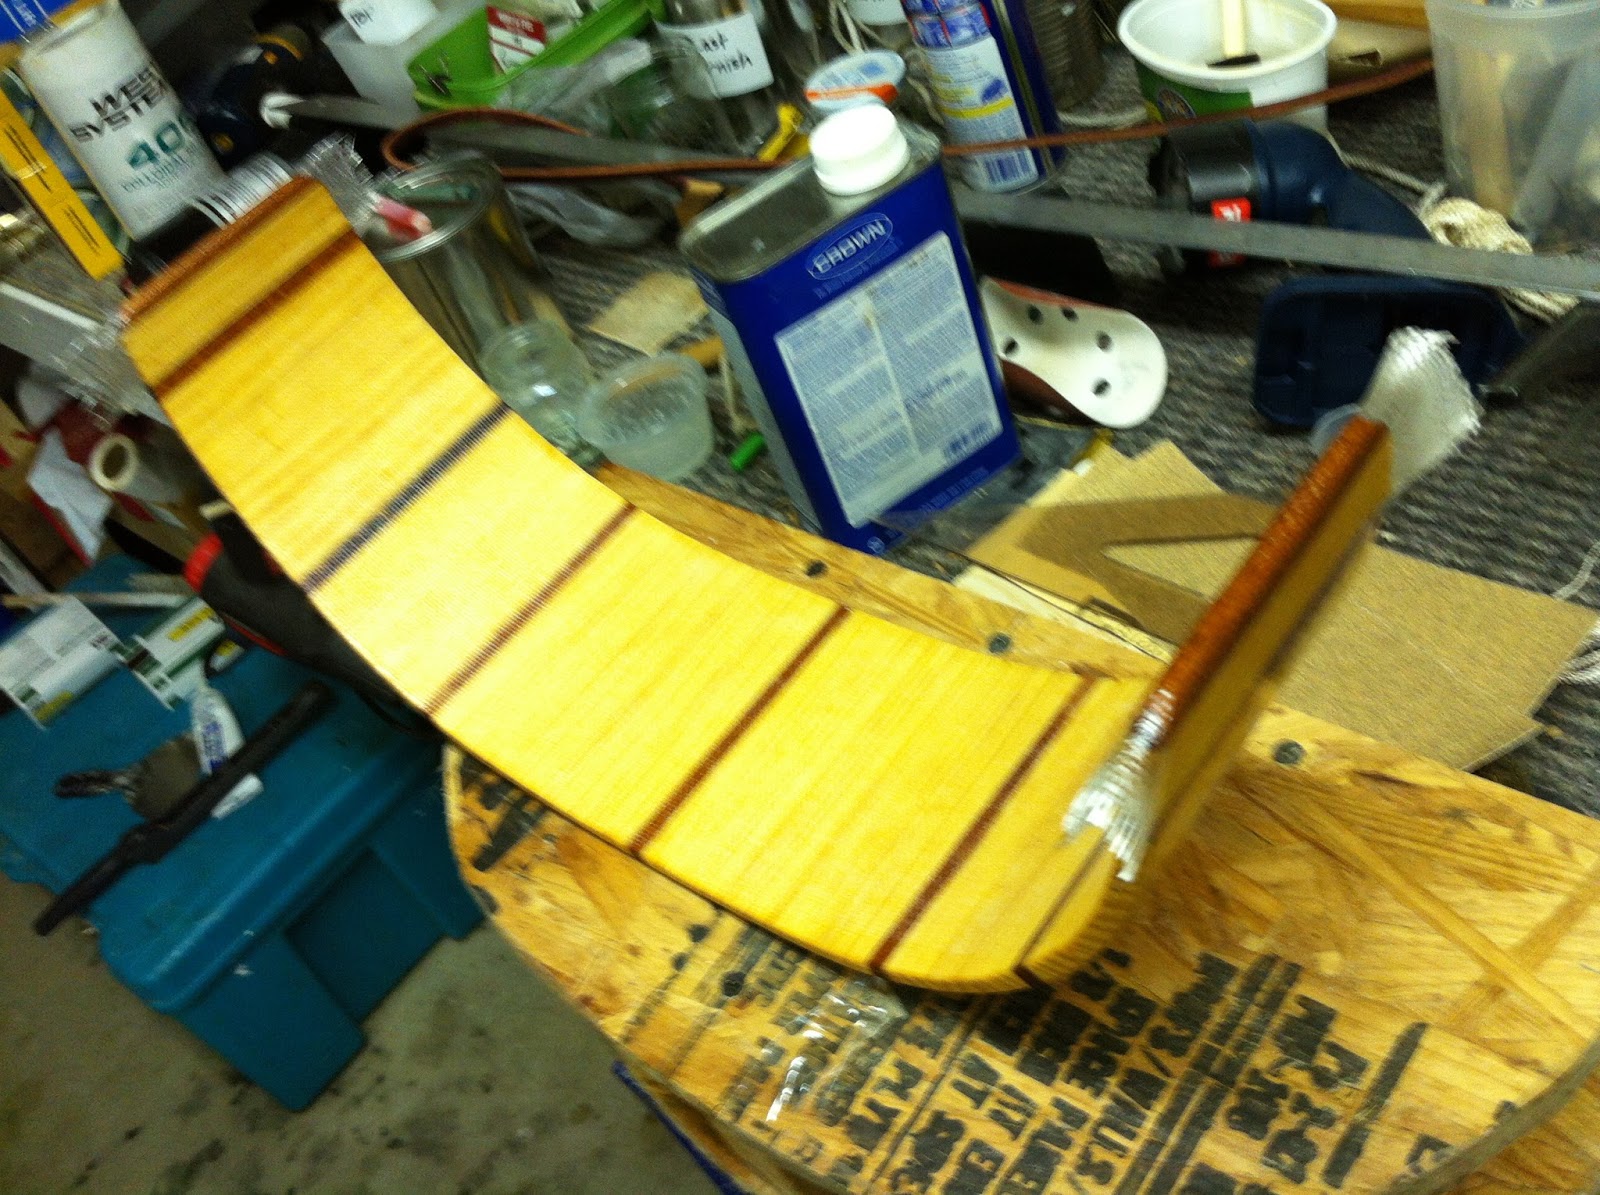
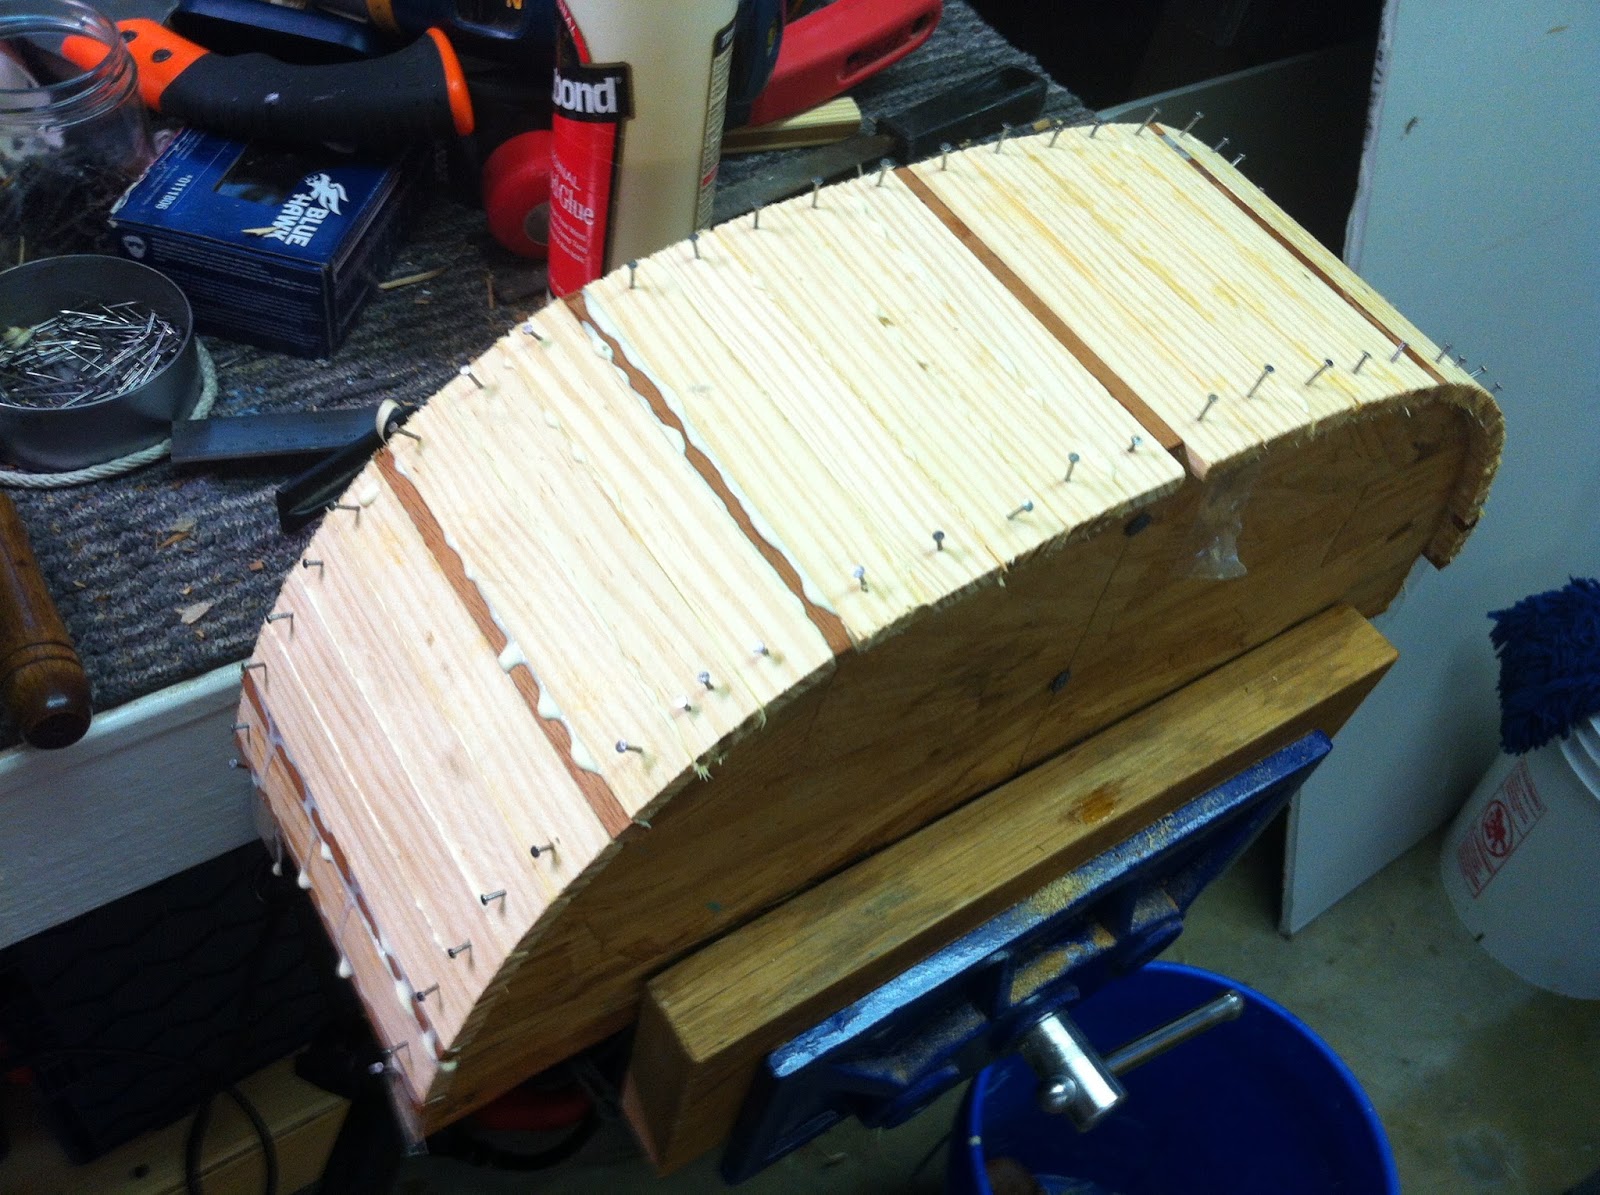
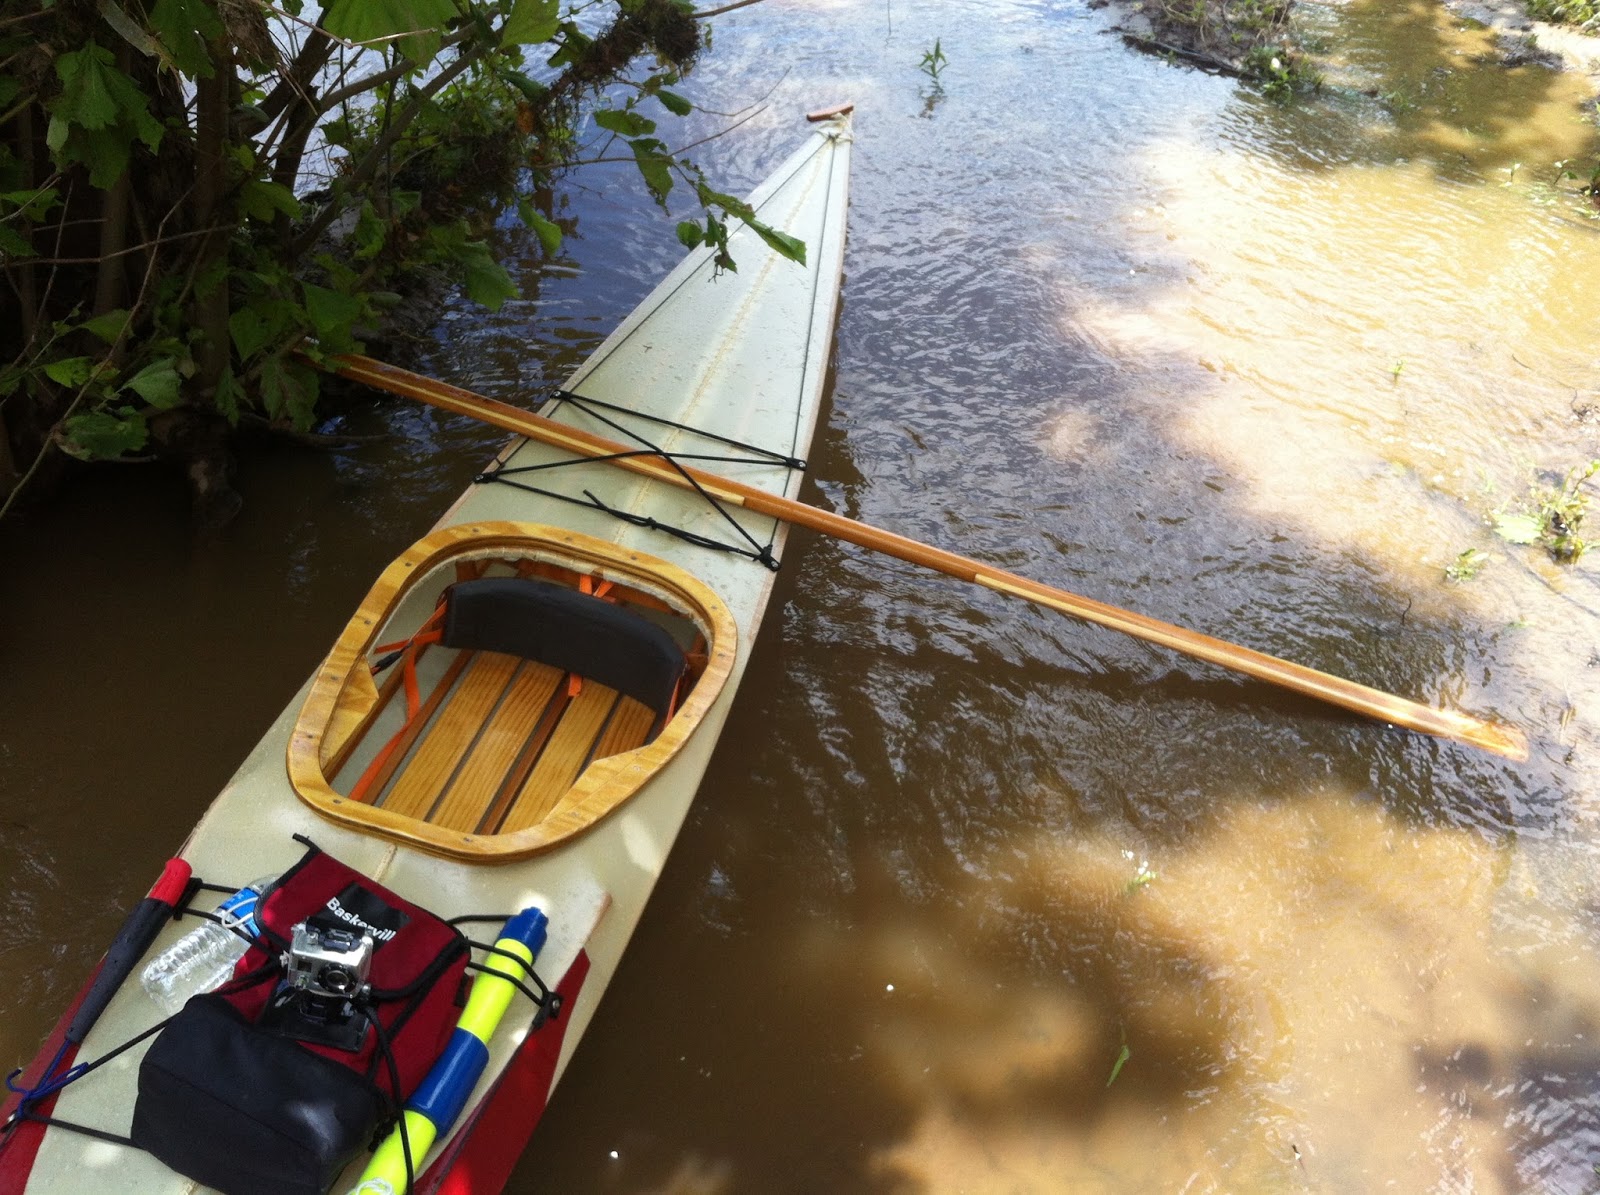
After this past weekend’s trip to St. Michaels, I left the kayaks on the truck’s roof for washing and storage yesterday. That didn’t happen. I thought another paddle might be good. This morning’s breakfast was quick: coffee, boiled egg and toast followed by a long walk for the dog (he’s been acting up. Now he is sleeps at my feet). Our stroll was pleasant with cooler temperatures and early sunshine. That convinced me to drive down to the local park and check out the river. Despite the rains, the conditions were good. My Outer Island kayak at 37 pounds is easily hauled around, especially with the dolly I built. Loading the boat with necessary gear, I wheeled it from the parking lot down to the floating pier.

DSCN0299.JPG

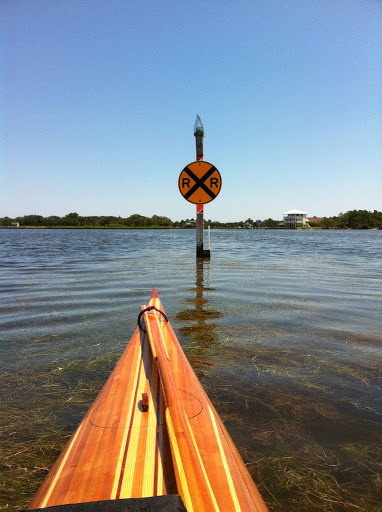
The water was muddied and current quick. The surface was smooth and the boat moved with little effort.

DSCN0278.JPG

Maybe 3/4 of a mile up-stream I discovered a Blue Heron resting on a downed tree protruding from the south bank. I’m surprised I can glide in so close and quietly readied my camera. The bird remained frozen, watched this intruder, but in the 15′ range he took flight further up stream. We followed.

dscn0283
bird side eye
dscn0285
snags

Another 150 yards on we found our bird again. This time he was more poised to fly and took off just as we drew in. Crossing the water, the pursued headed up the mouth of an overgrown creek entrance.

dscn0286
ready to fly

At  this point I felt a tinge of guilt in the pursuit, but the beauty of the thing and maybe the “hunt” led me on. Of all the times I’ve passed this creek, I’ve never ventured up it.


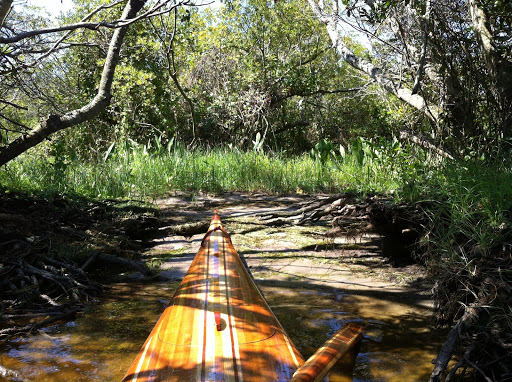
A whole other world was in there. The shade was cool. Song birds greeted us (or gave warning of our presence).

dscn0289
winding up the creek
dscn0290
obstructions


A short distance along, the path got crowded. However, we did find our prey. This time we caught him as he bolted.


dscn0291
flight

dscn0293


I had the shutter speed and aperture all wrong but, this is evidence of the third sighting. Shortly there after, with little room to maneuver, we turned for home.


Not focused on finding Big Bird, I’m struck by the beauty along the way. We will have to return in a few weeks when the colors are full-out.dscn0294


Round trip time was maybe 2 hours total. I decided I need to stop taking this backyard treasure for granted.

dscn0297


Kayak Hoist

Thought I’d pass this along. I have been simply hanging these light weight boats from eye hooks anchored in the ceiling at joist locations. It was a very awkward one man operation and really needed 2 because I had to get boat so close to the ceiling to clear the overhead door when up. Luckily I happened to find a bicycle hoist at Harbor Freight Tools that I readily modified for kayak use.

Host’s box.

The weight limit states 40#.  I suspect this can be significantly extended by replacing the very cheap nylon “line” (term used lightly). I switched to some 1/4″ braided nylon. And, if you really had a load, I’d recommend drilling out the riveted axles and replacing them with a small steel carriage bolt.

The hooks won’t go to waste. They can make good wall hooks for tool storage. Take them apart and you have 3. There are 2 per box = 6 total.

Removed hooks from pulleys.
I added a PVC strut to the lower pulleys for more control of hoist strap locations. I use nylon webbing for the straps, but still run that through the hollow in the pulley to bear the load. Also, the tubular webbing variety is softer on the boats. I’m using both at the moment.

1″ ID PVC added in lieu of “hooks”
Boat #2 raised.

The upper pulleys are mounted to a 1x4x8′ board which is screwed into above floor joists (24″ OC). I further hooked the tail end with orange strapping to help assure the overhead door clears. Now the system is truly a one man operation. Very satisfactory. $9 hoist + $5 line + $1.50 board + $2.50 PVC =  $18. No complaints. Made three.

Boats #1 & 3

Simplicity Afloat

 The building of this little boat brought forth many books. One I particularly enjoyed was “The Compleat Cruiser” by L. Francis Herreshoff. In it he notes that “simplicity afloat is the surest guarantee of happiness.” This past week was just that. I took perhaps a dozen solo and accompanied paddles in the new boat. All were anywhere from an hour to three. Perhaps the most memorable trip was one rainy scudded sky afternoon. Gliding through marshes, hearing the drizzle on the water, and the dipping of the paddle was delightful. I wish I had taken some pictures, but alas you really can’t. Yet, the simplicity was there and we were afloat. A wonderful end to that day.

There is certainly pride in having made a thing. Several Greenland paddles and flat bows we’ve made hang prominently from the rafters in our sunroom. There is a certain elegance to these objects with their sweet curves and soft hollows. What is it about them that transcends the thing itself? We’ve a lot of machine manufactured paddles and a couple bows, but none are appreciated or displayed. I treasure this little boat more than any piece of furniture in the house. I’m tempted to hang her somewhere, but not all battles are worth fighting and she doesn’t have that furniture grade finish … but, she is mine. The whole experience has made me appreciate craft on a new level. I sometimes wonder if we as a society have forgotten or even recognize it anymore. And all the conveniences of technology seem to have taken the time supposedly saved with it. Have we also allowed it to rob us of finer, simpler, things in life? The now 7 month journey of this little boat has really changed my perspective of boating.

Early morning hitch hiker.

Fine day.

In the marsh.

I do have a few items to fix/ adjust:

  • add hip pads to the braces so I can learn to roll the boat.
  • weld/epoxy/glue a nut under the hatch to aid in removing the lid. I must say they kept the interior bone dry through rain and a clumsy capsize while exiting the boat.
  • may add some thin minicell under the heels and above the knee areas.
  • secure the seat with velcro to the cockpit floor so I can adjust later, though I think I’ve found the sweet spot. I may lower it by 1/4″ too. Every bit helps.
Otherwise the only scratch she suffered was from the mast of the Moth as I removed the trailer. That’s another rite of passage. It hurt and the bay was too shallow for dagger board sailing. All other scratches will be equal.
So here are 2 video clips of my daughter in an SOF and one of my boys in the new boat.
And last for now: one of my great, great grandfathers was a Danish navy captain who brought his family to America as the age of sail was no doubt dying out. Two ships he commanded are pictured here:

the “Flying Dutchman”

the “Otto”

Perhaps some of that blood lingers in my love of the water? Don’t know, but in searching to learn more about faerings and other danish boats I came upon a verse I recalled reading in high school (not much stuck and I couldn’t have quoted it). I must read the whole again (for real and not for the quiz). What adventure is evoked here.


“Then the keel plunged
and shook in the sea; and they sailed from Denmark.

Right away the mast was rigged with its sea-shawl;
sail-ropes were tightened, timbers drummed
and stiff winds kept the wave-crosser
skimming ahead; as she heaved forward,
her foamy neck was fleet and buoyant,
a lapped prow loping over currents,
until finally the Geats caught sight of coastline
and familiar cliffs. The keel reared up,
wind lifted it home, it hit on the land.

— Beowulf, c. 800 AD

FINISHED: 237.5 Hours and $757.50, but wait … there is so much more.

Was it an eon ago when snow covered the ground? On this 82 degree day it is a strain to recall the frozen fingers that pushed another board through a makeshift outdoor mill. How many times did this shop’s tent decide to talk a walk across the back yard when the wind howled? Well, now the long days of summer are coasting down. July was a beater, but the daylight has been shortening for over a month now. It is now August, the dog days are here, if only for a short spell. Without a name, the dear kayak is complete, tested, and proven. She is worthy of name. Maybe it is superstition, perhaps some respect needed to pay a craft that has delivered so much joy. It began with that first saw cut and now complete, she offers many a paddle and no doubt many water travelled adventures.

I confess my kayak experiences have been limited to just a few craft, all mine, but this boat excels beyond any of the others. So, it took 237.5 hours and $757.50 in cost. You could add 5-10% in either direction for the time spent, but fastidious records were kept by spreadsheet and tasks noted. This is generally contrary to my nature, except I wanted to know. Cost includes  plans ($95). All of this is clinical and perhaps too obsessive. Neither does the boat or process justice. Would I do it again? Oh, yeah. I’m hooked … and it started as a wee babe. What is it? As Louis Armstrong said, “Man, if you gotta ask, you’ll never know”. The ripples, the waves, the wind have always enchanted me. Add to that the satisfaction of going forth in a vessel I built by hand, no kit, just some plans, boards, glue and glass. Can I call it sublime? (I may need to look that up, but seems apropos. Got to use those words sometime).

There are a few details left to catch up on. I’ve not much more to add there. However, I can’t leave a hole in the process, but I didn’t want post without the true splash. Here ya’ go:

Seized paddle keepers. Deleted the stem toggles as a result.

Glued strips for hip braces.

Starboard hip brace. Slot for back brace webbing.

Brace epoxied and held in place by weight.

Strapped kayak to 2x and leveled.

SS footmans loops. West marine $6 each. eBay 10 for $10.

Back brace webbed to hip brace. I ‘ll add foam to hip later.

Decided against carbon or glass loops. Was ready to paddle.
Loop added to shaped cedar block for back brace aft. Note breathing hole in bulkhead.

Bearers made for 2 kayaks. Heavy webbing is clothed in flat PVC hose.

Missing wheel cover. 1 kayak loaded.

U bolts w/ plastic hose to protect rails.

And here are the true maiden voyage photos. I took a paddle across Knotts Island Bay. You could likely walk across in all honestly, but that would be a different adventure. Boat tracks wonderfully, has good reserve buoyancy, and save for some minor seat adjustments, the 2.5 hr cruise was fantastic. What a reward after the build. Such a perfect day with such a lovely boat. I’m guessing on the cruising speed, but I think 3.5 – 4 kts can be readily maintained. Winds were at 5 kts, humidity was low, and sky was only clouded enough for majesty.

early morning guest
long view
shore edge

ready to ride

1/2 way across Knotts Island Bay
grasses mid bay

waited. looked both ways.

duck blind

blind eye view
Pearl’s

local yacht club

nice collection of buildings I thought.

Tid Bits

Well, I had expected to be done in June. Life got me off schedule for a good month. As I’ve said, there isn’t much to report on loads of varnishing and sanding, but I do have a few items to share:

  1. I got Minicell from Joe at Redfish kayaks and carved away at the seat. It started as a 4x16x24 block. A Japanese saw and rasp (sure form) made decent work out of it. I used fore and aft forms from the build to interpolate the rough cuts. I plan on securing it to the hull by Velcro strips for ready adjustments until I’m familiar with the boat.
    Fitted foam.

    Note drain channel in center.

    Scraps and tools.
  2. Toggles for the latigo leather deck lines (cut from a belt strip to 3/8″ width) were laminated from yellow pine and mahogany and sanded to shape then varnished 4 times.
    sanded

    drying
    toggles installed
  3. Paddle keeps at the ends of the boat were installed. I think the loose leather tied at the ends will be easier to push the blade under.
  4. Final pass of clear silicone sealant glued in the bulkheads. I placed a small hole dead center for breathing between compartments. The dry time was forever (4-5 days) so I used a lamp to speed things up.
    silicone glow

    Moth over kayak
  5. It is good to have a 9 year old boy to install the foot pegs. I just couldn’t reach the forward bolt to save my life. He slithered in to hold peg frame against hull while I tighter bolts on the outside.
  6. Back brace is sanded, glassed, and shaped. Foam and strap slots need to be added. I still haven’t decided on any hip braces which are preferred for rolls (that I’ve not attempted).
    inside face glassed

    At 230 hours, I’m pushing to splash this baby Sunday afternoon even if a few details remain like hip braces. Yeah! Yeah!

Sand, Varnish, Sand, Varnish … etc. etc.

Not much to report other than wet sanding, varnish, wet sanding, varnish … you get the idea. The weather has been quite humid and I think it caused a bad result on my next to last coat. Add to that there may have been some microscopic moisture present that pushed the varnish away in a few places. I hurried the past coat and paid for it. So, … more sanding. I’ve decided to wait for cooler temps in the morning for this last swipe of the brush.

Sanded and waiting for last coat …

While she waits, I ordered some Minicell foam to carve a seat and cushion the back brace I glued together this afternoon. A stiff piece of paper was taped under the aft end of the cockpit and a pencil line was scribed a good inch from the rear and as close and 1/2″ on the sides. This template was taped to some scrap OSB and 2 sides were cut out to make the form. Crude but effective. More pics and details can be found here from earlier braces.

new brace glued up.

Determined to use the yellow pine and some mahogany scraps, I copied the “theme” of the cockpit coaming. We’ll glass both sides after some sanding and shaping, contact glue an inch of Minicell and varnish the rest. Instead of fiberglass strap eyes, I may use stainless. This is where we stand at 219 hours.

Maidens, VA to Robious Landing

Had the best sort of paddle yesterday afternoon: downstream and downwind. After 5 coats of varnish on the new boat’s hull, I needed inspiration for the final stretch. A lazy river trip down the James was the answer. It also proved a few things to me:

  1. our back braces were close to perfect save for some vertical adjustment needed to position the brace an inch higher.
  2. the wood slatted floor boards were not comfortable enough for hours on tails. Surprise! A pad must be added.
  3. nothing is slipperier, stickier, or oozes more than river mud. Getting our boats too the water without falling and/or getting stuck was a bit of a trick. Thankfully the islands we stopped at later were mostly sand. The recent high water had dredged all kinds of sludge up the banks. Boat ramps were useless. We had to find a bank where the grass gave enough traction to the water’s edge.
Our start put in on the very muddy banks at Maidens, VA and ended at Robious Landing Park where a good floating pier exists. The dock at Watkins Landing was missing. Perhaps the recent river swelling took it out. It was there a week prior to all the rain. This paddle along the James was almost 20 miles and we covered it with 3 stops in about 3.5 hours. To our benefit the river was moving fairly swiftly. I don’t know if there was a high water warning, health alert or both. We didn’t check, but we were alone save for 1 jet ski and 1 tuber the entire afternoon. Unusual along this stretch. We were joined by numerous blue herons, huge painted turtles, peregrine falcons, and one bald eagle. No pics of them regretfully. The iPhone and GoPro camera were never at the ready, but here are a few pics along the way.


Here is a short video through some off the runs between the islands along the way. Tomorrow: back to the varnish!

//www.youtube.com/get_player

Glossy Pics

After 5 days of varnishing, it has almost become a ritual. Early in the AM I have hauled the boat out of the garage to wet sand drips, sags, and errors with 320 grit. I find this doesn’t remove too much varnish and the water keeps the finish cool enough so it does not peel off the hull. Doing this outside doesn’t spoil the cleaned garage. A squeegee pulls off the water and then the boat goes back into the garage. Thankfully the damp weather has kept the dust down. I have been spraying the floor down, wipe the hull with denatured alcohol, and make 2 passes with a tack cloth. After the dust showing in the first coat, I rigged a plastic tent over the boat.

Tented boat.

A couple tips that took me awhile to absorb:

  1. Start on the hull. This allows for practice before the more obvious deck work.
  2. Taping along the shear leaves a clean line to work from the hull to deck. Typical masking tape worked fine.
  3. Thin the varnish. I added a cap of thinner to about a cup of varnish. This dramatically improved the flow.
  4. Use quality foam brushes. Wooster makes a good 3″ one. Smooth and no hairs in the finish.
  5. Lay on the varnish parallel to the keel down to shear. The stroke perpendicular to the keel down to the shear and finally stroke parallel again into the previously wet area. This helps level the coat and eliminate runs. Stick with 12″ – 18″ length portions to avoid having the finish skin over.
  6. Allowing the varnish 24hrs to dry helps harden it enough for light sanding.
By the 5th coat I felt I had gained some competence. There are a few sags there, but hard to detect.
Now on to the deck and accessories.

Shine from 5 coats.
Bow
Mid section.

The Morning After

Well, as usual, things don’t look so bad the morning after. I’ve maybe 8-10 sags/drips in the 1st coat of varnish. Despite my best vacuuming, washing, and cleaning of the garage floor and later wetting the floor a few hours prior to varnishing, there is dust trapped in the finish. I must back up and comply with the Master’s instructions (VaclavStejkal’s One Ocean Kayaks) and place a plastic canopy over the work, try a little thinner, and see if I can locate better foam brushes (not all wood handled ones are the same). If I haven’t touted it before, Vaclav’s Building Manual is a valuable resource I’ve in my “boat” library now. Clear instructions with good photos make it very worthy, … if you heed the advice.

First coat.

 
Marked sags.

She certainly passes the “6′ rule”. Perhaps I’ll back up further …

I broke down and sanded the hull by using the RO sander with 120 grit. I was quick and avoided any potential cutting through to the fiberglass thankfully. I followed that with a wet sanding using the medium foam block. Any residual scratches are gone in the first coat of varnish. Hand sanding just got too tedious.


The few sags in the finish are marked for light sanding before the next coat.


Smoothing for the Finish

Began the dreaded sanding phase today. However, I purchased a few foam sanding blocks that really make the job easier. These readily conform to the curves and can be used to wet sand. These happen to be 3M products. I highly recommend them. In fact, they made the process almost therapeutic. After only 2 hrs of sanding, the boat is ready for varnish. I bought a gallon of RAKA epoxies’ “Last N’ Last” in gloss. Only 2 quarts may be needed, but Interlux or Petit spar varnish cost twice and this LNL varnish has had good reviews. It comes in semi-gloss too. I’ll get a couple quart cans to preserve the excess.

Fine, Medium, and Coarse foam blocks.

So, since the garage has been washed down, I sanded with the blocks, a bucket, and hose on carpeted saw horses. In all, as pain free as it could be. I think the ROS would have made matter worse and potentially tear through the epoxy too fast.

The Fine block is perhaps 220 grit, Medium 120, and Coarse 80. I used Coarse and Medium at this stage. The Fine may do well for the varnish work.

Up close after a water rinse.

She shines.

I’m not sure I’ve owned anything this beautiful. Sure there are wonders like combustion engines, automobiles, and computers, but for for pure elegance suited to purpose, I can’t think of better around our abode. Jay Babina has captured some gorgeous lines.

Next up: a quick sanding of the interior. We are now at 202 hours of labor.

fore deck’s beauty.