When will it stop? The symptoms are consistent and persistent, indicating a severe case of “next boat” psychosis: a beautiful design catches the eye, offers a possible solution for some niche of boating I’d like to do or perfect. From there an infatuation develops quickly. Much studying and “rationalizing” time is spent. Once past those tests, I jump wholeheartedly … until, the next one comes along. How I’ve finished the boats I have built surprises me. Thank God there are far fewer lovely designs compared to the loads of uglies never to steal my time.
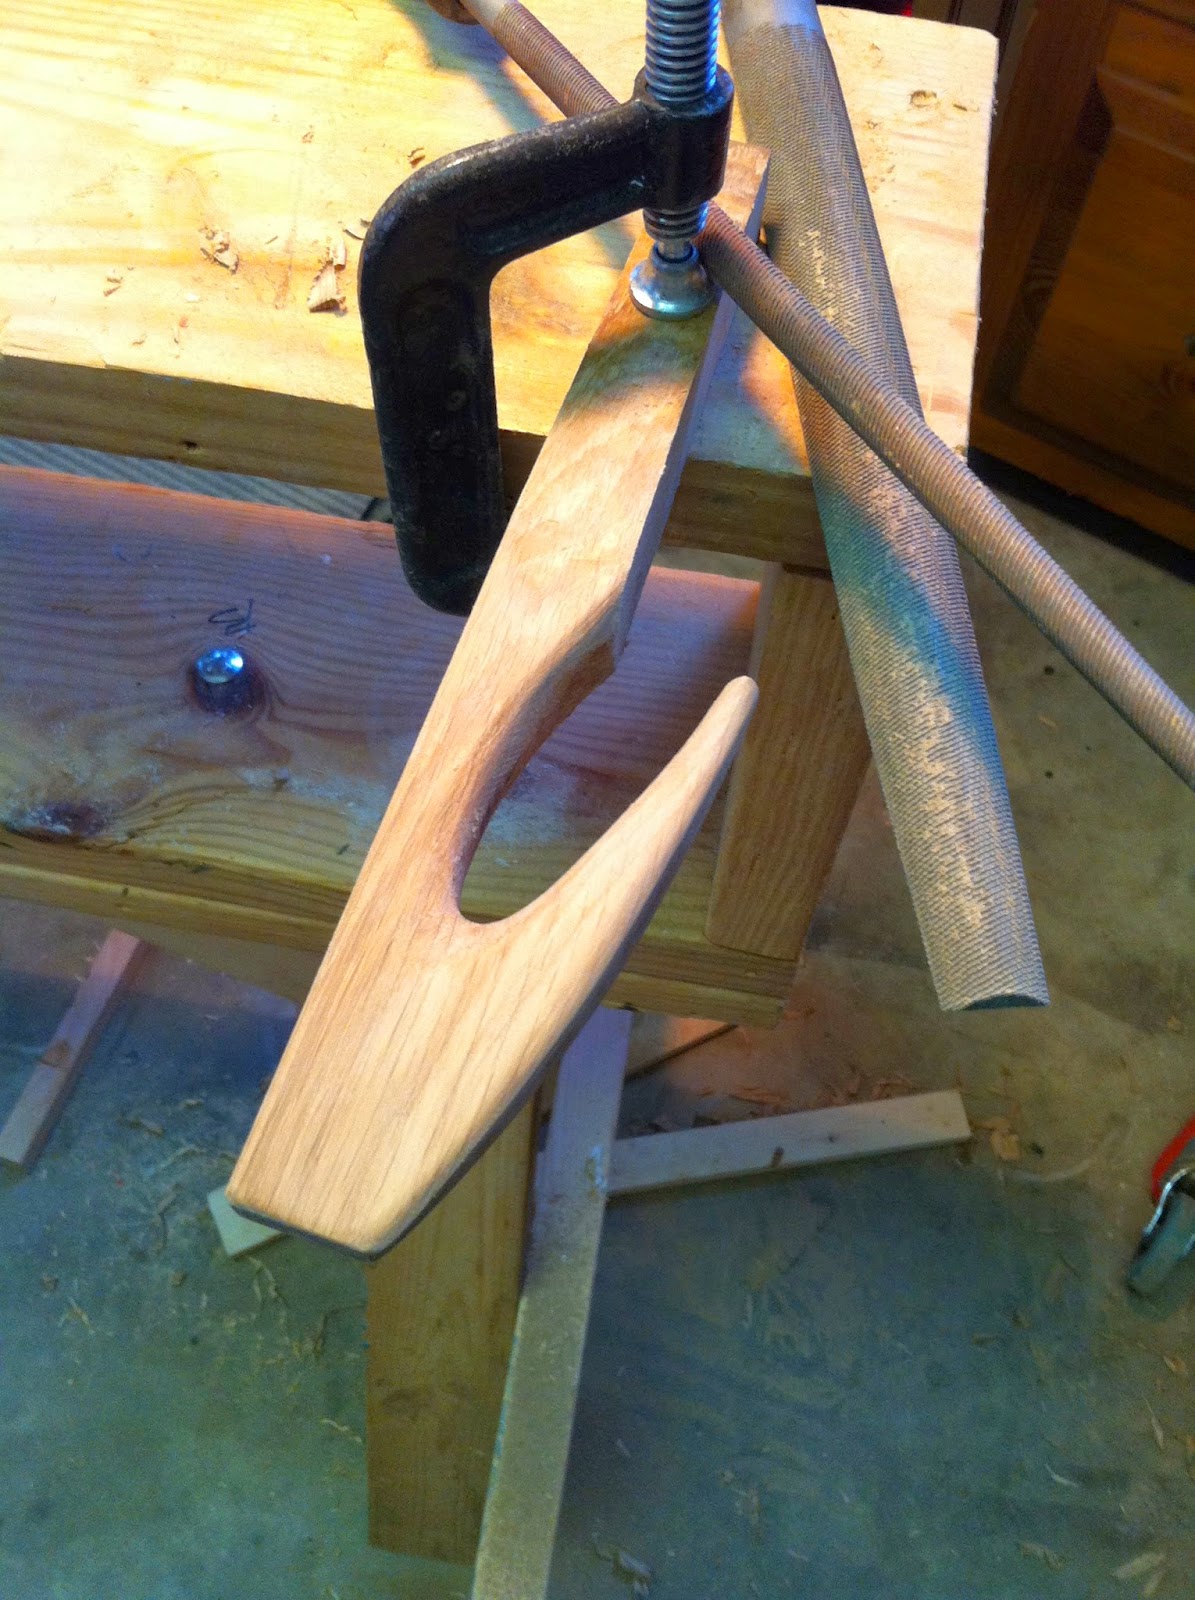
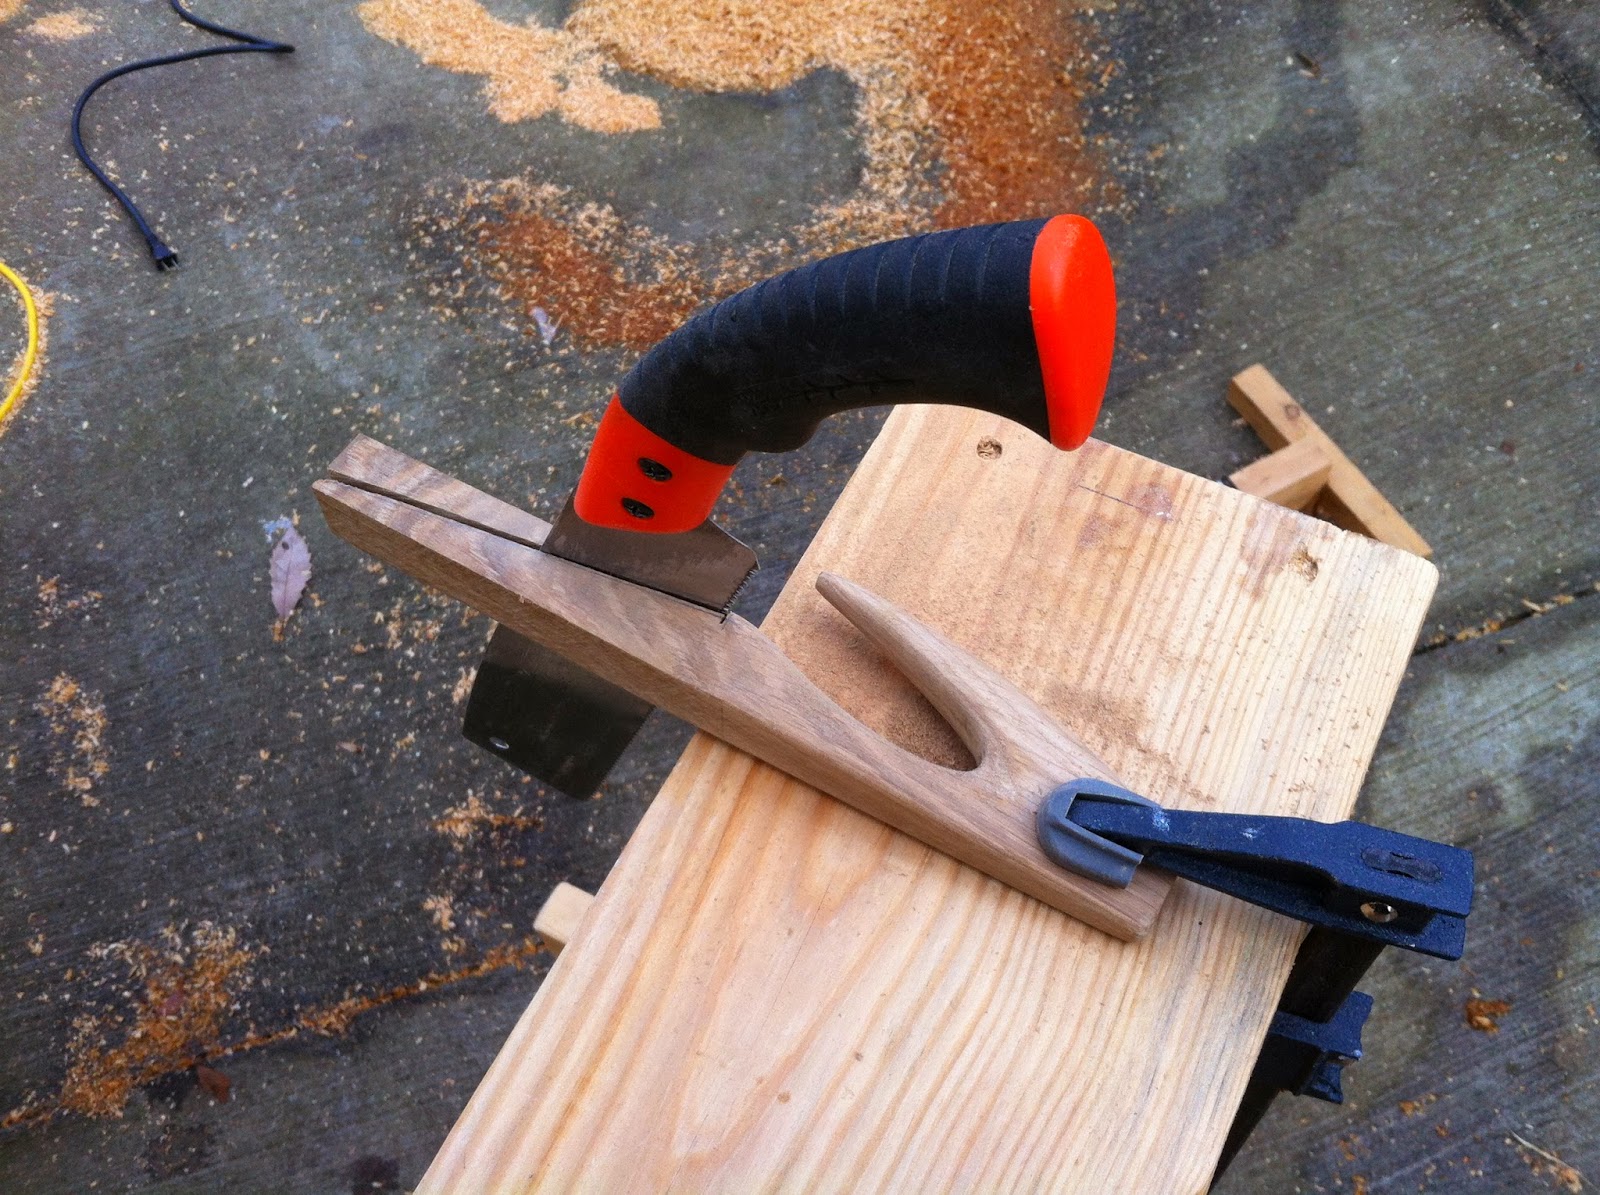
I was set on the Gartsides’ Lugger, had cut staves for the spars and shaped the boomkin. All was fine until I found he had posted a new design, the Ditch Witch, interesting in concept, but too small. However, it led me to taking another look at his Spartan II, a trailer capable cutter whose dimensions approximate those of the Lugger. Why me?!
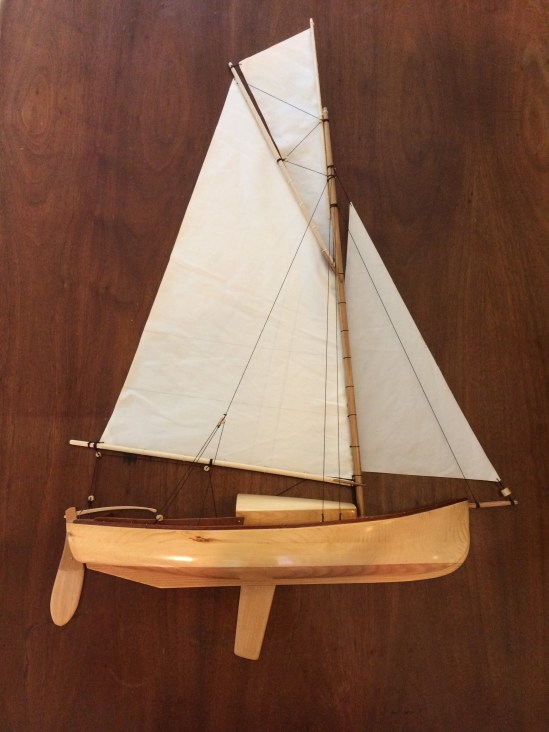
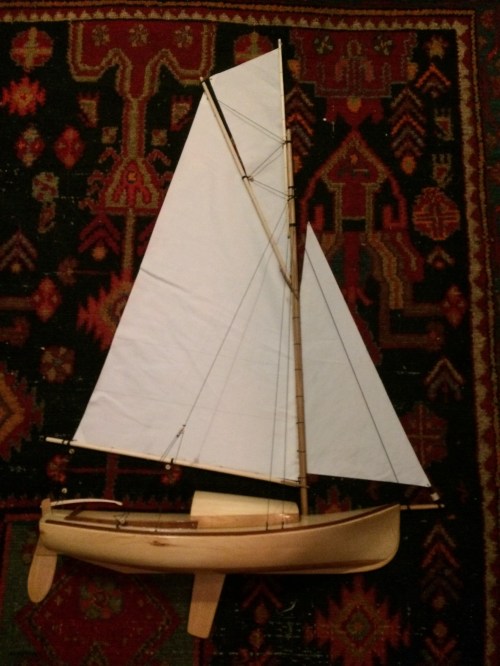
To add fuel to the fire, Boat Design Quarterly reviewed the original Spartan. I ordered that issue, read and re-read the feature. Curiosity took hold. I then purchased study plans for Spartan II to which Mr. Gartside graciously added the lines plan allowing me to build another half hull matching the scale of the Lugger for close comparison. A nice enough 2×6 pine board was found for the model’s lifts which were cut, glued, carved, and sanded fair. Details and rig were added.
Here are some final model pics.
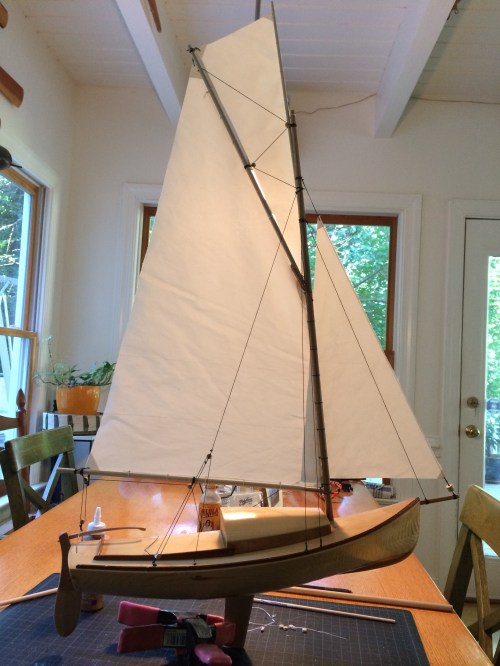

This design is a beauty too. For a whole host of reasons, I’m torn between these 2 boats. As luck would have it the staves already cut for the Lugger can be used for the Spartan. I suspect the cutter is another 25% time investment to build. That wineglass Lugger transom is nice. The cutter has a group of sails that would be fun to play with and I bet she’ll plane. The simple Lugger is one I know and love. Her cockpit is more generous and no compression post in the cabin.
Geez! See what I mean?