Lesson number 1: make darn sure any planks are fully inside the garage before shutting the overhead. No sooner had I walked into the house after a good day of bat work did I hear a loud “crack!” The last 12″ of my recent plank was effectively guillotined by the closing garage door. Since it was clamped to one of the manning benches, it had no place to go. Man, that hurt.
Alas, some heavy epoxy and glassing on the inside face seem to have mended the damage. We won’t be bright finishing this area. I’m otherwise too embarrassed to show a pic of that.
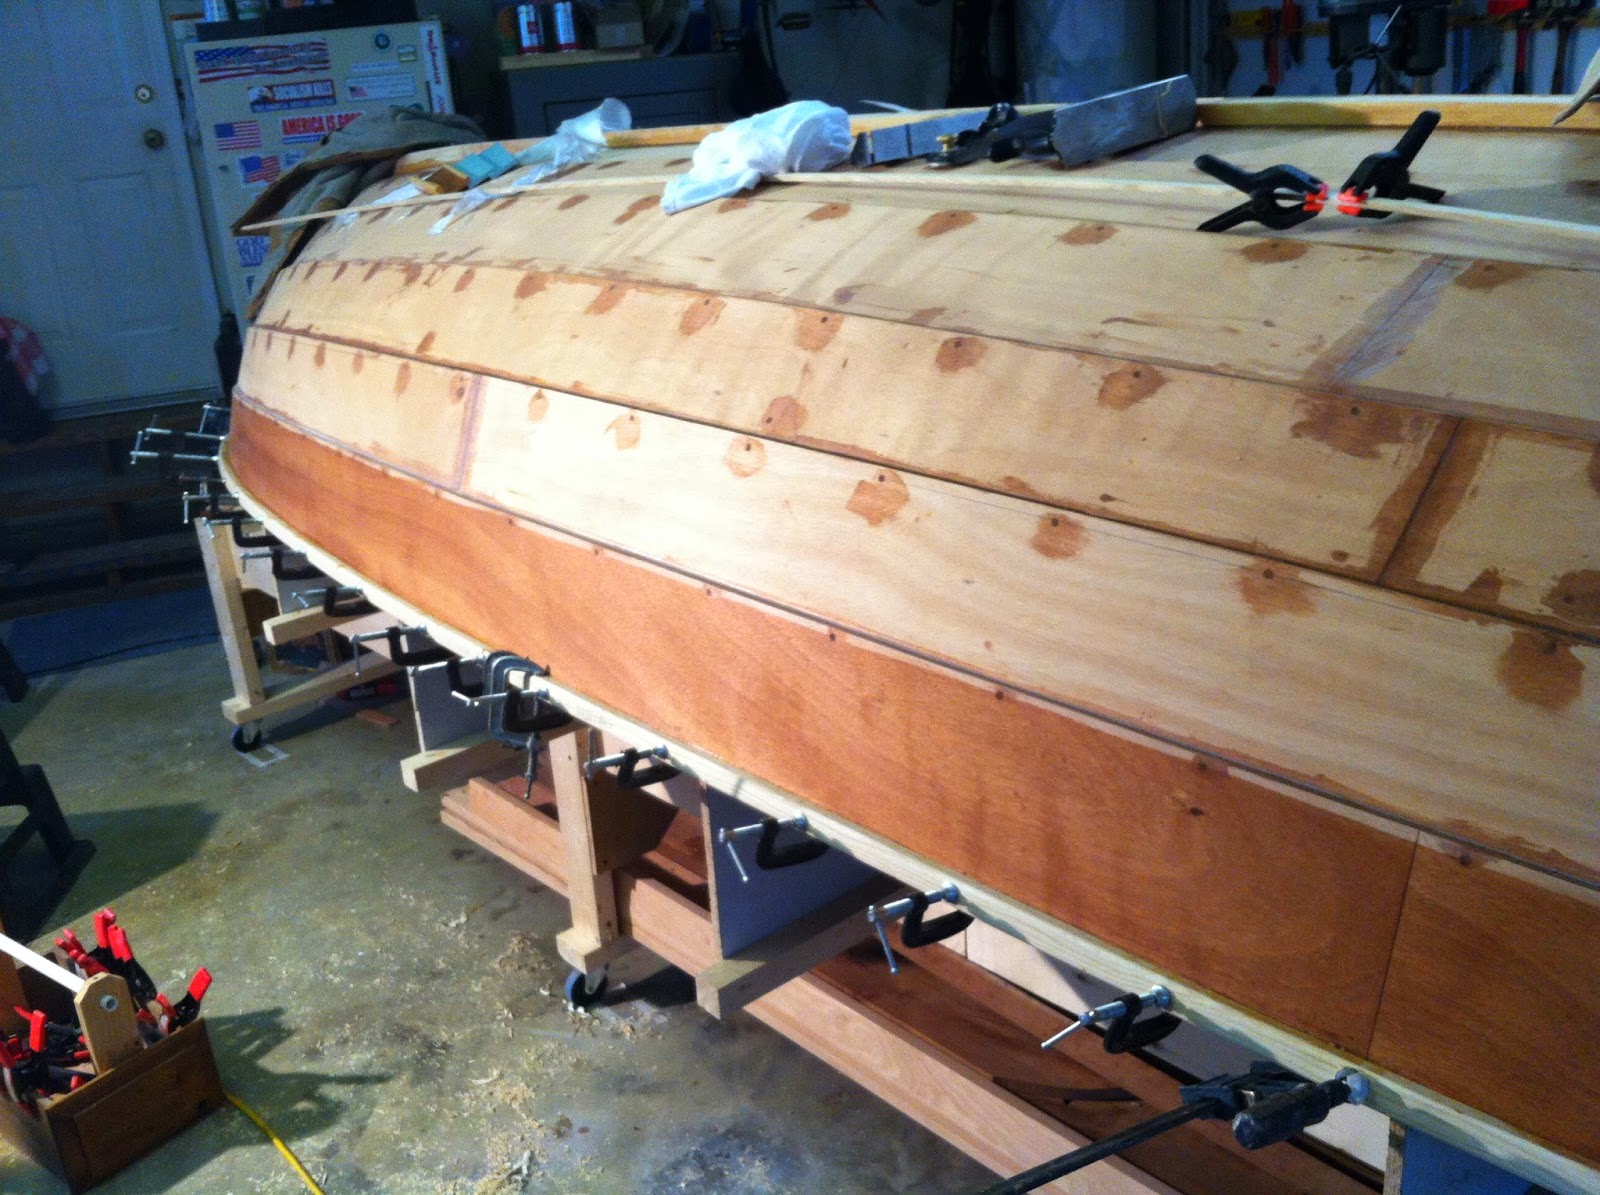
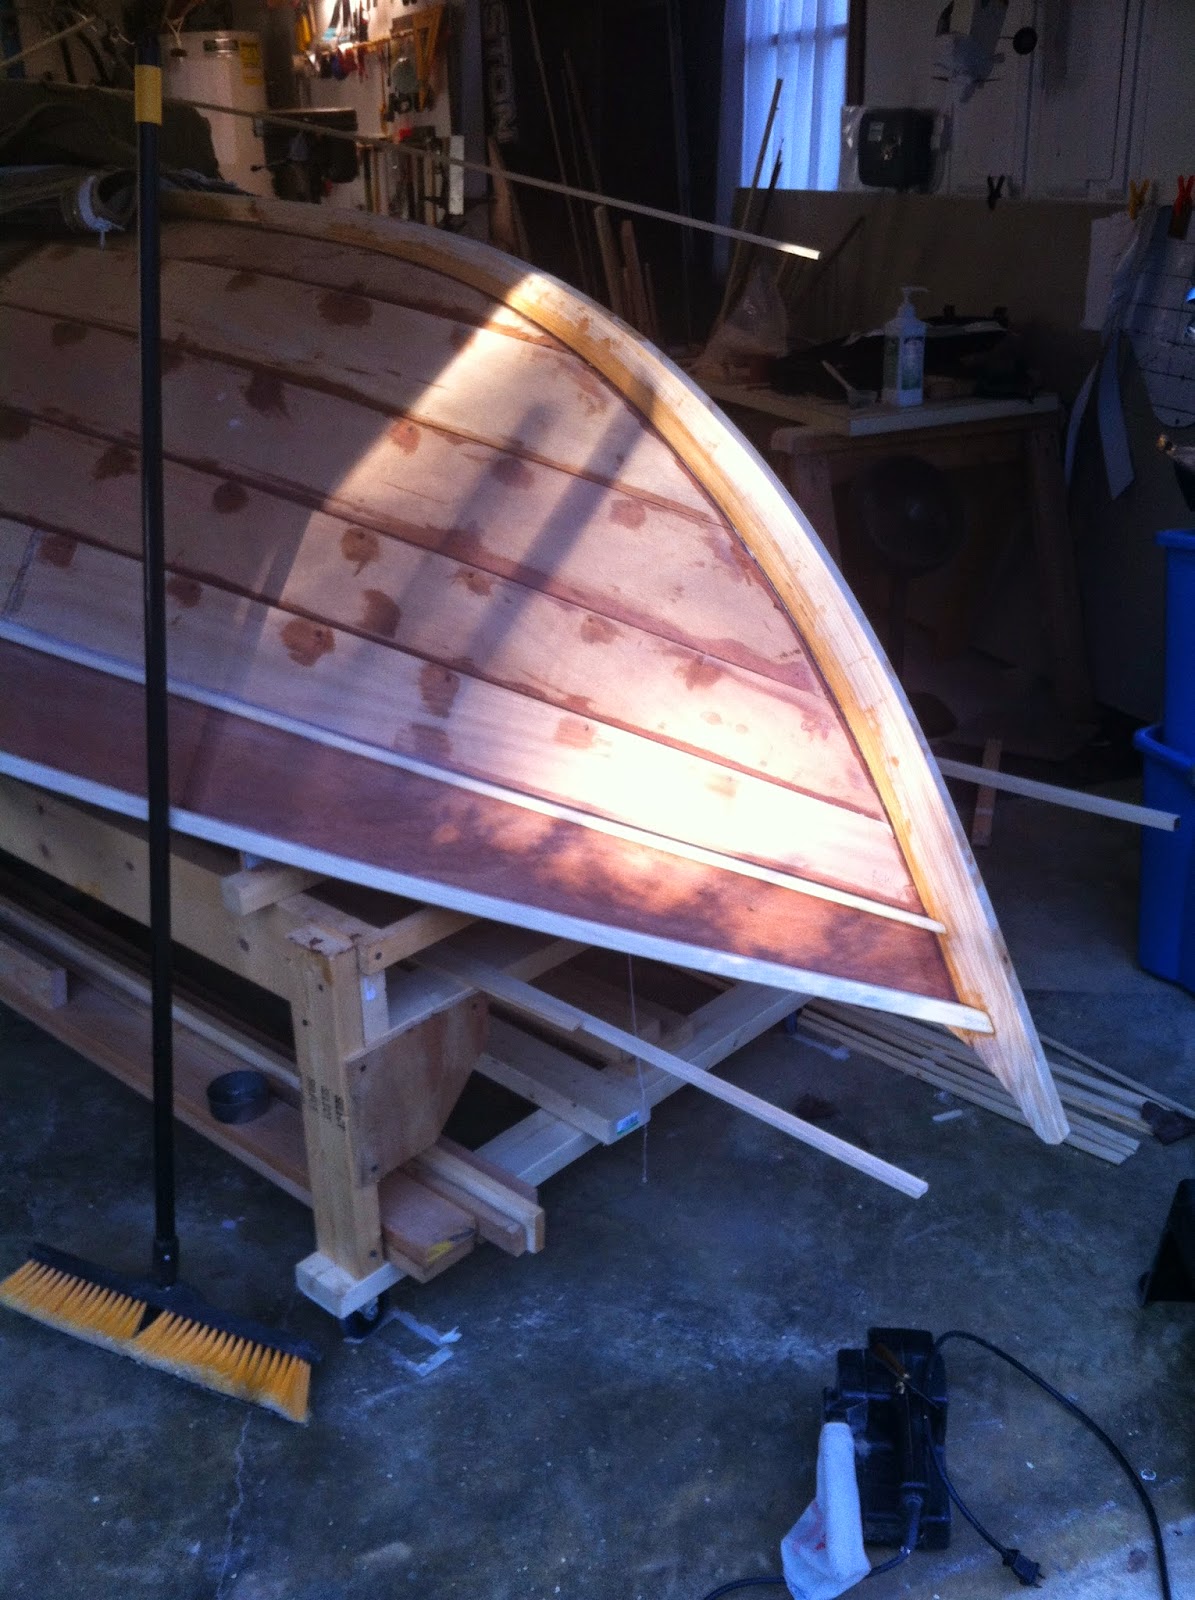
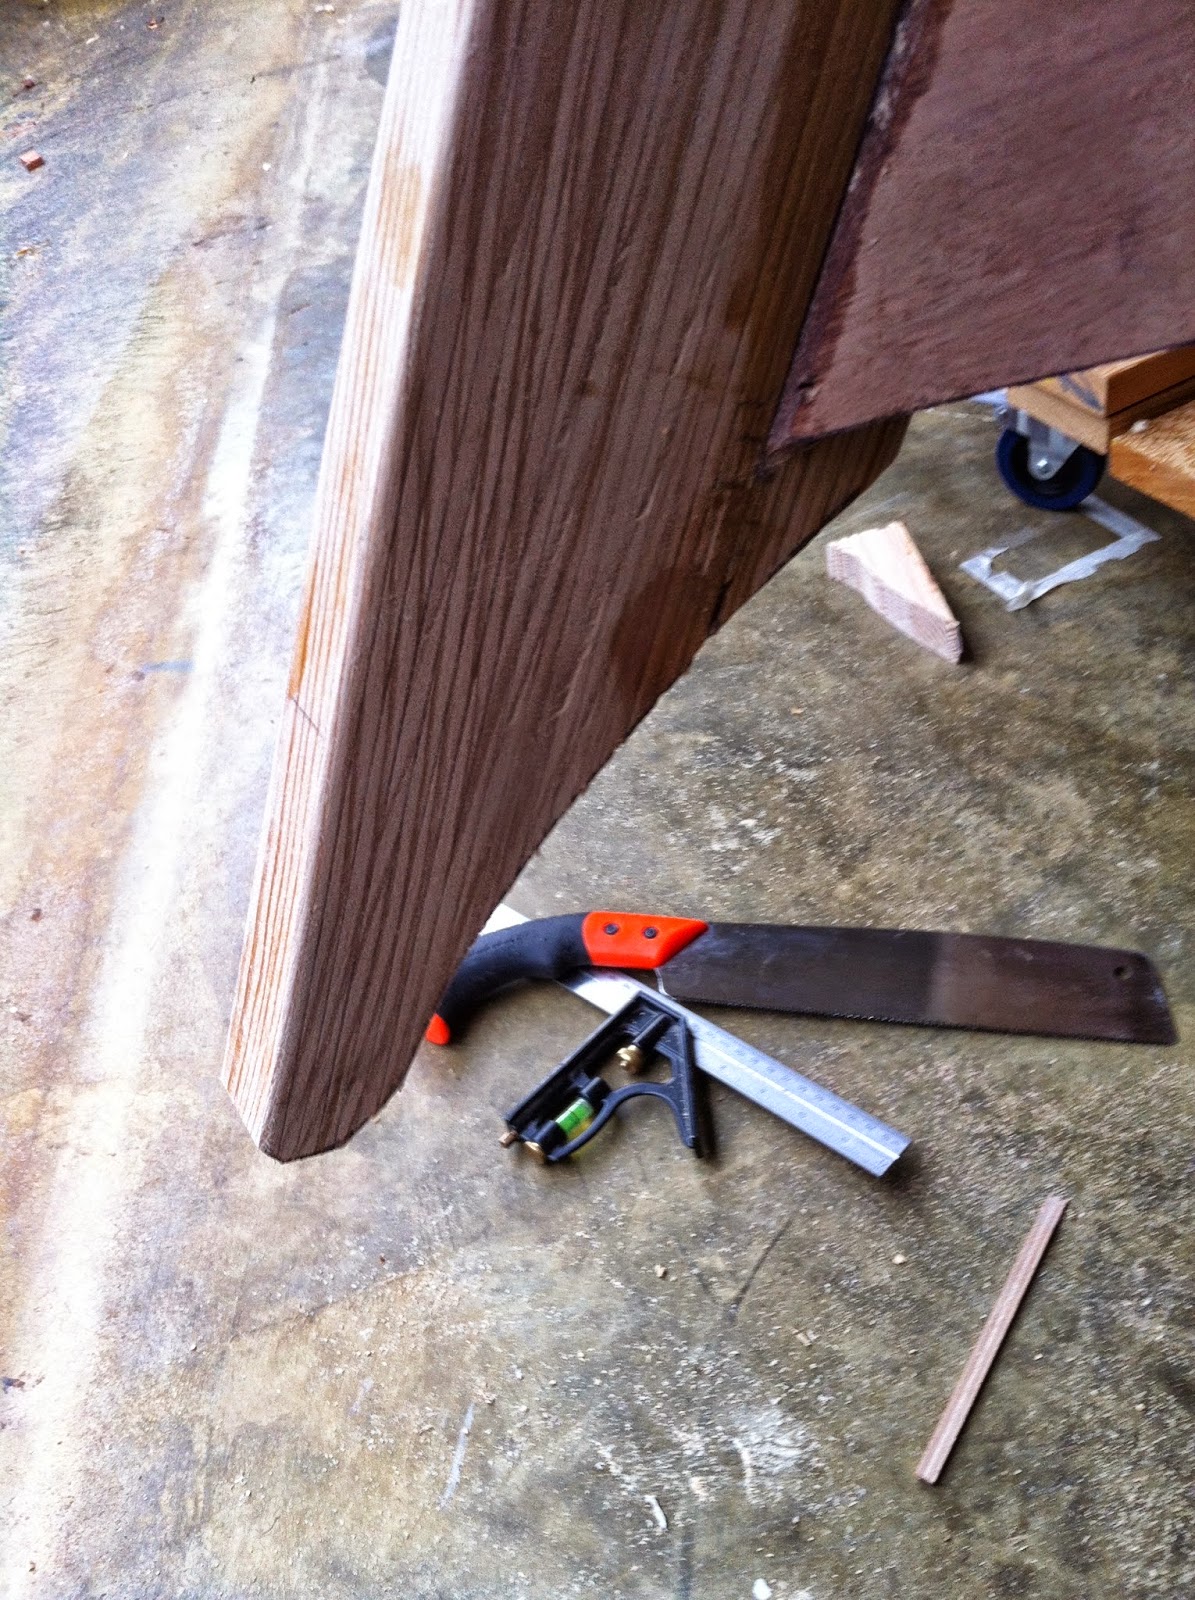
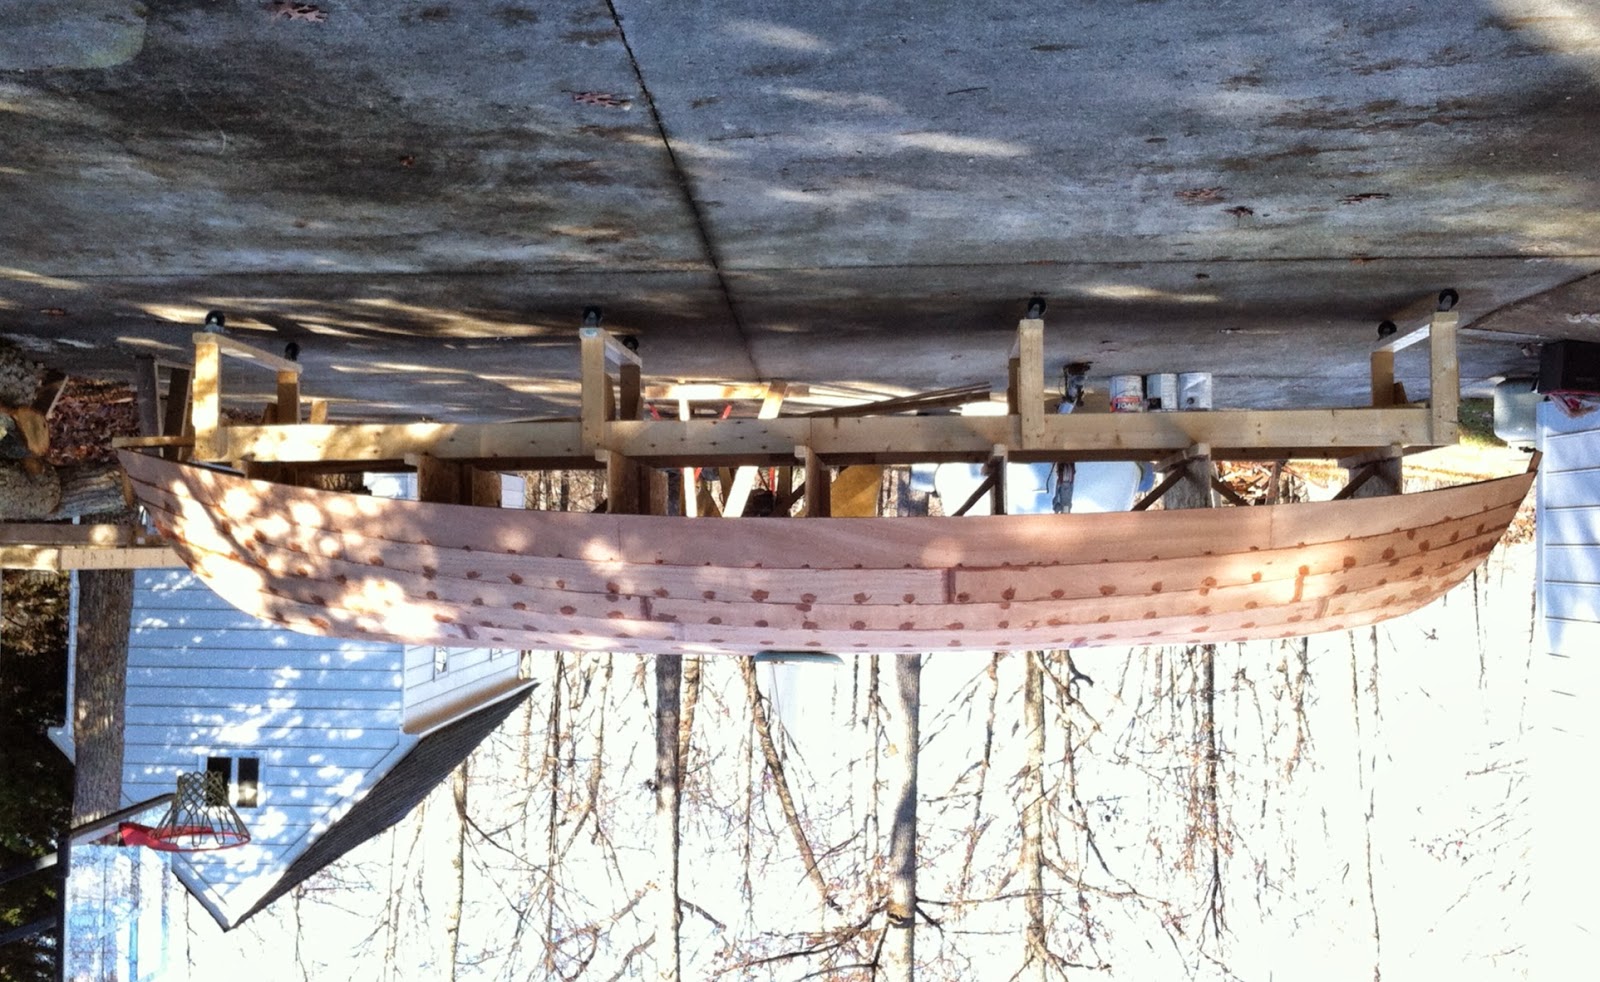
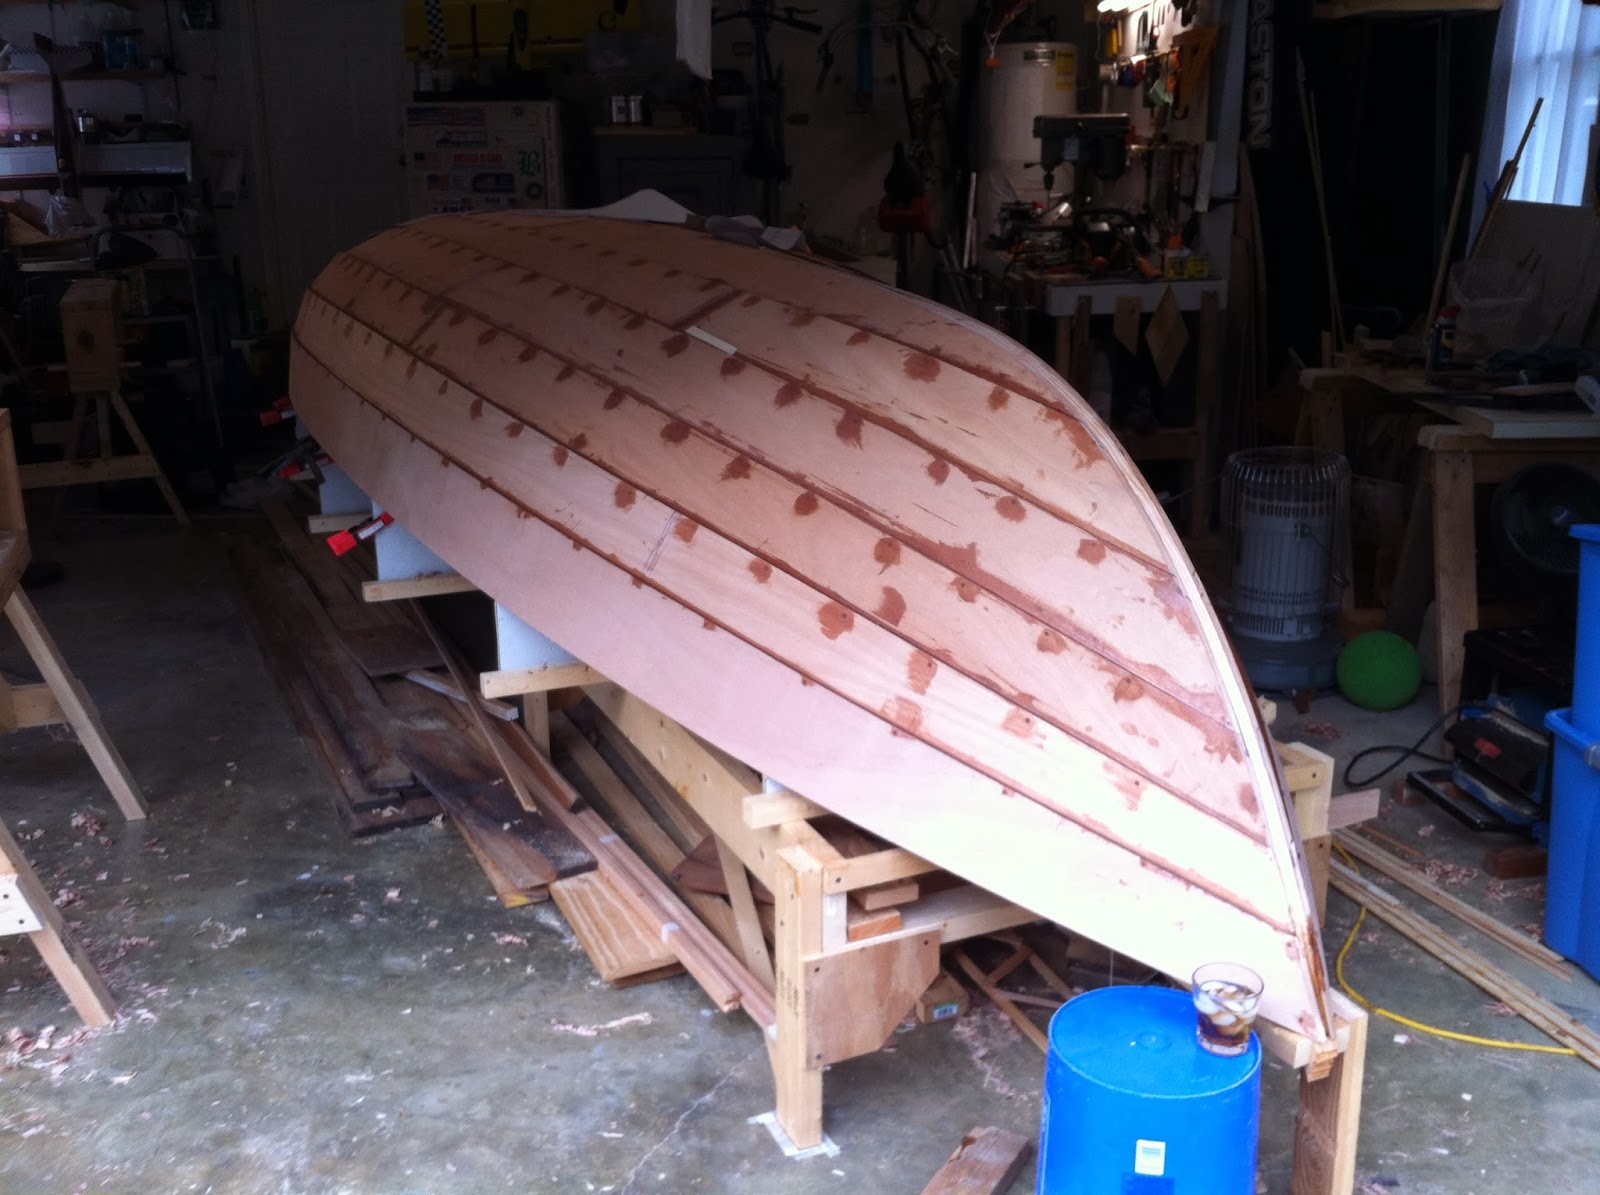
The good news is that we are done with 1/3 of the planking. Four planks on and 8 to go. She’s taking shape and, aside from self inflicted wounds, the technique is evolving.
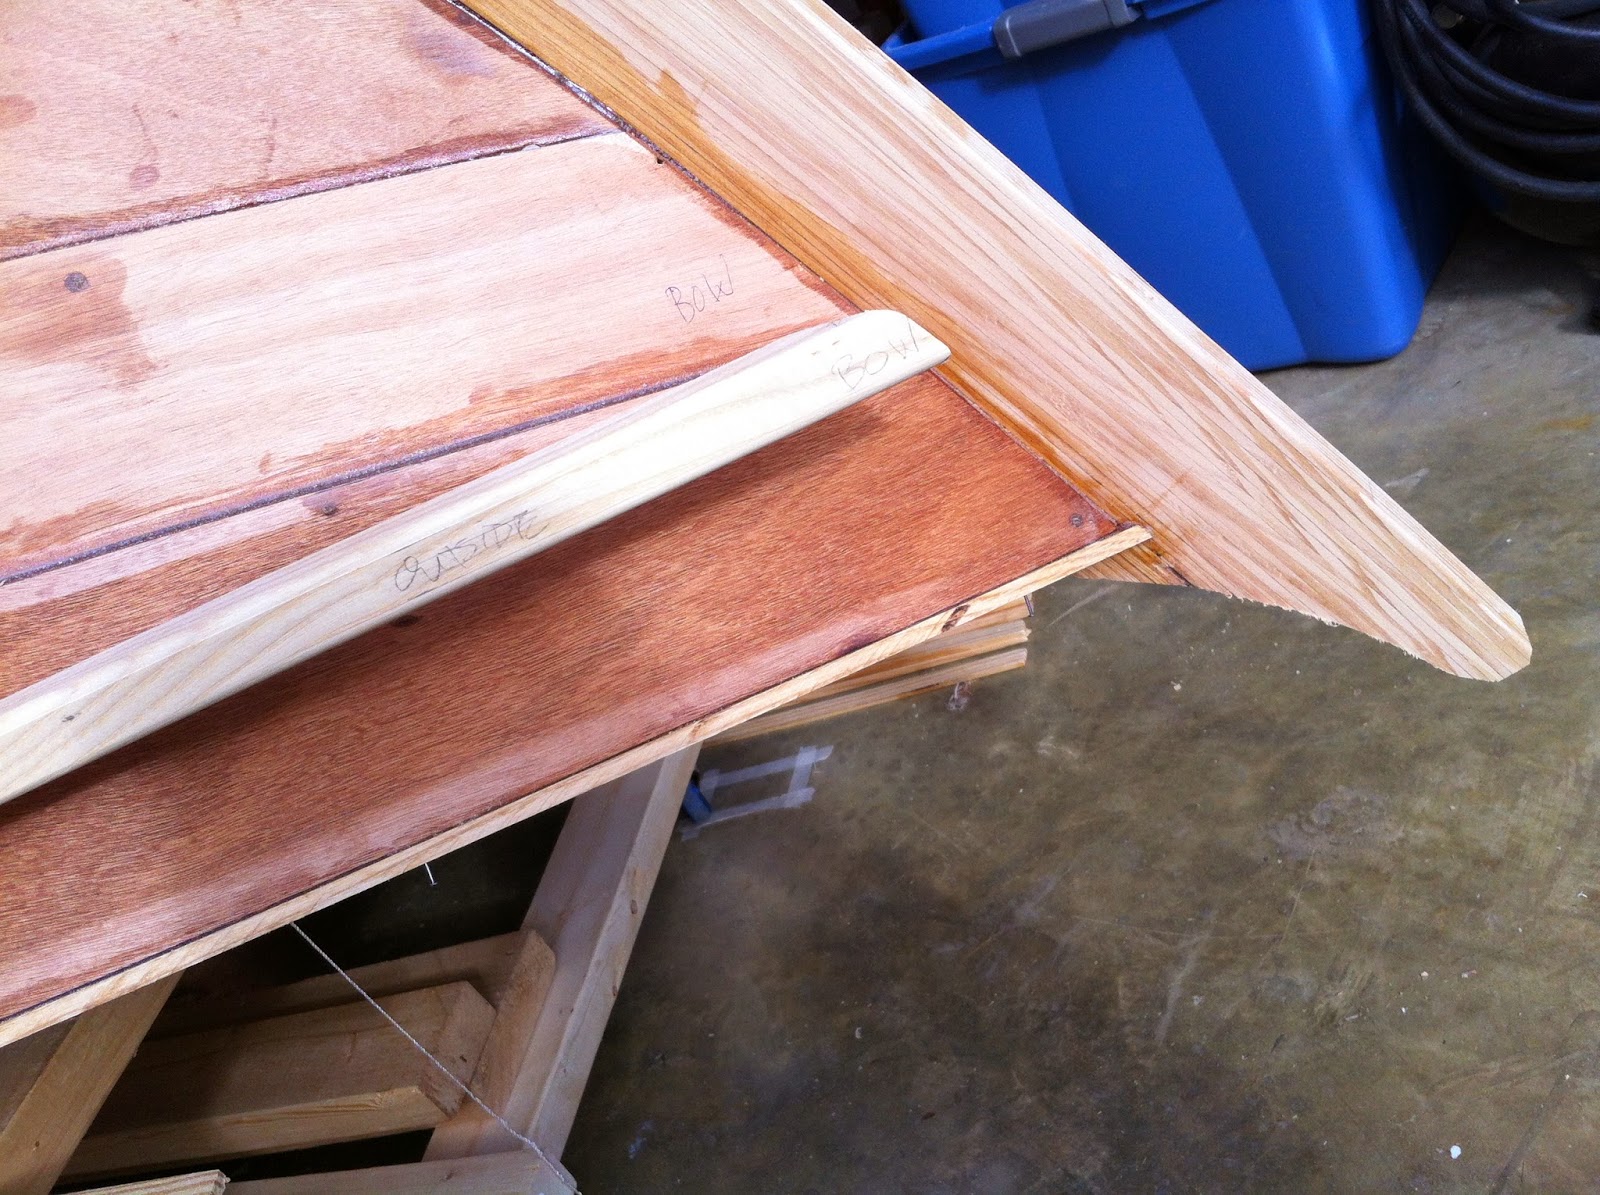
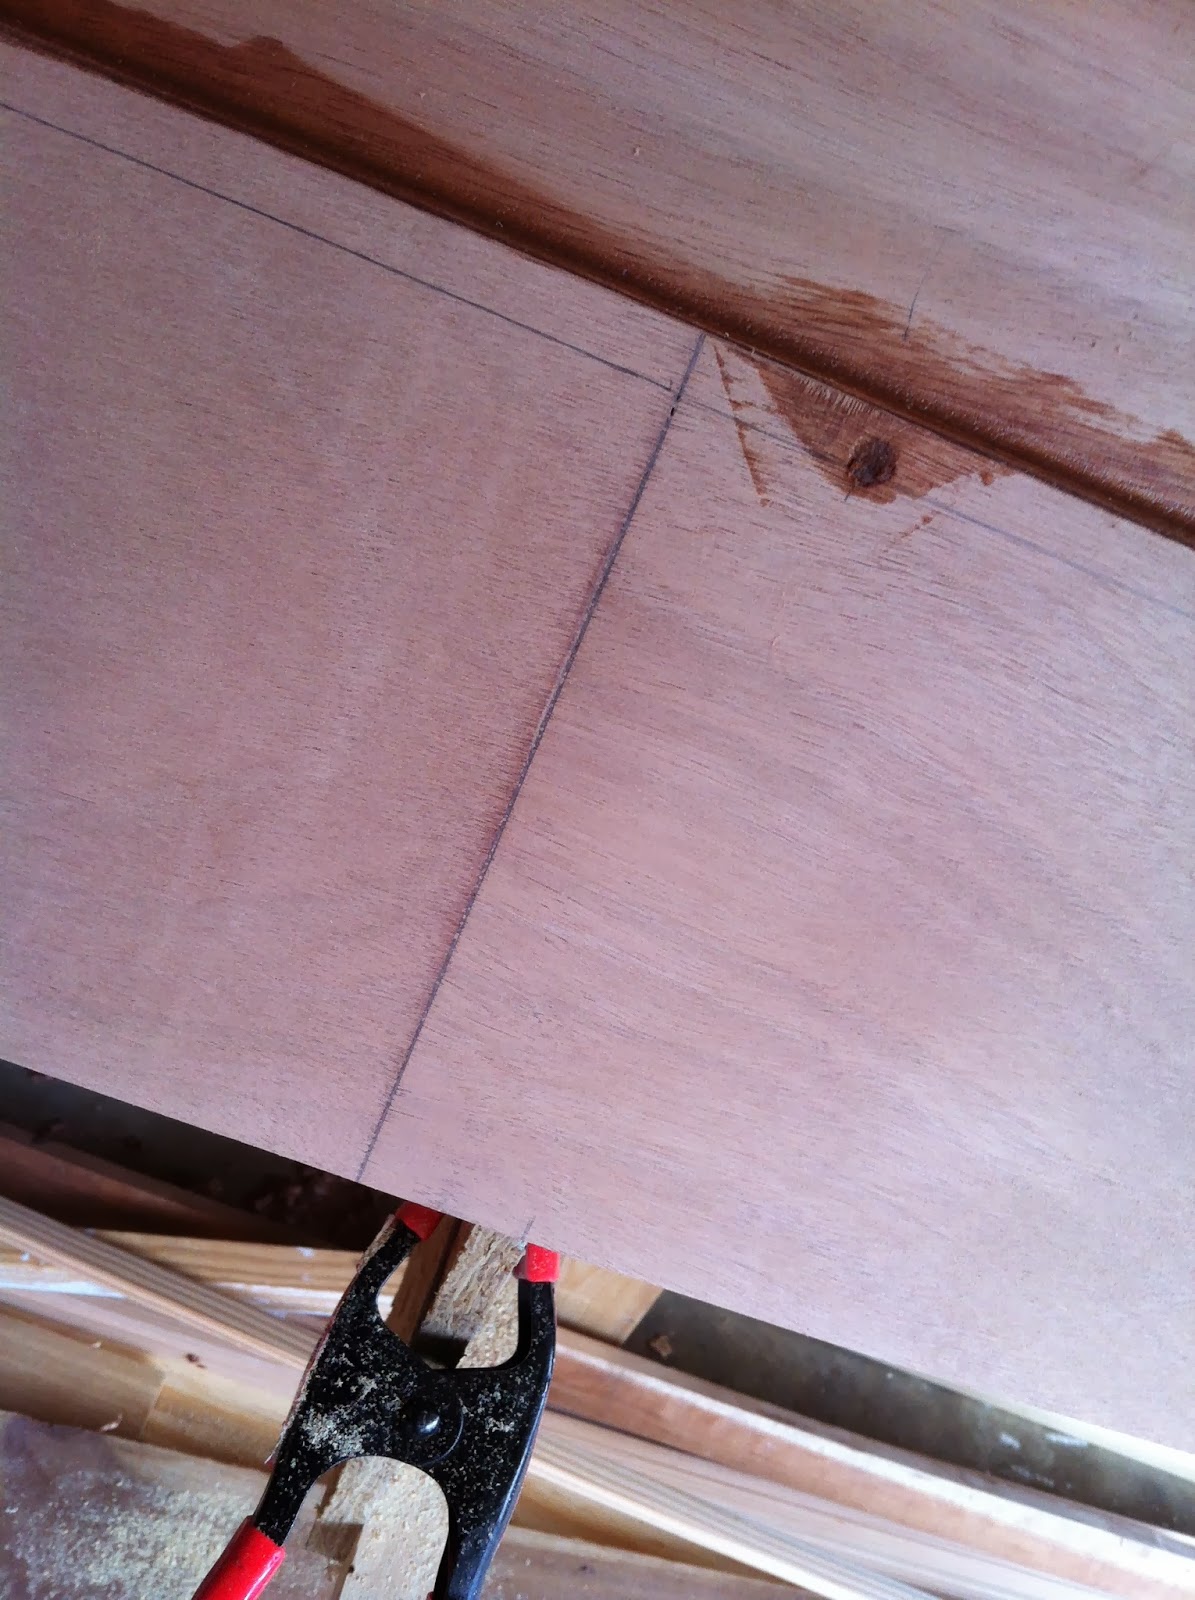
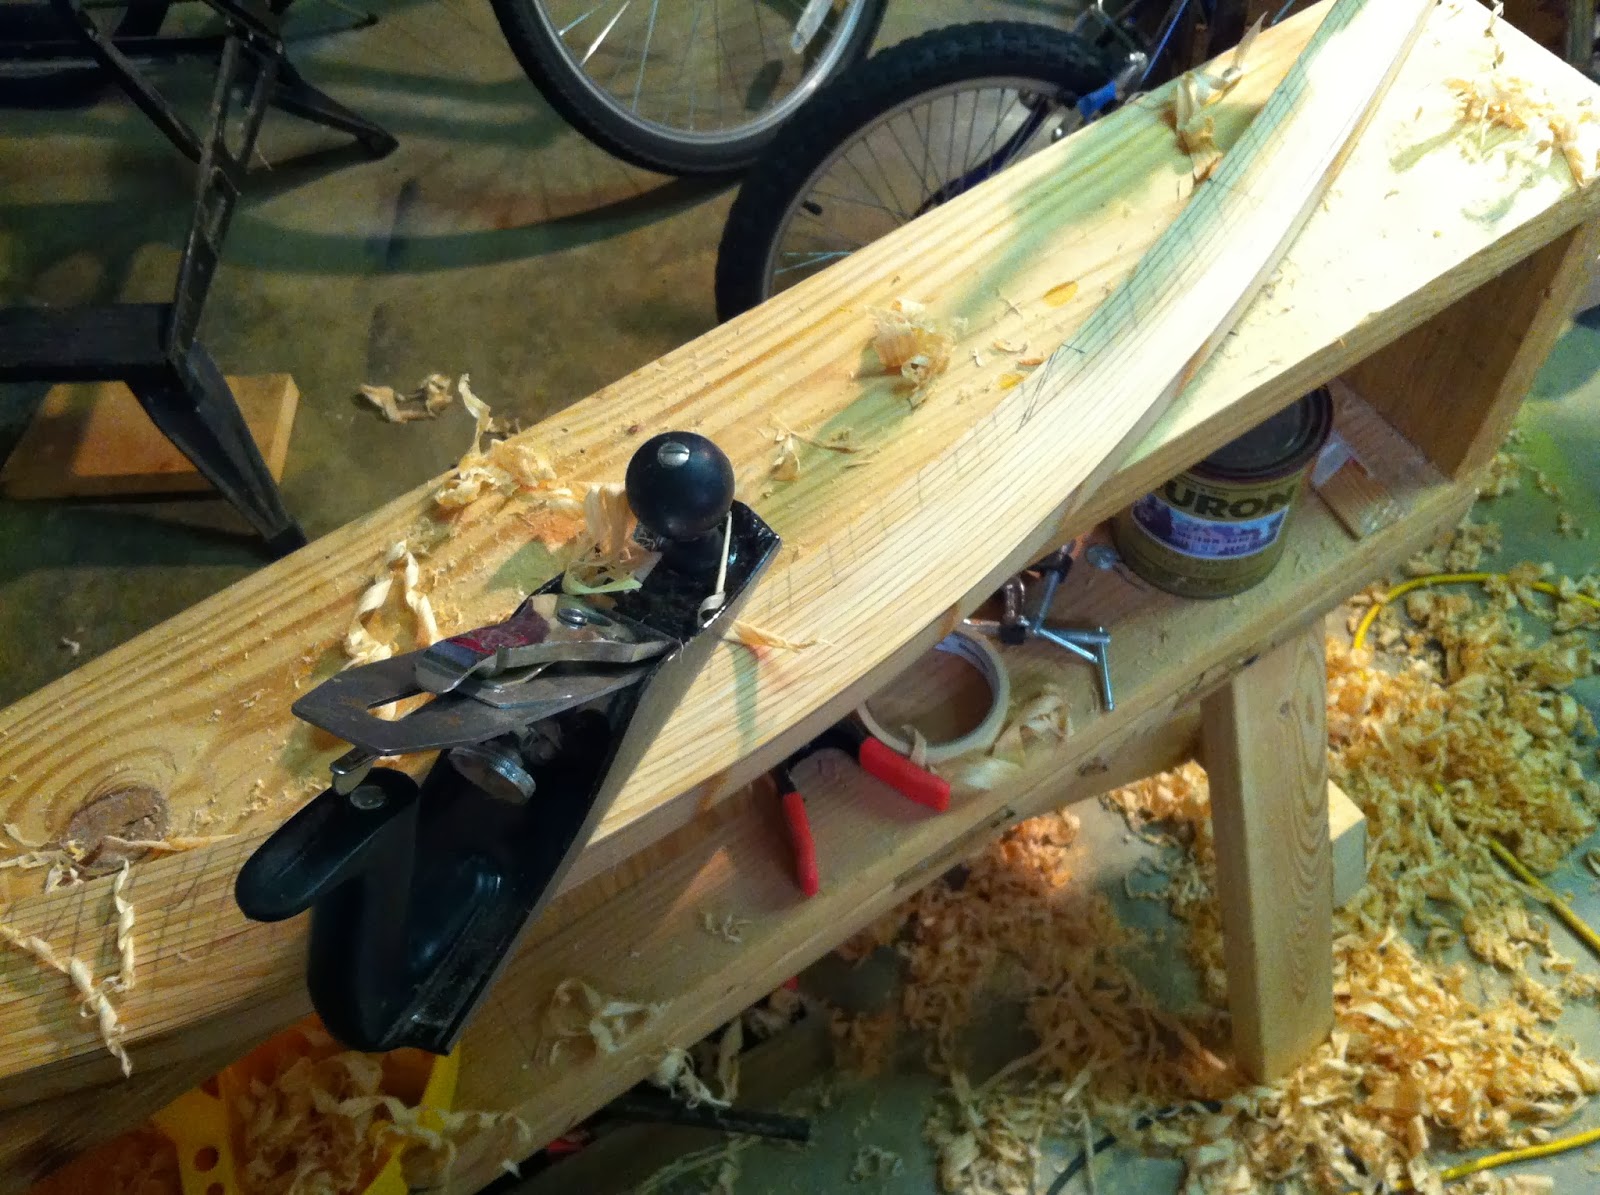
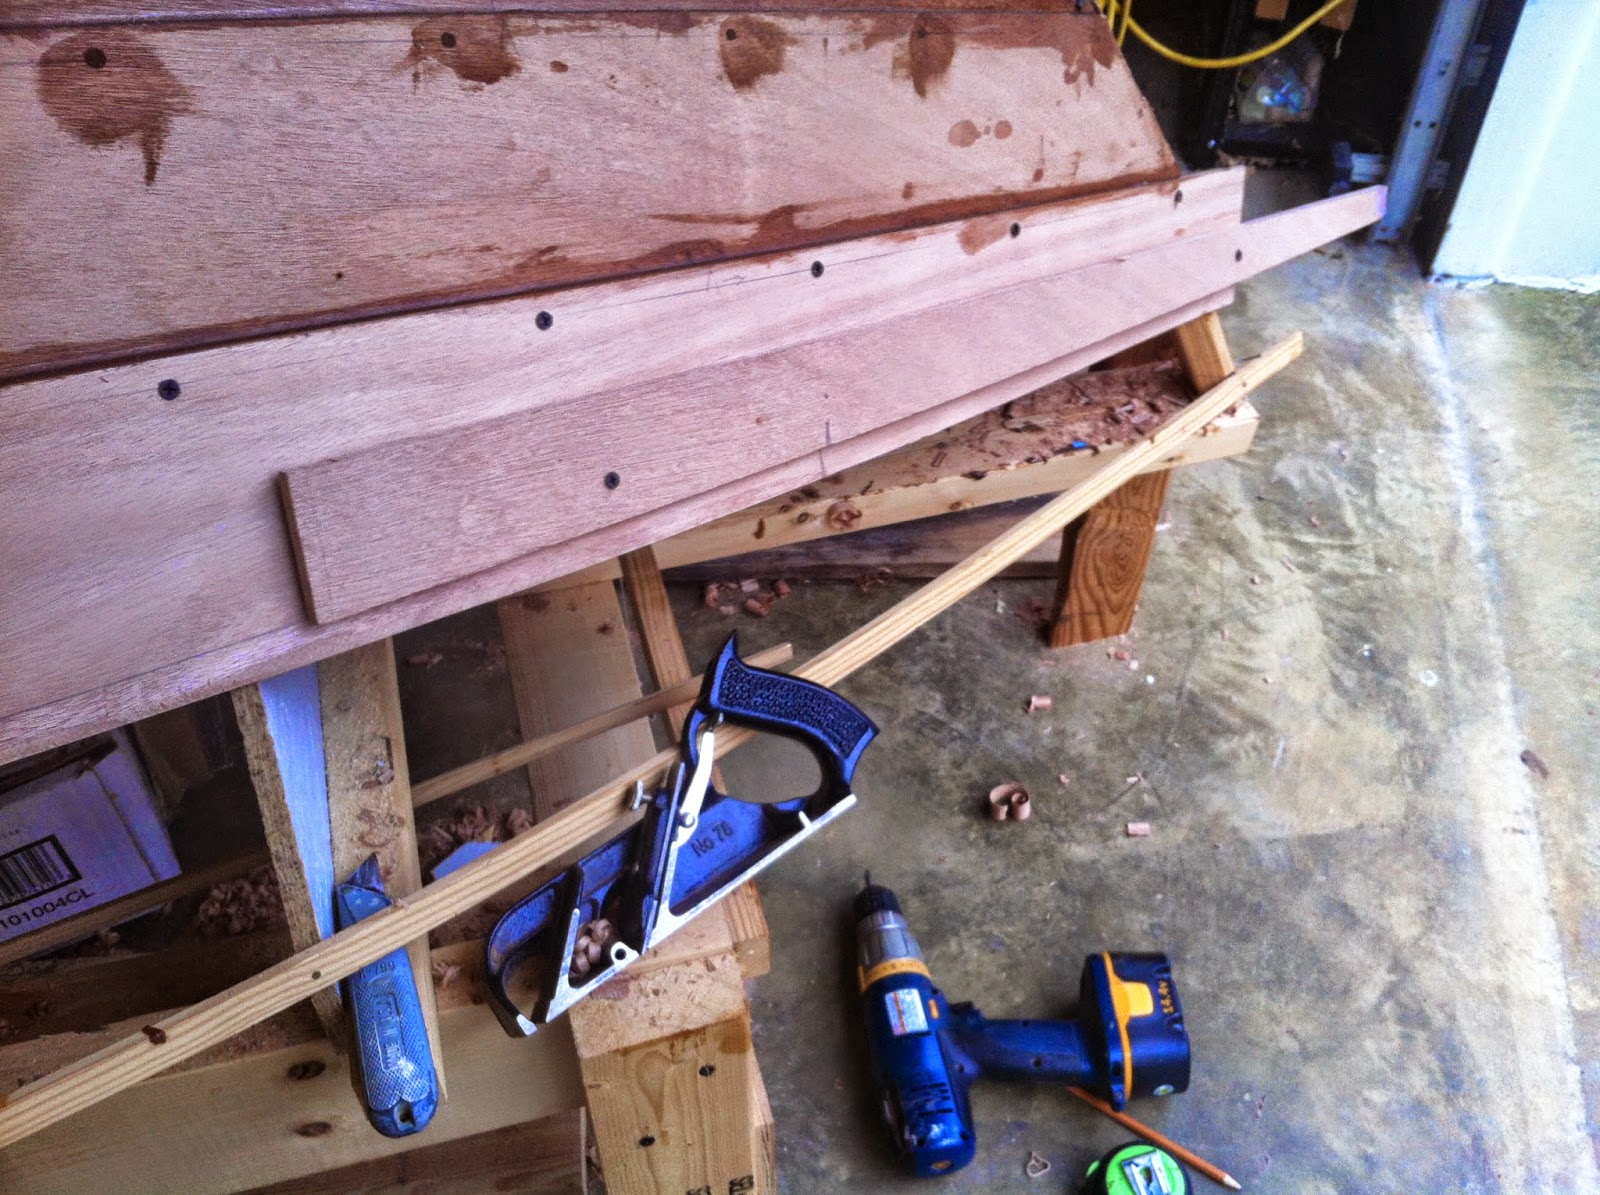
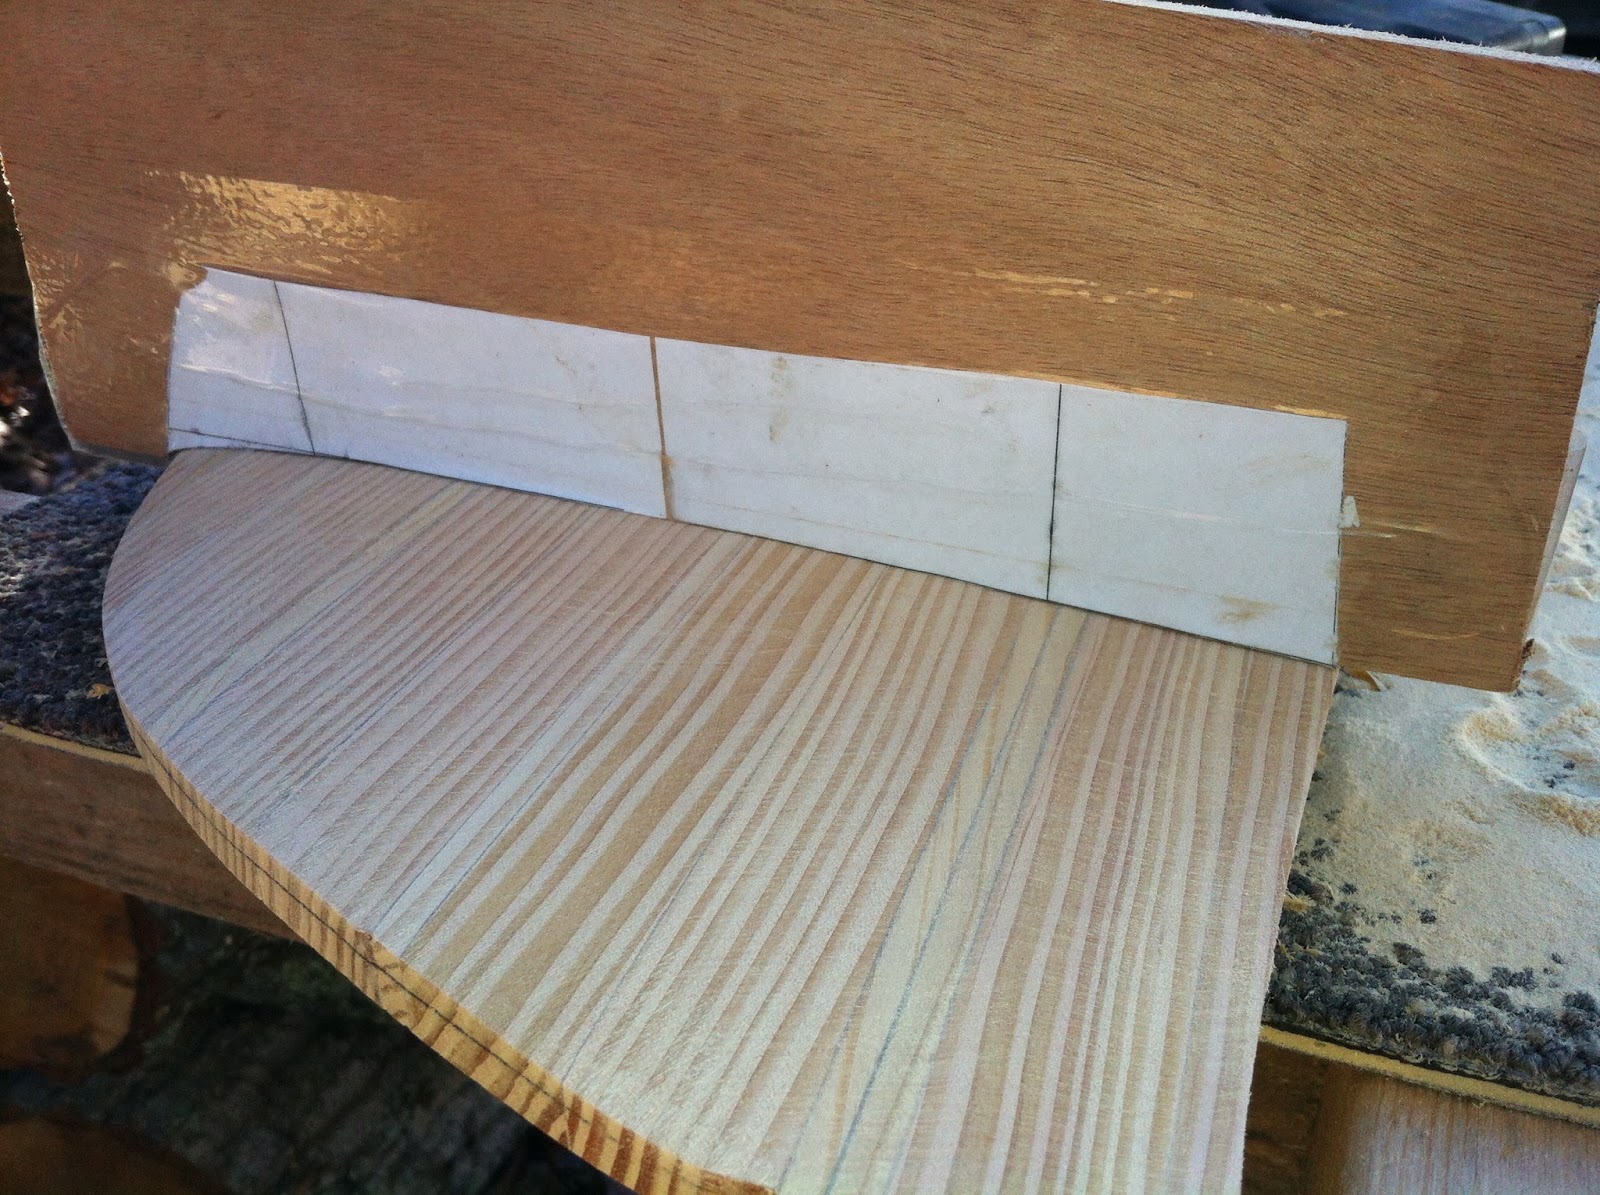
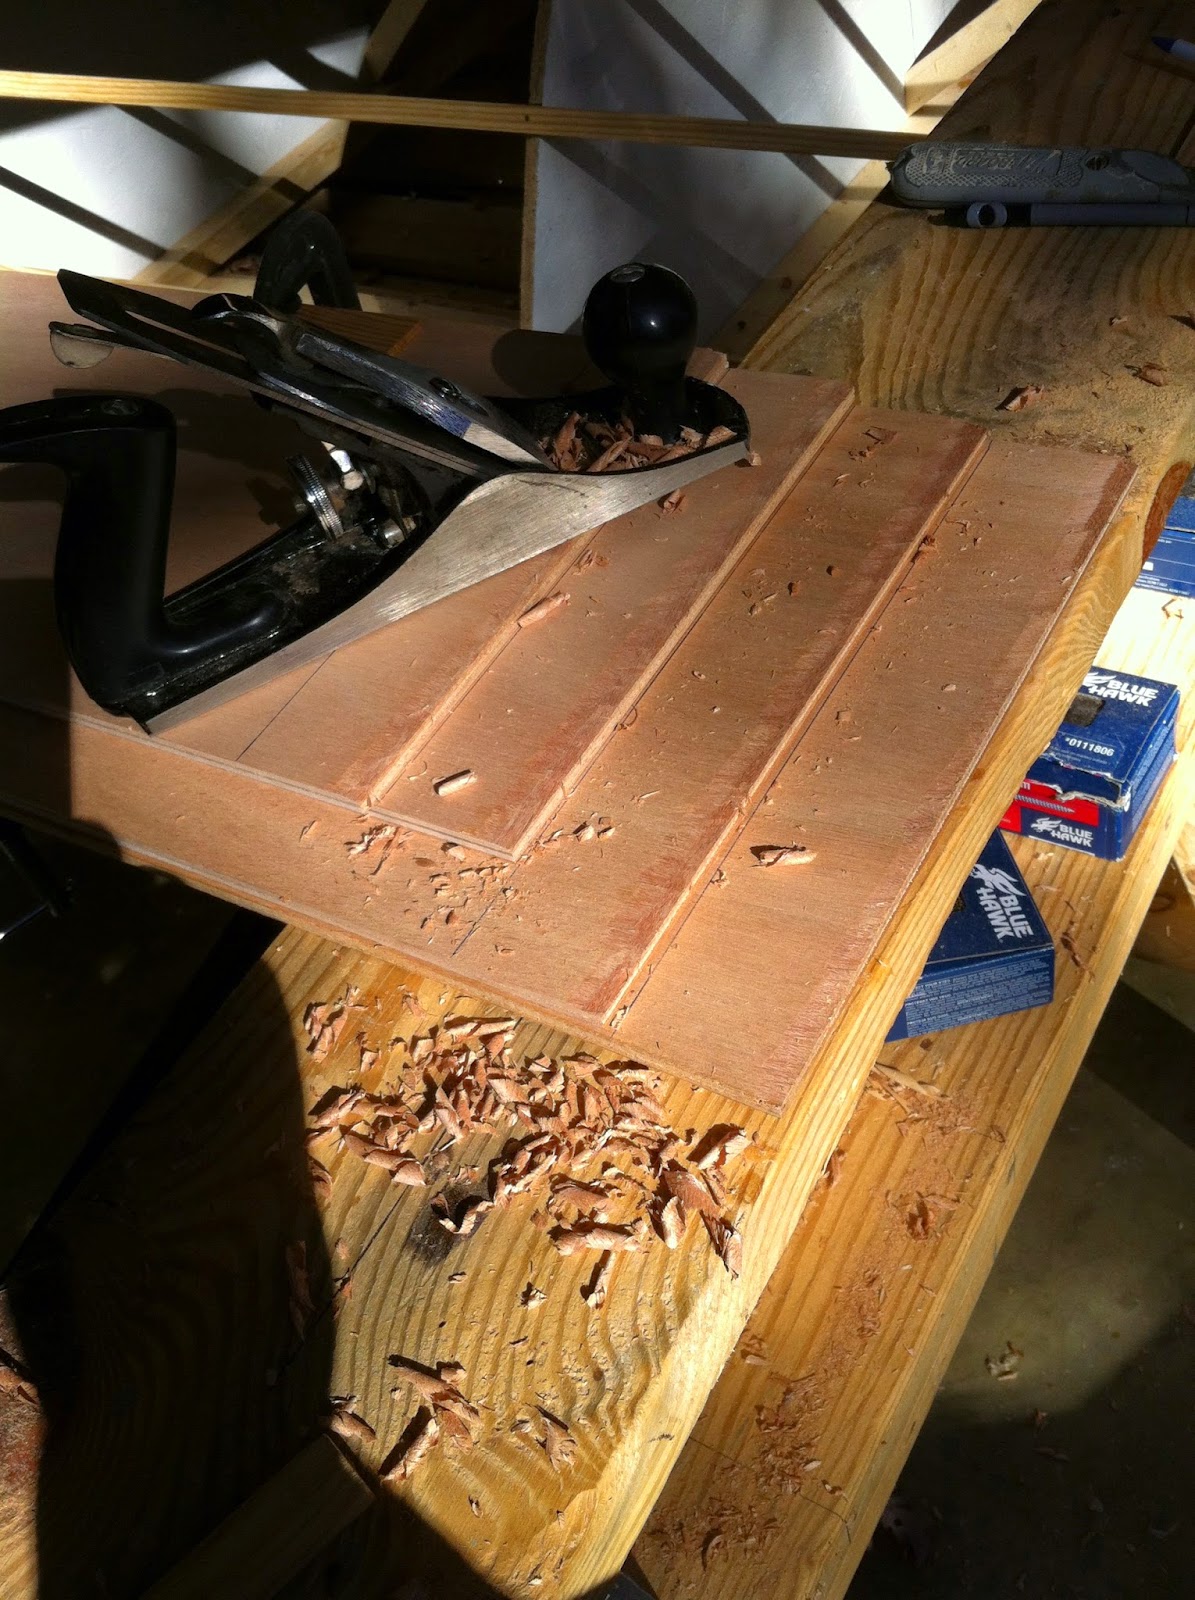
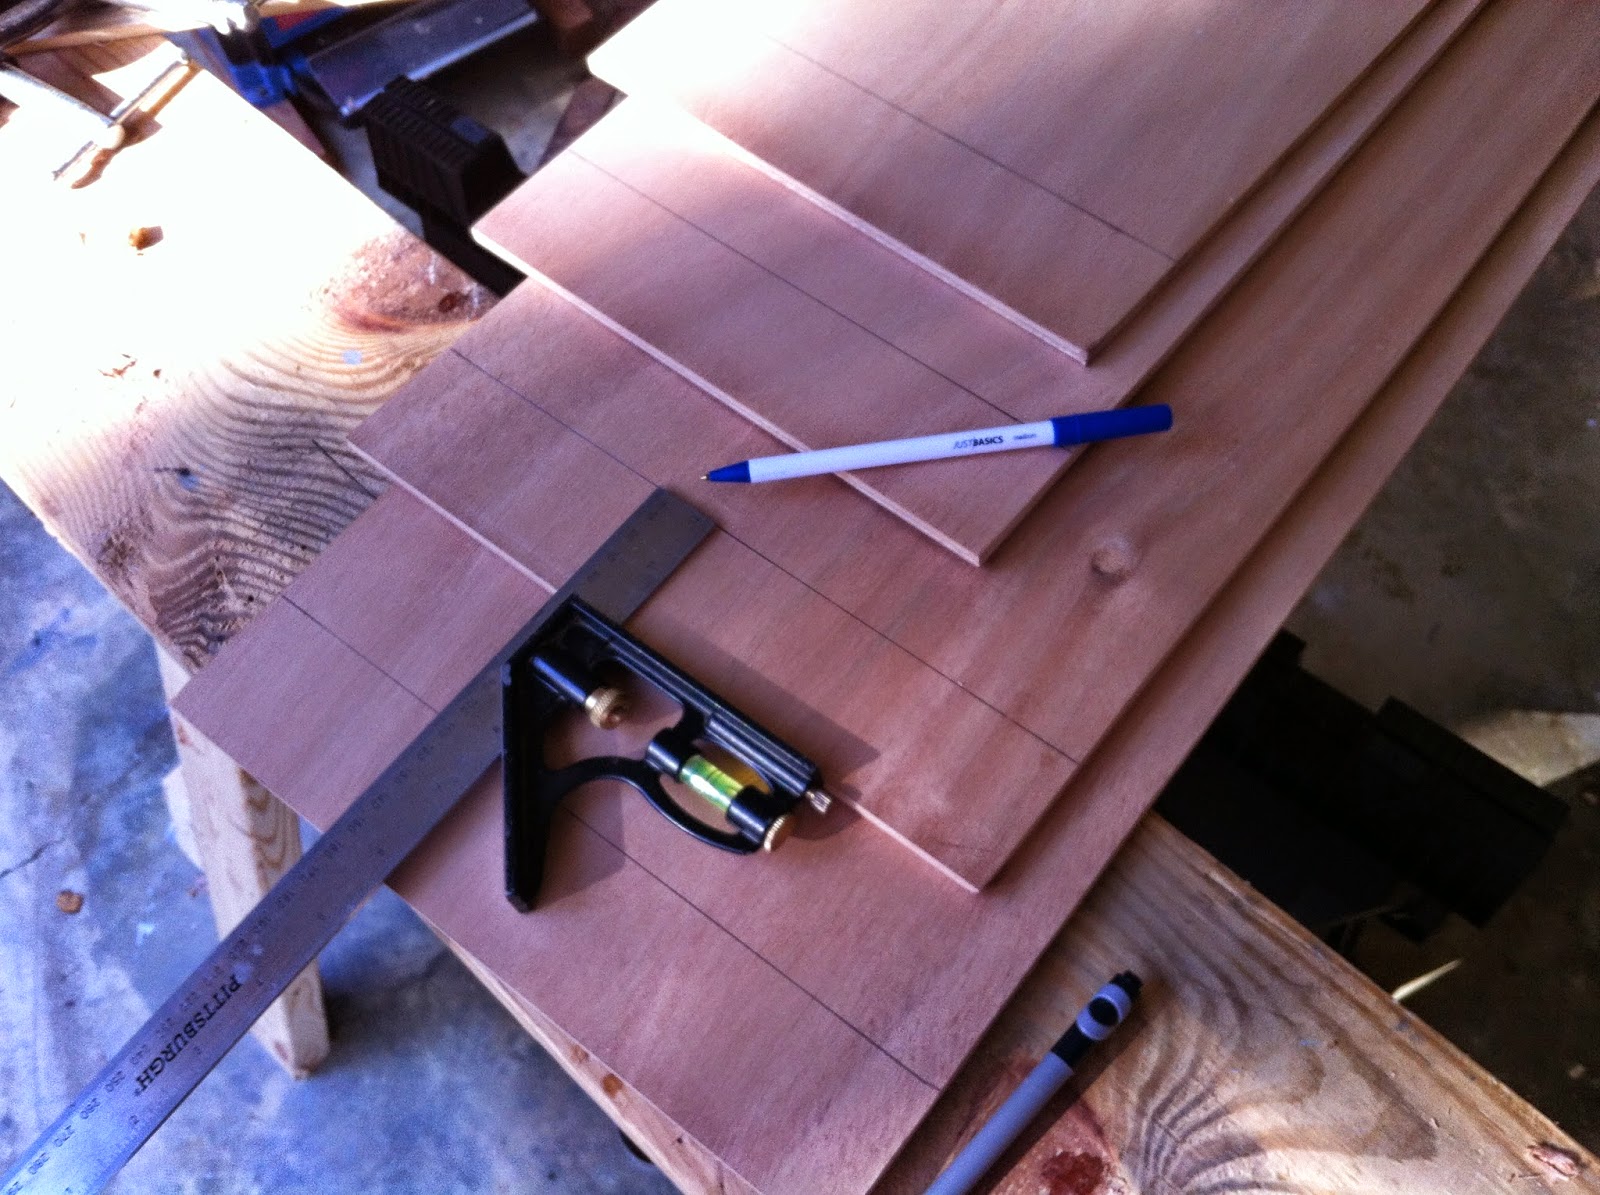
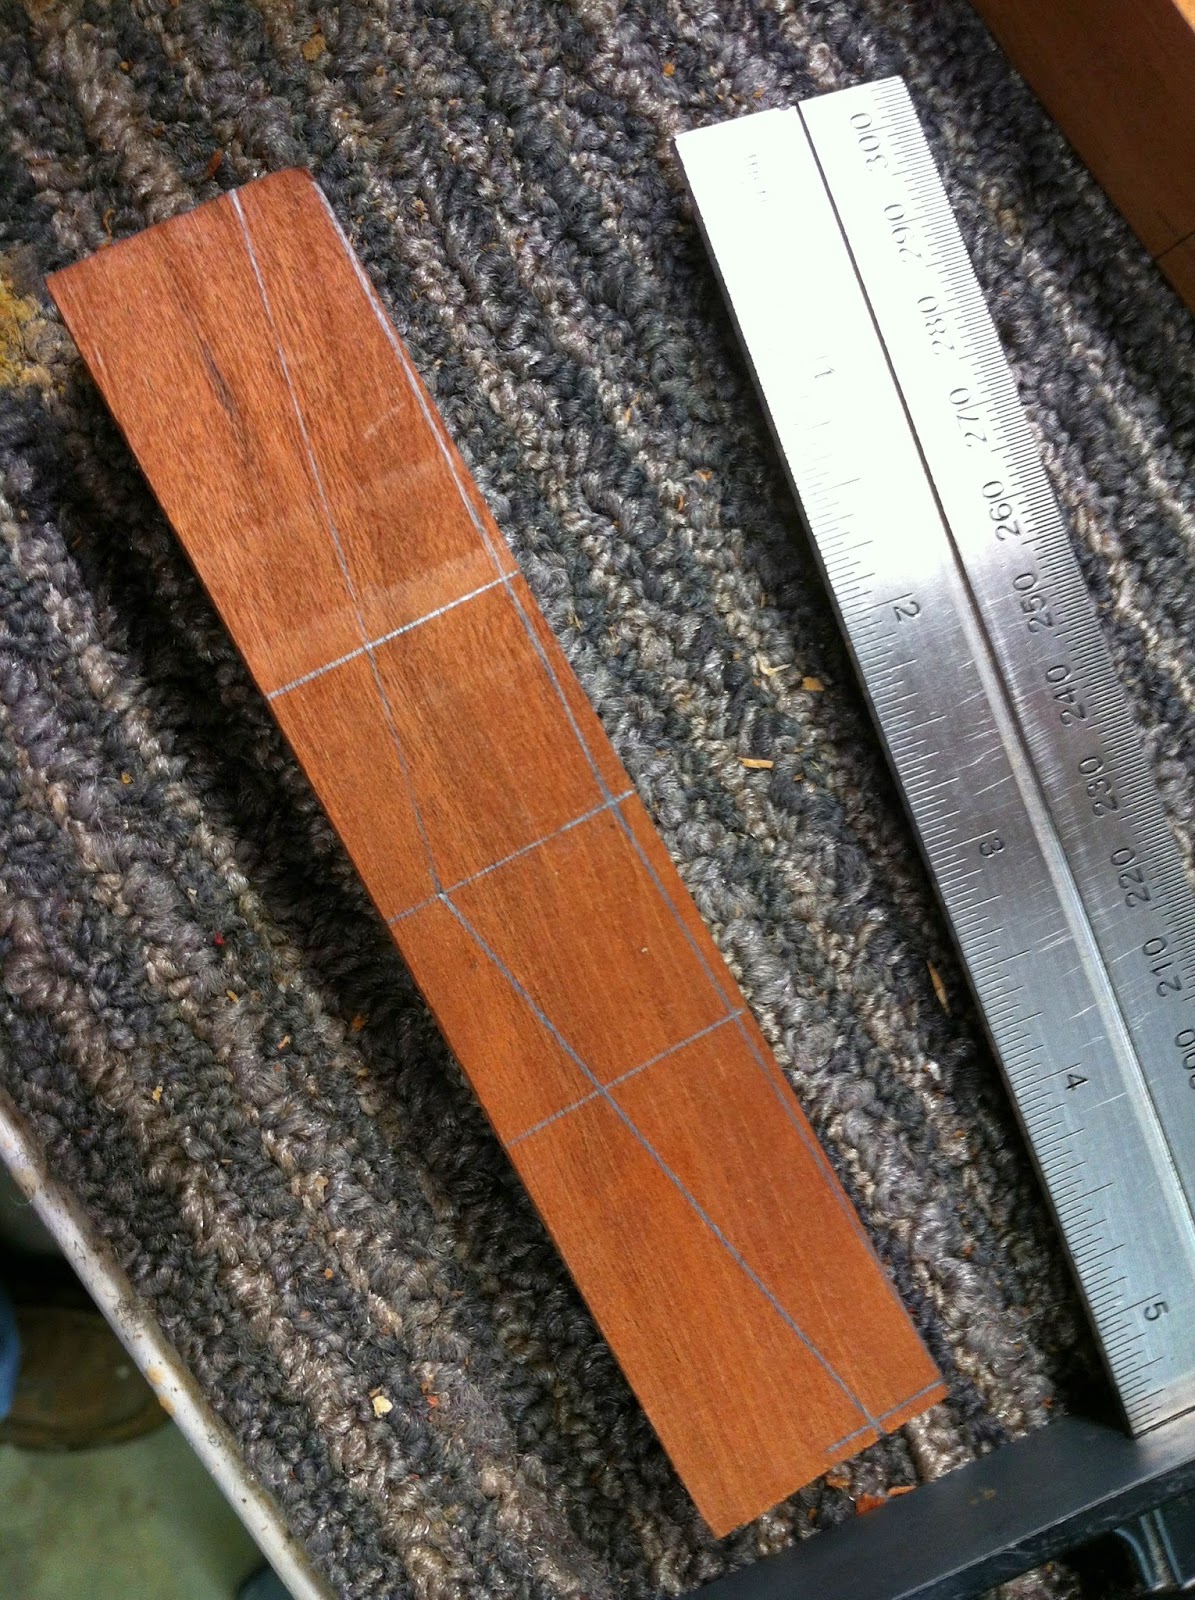
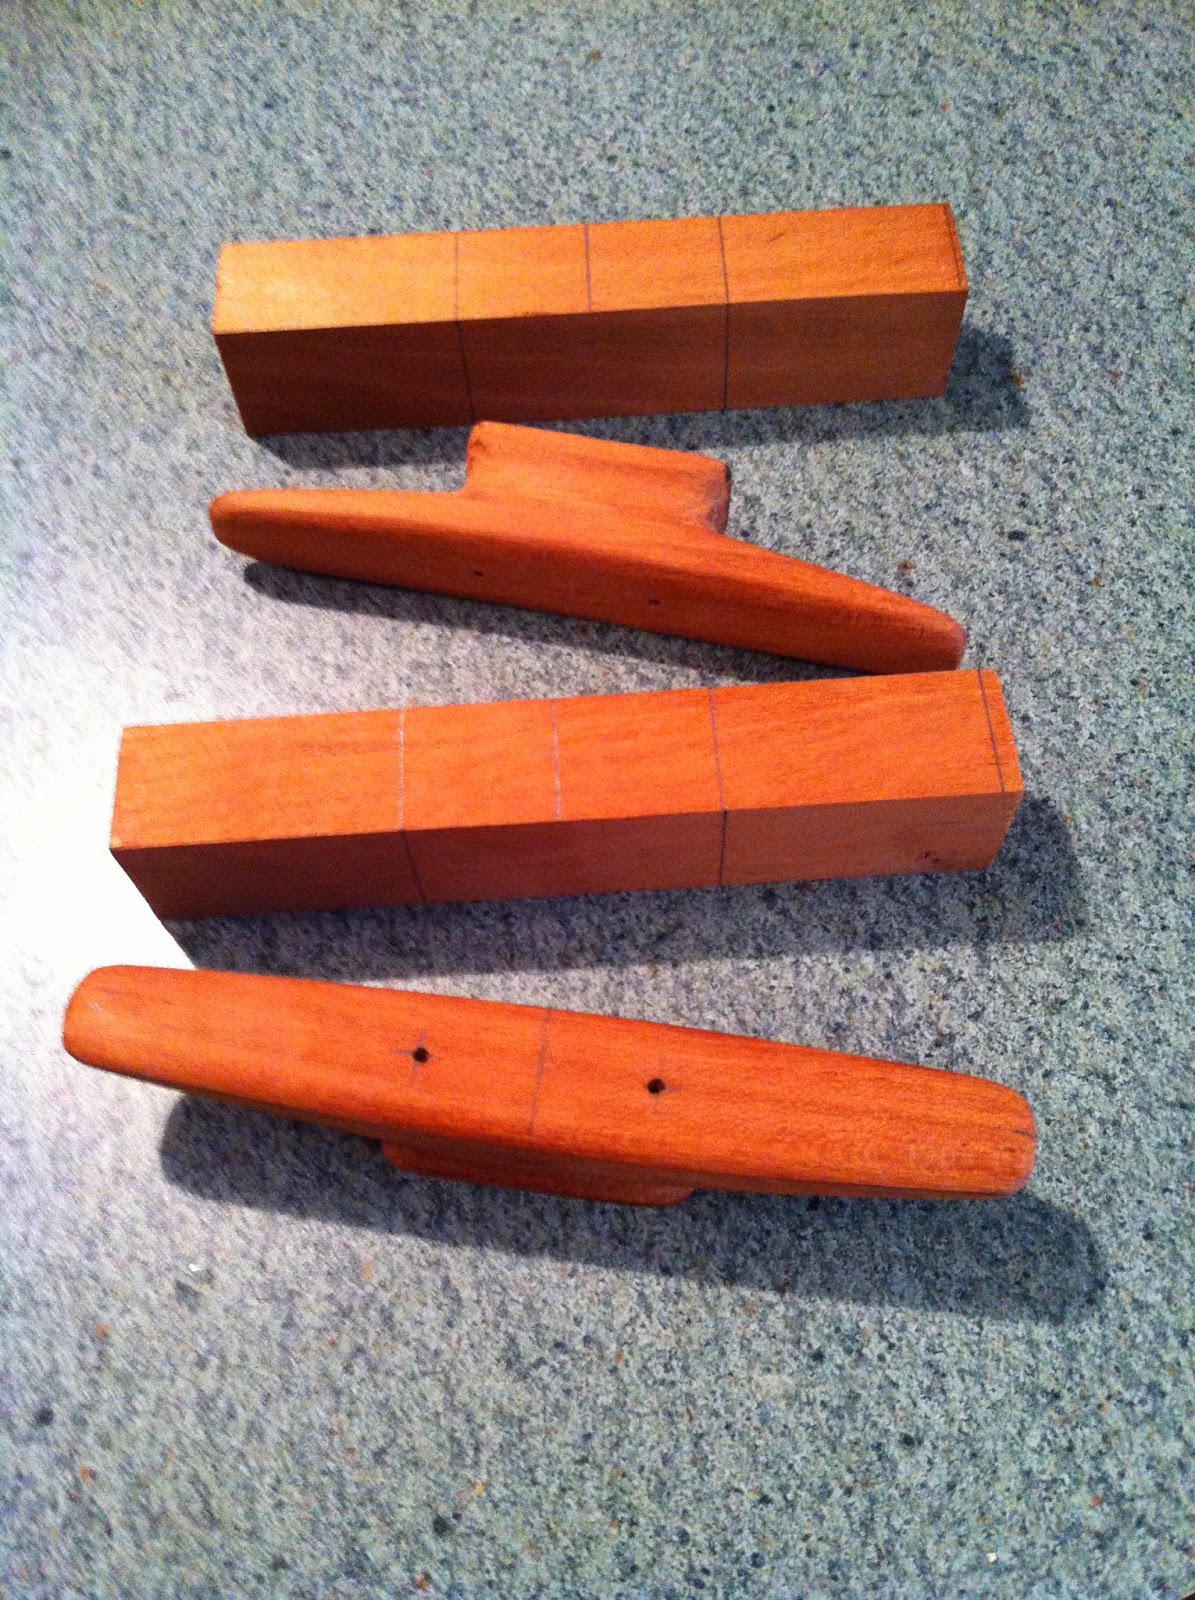
To back up, here are a couple shots of the scarfing marking, stacking, and trimming. The jack plane makes fairly quick work and the last touch of the belt sander makes it all right.
 |
| marked at 2″ for 8:1 scarf. |
 |
| stacked for planing |
 |
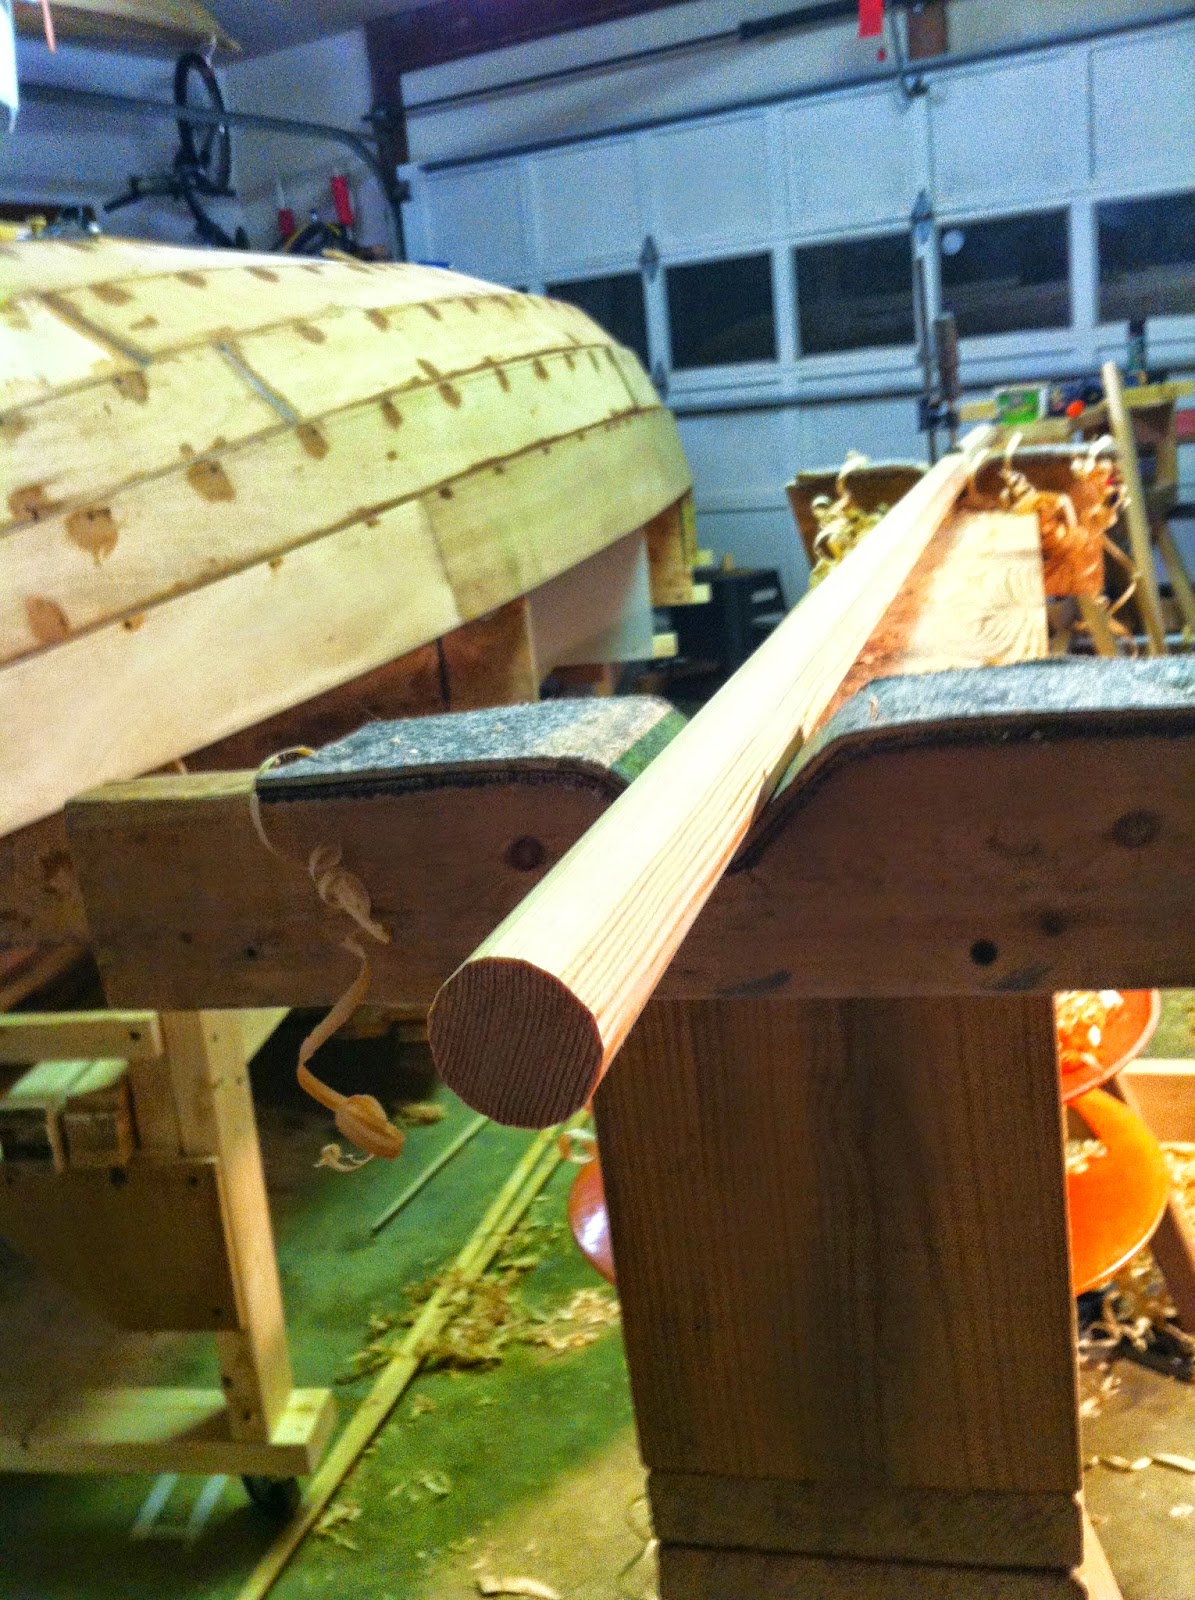
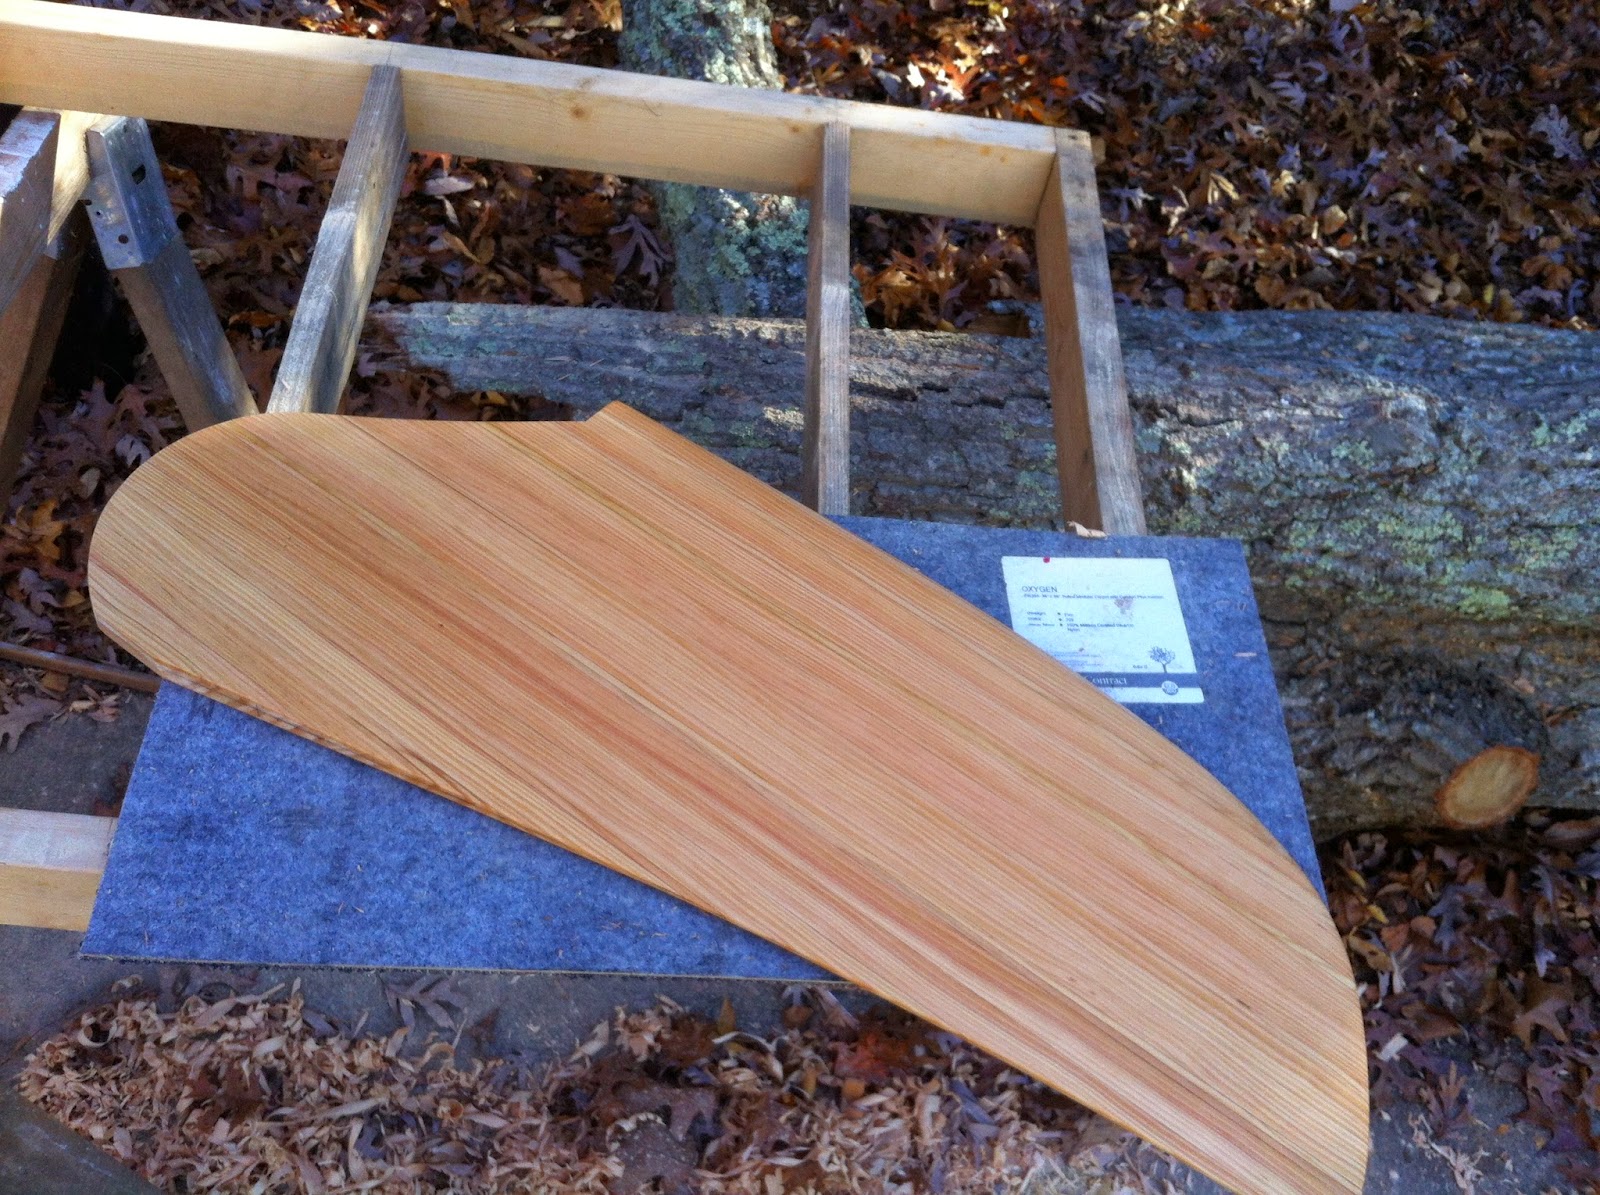
| near done. |
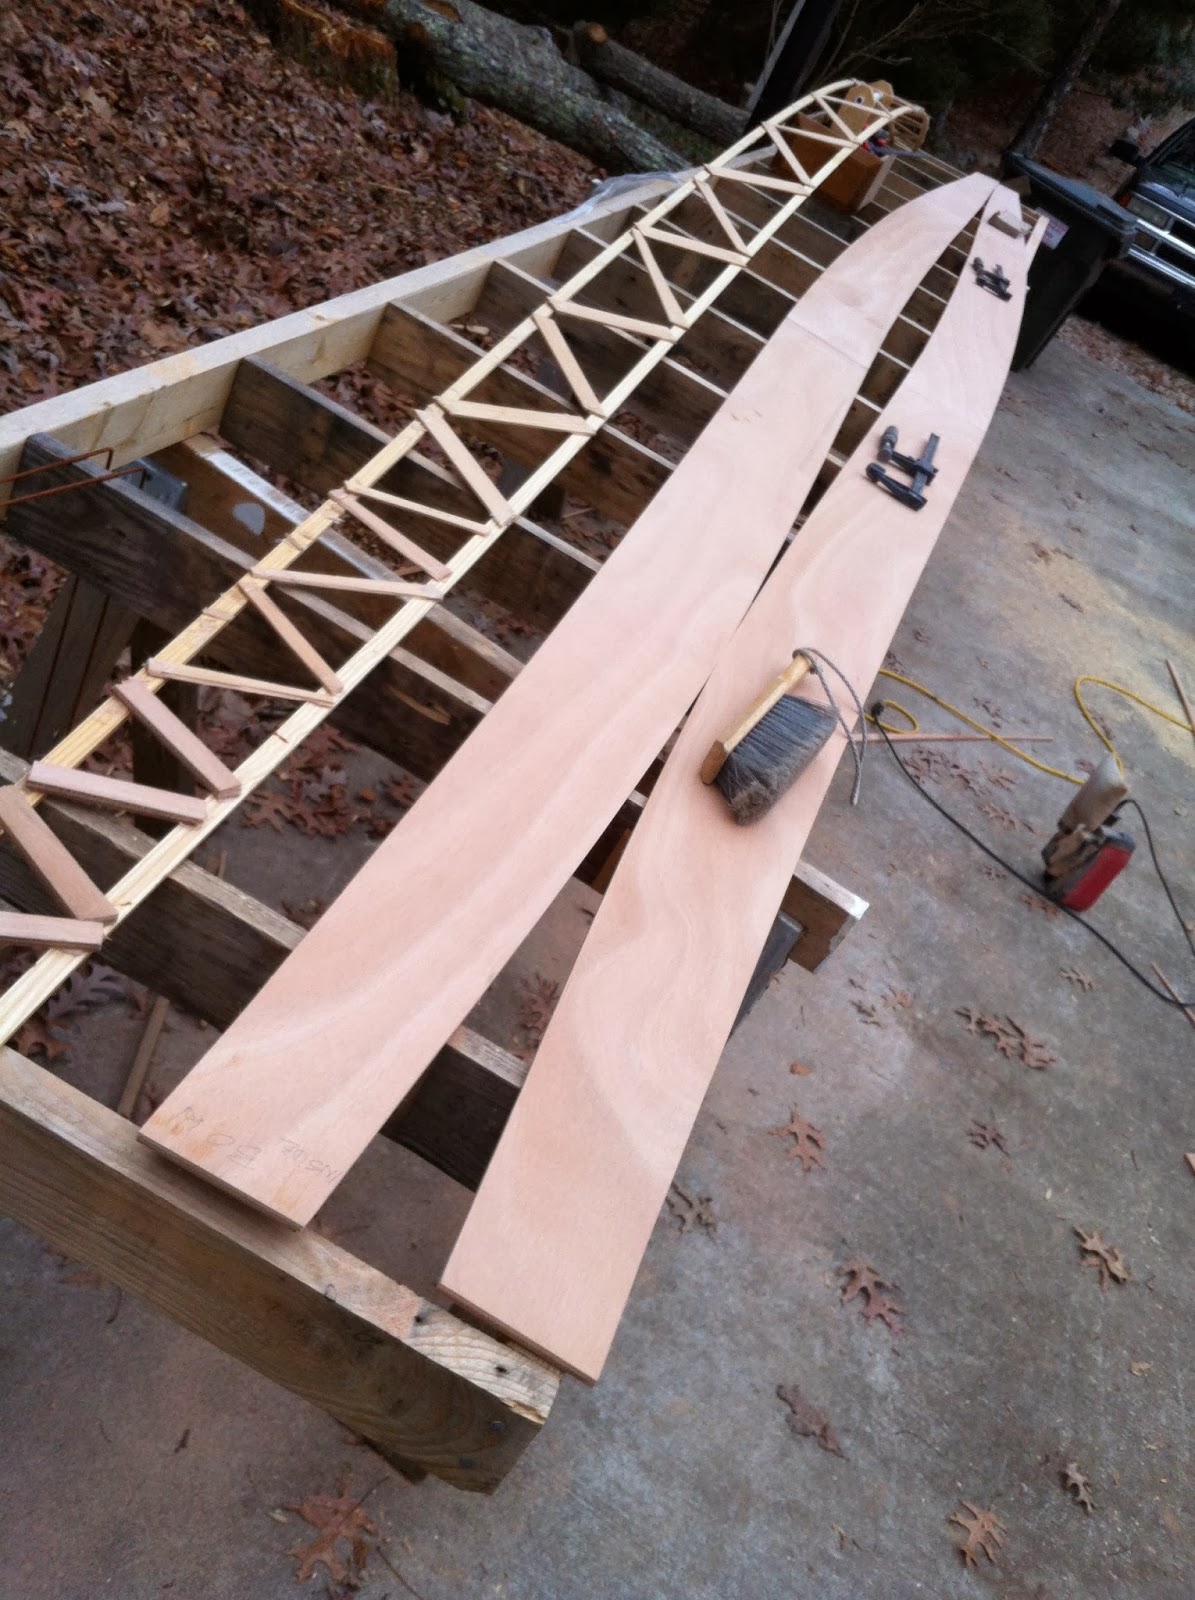
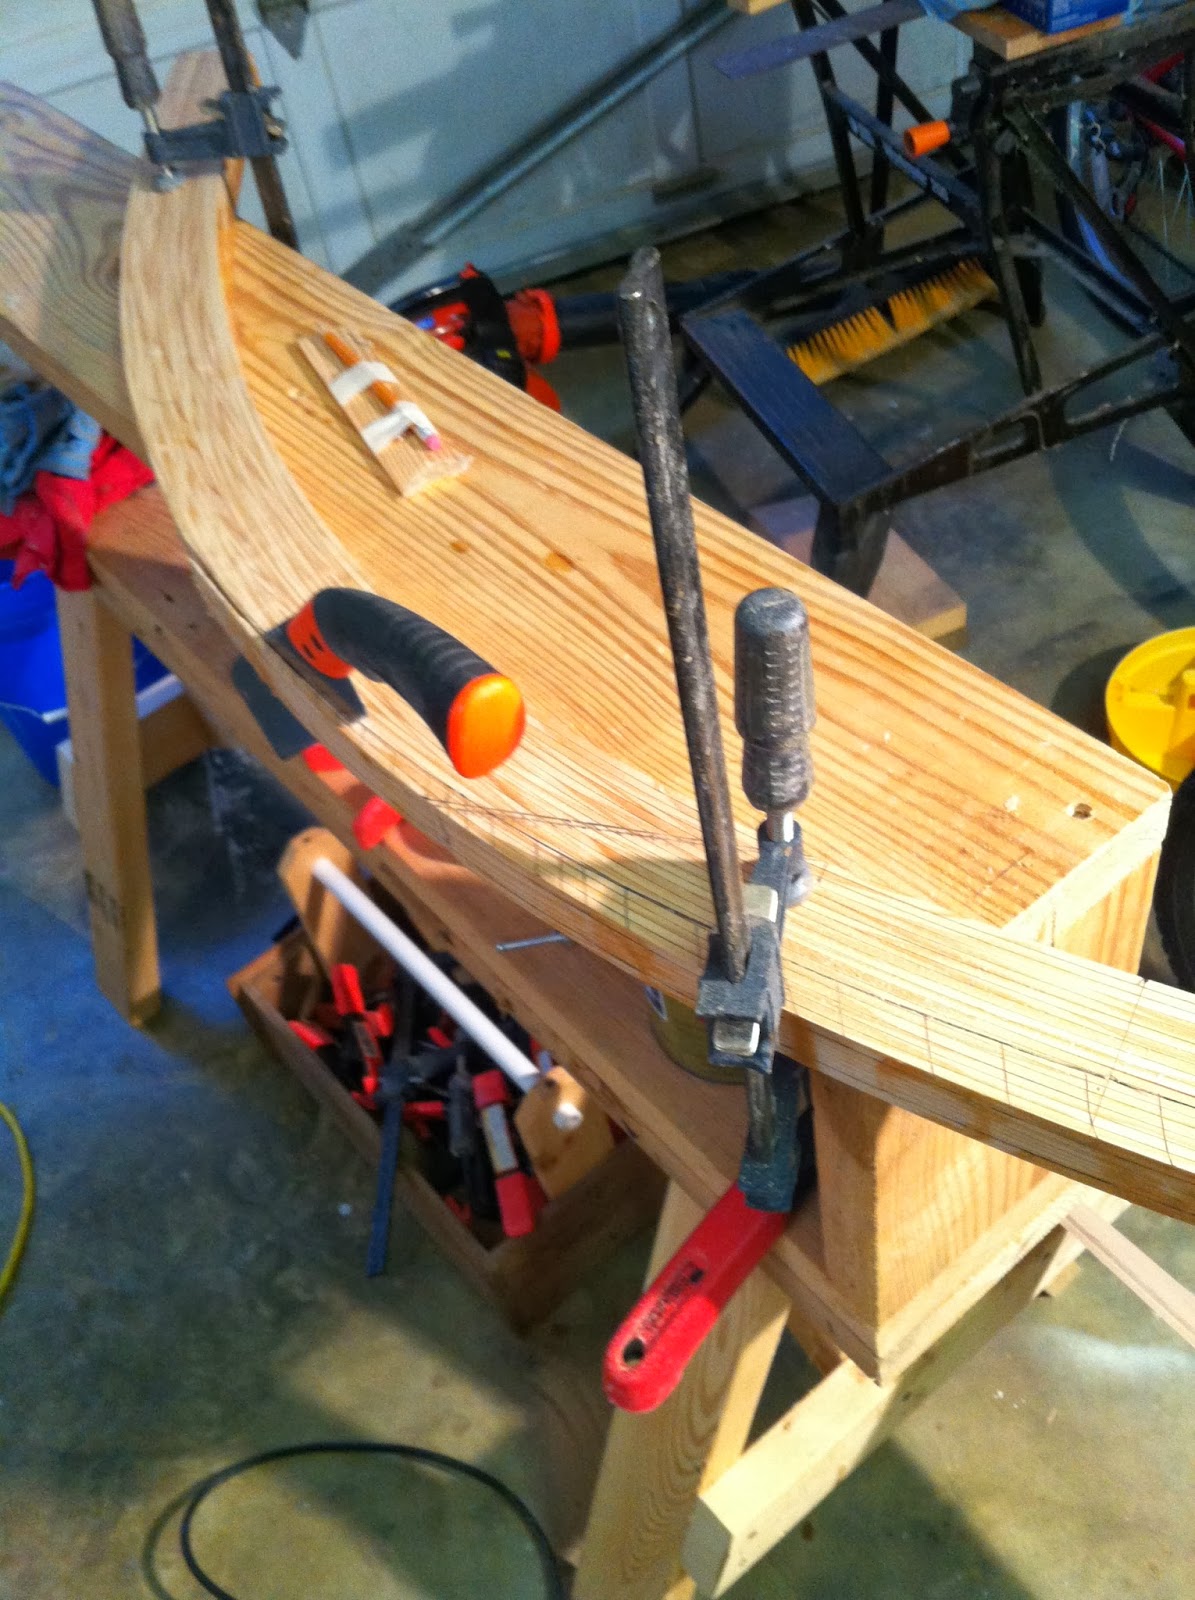
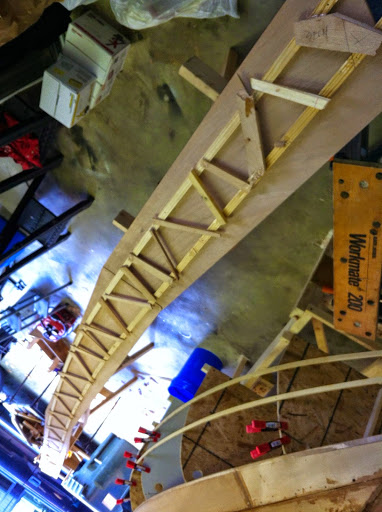
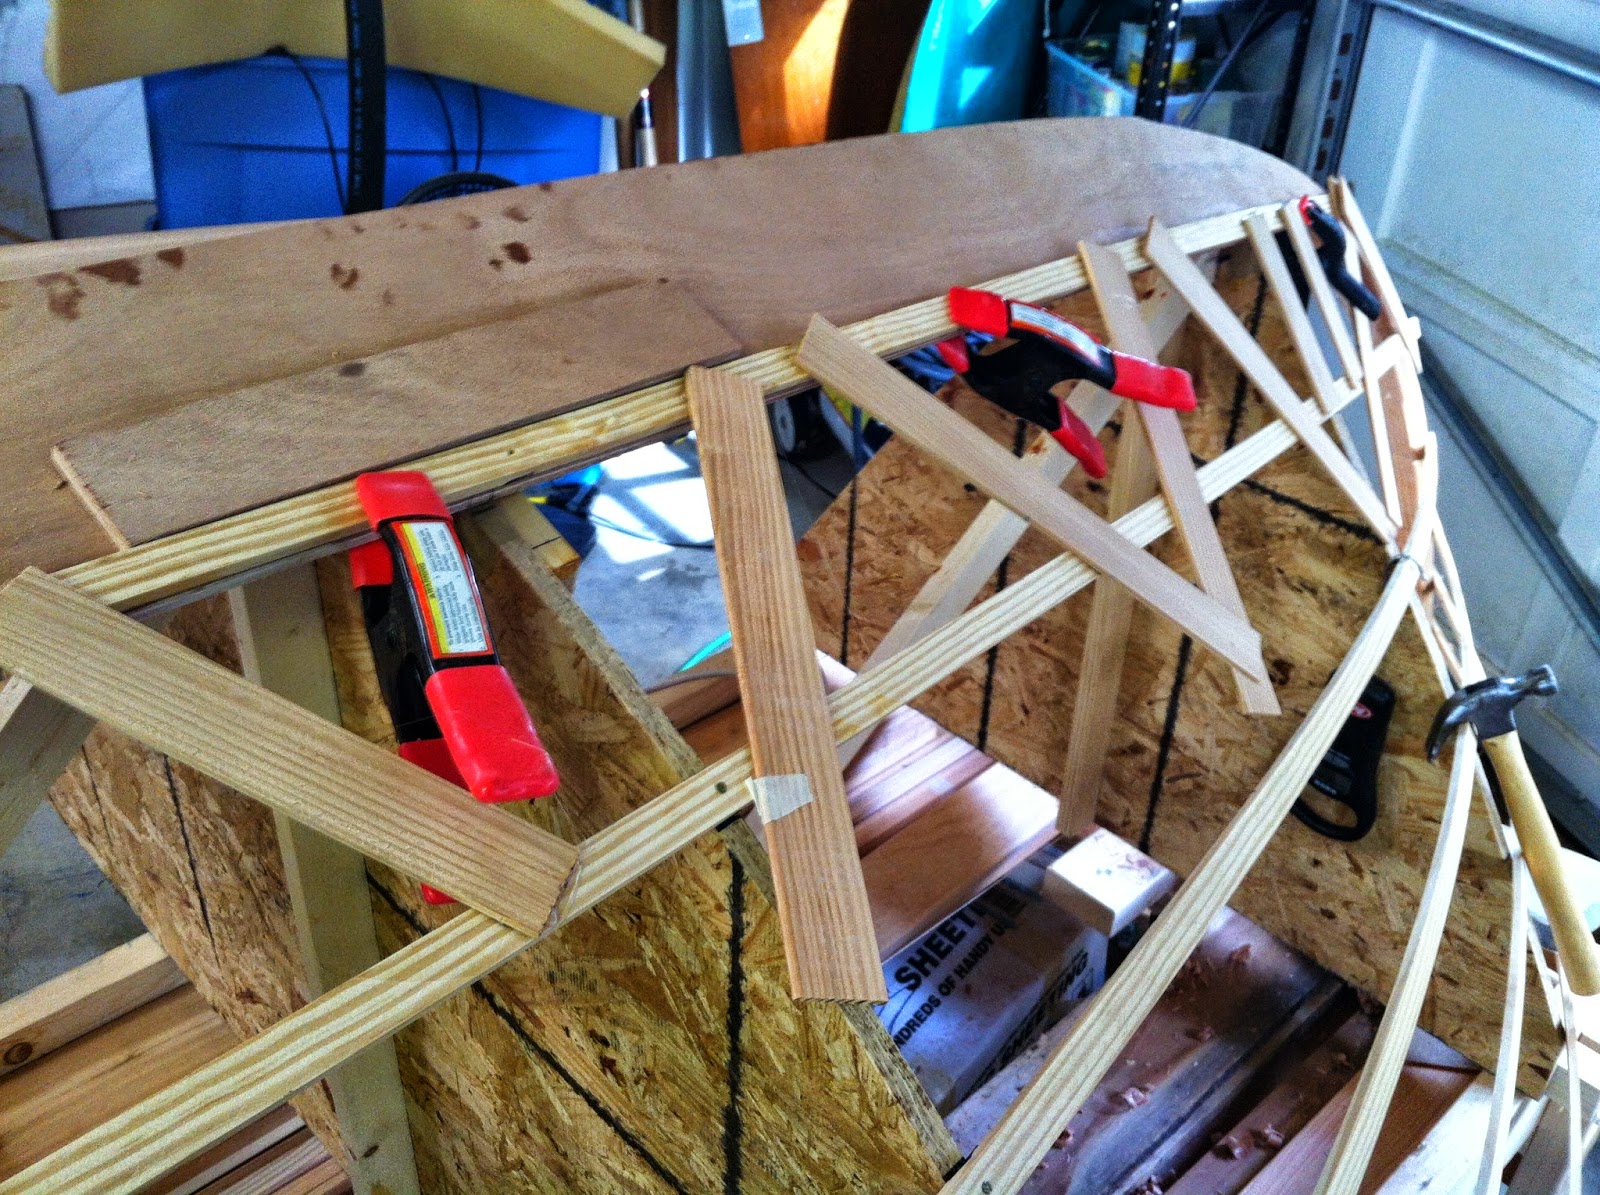
The trussed templates continue to be accurate. After cutting the 2 opposite planks together I set template again on the planks to confirm shape and either sand or plane the edges true to the template as a last check. No adjustments have been necessary on the moulds so far.
 |
| hot glued truss template. |
 |
| another view of same. |
 |
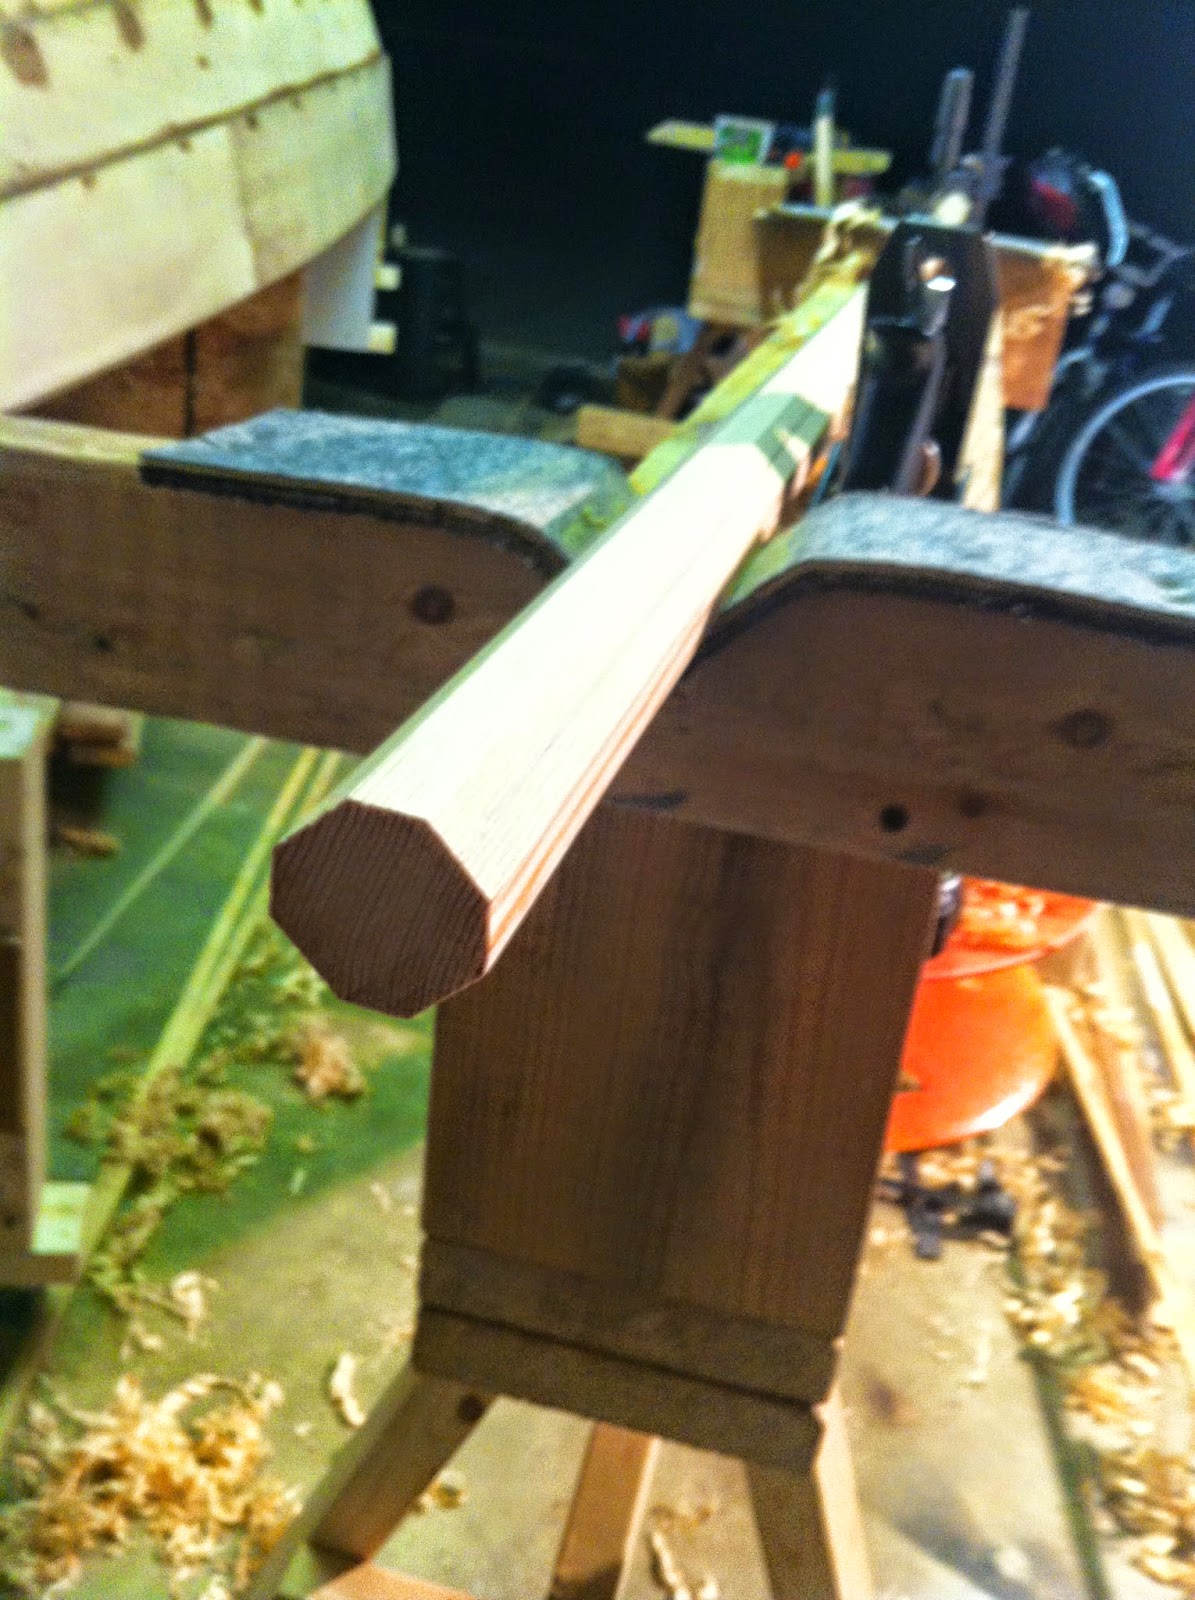
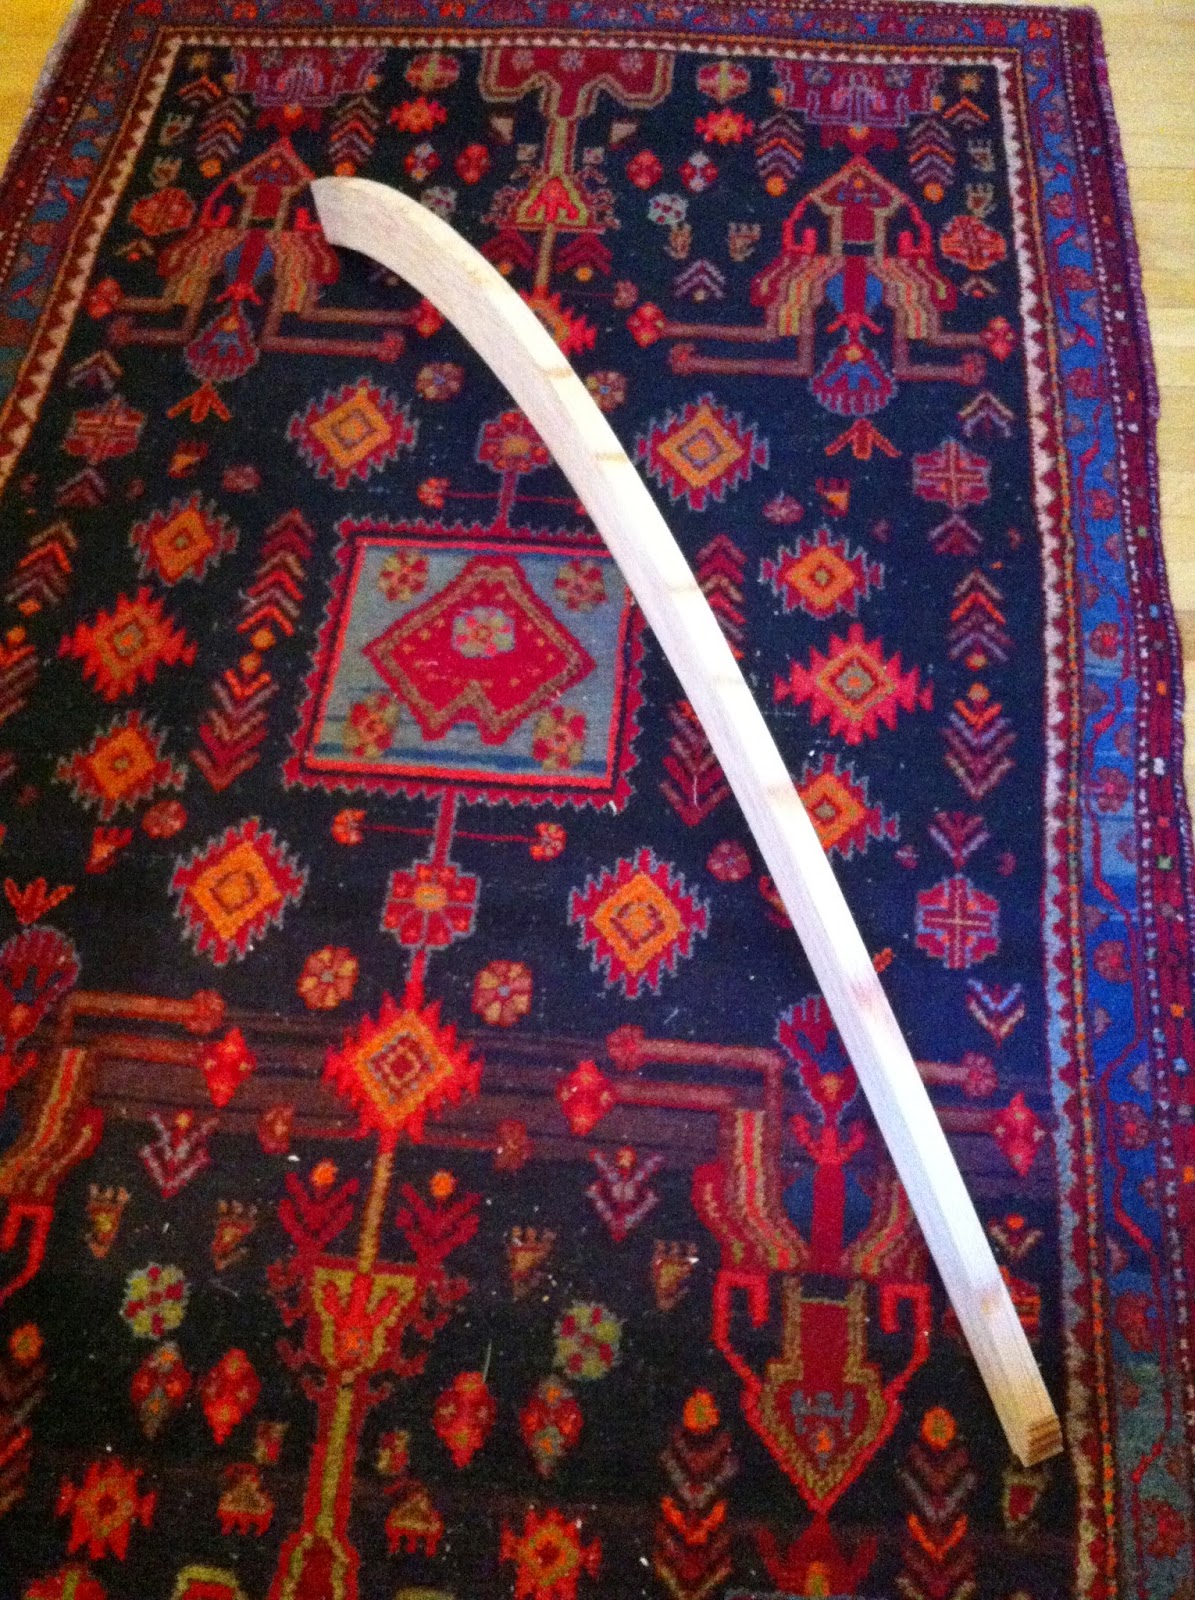
| rabbet plane with wood strut for beveling. |
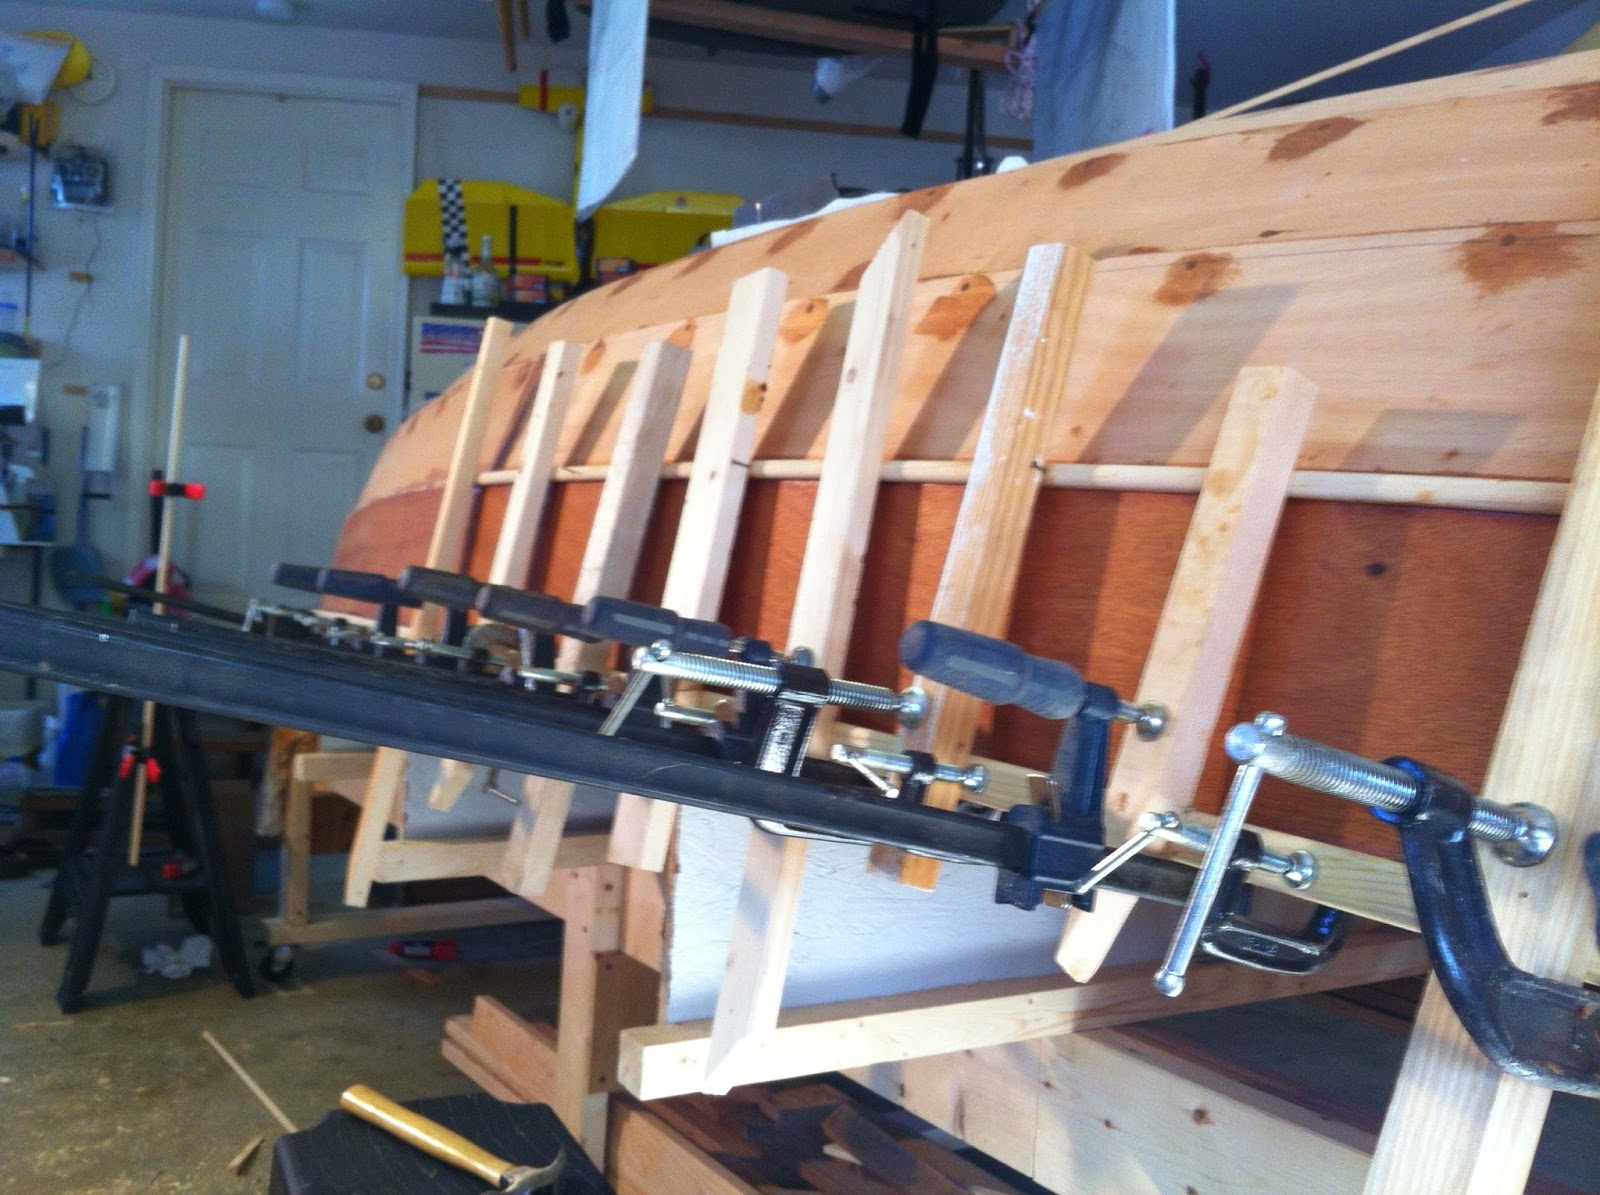
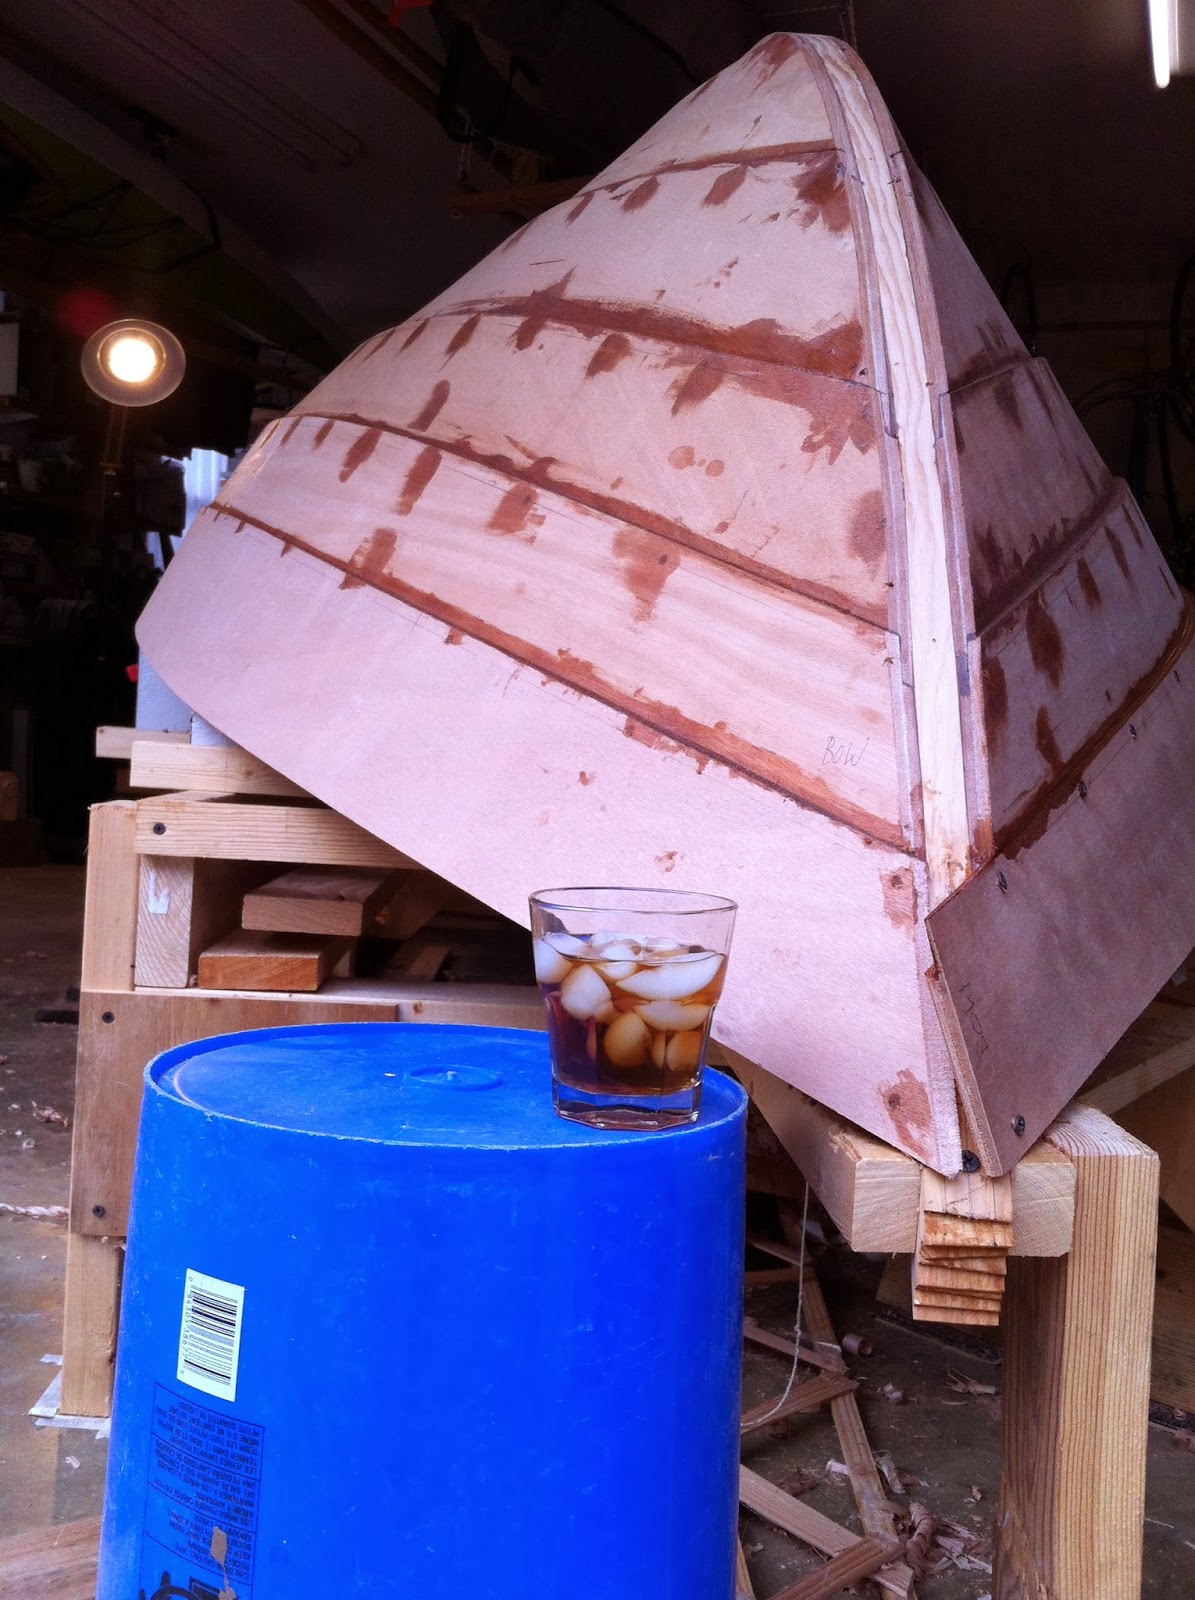
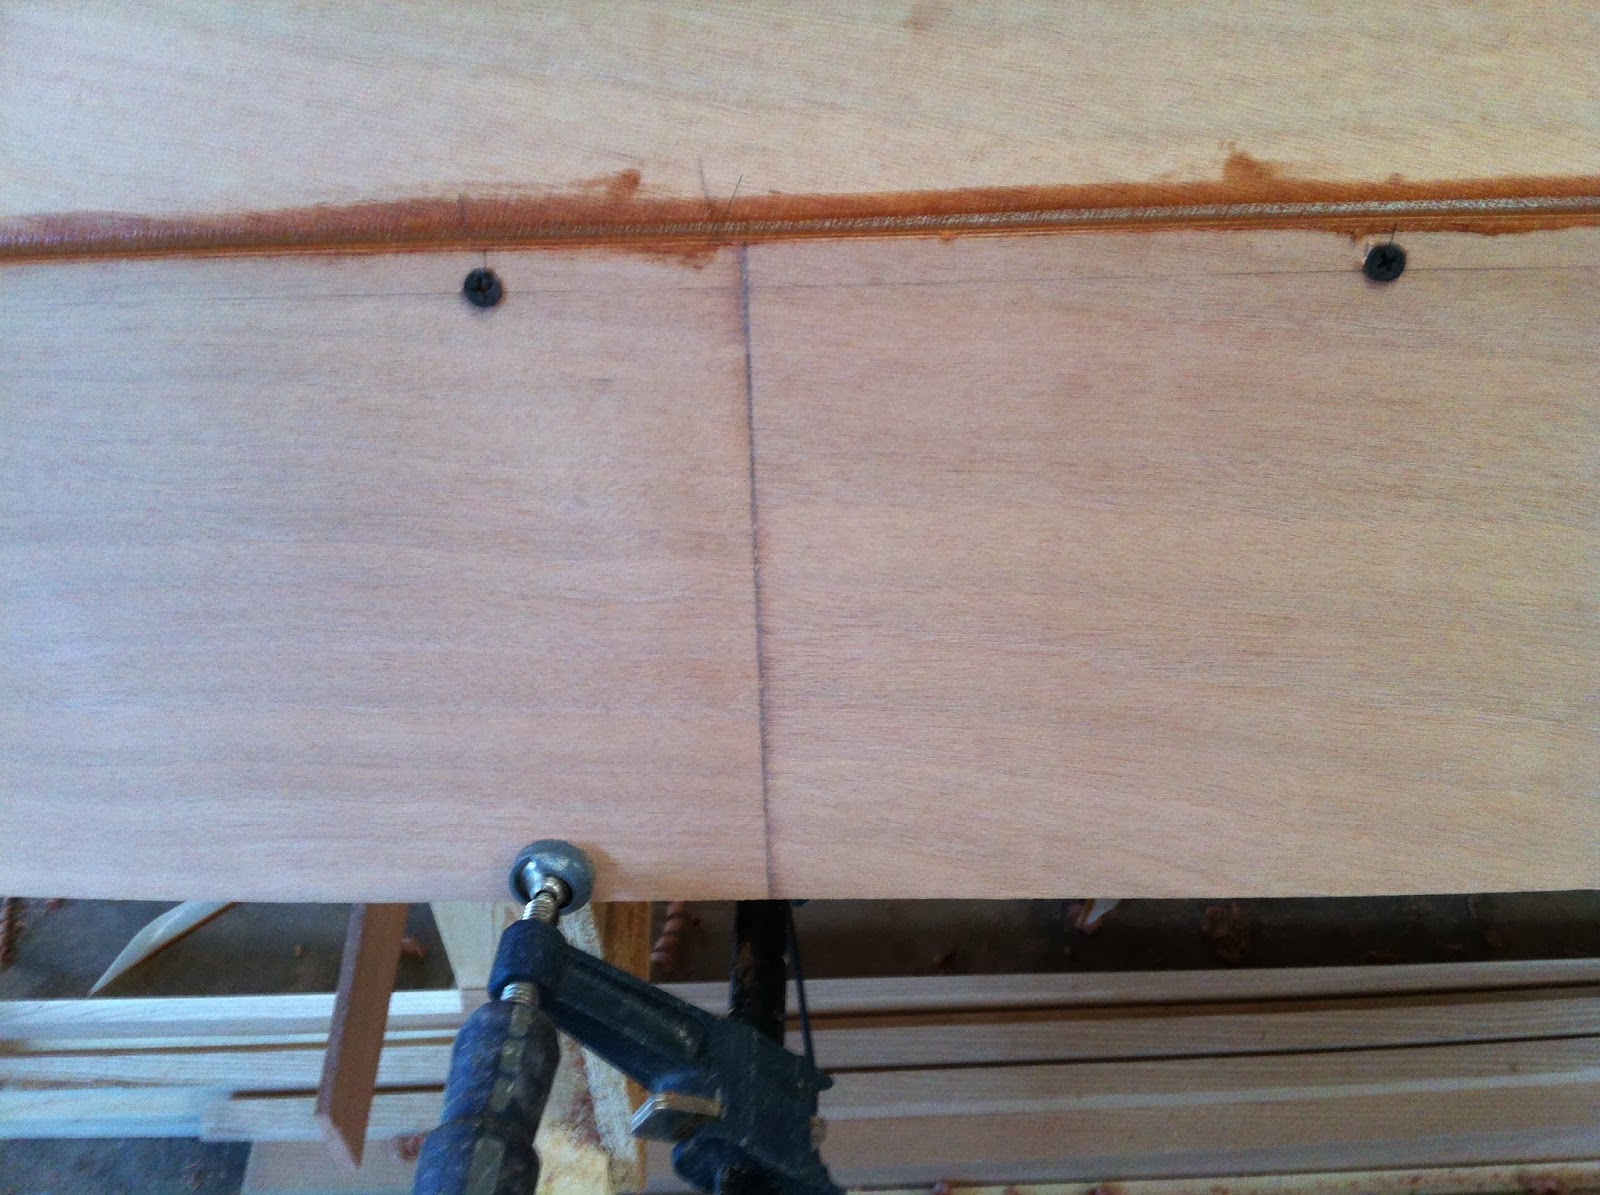
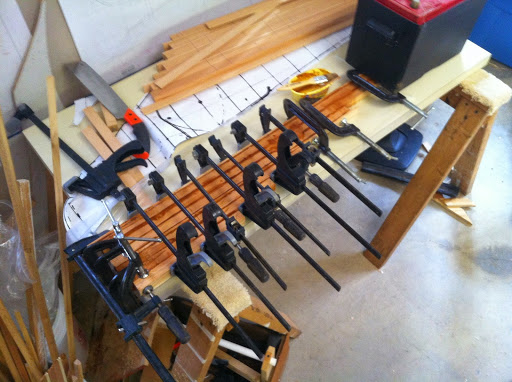
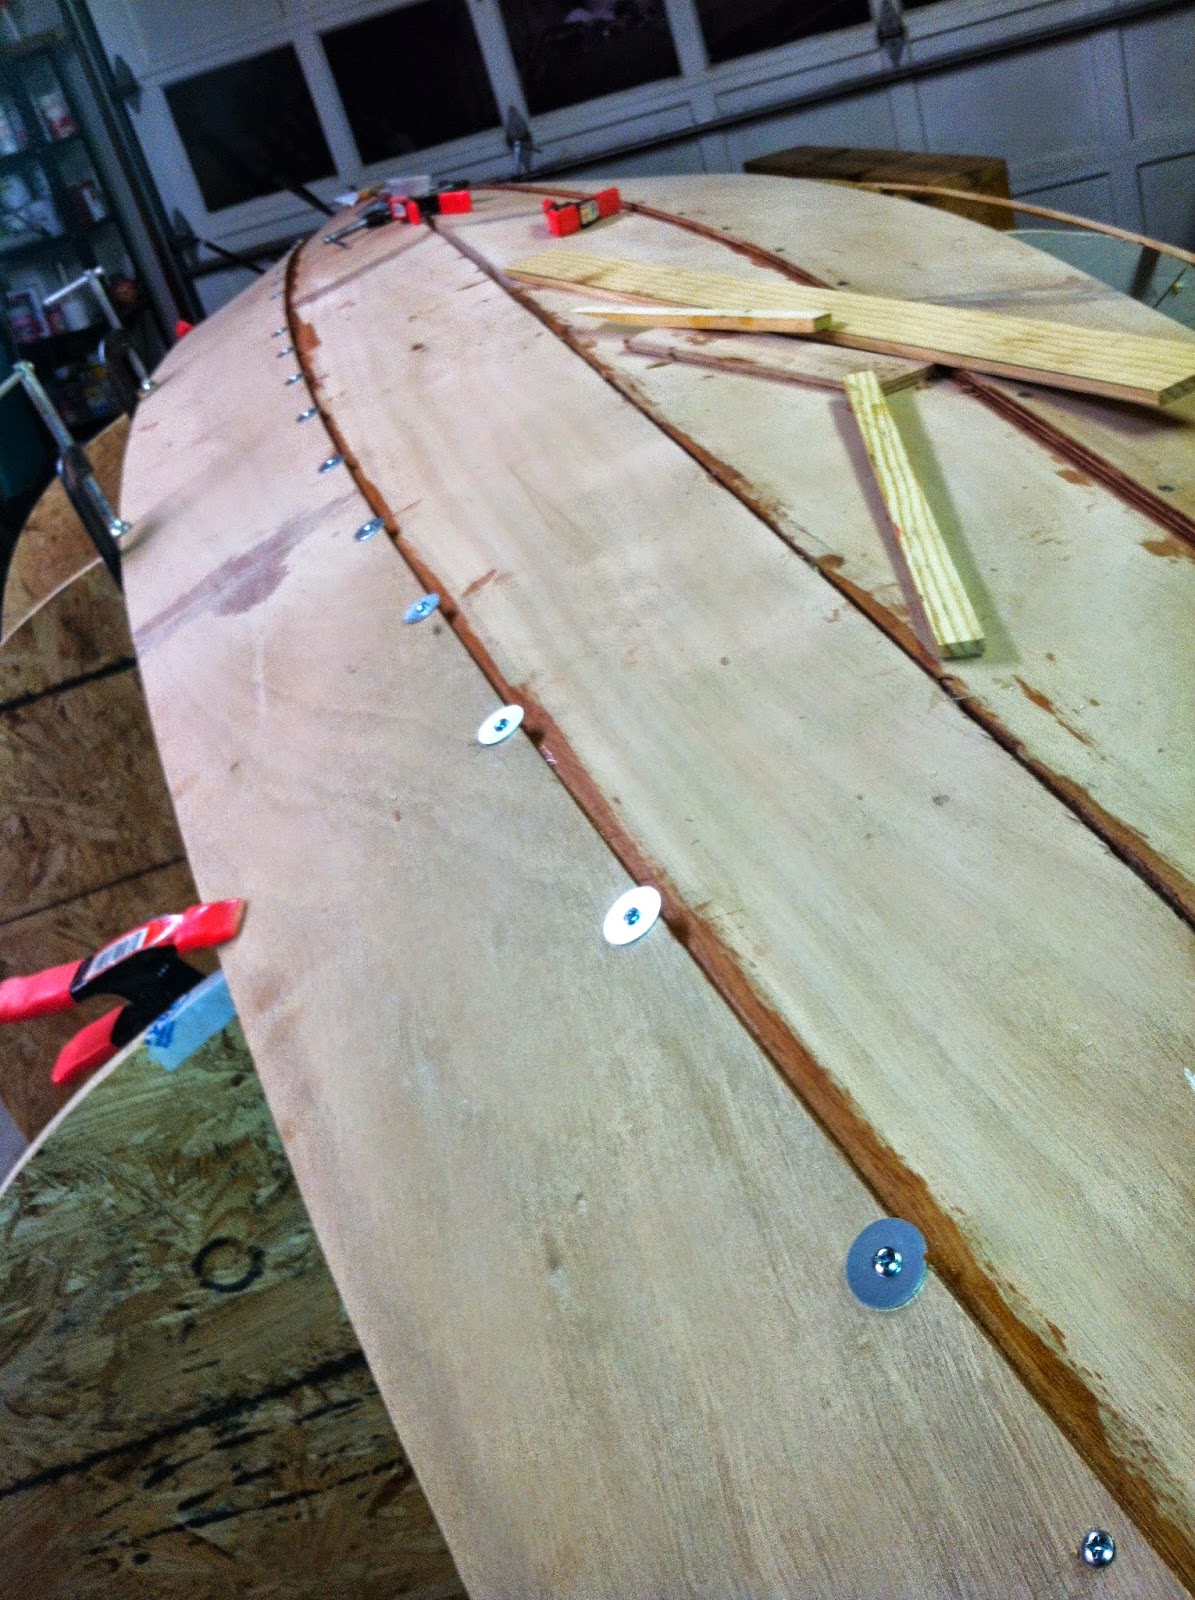
After much fussing with the “clothes pin” clamps (several broke and some were short), I resorted to using screws and fender washers (drywall screws bit too far into the planks). The resulting holes will require filling, but this will be nothing after all the nail holes I fixed on my strip kayak. Holes bored in the moulds under the other plank edges provided for positive clamping there. I see the epoxy stains distort the lines, but they are fair.
 |
| drywall screw method was discarded. |
 |
| 3/4″ #8 screws and fender washers. |
 |
| 1/3 planking done. |
And so, we’ve 1/3 a hull.