First Cruise (Closer to the Dream)


Went for a short sail today, or at least dreamt of doing so.
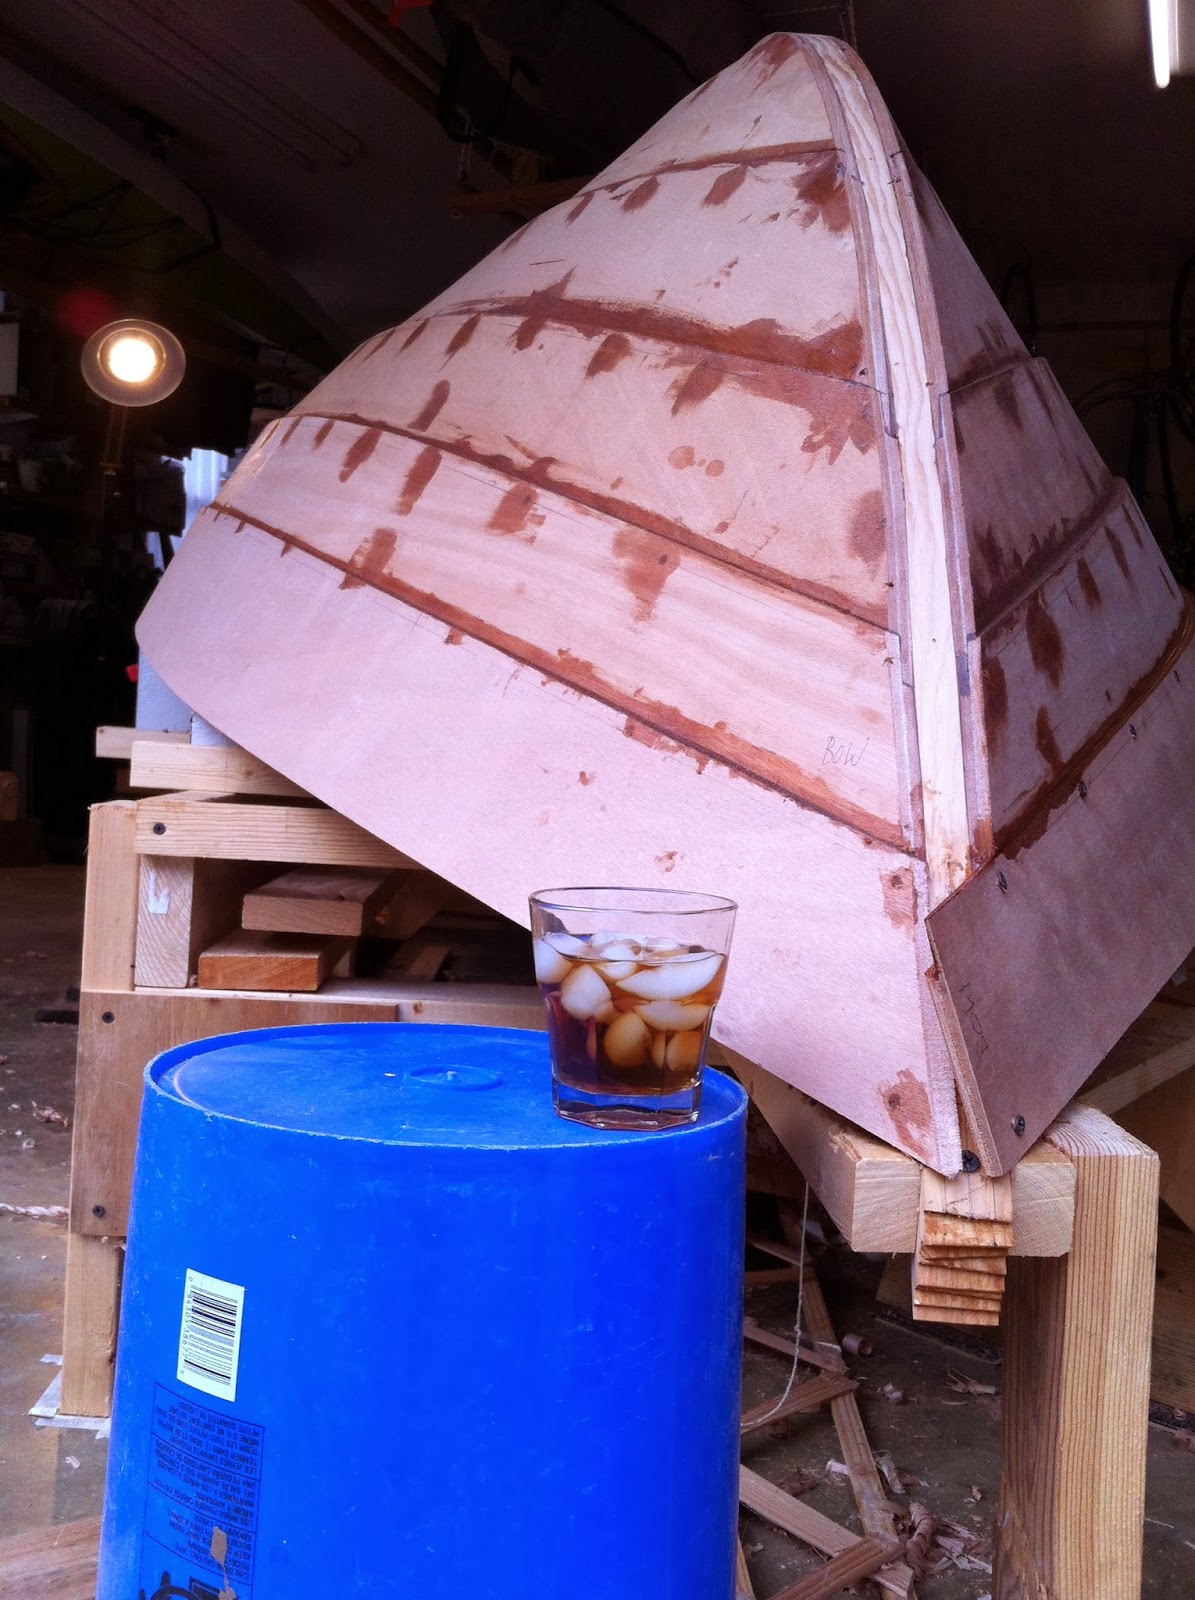
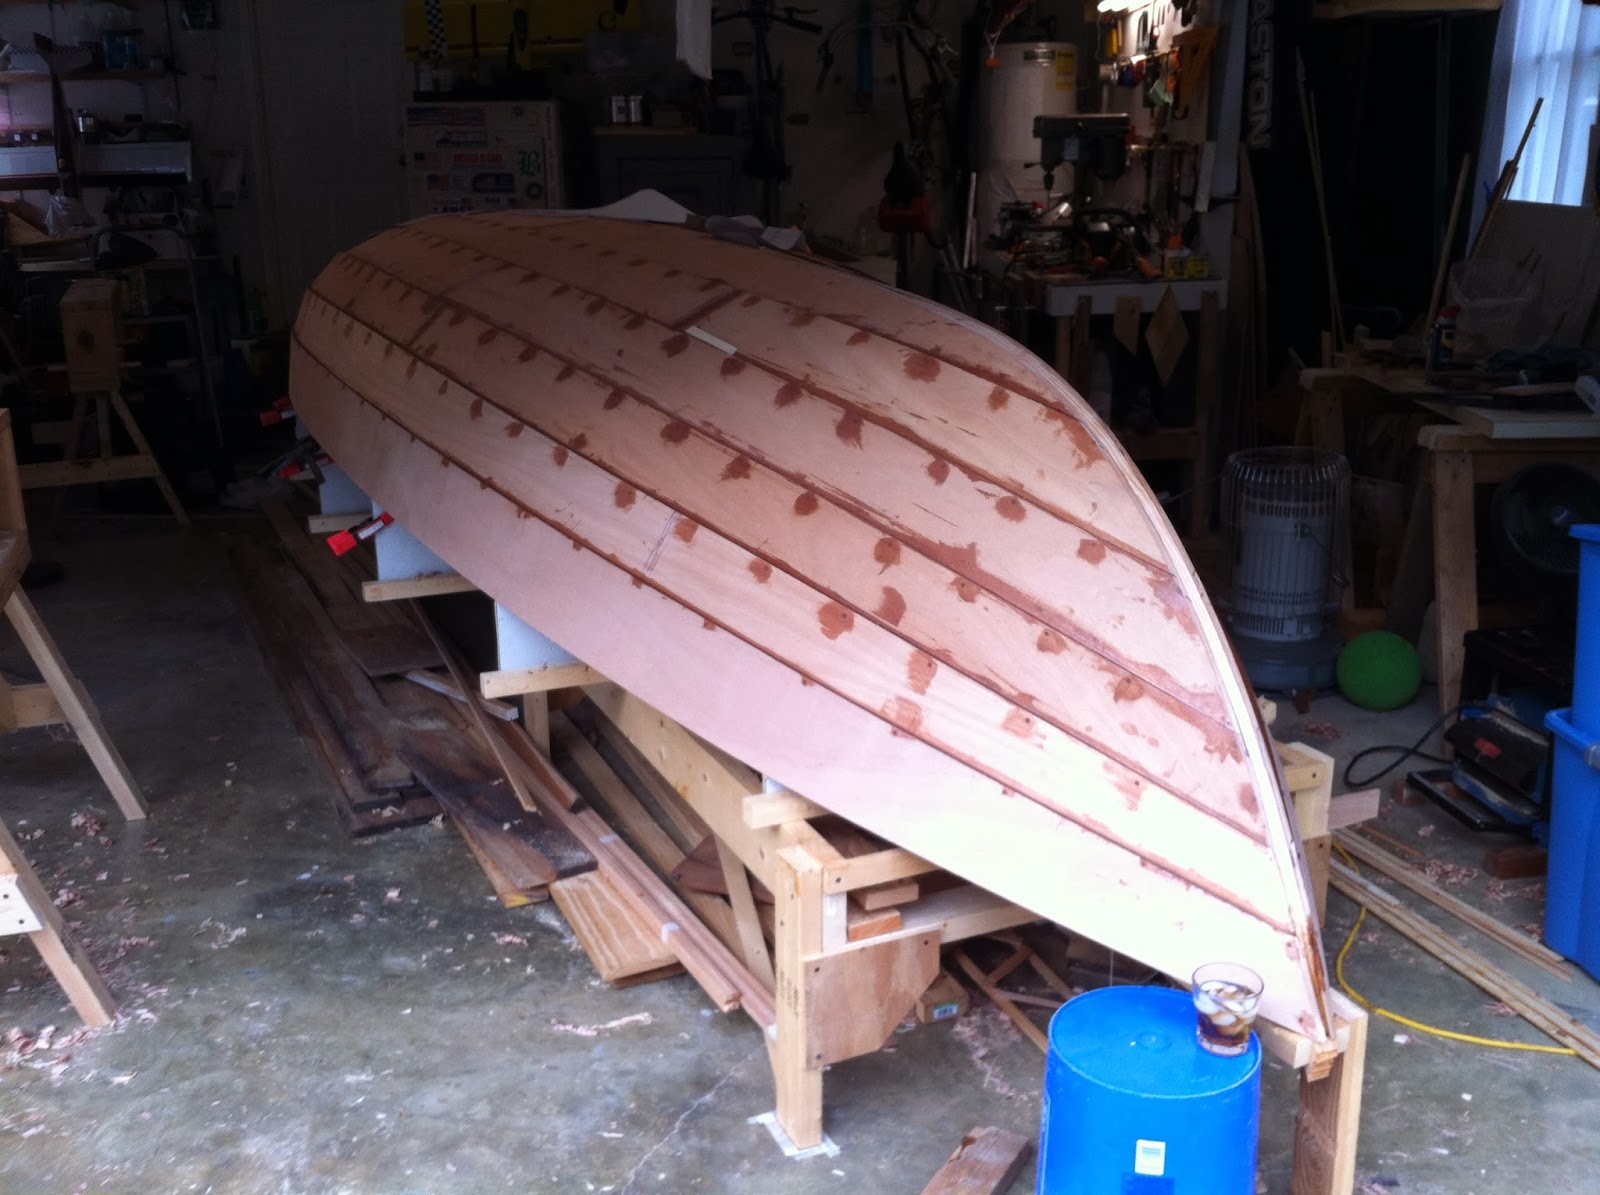
With some helpers, we flipped the hull last night. The volume in this boat amazed me. Since September I have been looking at her from the keel. Once flipped, it is a whole different perspective. I think she’s got capacity to carry a tent and some grub.
All last evening I was chomping at the bit to start work on the interior, but hadn’t decided on how to support the boat for work. I finally chocked her up with female moulds edged with a plywood cradle and carpet. The hull is very secure and I felt no give while walking and sitting in there.
Cradle with 1/4 ply scrap.


Installed with bracing.
I chose stations 2 and 6 for the cradles. This is where the 2 bulkheads will be installed. I clamped braces across the gunwales at stations 6, 4 and 2. Little effort was required to pull the beam in line. It had opened up about 3/4″. This structural system is amazingly rigid.
Here are a few photos of the upright hull. I’m happy with the shear after all the contortions to view it upside down. I don’t think I was more than 1/8″ off from any of Iain’s marks after it was all done.
Starboard.


Starboard quarter.


Further aft.


Interior looking aft.


Bow stem.
The rest of the afternoon was spent trimming the inhales to fit and experimenting with lining a hole with copper pipe bushing for wear. I’m inclined to have a simple hole in the bow stem in lieu of a “nose ring”. I got good results with a parallel sided chunk of wood, but the stem is trapezoidal. I flared the pipe by wiggling a large screw driver in the hole and hammering with a grommet tool. More tests are going to be required before risking on the actual boat, but I like the appearance.
Test copper bushing.

She’s Got A New Dress On

Well, I’d like to think all the sanding has paid off. After applying 2 coats of primer and sanding after each coat, I’m all sanded out for awhile. I had intended to use the foam roller and brush tipping method, but the white “hot dog” rollers kept falling apart after half the boat was coated and left foam trash in the primer which required extra sanding.

Bow and 2 coats of primer.
Primed stern.

So, after almost 3 hours of the first top coat, she is starting to appear the lady.

Bow with 1 coat.
Stern and 1 coat.

Originally I intended to bright finish the stems,  but I sensed it would appear too fussy and elected to paint them instead. I lost control of one of the gains at the top of the broad plank at the stern, but all others look fine. This gain is likely at the waterline and will escape notice.
Collecting the rudder hardware took 3 separate orders from Hamilton Marine, WoodenBoat, and Duck Trap. Nobody had a pair of anything. The rudder gudgeons are actually Wilcox-Crittenden parts. That company’s hardware business is long gone. Classic Marine did have all the pieces, but at perhaps at 2.5 times the cost.
I may elect to cut the pintels off and use a rod a la Jim Luton’s method. The unpolished transom gudgeons are from Duck Trap.
I’m planning on turning her over this weekend and add another finish coat at the end of the job. On to more construction in the meantime.

Sand Jam Thumb Cleat Epoxy

Boat work has been sporadic. Things are getting done, but when so much of it has been fairing and sanding … what is there to report? Nonetheless, here are some items for the record.

  • I bought this little paint scraper that is fantastic in combination with careful use of the heat gun.
1.5″ wide scraper. Good addition.
  • I fabricated the jaws for the mizzen boom from cherry scraps. I decided to angle them to better receive the mast. Ganging them together allowed for easy belt sanding. Glued, screwed and plugged here:
Jaws ganged for sanding.


Starboard jaw attached.


  • I’ve a couple old Herreshoff open base cleats that I’ll likely use bow and stern, but there are a few jam and thumb cleats needed for the 2 booms. I found a photo online that I adapted for this application. All done with drill press, jig saw, belt sander, file and sanding block. A final hand sanding will precede shellac and varnish.
Jam cleats.


Thumb cleats.


  • Lastly, I got a coat of epoxy on. Mike at RAKA suggested heating up the boat and then cooling it down as epoxy is brushed on. He said the wood pores would open and soak up the goo. This I did with about a 10% thinning with denatured alcohol. A few areas got a bit thick and exhibit some sagging which will require more sanding. The random orbital sander should make it quick work. I may be able  to then prime for paint. We’ll see.
Stern.
Dark laps are where the “purple” fairing compound is.

Boat Hookie

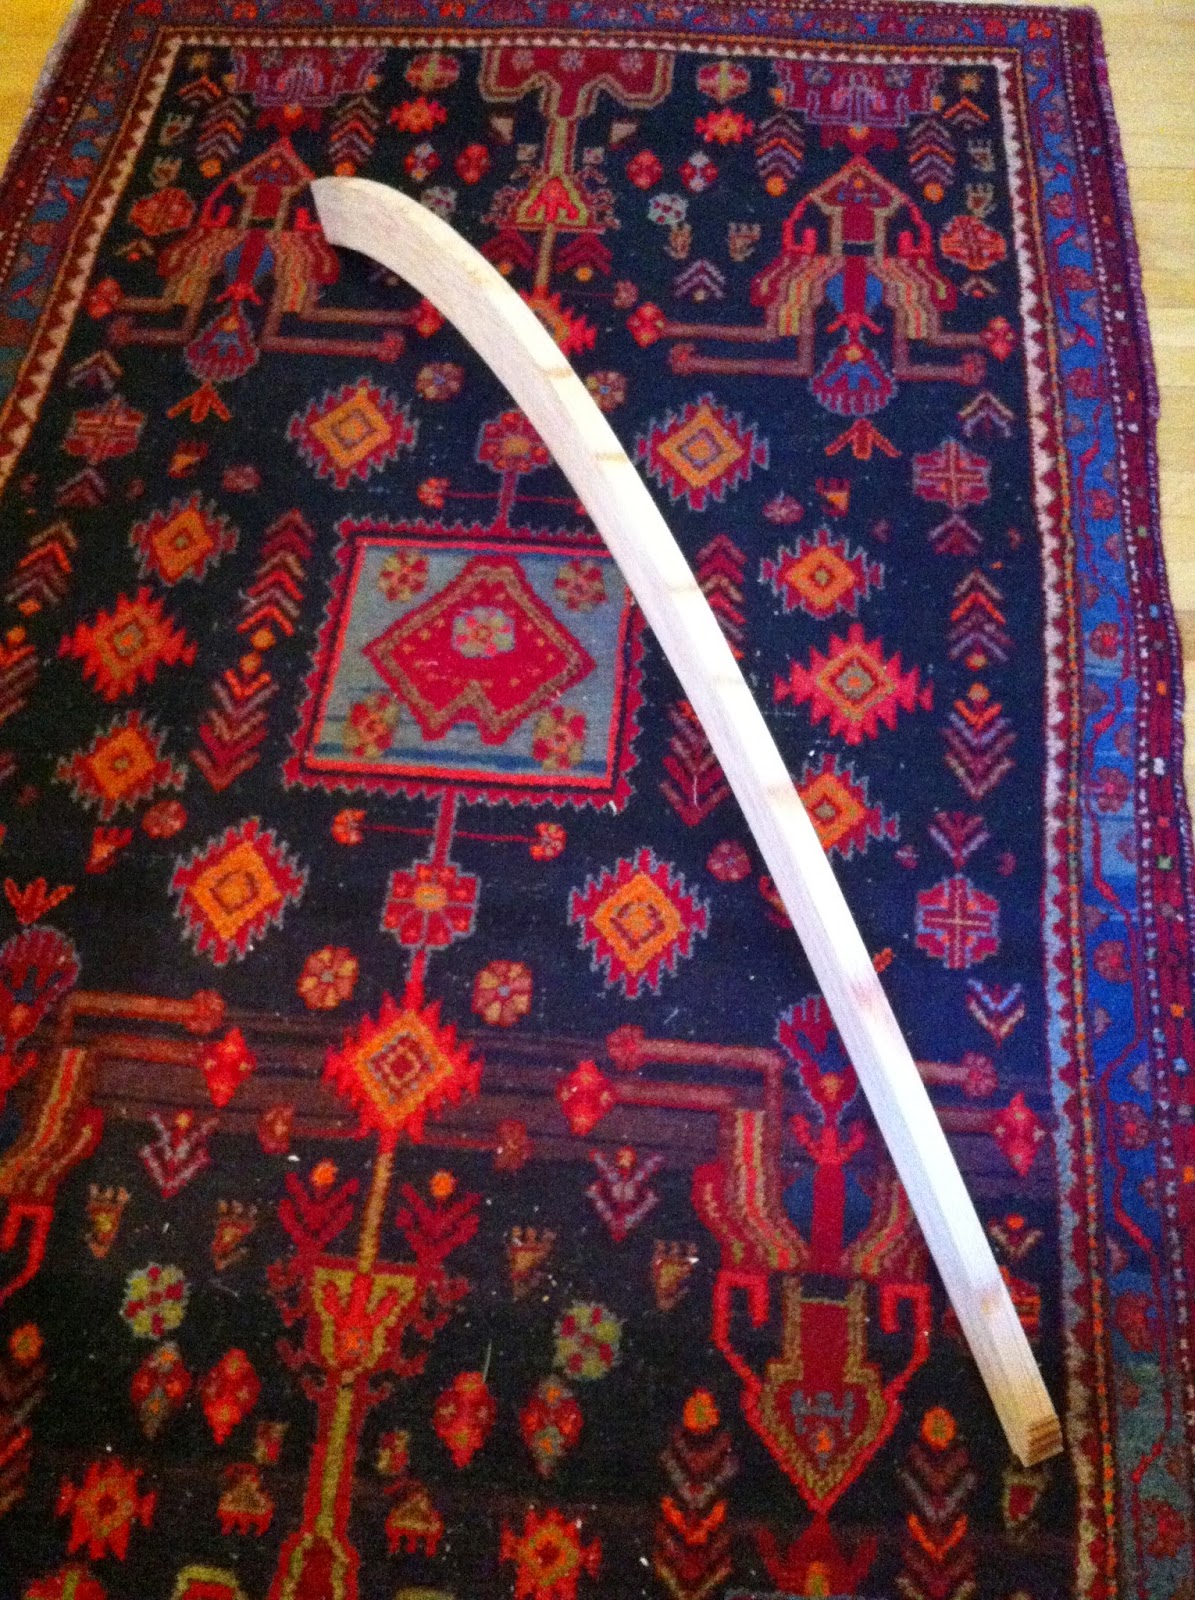
Sometimes you can get tired of laying on long epoxy parts. The sentiment hit me 2 days ago. As a diversion I picked up the rudder construction again, fiddled with the kick up controls, but didn’t come to a happy resolution yet so, I decided to craft a boat hook.

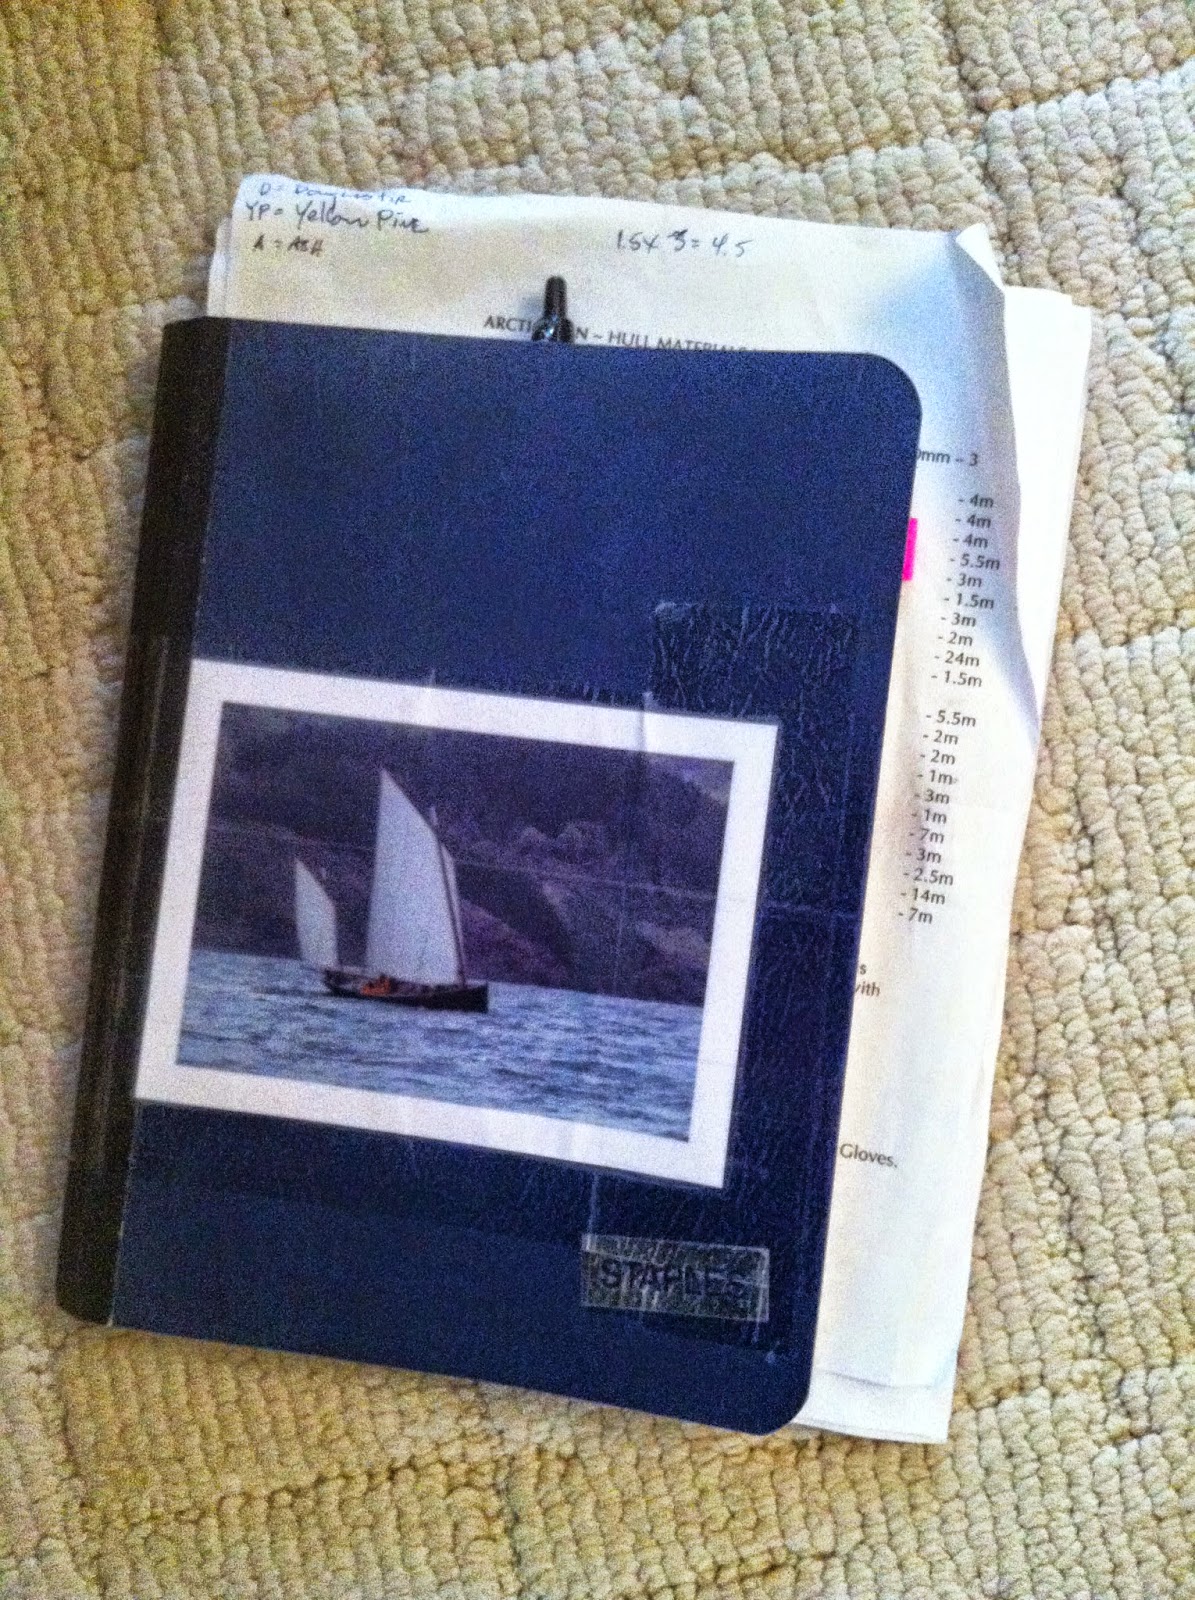
Most of my computations, receipts, notes and drawings for this project have been kept in this notebook.

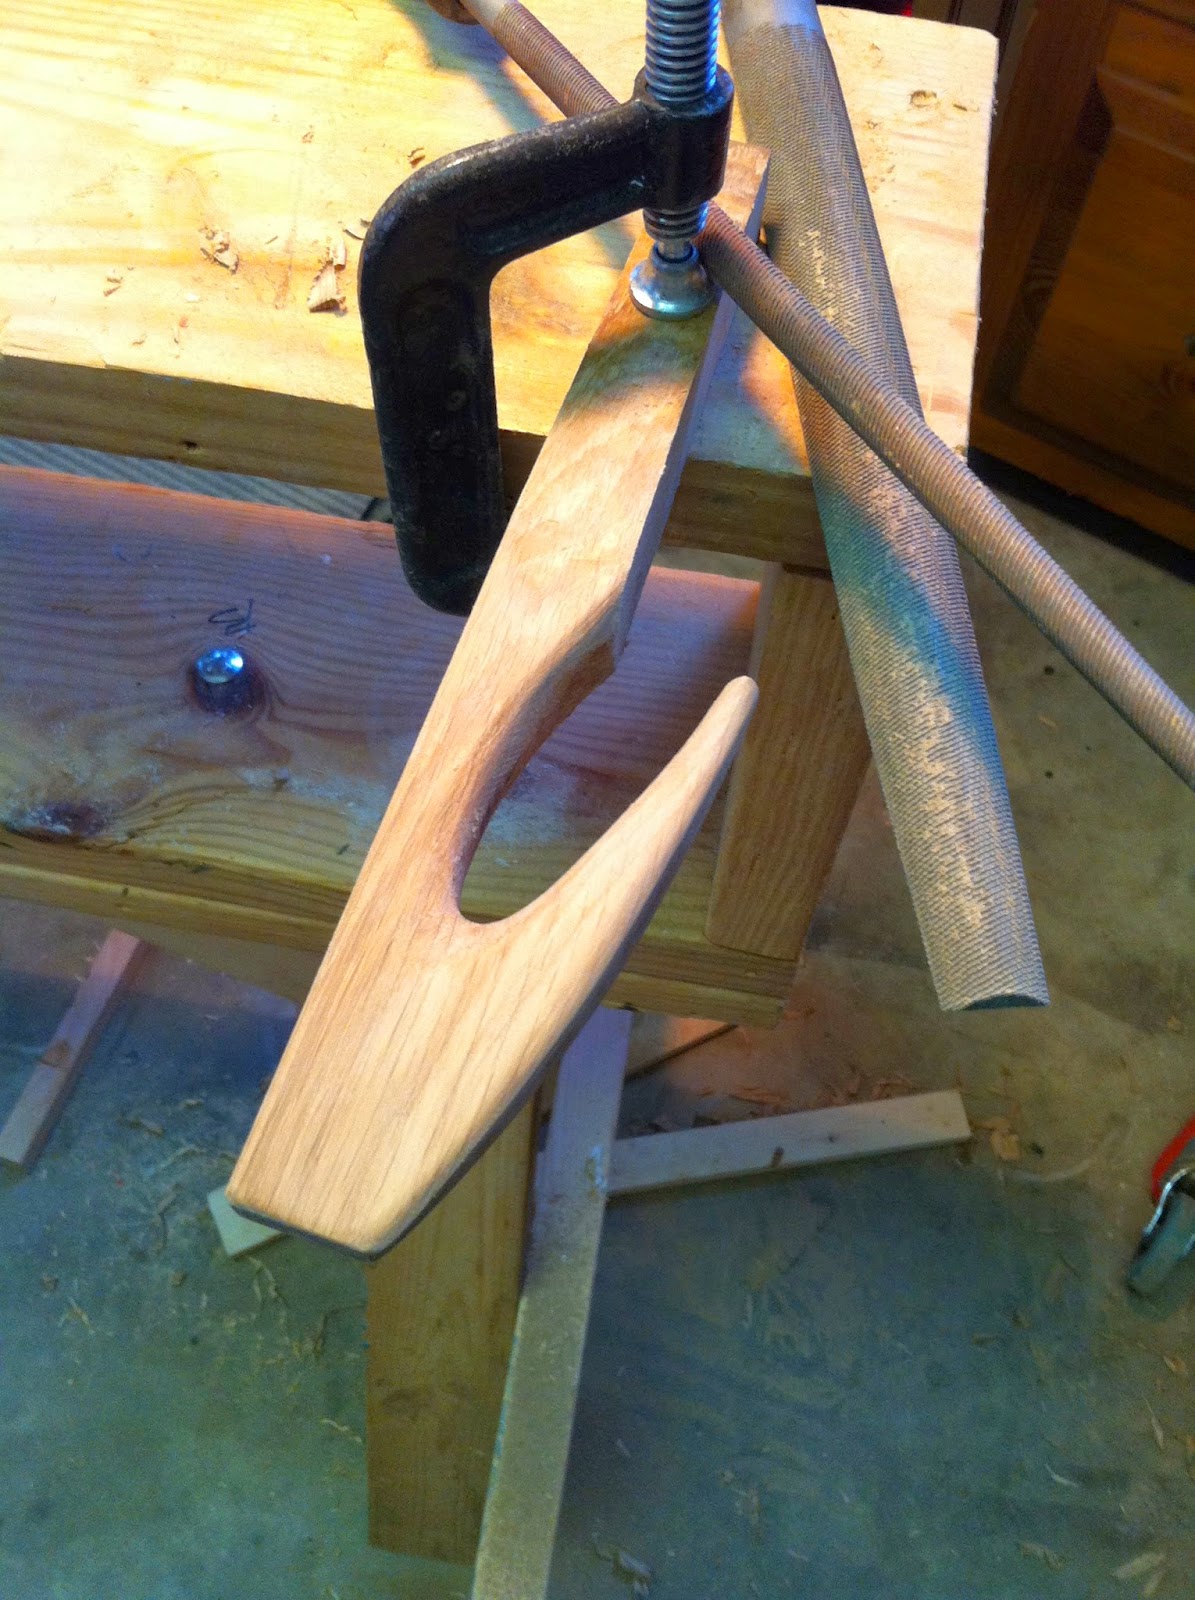
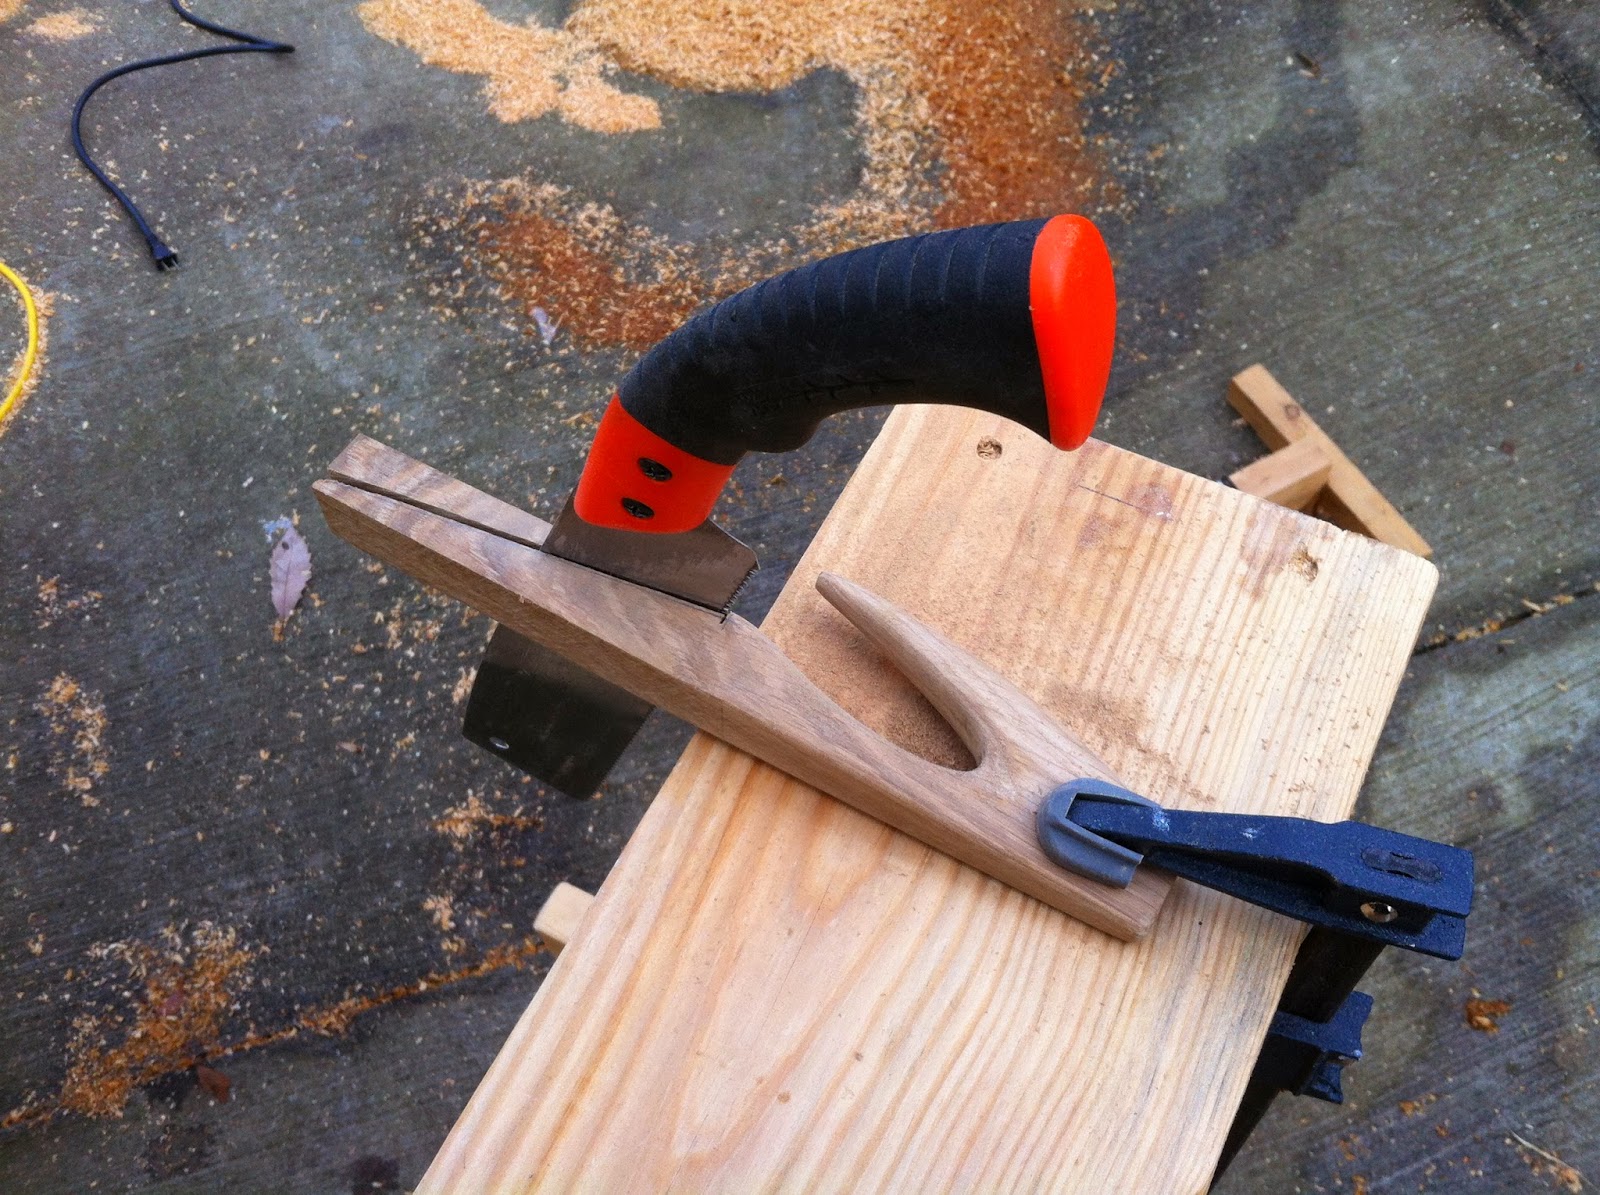
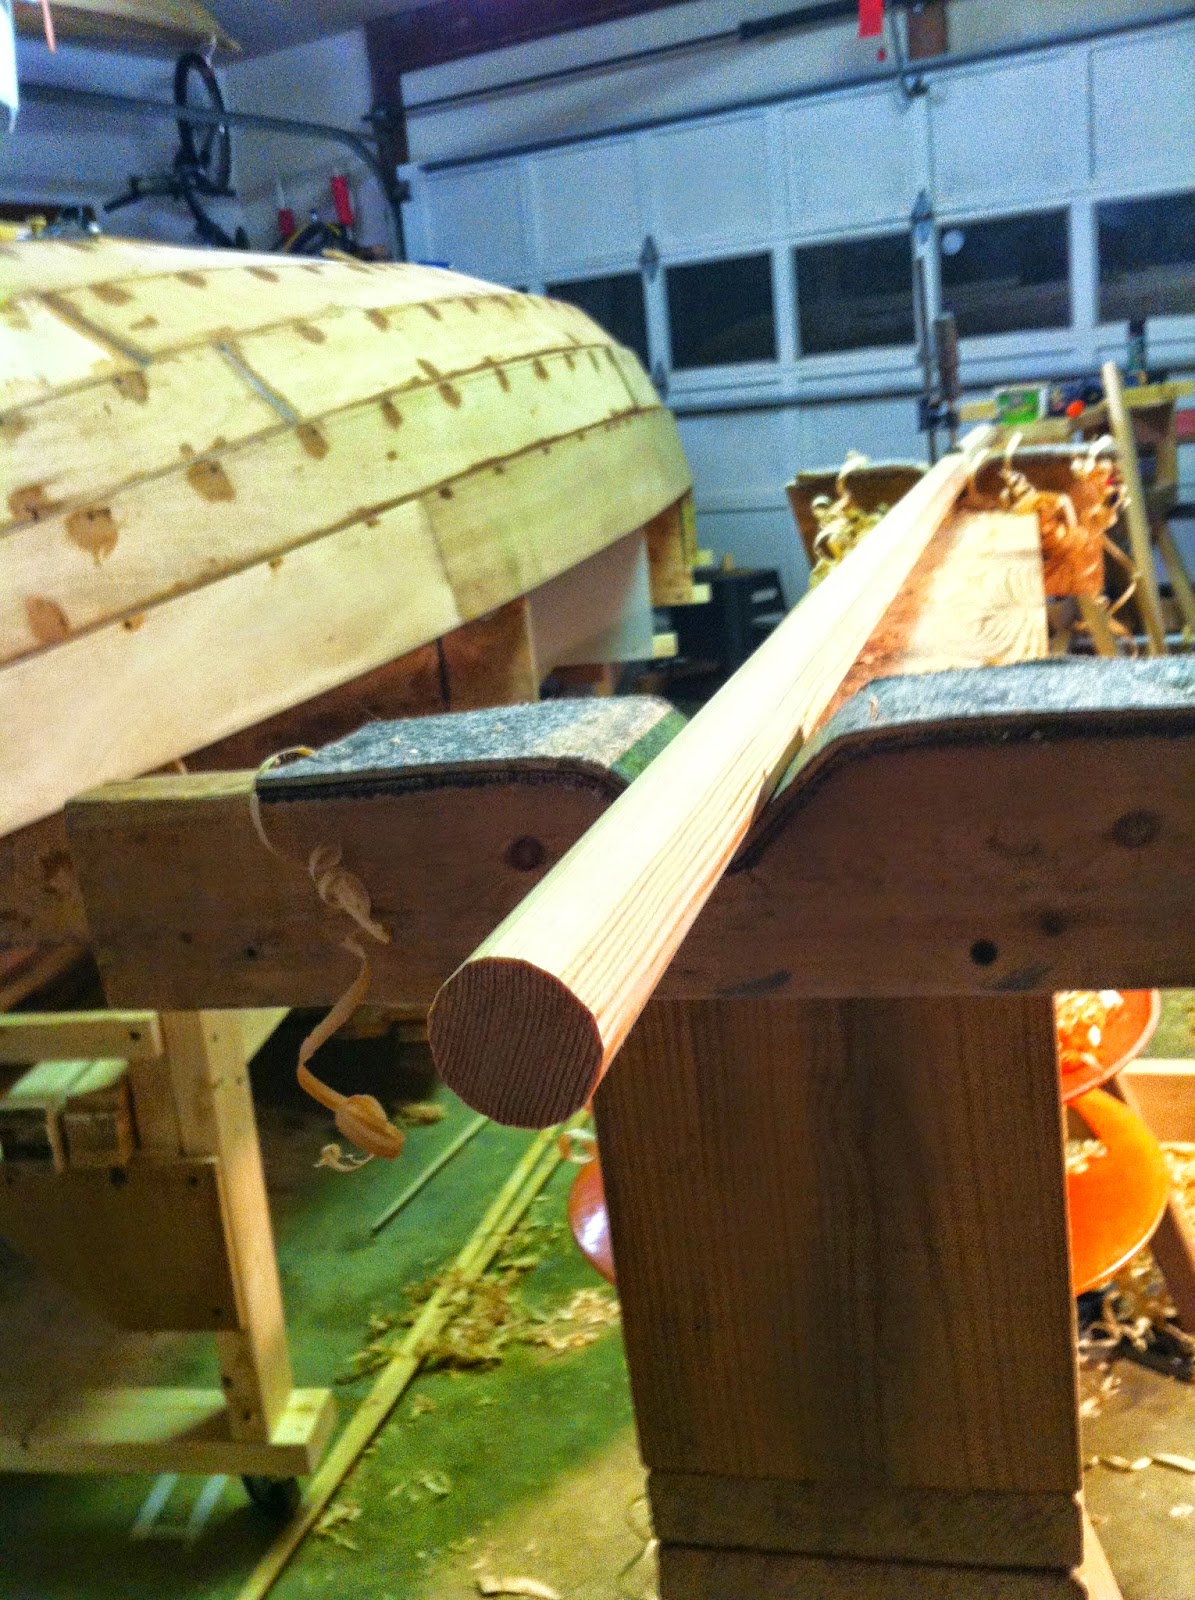
In it is my rough sketch of a long, light and sturdy boat hook. The hook is a scrap of hard oak and the shaft is of glued cedar. At just over 8′ it should store well in the boat and float handle end up if dropped overboard. We’ll see about that.

I had thought about lashing the parts, but dowelled things instead. I gave it a flat blunt nose for more pushing off surface. Some progress pics:

Rough cut with jig saw.

tapered with jack plane and belt sander

Finessing with files.

Rough cut for scarf.

Joined, dowelled and coated with “soup”.

Shaped end.

All in all I have maybe 3 hours in this thing. It is handier, lighter and I think prettier than any of the several aluminum and telescopic versions I currently own. With a single coat of the “soup” (equal parts turpentine, tung oil, and pine tar). It is not the best smelling sauce, but it can grow on you. Maybe not for the rest of the family.

The kayak paddles I’ve put it on have worn very well. It also won’t give you blisters like varnish can. Easy to apply, it simply wipes on and buffs off after 20-30 minutes. These pictures show it wet, but after a few coats there is a nice satin sheen developed.

Well, back to the long epoxy parts.

So, Its the New Year! Where are we?

Happy New Year! We’re looking forward to longer days and the eventual warming trend. The Holidays were busy and good. Enjoyed seeing the family.

I did slip in some work on the boat here and there. Save for the starboard outwale, I’m right where I had hoped to be. She is ready for some finishing and really looking like a boat! A sweet one at that. The thought of that first sail drives me onward.

I’ll list the tasks:

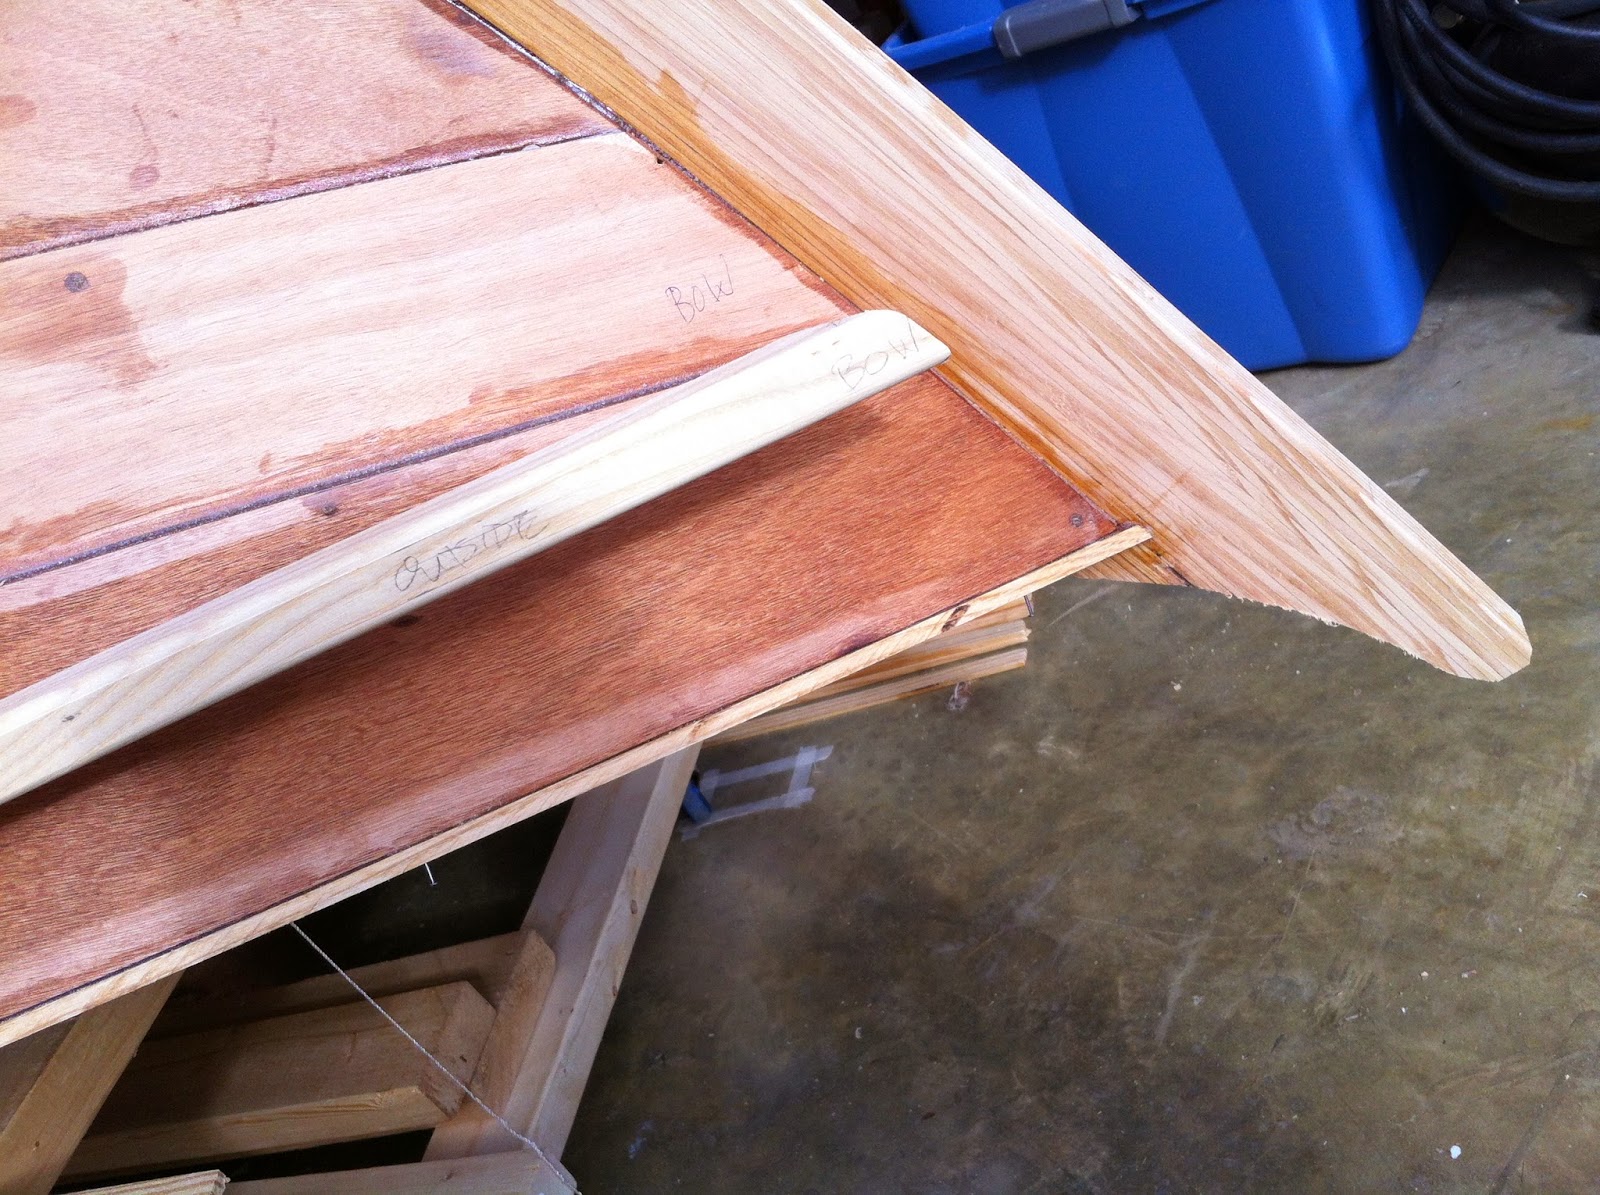
  1. a 3/16″ x 1/4″ (6mm) strip of ash was epoxied after trimming the shear.
  2. out wale edges were rounded over with a 1/4″ rounding bit on the jury rigged router table. Thankfully the plunge router stayed still. It has “adjusted” itself before to terrible results. None this time. I will further shape the top outer edge once boat is upright. That edge is about 1/2″ round, but has some rolling bevel to it. Hard to judge it upside down.
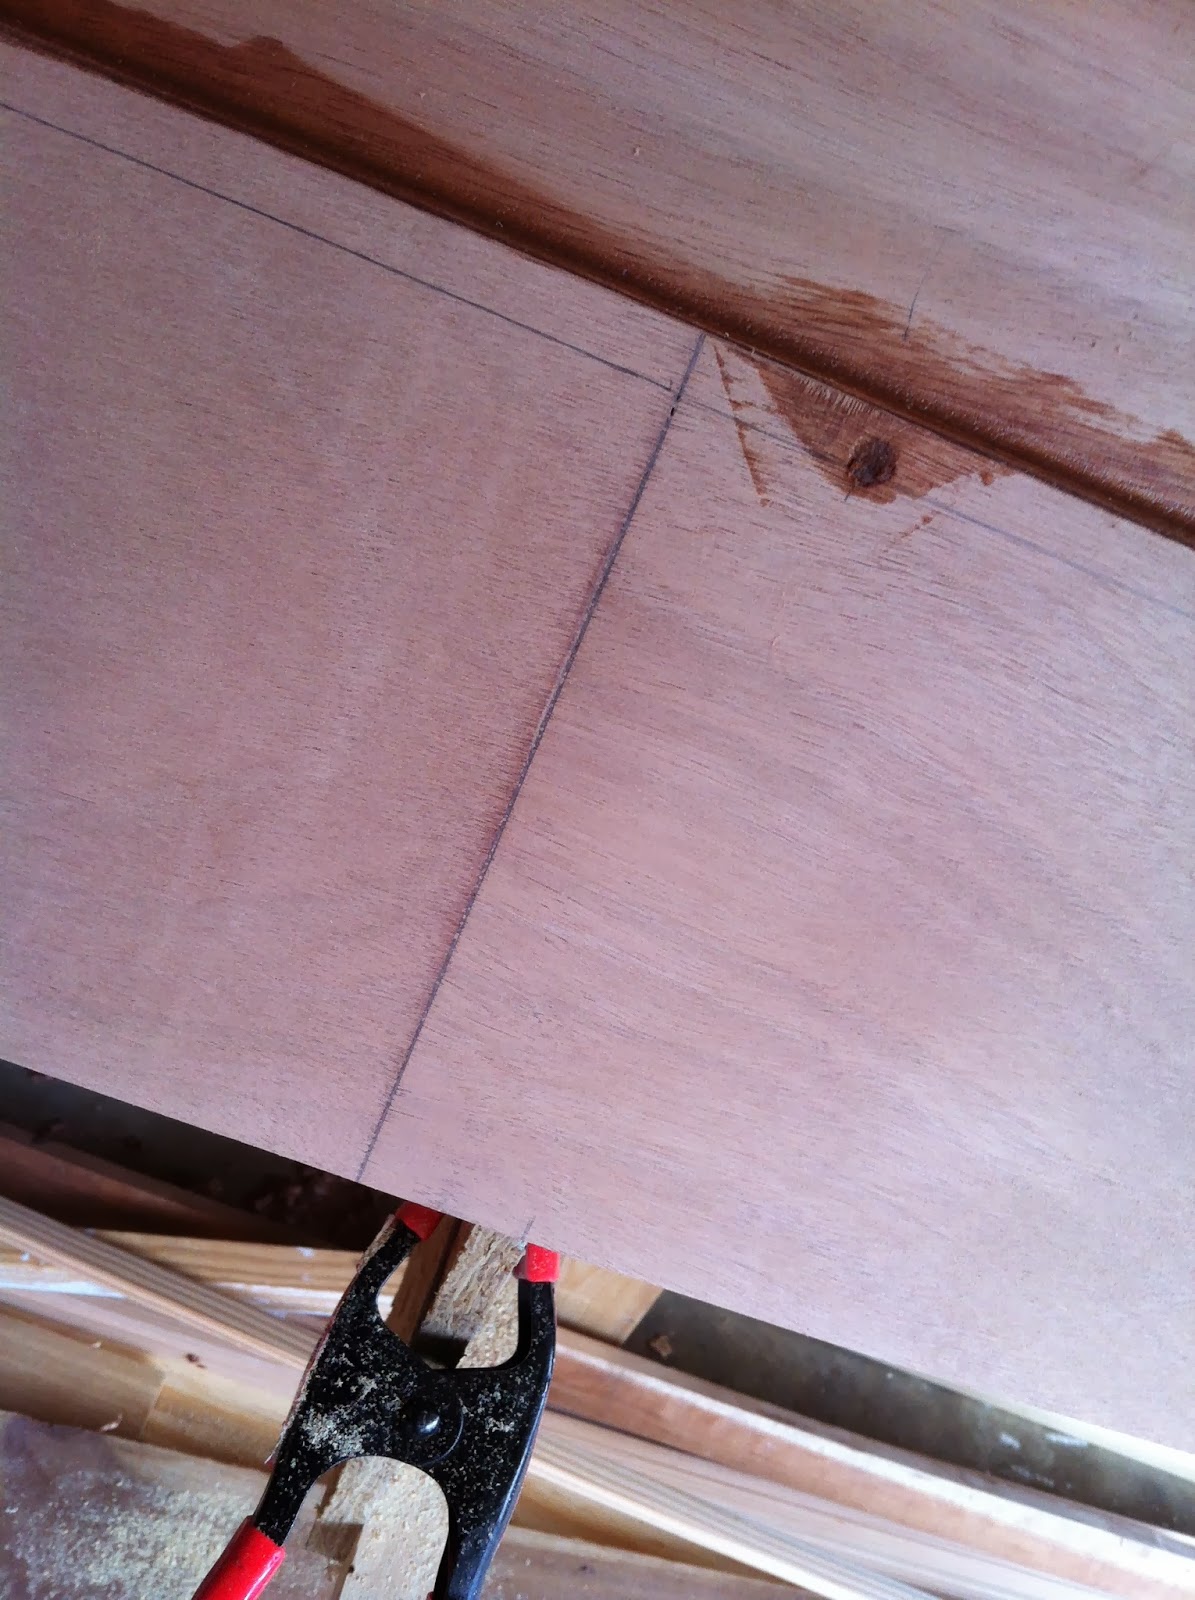
  3. outwales were scarfed with a step after some practice in pine. I used a combination of hand saw, hand plane, file, and belt sander for final fit. Got good results sneaking up on the fit.
  4. out wale ends were fitted to stems with small bevel and belt sander finesse.
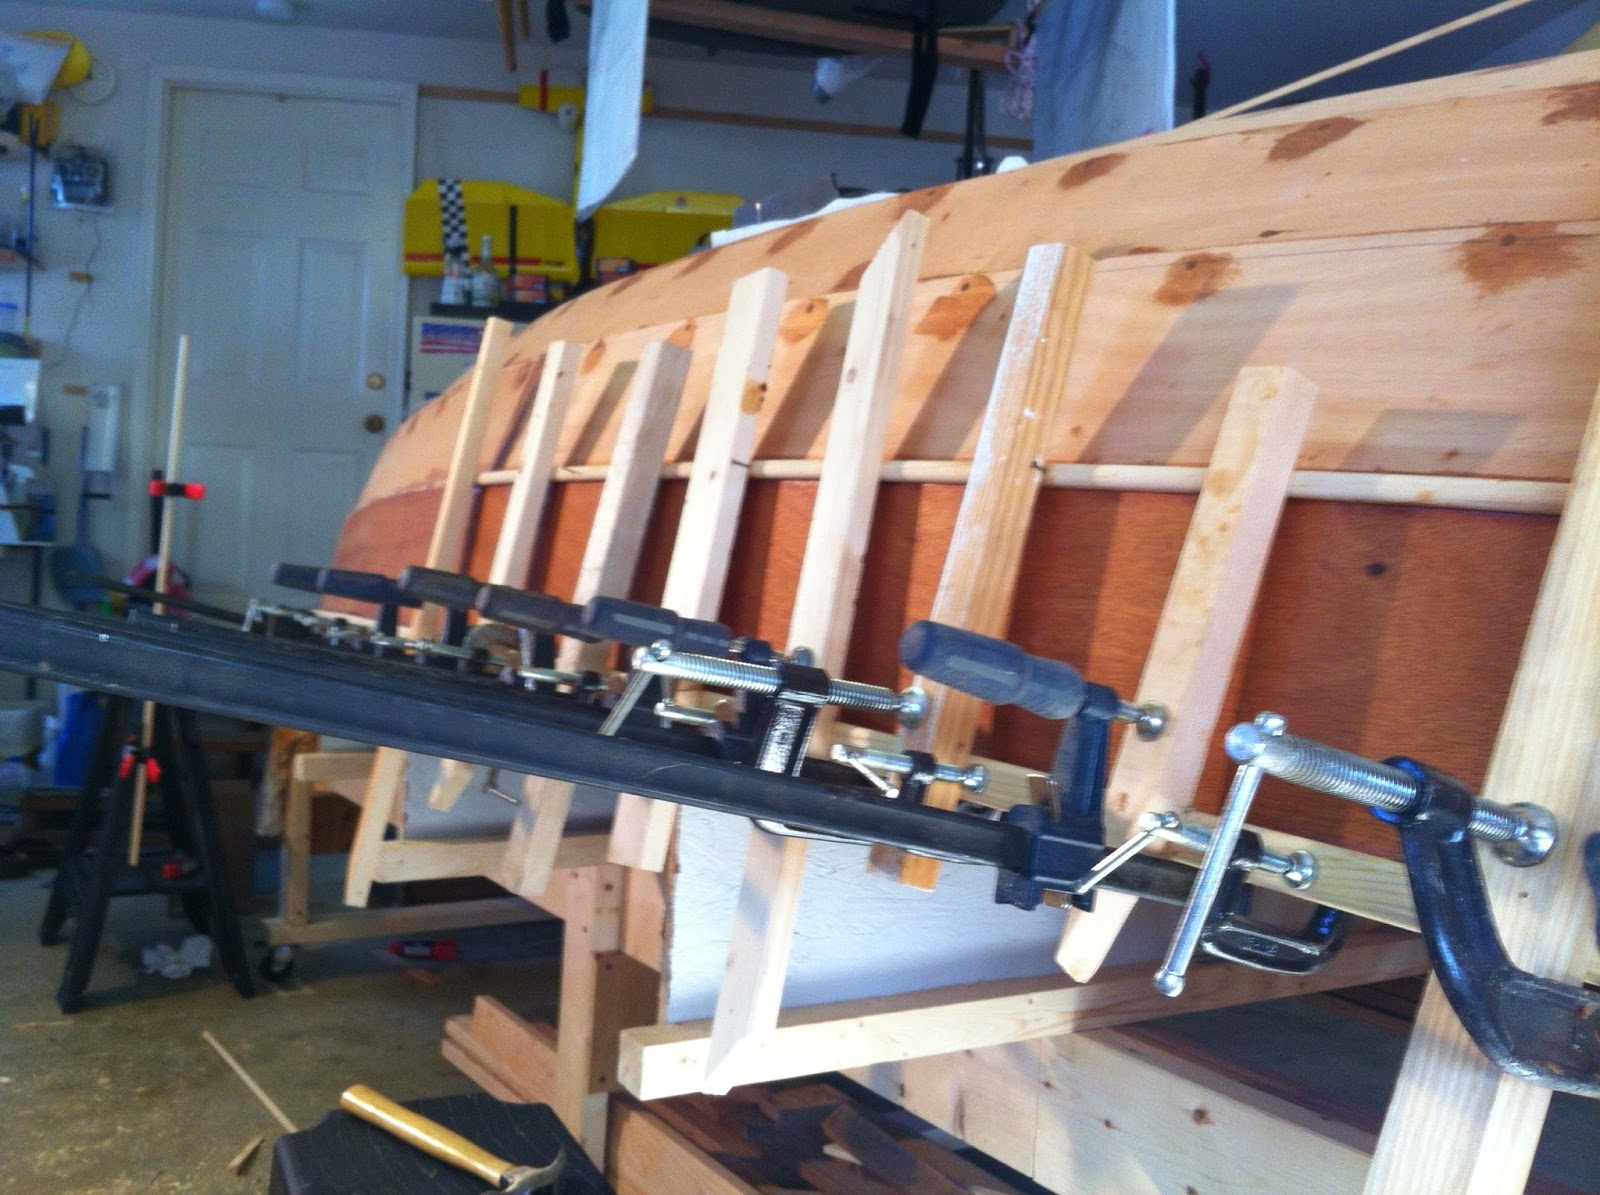
  5. I epoxied the outwales on and then could reach the small 1/2″ rubstrake I added. A first attempt to nail the strake on was a fail. The hammer just bounced, even after drilling pilot holes. Aesthetically I did continue the holes every 12″ for accent. The solution was to overreach the out wale with a clamp and 2x material every 8″. Worked fine.
Ash shear trim to hide and protect shear ply edge.


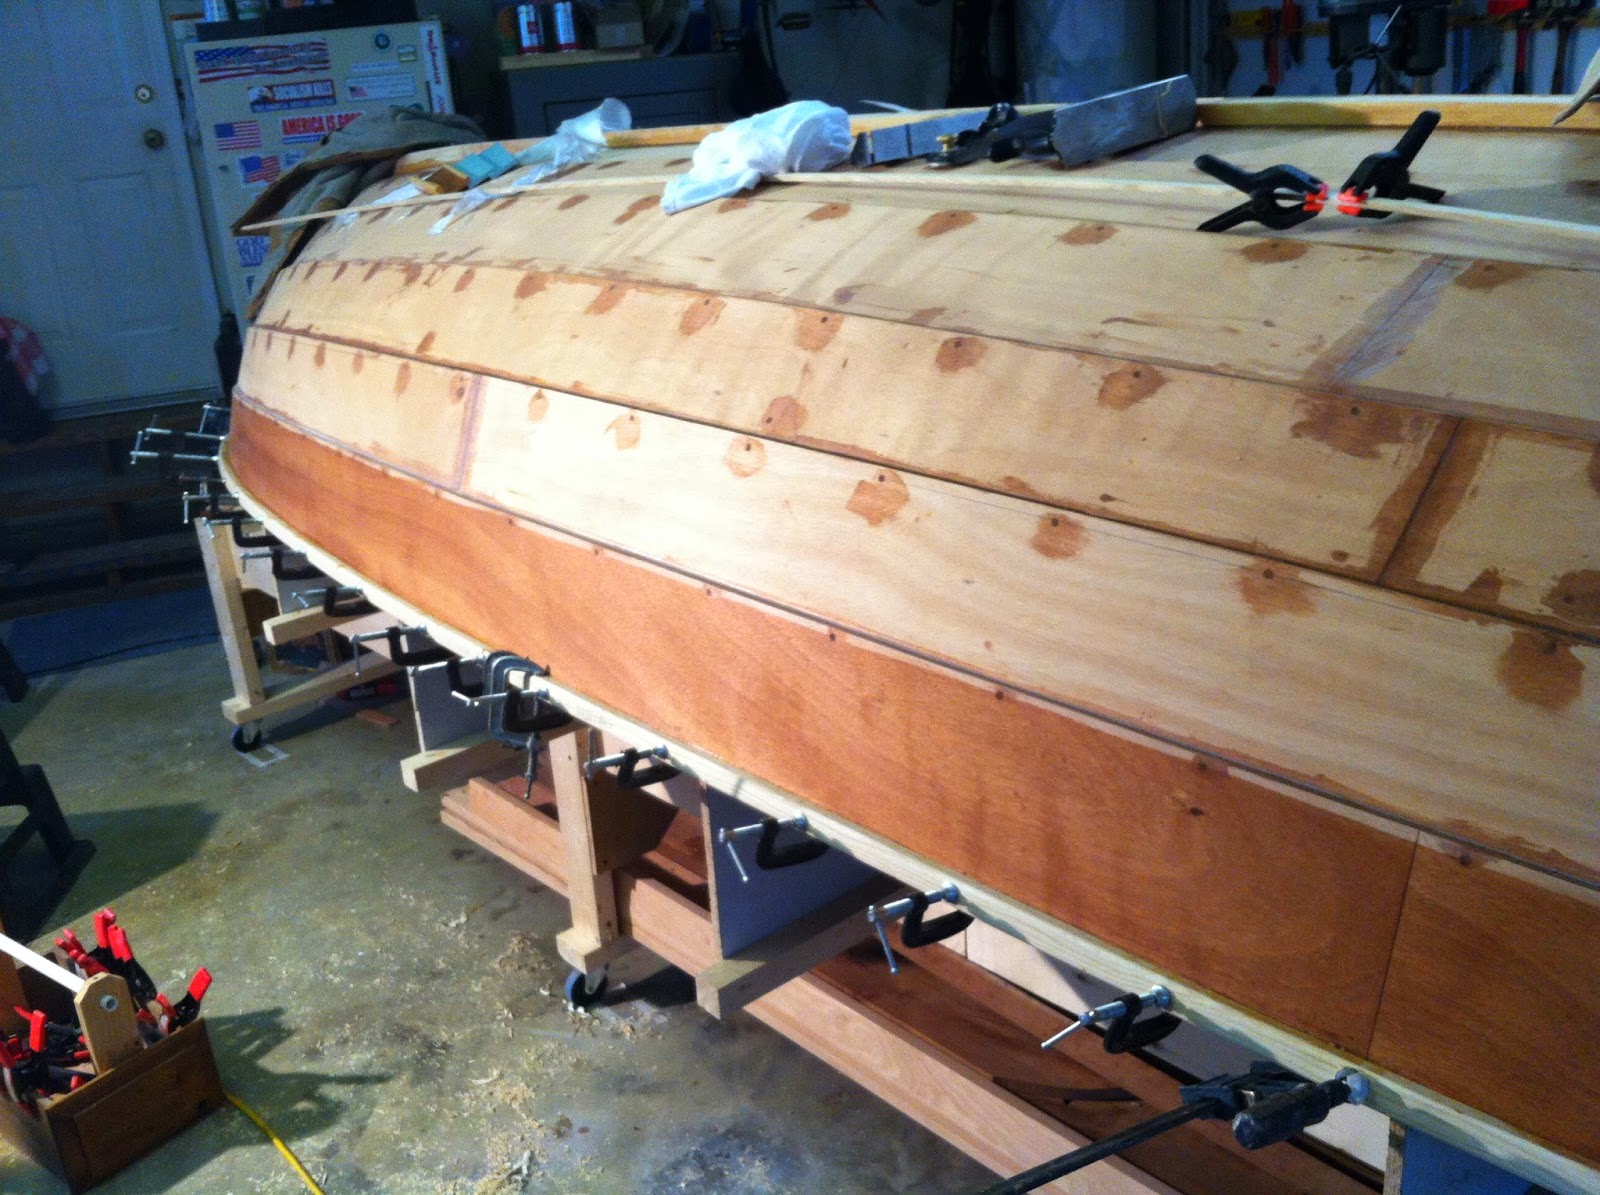
Long shot of outwale clamping and stained shear plank.


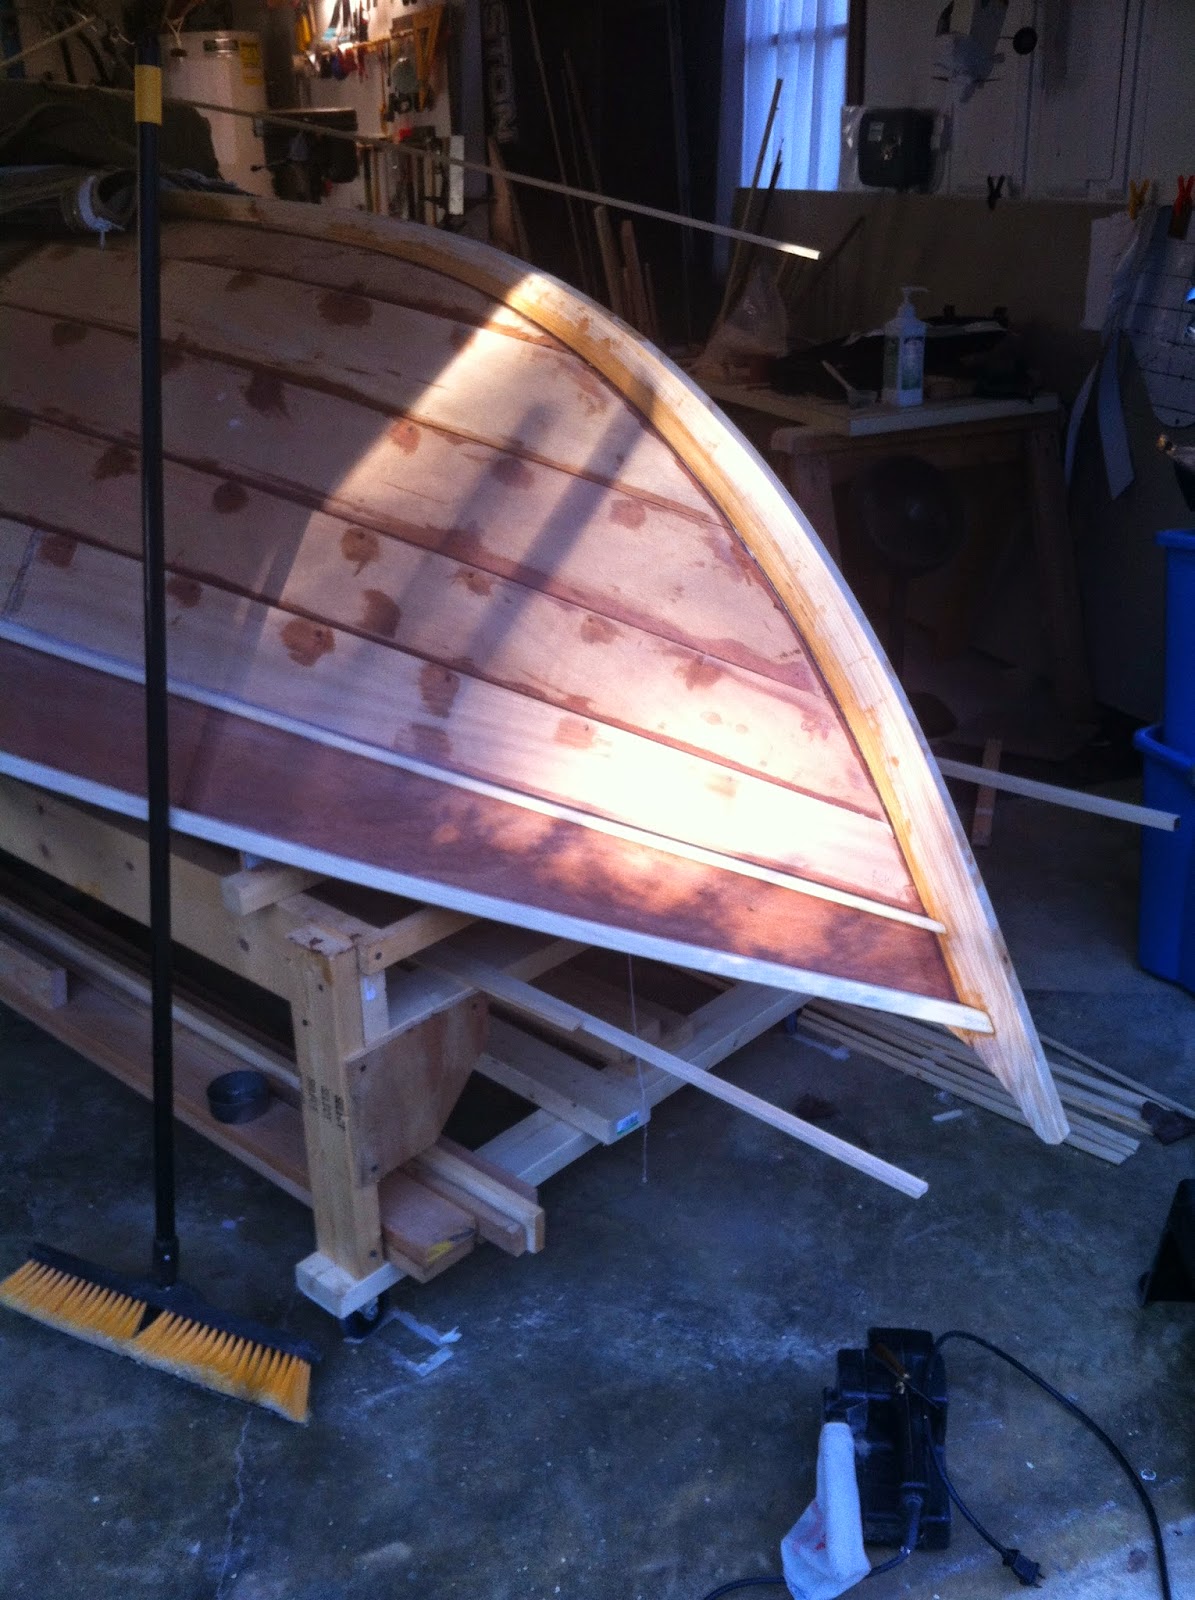
Fitted outwale at bow


Outwale clamped.


Rubstrake clamping.


Clamping and nails. Nails failed really.


Port aft quarter.


Port bow.


Looking like a boat.
Graphite powder for the centerboard and reddish phenolic micro balloons arrived for fairing. That is the next step really. Tally-ho!


Chesapeake Deadrise Build

East River – Mobjack Bay
In St. Michaels Chesapeake Bay Museum

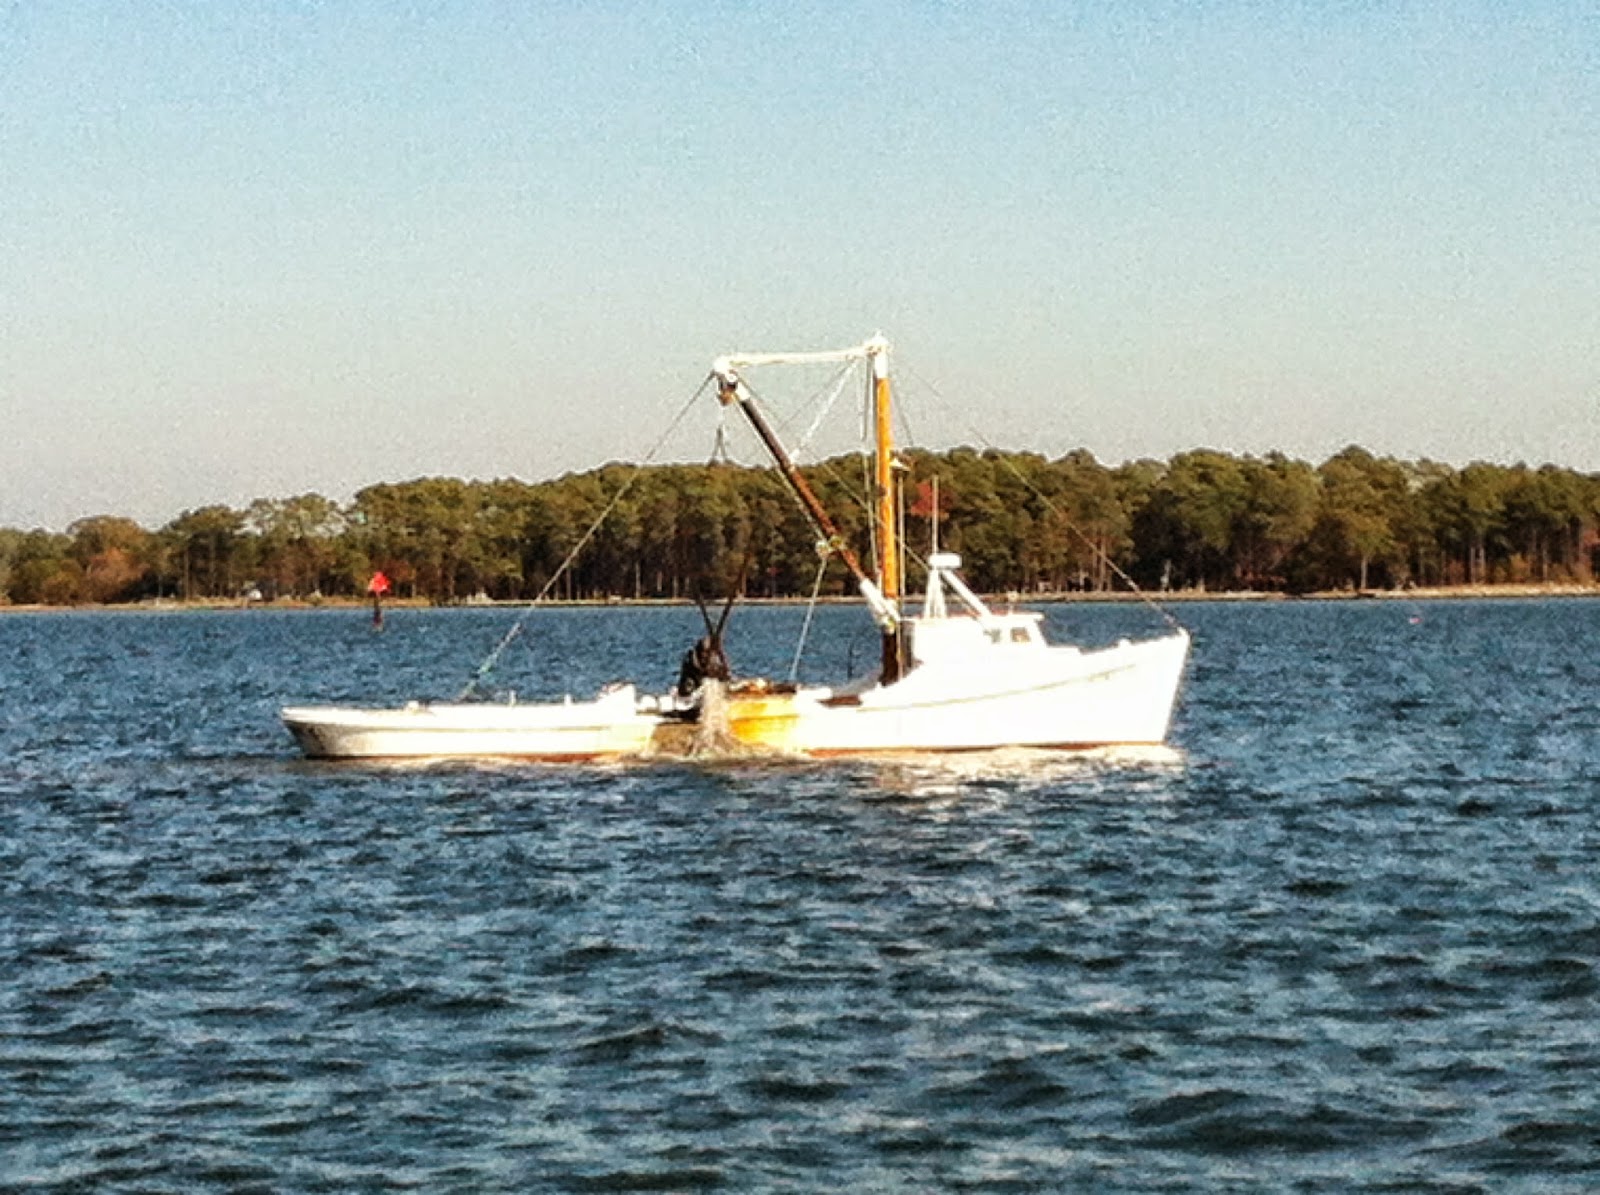
The watermen on the Bay have some of the most elegant vessels which, in many cases, are build by themselves though now perhaps not so much. The Mariner’s Museum in Newport News, Va did capture one such build all done by eye, no plans. Amazing really. 

Keel, Stems and Boomkin

Got some key things accomplished on the “you know what” this weekend. They are:

  1. trimmed the shear back 1/4″ for a sliver of ash to cover the ply edge.
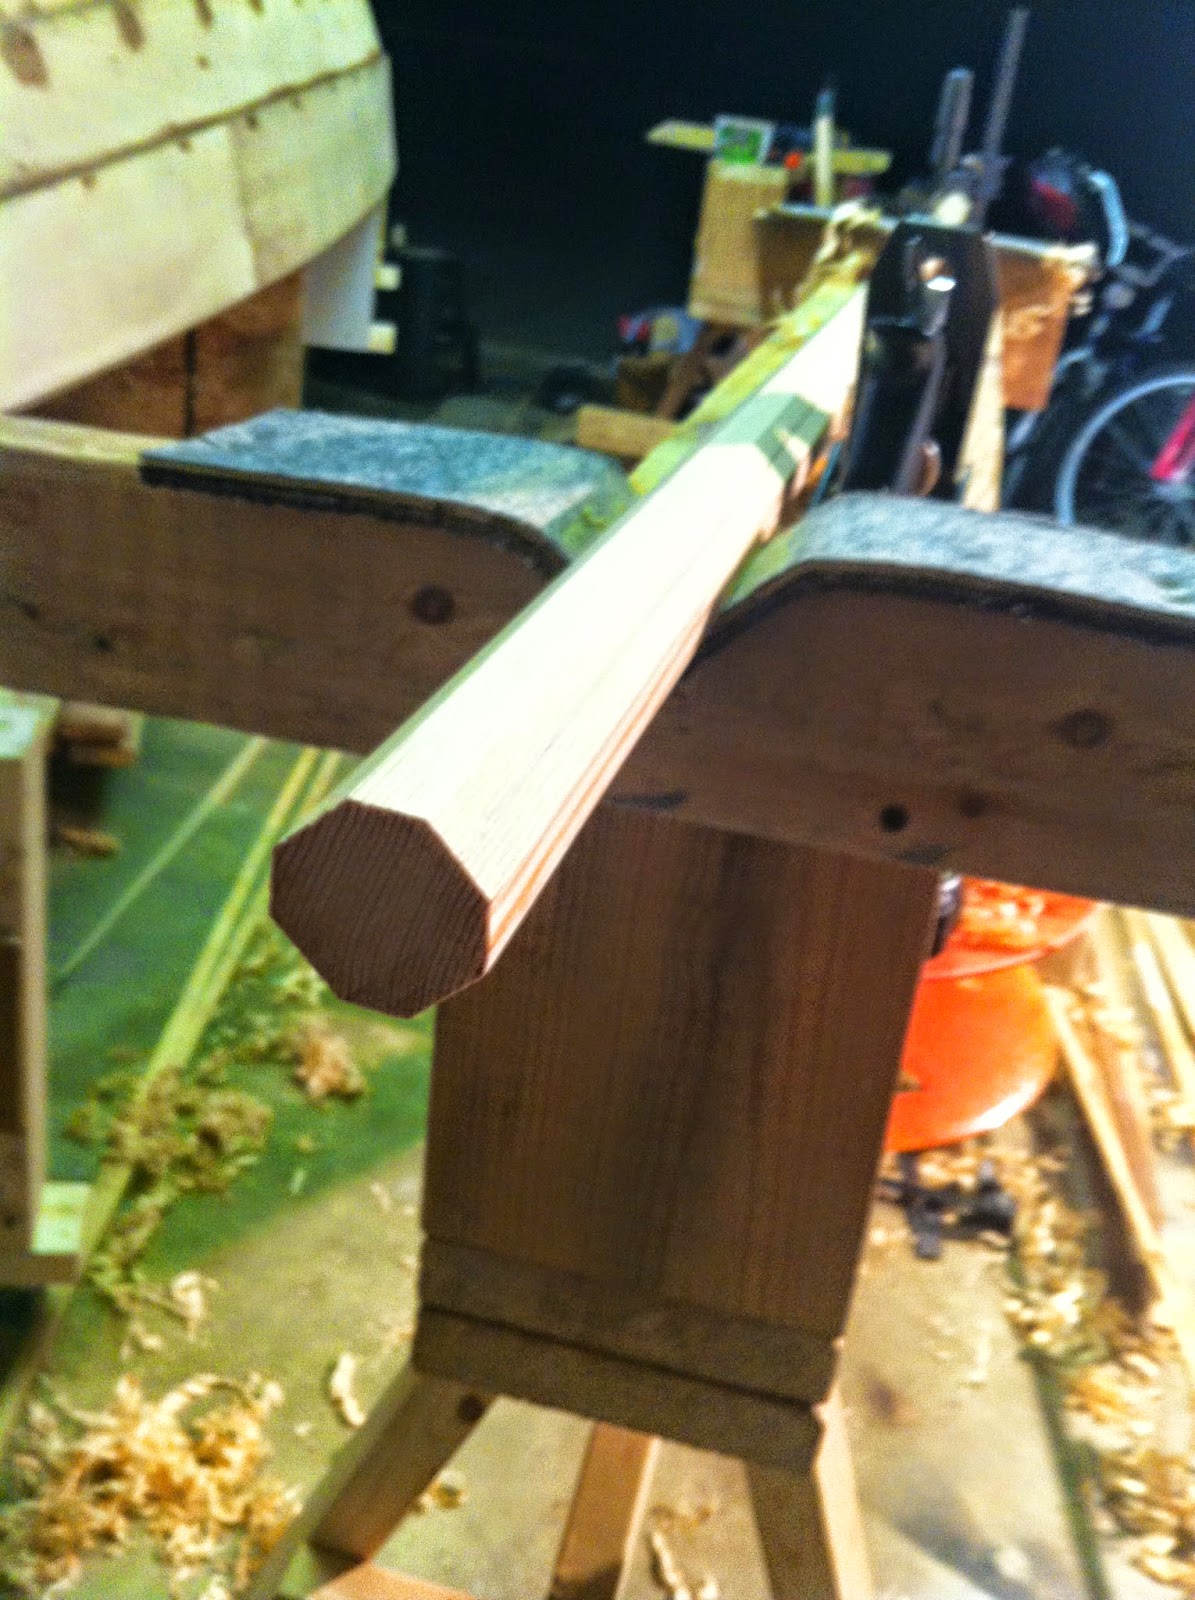
  2. cut, planed, shaped and sanded the boom kin.
  3. attached stems and keel. Shaped both.
  4. watched the Redskins choke again.
So, here are some photos.
BOOMKIN
Bench with boomkin stock.
Boomkin 8-sided.
Boomkin 16-sided.


STEMS

Bow stem and template.
Markings from template
Rough cut of stem.


KEEL
 

Saw witnesses and chiseling.
Keel and raindrops.
Bow stem and keel shaped.


Oh, I also ordered filler for final fairing, primer, and paint. I’m dying to roll the boat over, but I’d like to get a coat of paint on while she is secured to the moulds. Much to do before that happens. C’est tout.

She’s Got Her Wheels On …

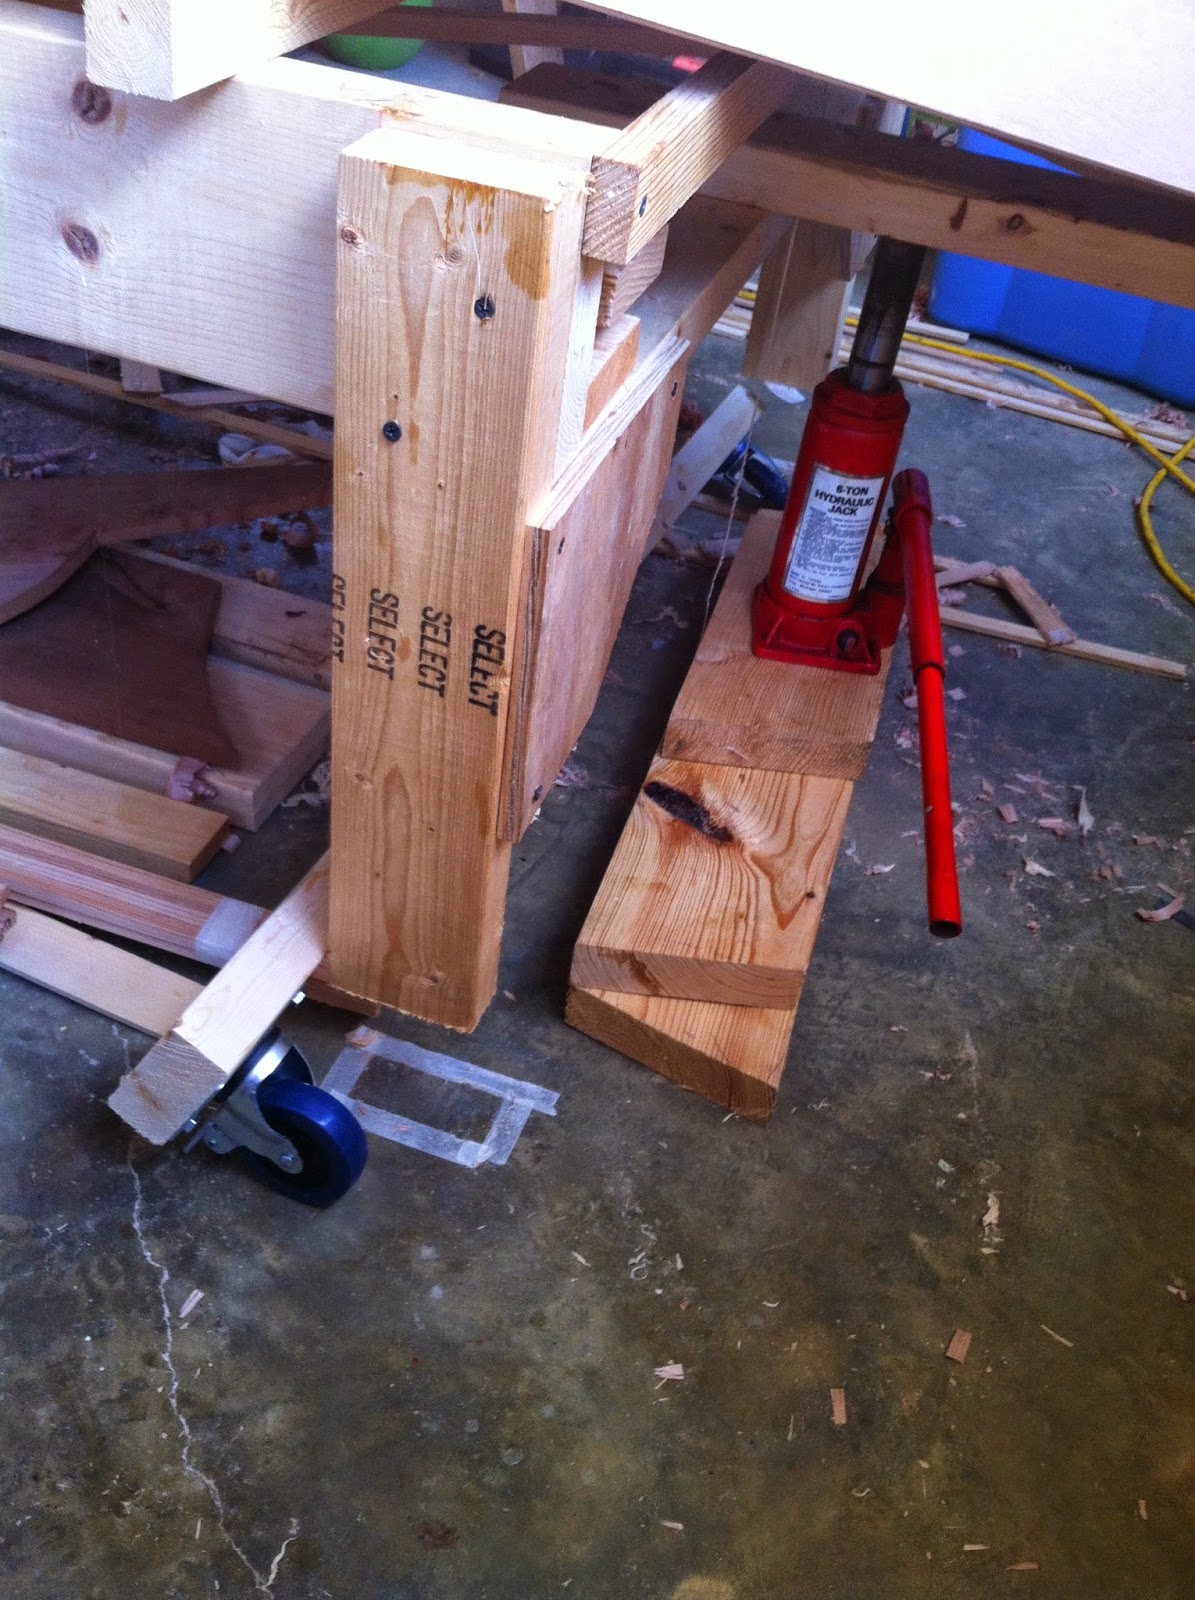
About 20 years ago one of my brothers gave me a 6 ton jack. I thought it was neat, but didn’t know when I’d get a chance to use it. Well, today was the day. I just couldn’t quite lift the end of the boat to slip in these roller skates quick enough. I dug through the shed, found the jack, and up, up, up she went. Thanks Bro!

I don’t feel like pecking at this keyboard, but here are some pics from the “maiden voyage”.

Jack and skateboard


1st daylight.


port side
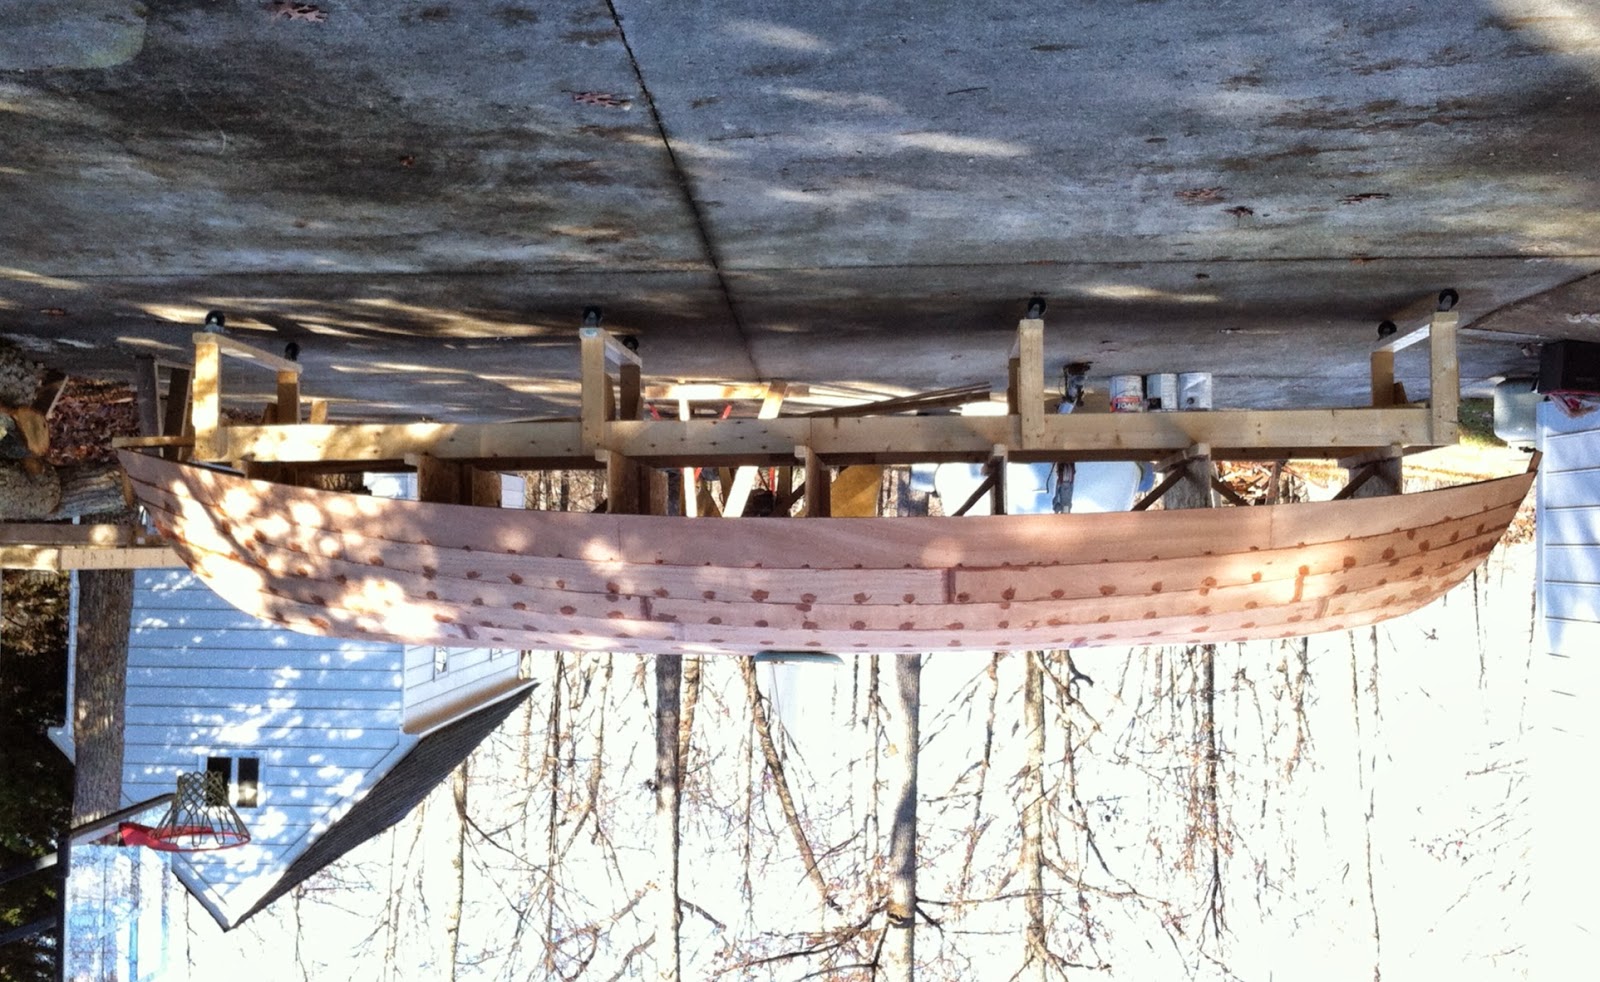
Inverted. Bow to left


bow


stern


That Plank

Whiskey Plank

Effort in and of itself can generate a sense of accomplishment, that a project is moving forward. There are, however, certain milestones that are particularly rewarding. Yesterday afternoon the last plank, the whiskey plank, was mounted and permanently cemented to join all those that came before it. A glass was raised in celebration and long views were attempted out in the driveway looking back into the cavern of the garage. The frame will grow wheels today and the boat will see daylight. I want a 360 degree inspection at proper distances before attaching the gunwales.

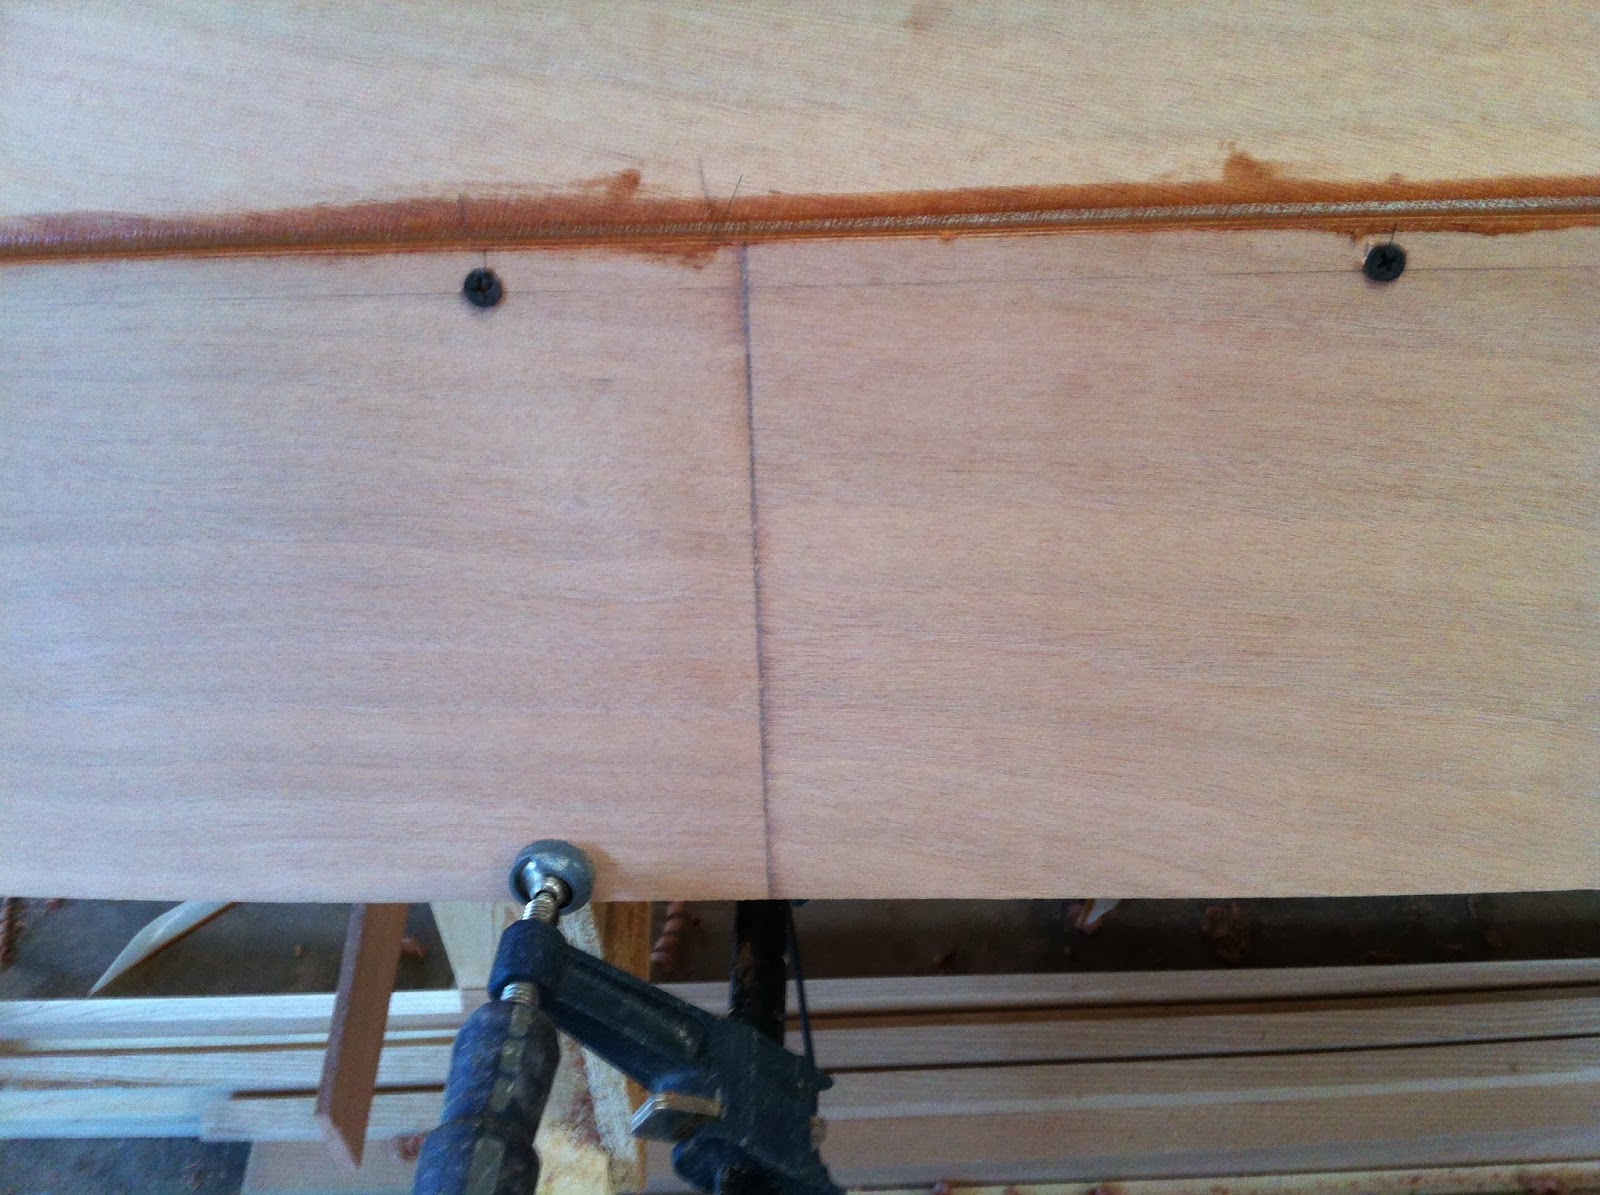
Here are a few of the cutting out process and the scarfs which should stain and finish nicely.

Port and starboard whiskey curves


typical scarf


You can tell the end grain of the ply soaked up some epoxy (can’t be avoided), but a light stain should reduce the joint’s visibility.

Screws are inside the rub strake’s footprint.

quarter view


bow view

Despite all her pocked screw holes, I think she is looking good. Now the beginning stages of finishing can begin.

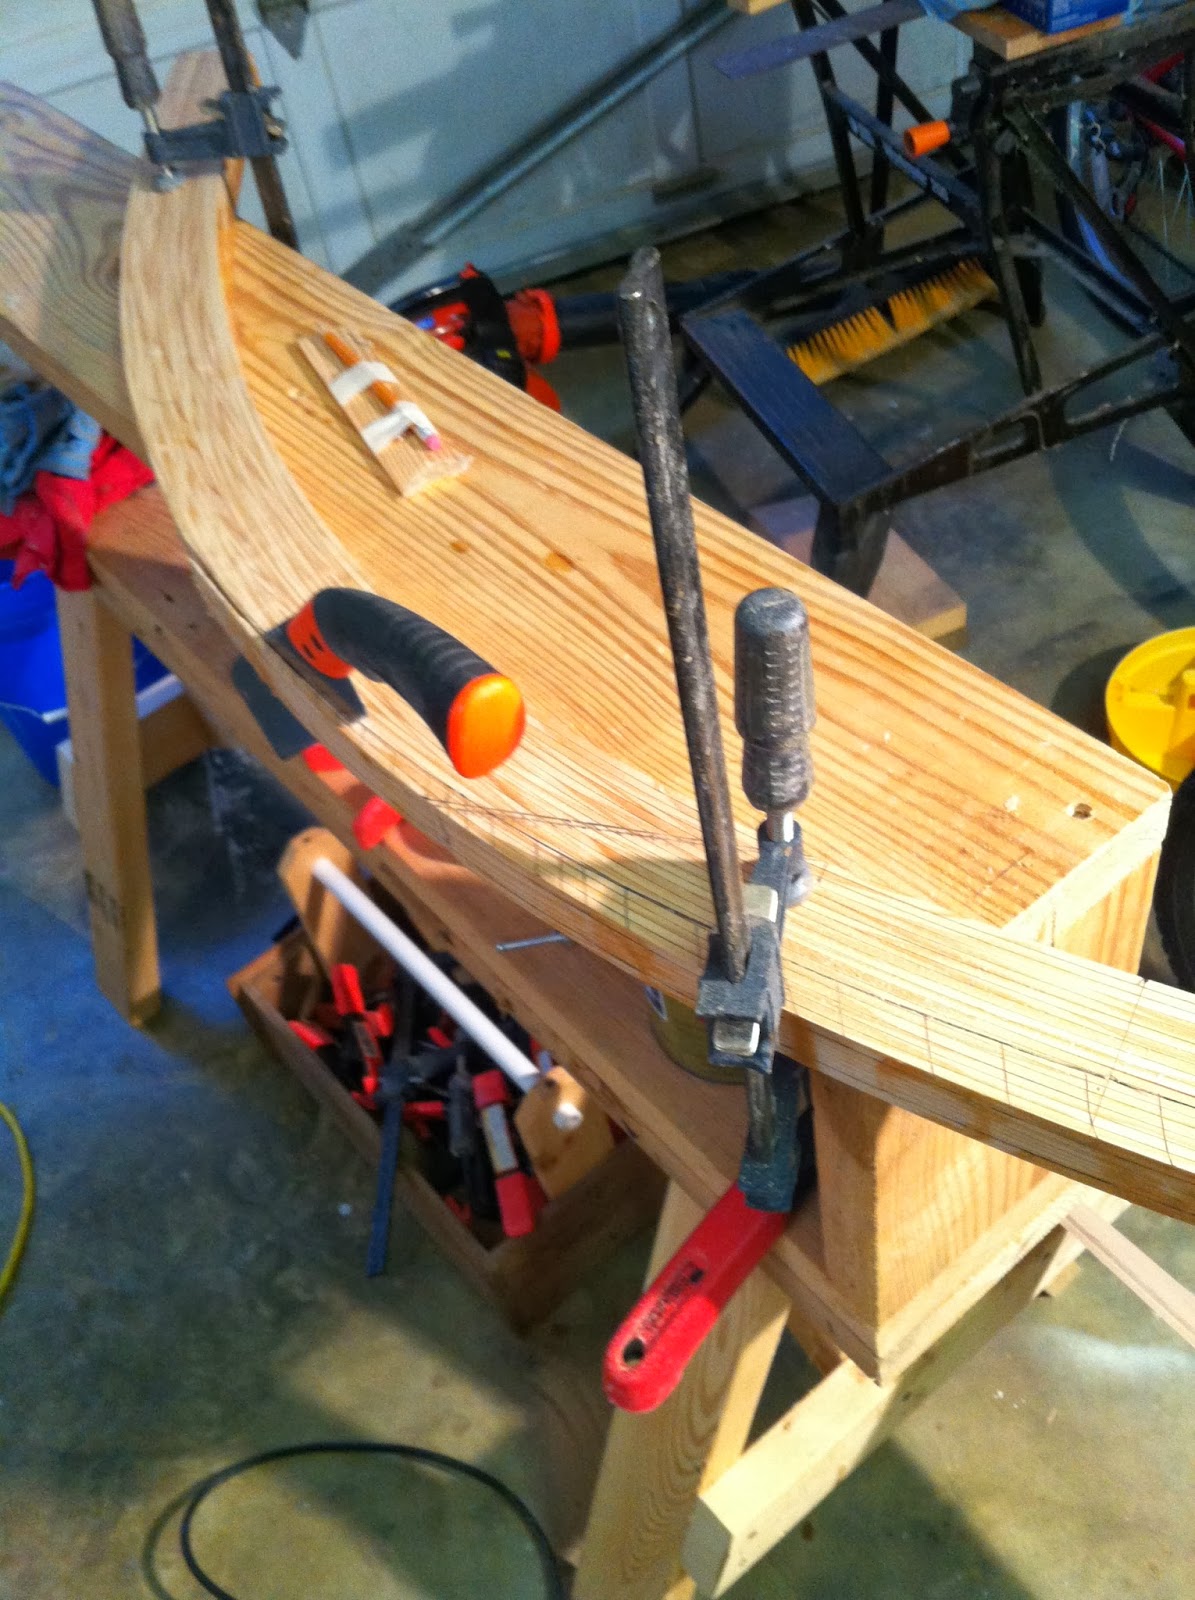
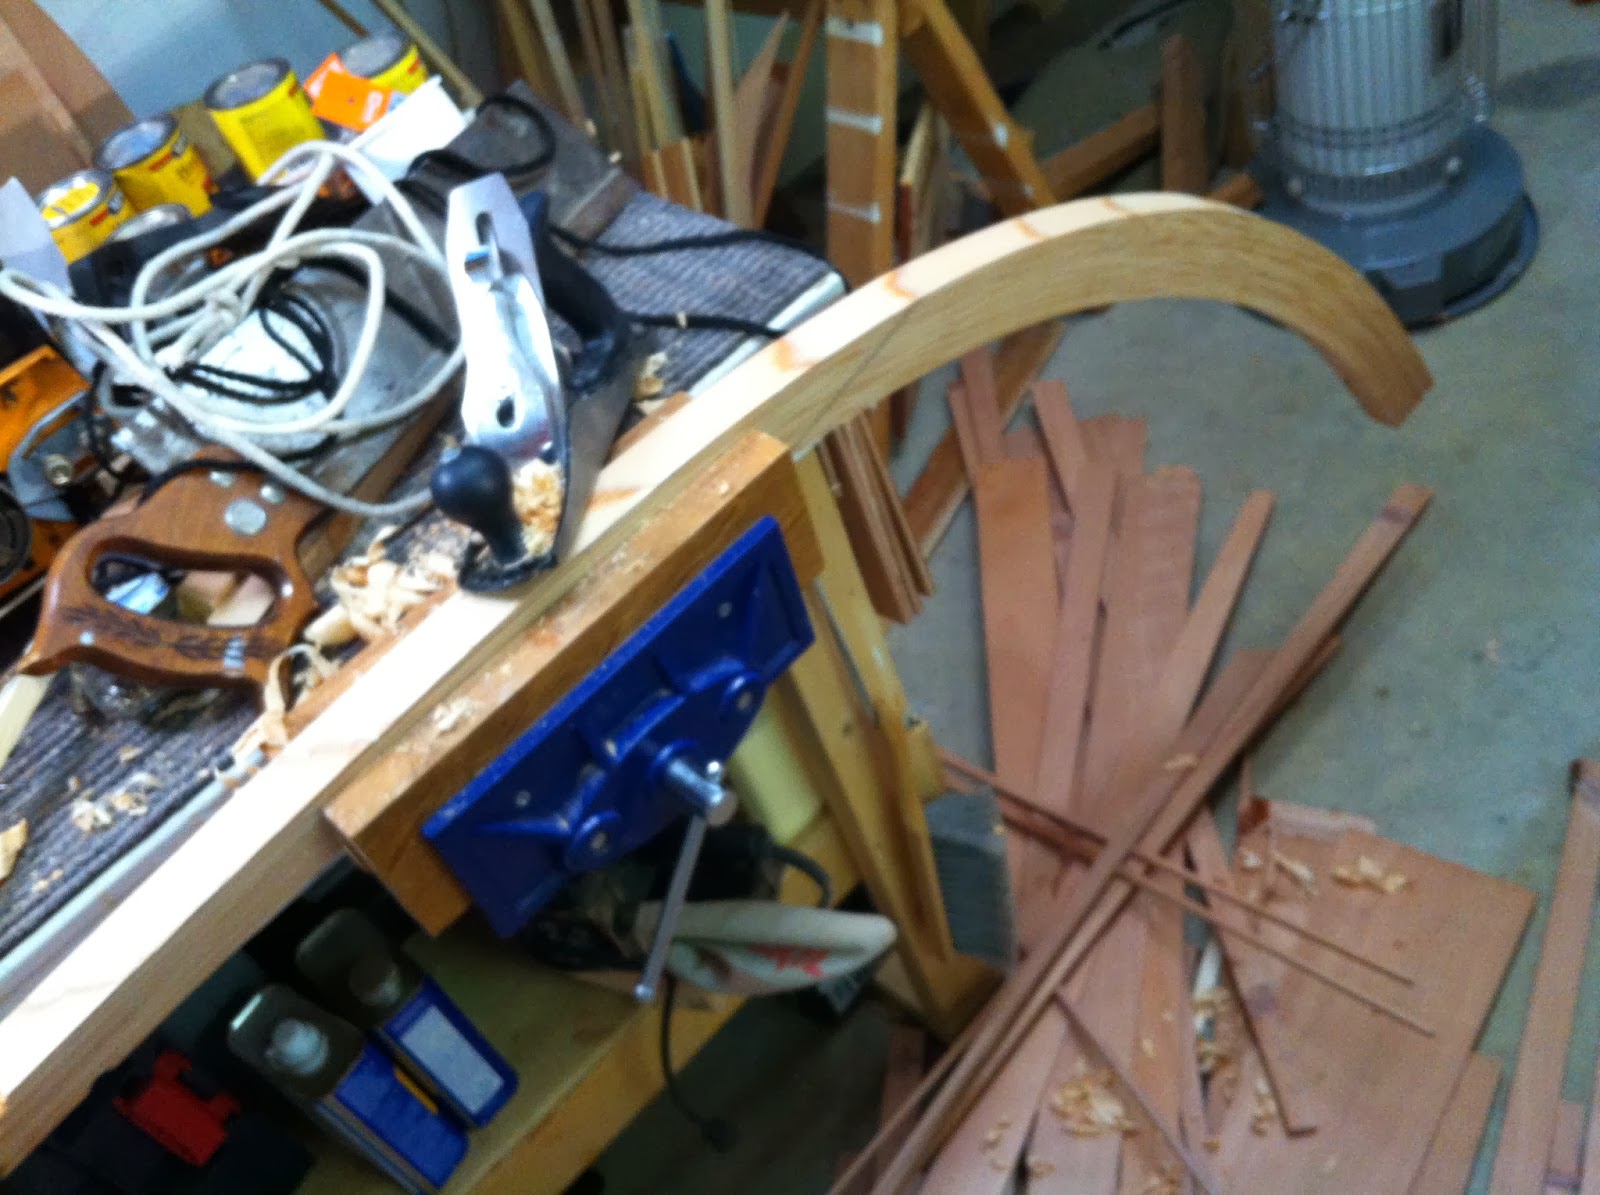
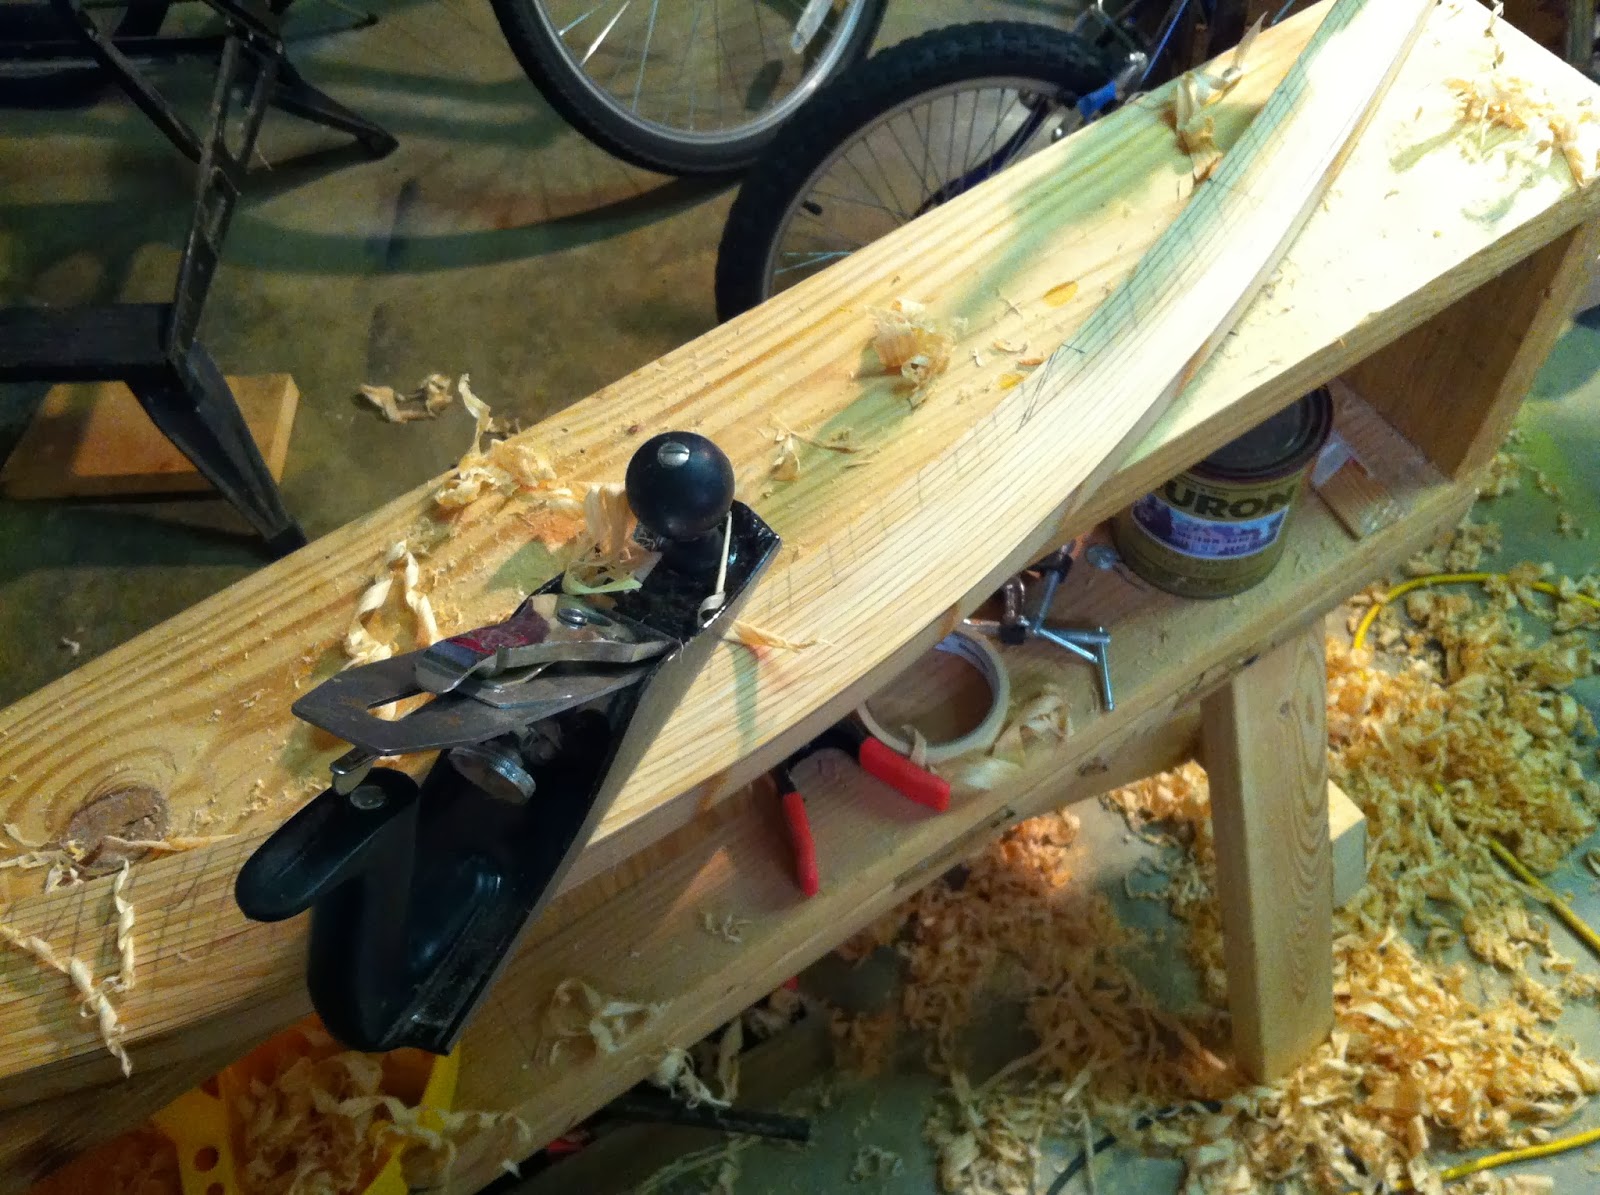
The stems have been laminated for some time. Would have been nice to have a functional band saw to cut their taper to the keel, but the hand saw got it done … eventually.

Jack plane bevelled the sides.


The belt sander with 80 grit did the initial smoothing. That’s that. More next time.

The Boat Goes On

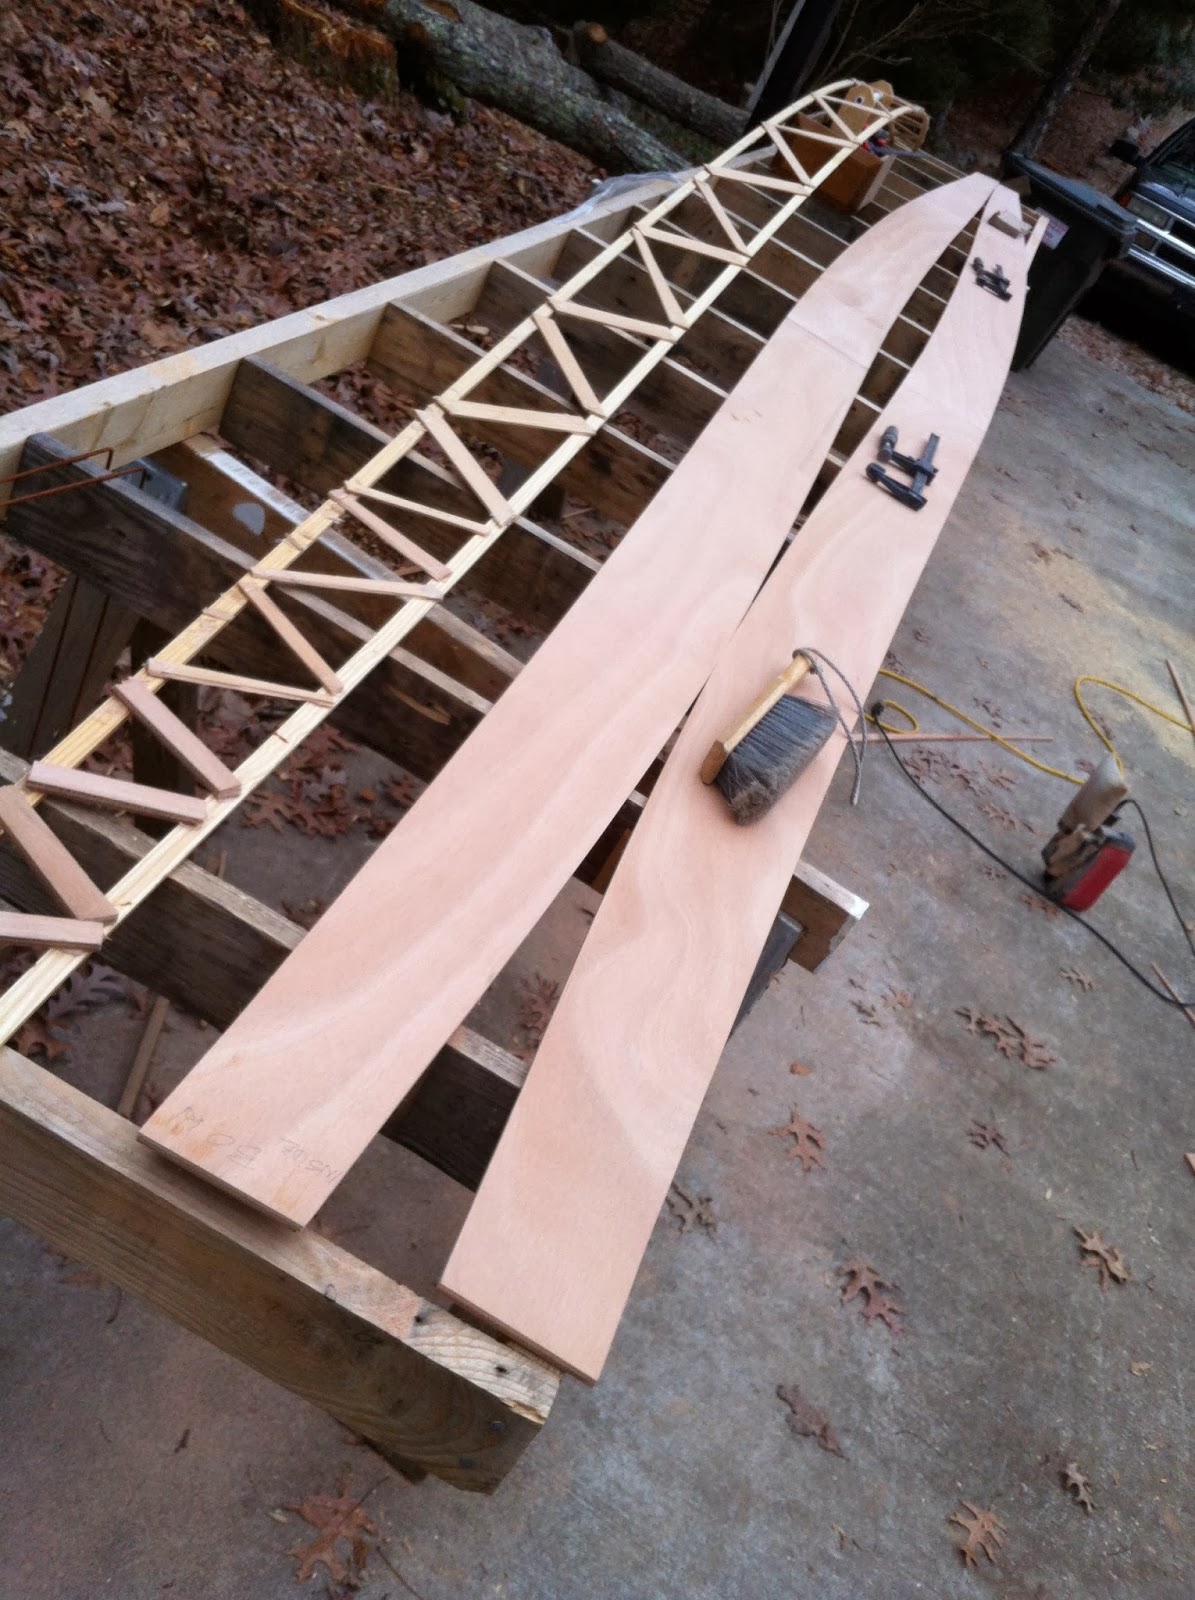
Absent, but not out … I’m close to scarfing the whiskey/shear plank. I pulled the last “truss” template last night. It is proper that this plank is last for it provides the most “show” for the boat. As the uppermost and outer edge, it has all those previous laps lifting it up. I’m frankly still not convinced that all my tweaking of the shear batten is right. A distant view isn’t possible in the now tight garage, or for that matter, out on the drive. We’ll have to wheel her out once the whiskey is down. In the meantime I’ll add 1/4″ to the shear line for safety and scribe a batten once upright and in the drive for good eyeballing.

So, planks 4 & % are on. Only the shear planks remain, and I am pausing on this. My intention is to bright finish this plank inside and out. Scarfs need to be best. The balance of the hull will be painted. I’ve made a mix from 2 MinWax satins that looks happy. I mocked up a test panel for confirmation.

Sample panel.

Paint is “Sky Blue” semi-gloss by Marshalls Cove. Bill Thomas on OCH seemed to like the ease of application for his Fox canoe. Seems to have an easier workability from the can vs. Brightsides, plus I like their color choices better. The stain is a 50/50 mix of Minwax “Golden Oak” and “Golden Pecan”. It goes well with the various cherry accents I’ve planned. I’m going to use ash for the gunwales, but model has pine now (a close color match).

What else? Centercase slabs are cut. Here is a photo of the gain fence and rabbet plane. Works just as easily as on the manning benches. I do scribe the gain edge with a utility knife against the fence to help keep the edge clean. I had gotten some tear out previously.

 
Rabbet fence.

And one more looking forward from aft. I have 2 scarf joints together which was unintended. No issue I don’t think, but I had intended to skip a beat. I’ve maybe 145-150 hrs now from nothing to something. I’m jacked. I think I can have a new boat come Spring.

 
Tail view.
I know she looks kind of brutal with all those filled holes and roughed up stem, but finishing will smooth and make all that go away.


The shear is still vexing me (though it looks good in this photo to my eye). I’m not confident it is where it needs to be. It does match the moulds. Perhaps I should trust the drawings? Well, I think I’ll roll the whole works into the drive, paint the shear batten black or grey and study from a distance. As I say, this plank does mean the most aesthetically. Having fun!