Sand, Varnish, Sand, Varnish … etc. etc.

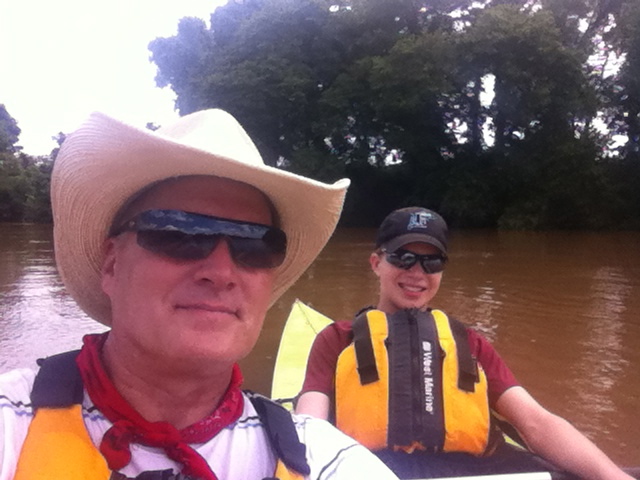
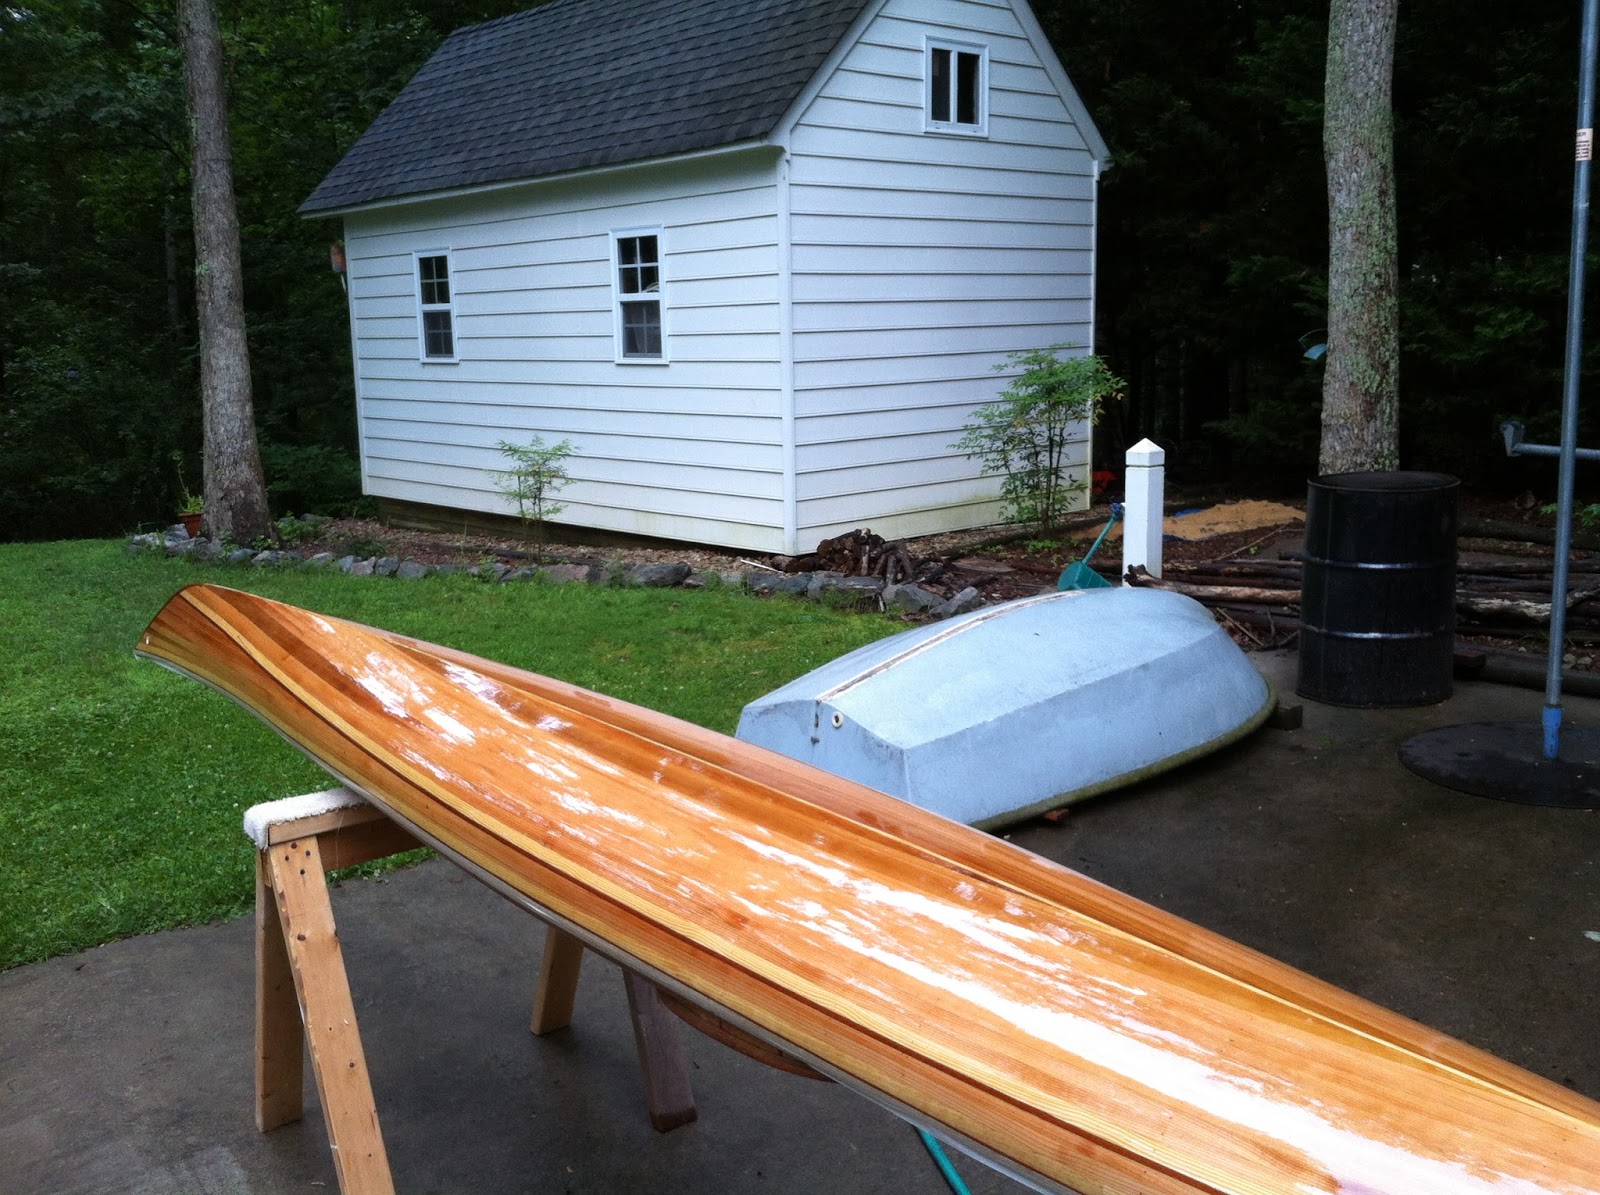
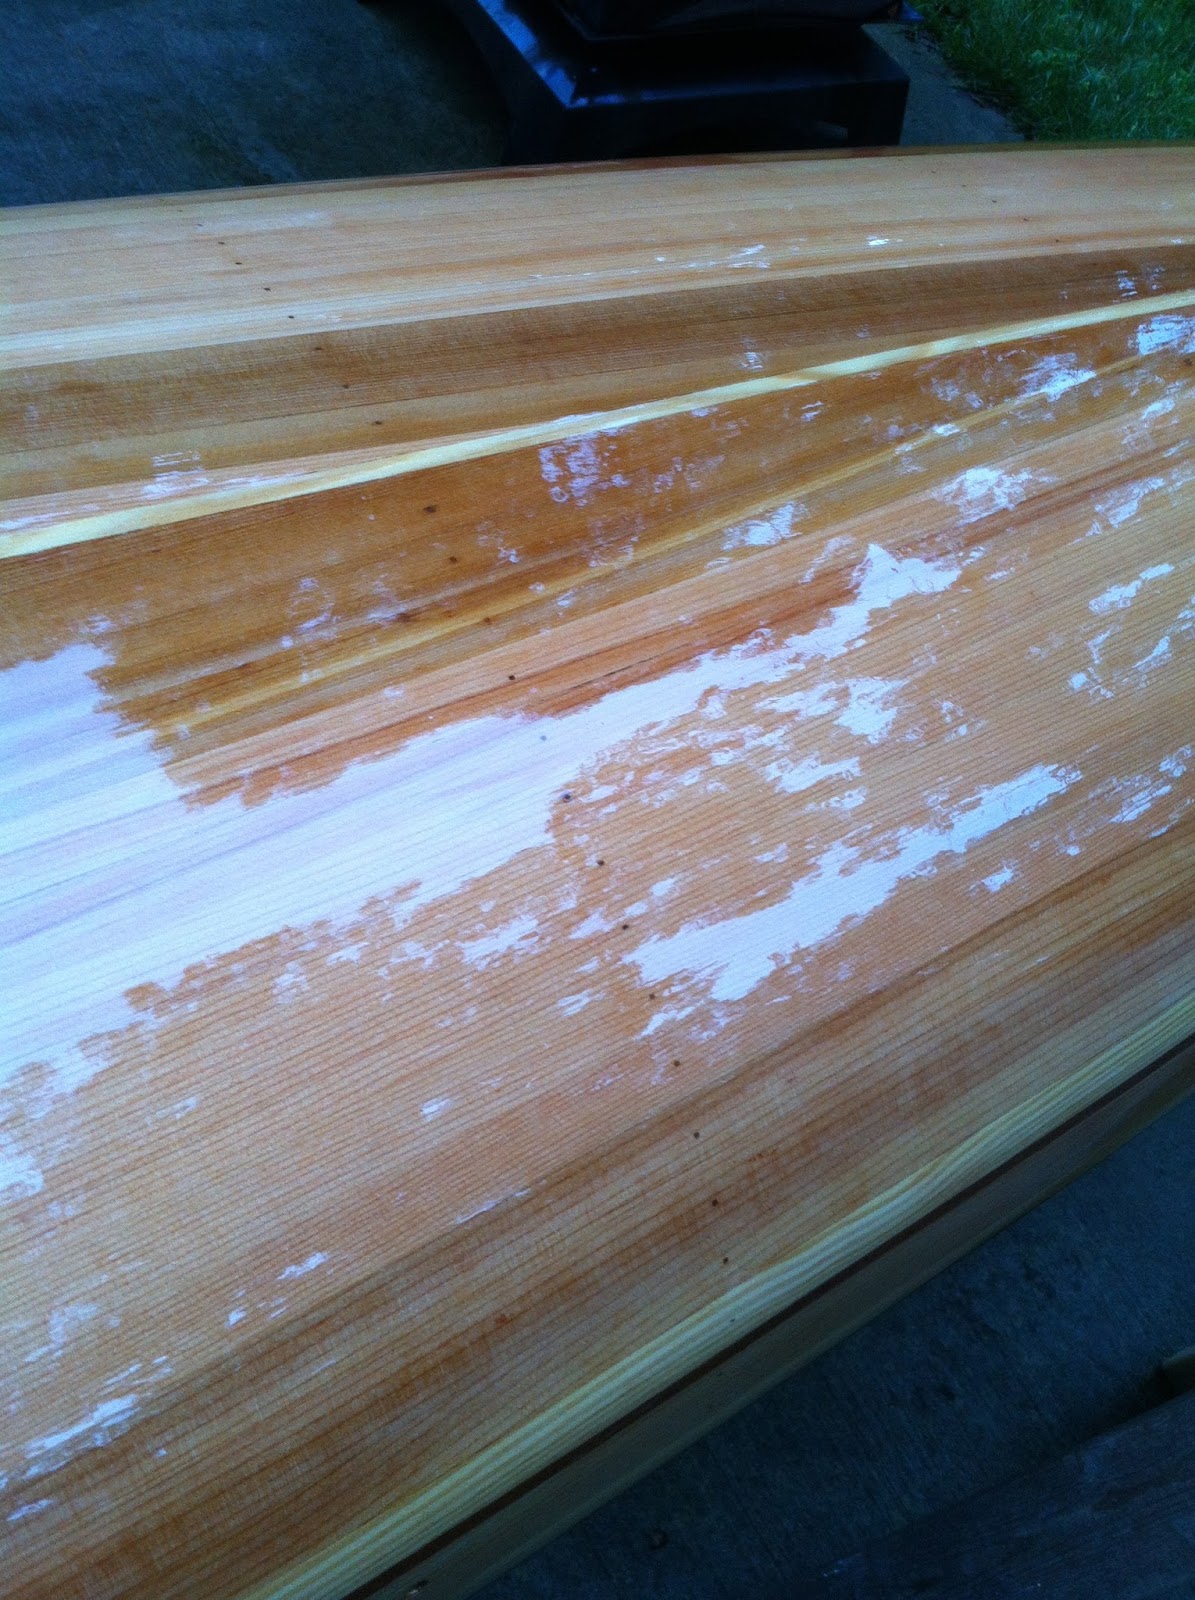
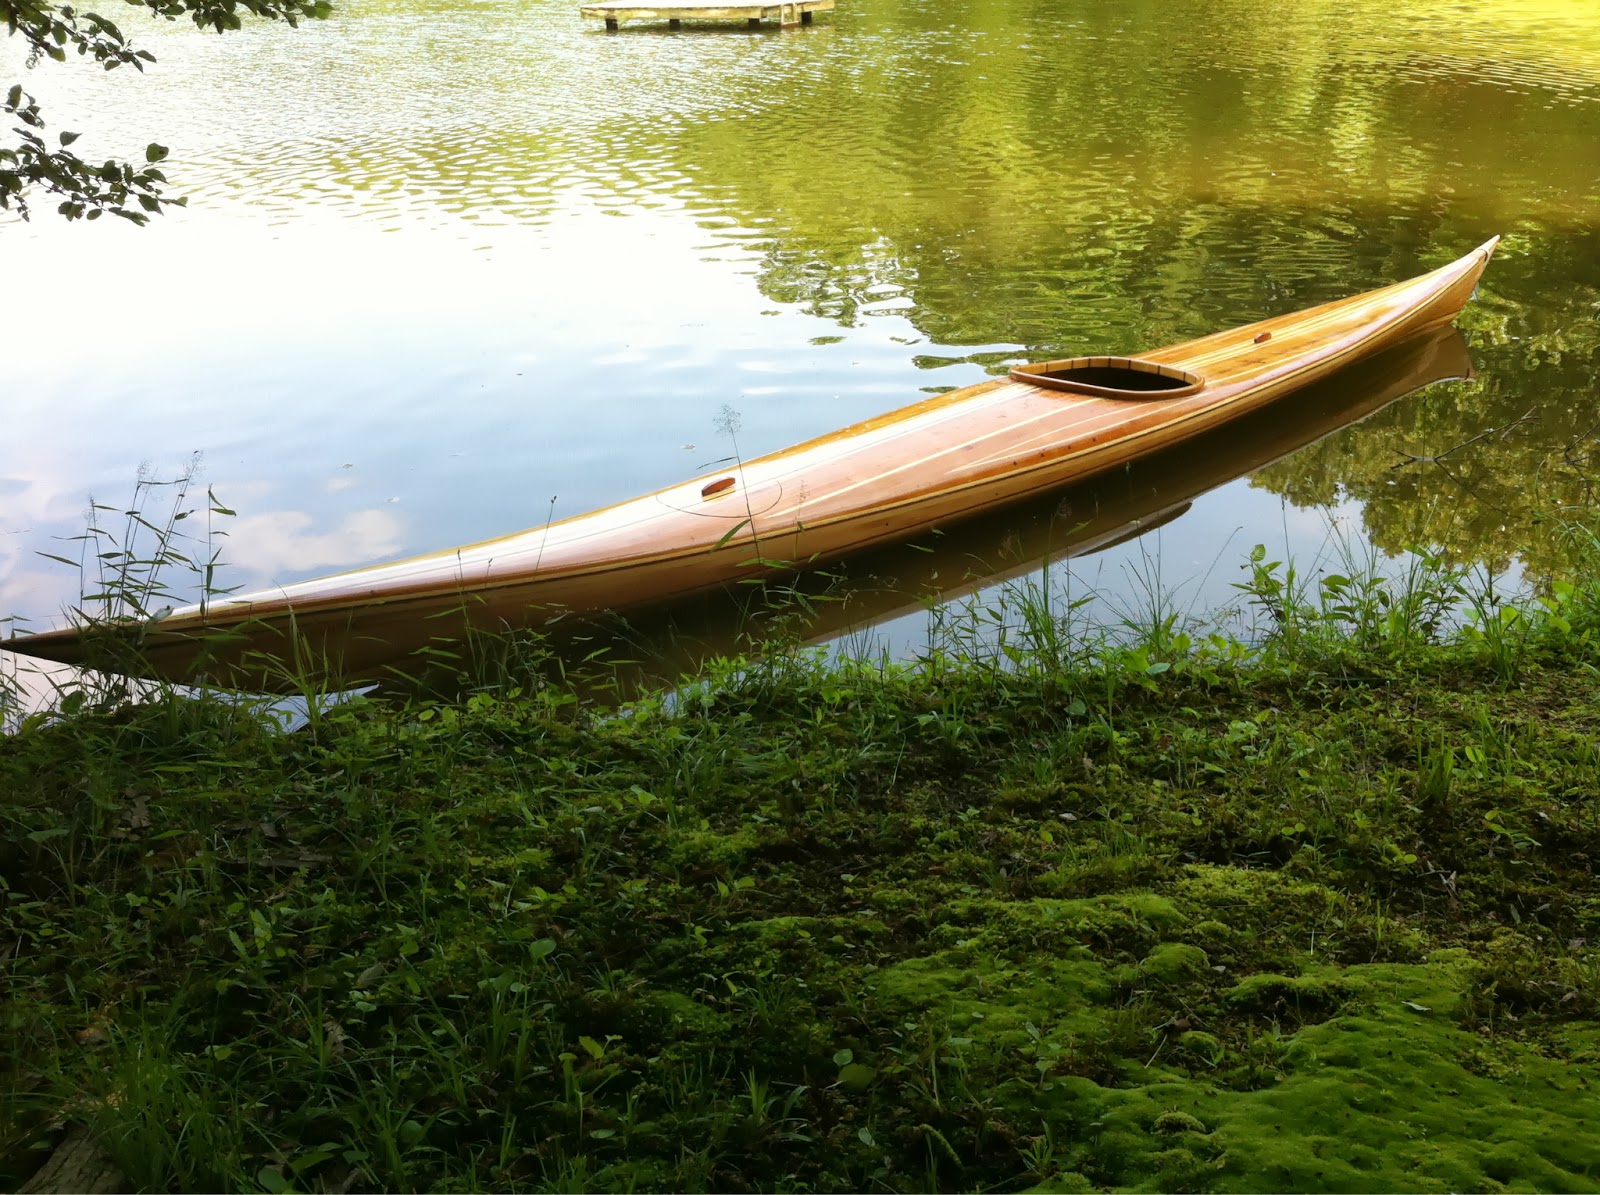
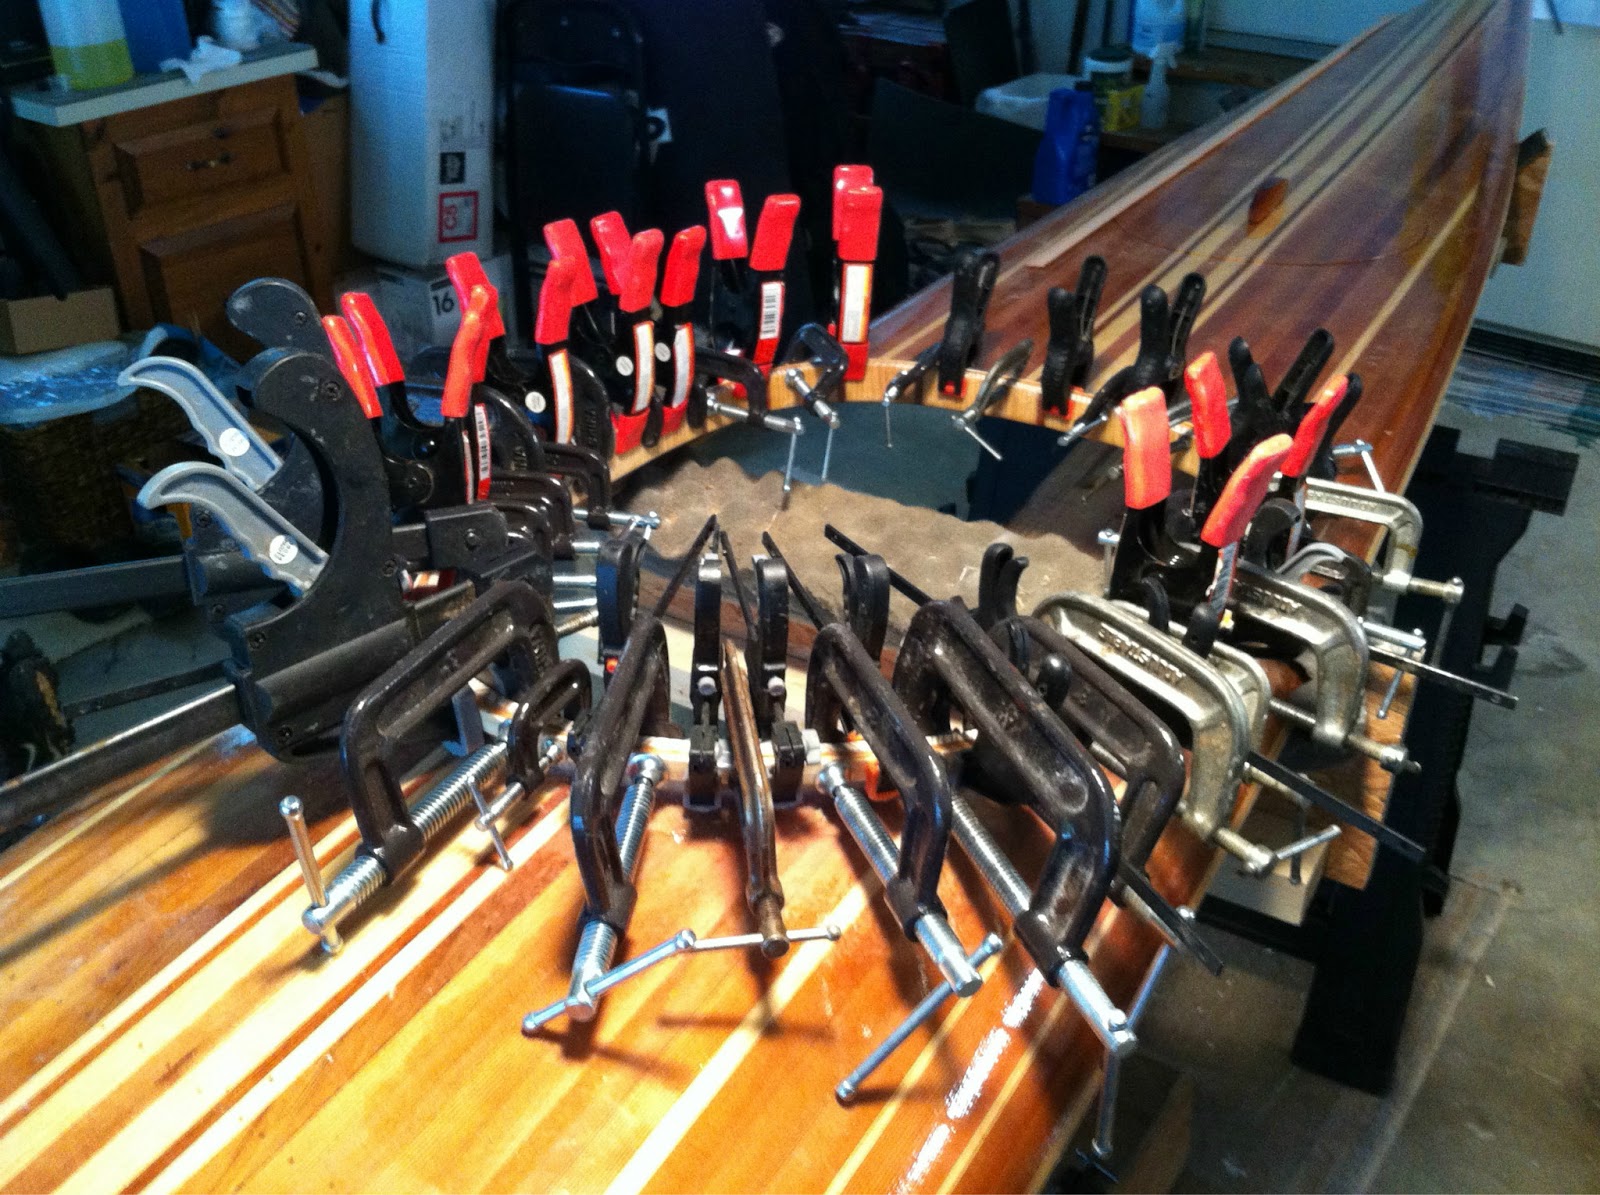
Not much to report other than wet sanding, varnish, wet sanding, varnish … you get the idea. The weather has been quite humid and I think it caused a bad result on my next to last coat. Add to that there may have been some microscopic moisture present that pushed the varnish away in a few places. I hurried the past coat and paid for it. So, … more sanding. I’ve decided to wait for cooler temps in the morning for this last swipe of the brush.

Sanded and waiting for last coat …

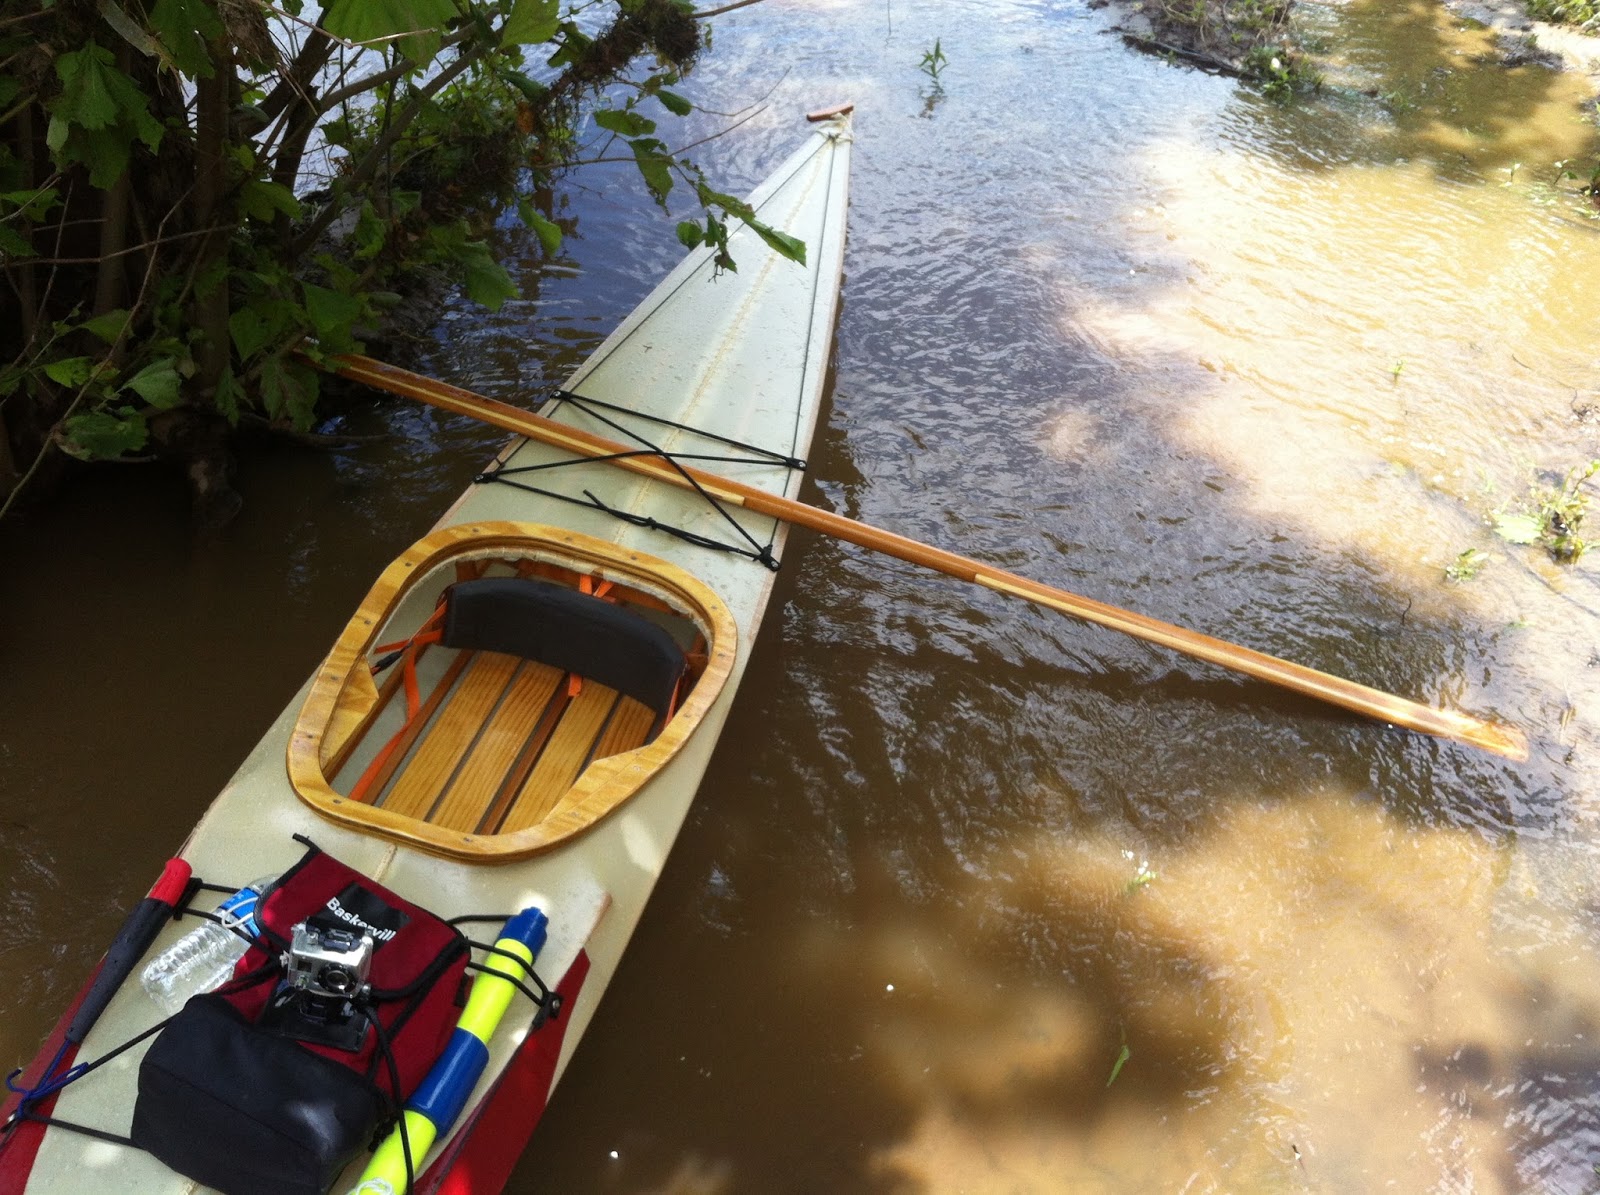
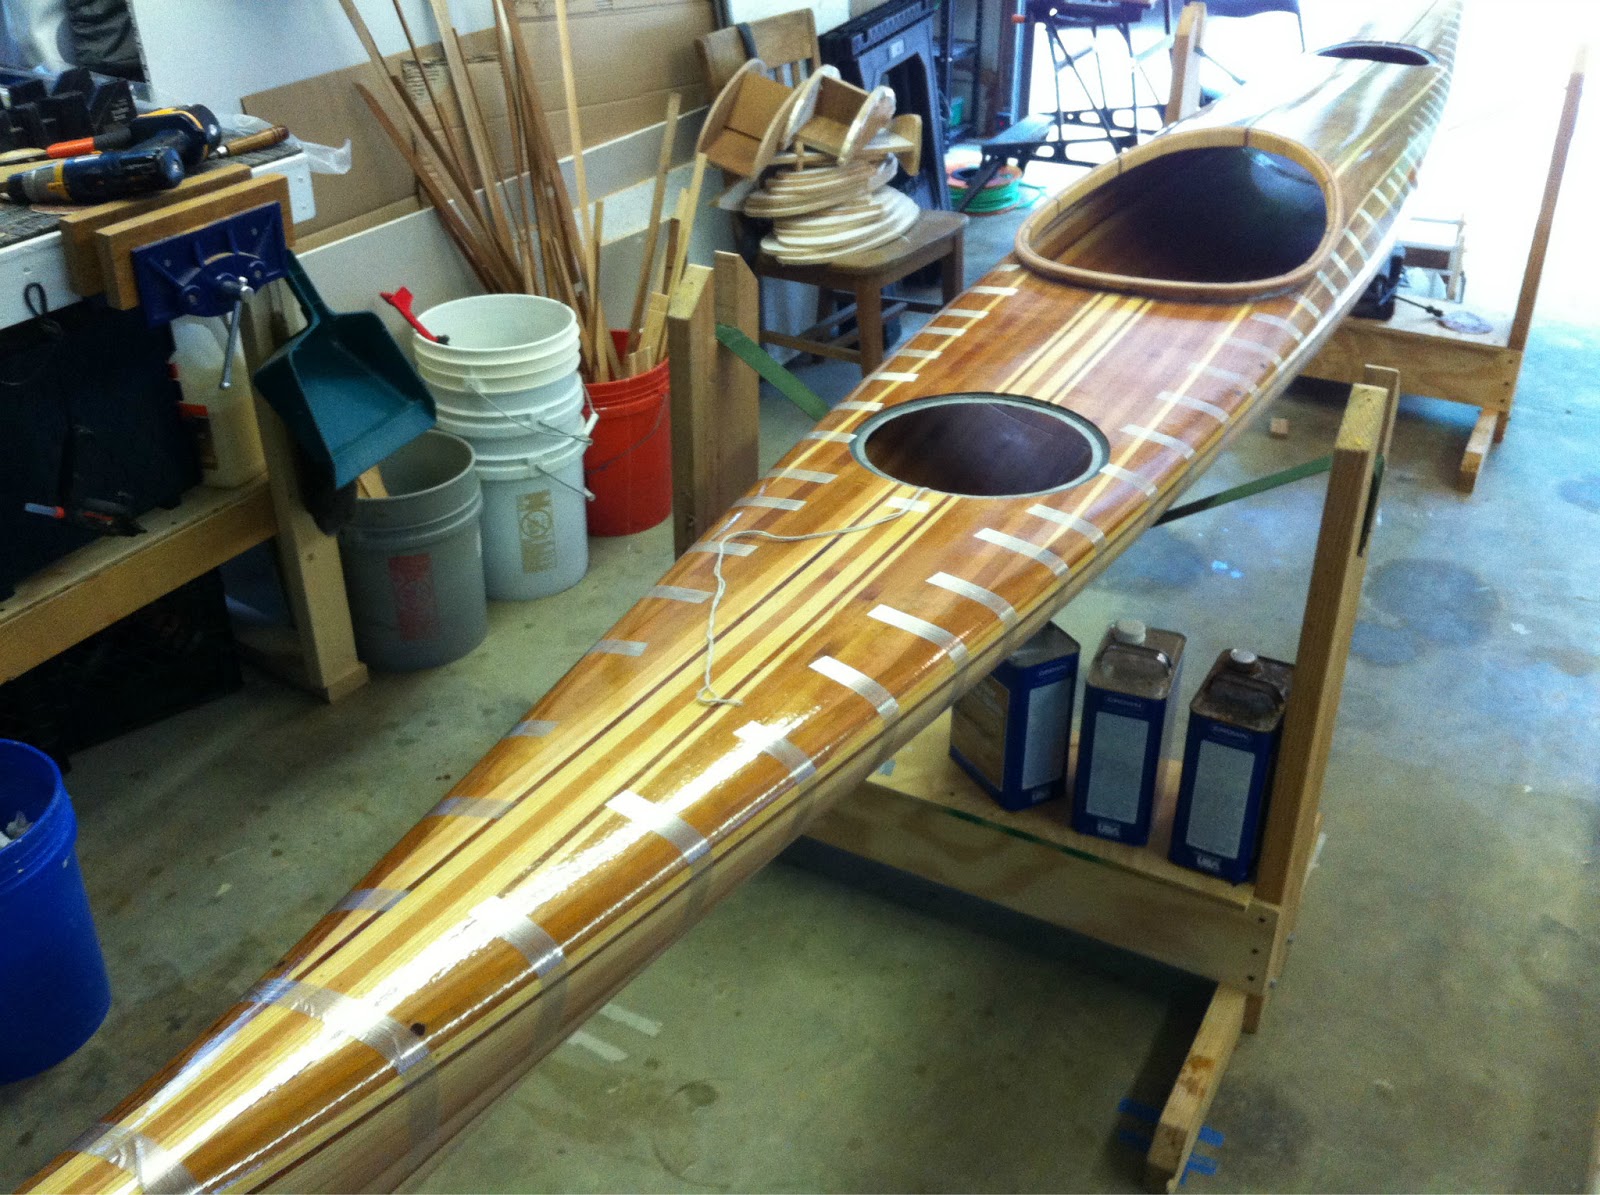
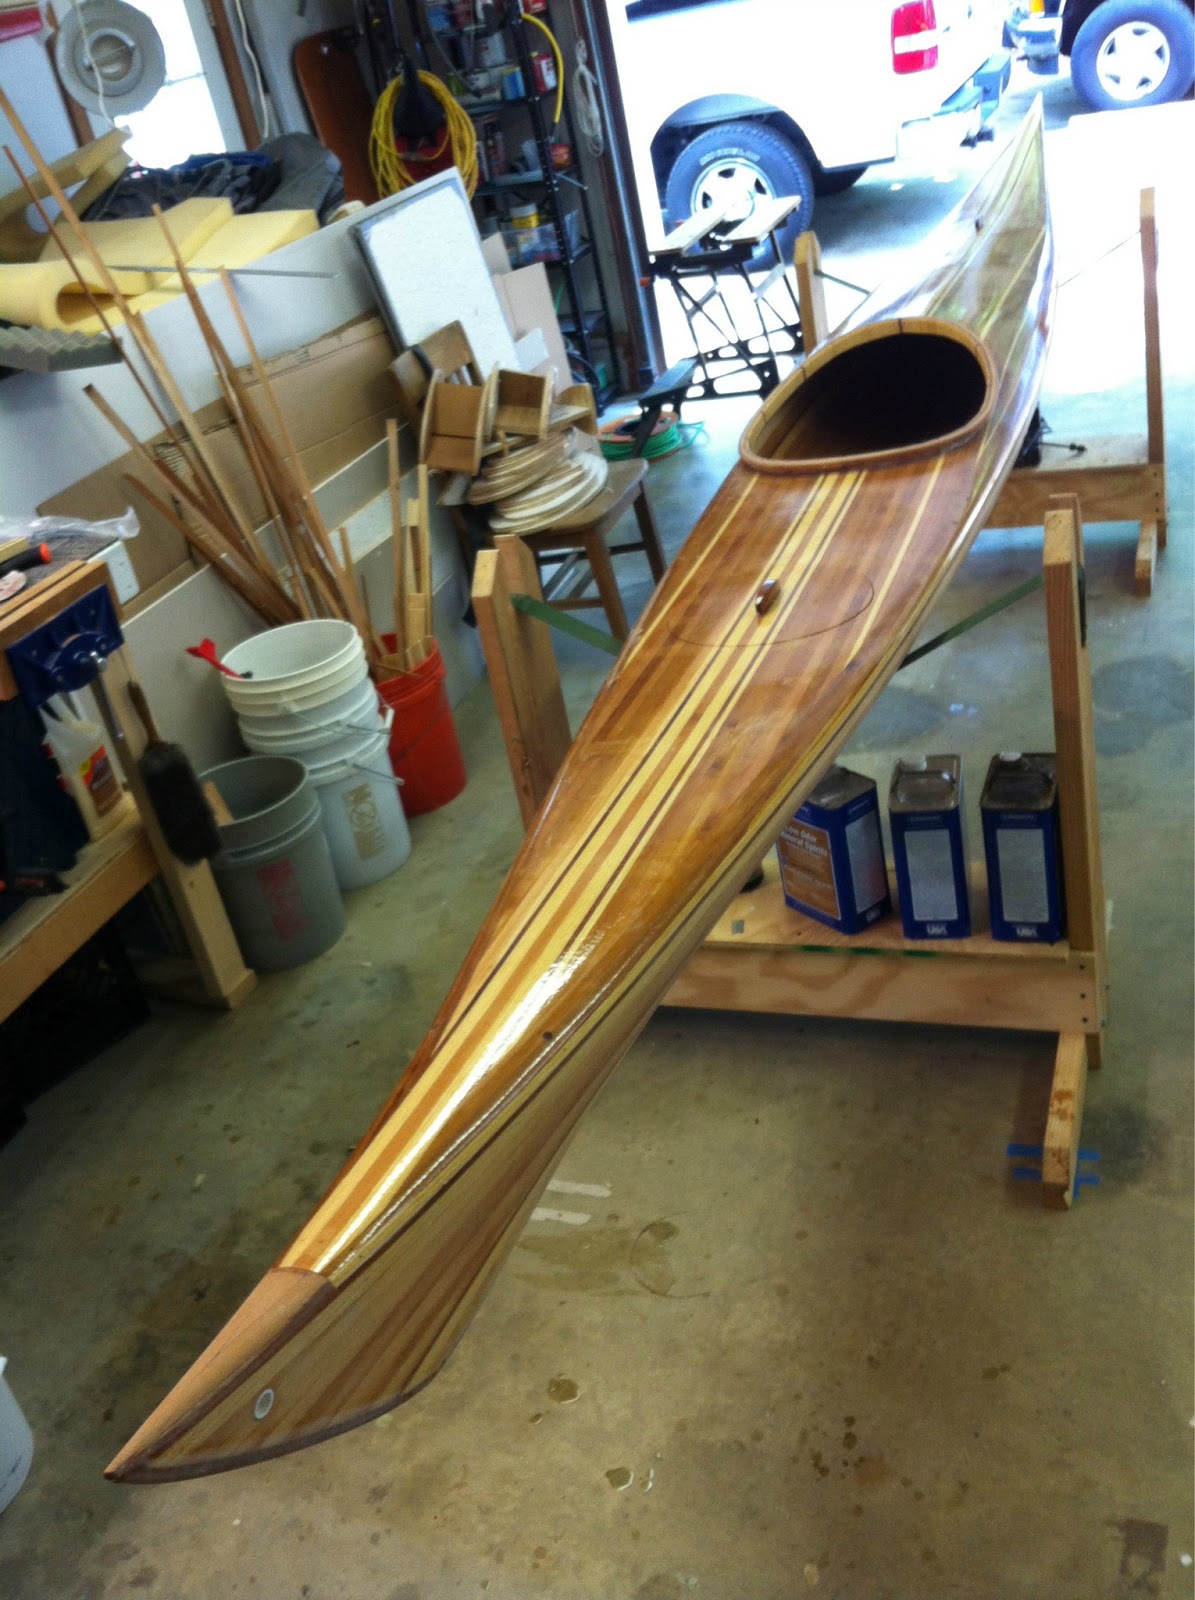
While she waits, I ordered some Minicell foam to carve a seat and cushion the back brace I glued together this afternoon. A stiff piece of paper was taped under the aft end of the cockpit and a pencil line was scribed a good inch from the rear and as close and 1/2″ on the sides. This template was taped to some scrap OSB and 2 sides were cut out to make the form. Crude but effective. More pics and details can be found here from earlier braces.
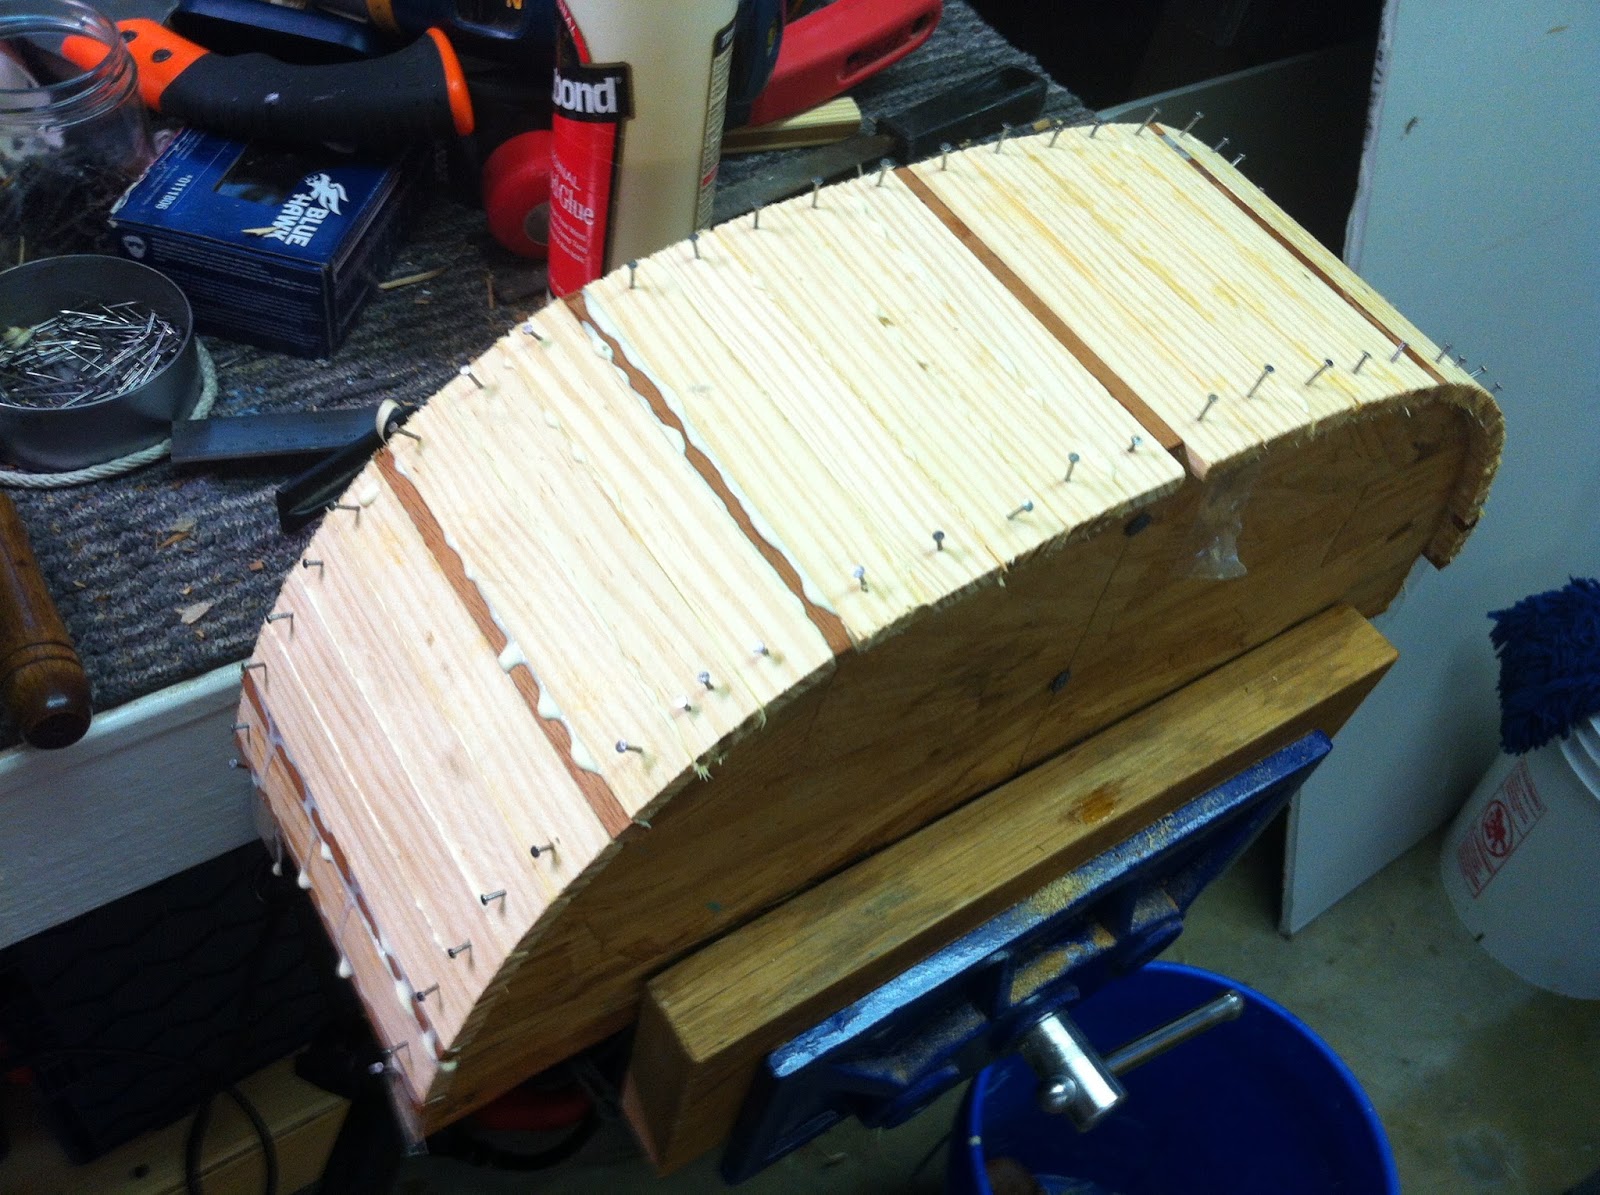
new brace glued up.

Determined to use the yellow pine and some mahogany scraps, I copied the “theme” of the cockpit coaming. We’ll glass both sides after some sanding and shaping, contact glue an inch of Minicell and varnish the rest. Instead of fiberglass strap eyes, I may use stainless. This is where we stand at 219 hours.

Maidens, VA to Robious Landing

Had the best sort of paddle yesterday afternoon: downstream and downwind. After 5 coats of varnish on the new boat’s hull, I needed inspiration for the final stretch. A lazy river trip down the James was the answer. It also proved a few things to me:

  1. our back braces were close to perfect save for some vertical adjustment needed to position the brace an inch higher.
  2. the wood slatted floor boards were not comfortable enough for hours on tails. Surprise! A pad must be added.
  3. nothing is slipperier, stickier, or oozes more than river mud. Getting our boats too the water without falling and/or getting stuck was a bit of a trick. Thankfully the islands we stopped at later were mostly sand. The recent high water had dredged all kinds of sludge up the banks. Boat ramps were useless. We had to find a bank where the grass gave enough traction to the water’s edge.
Our start put in on the very muddy banks at Maidens, VA and ended at Robious Landing Park where a good floating pier exists. The dock at Watkins Landing was missing. Perhaps the recent river swelling took it out. It was there a week prior to all the rain. This paddle along the James was almost 20 miles and we covered it with 3 stops in about 3.5 hours. To our benefit the river was moving fairly swiftly. I don’t know if there was a high water warning, health alert or both. We didn’t check, but we were alone save for 1 jet ski and 1 tuber the entire afternoon. Unusual along this stretch. We were joined by numerous blue herons, huge painted turtles, peregrine falcons, and one bald eagle. No pics of them regretfully. The iPhone and GoPro camera were never at the ready, but here are a few pics along the way.


Here is a short video through some off the runs between the islands along the way. Tomorrow: back to the varnish!

//www.youtube.com/get_player

Glossy Pics

After 5 days of varnishing, it has almost become a ritual. Early in the AM I have hauled the boat out of the garage to wet sand drips, sags, and errors with 320 grit. I find this doesn’t remove too much varnish and the water keeps the finish cool enough so it does not peel off the hull. Doing this outside doesn’t spoil the cleaned garage. A squeegee pulls off the water and then the boat goes back into the garage. Thankfully the damp weather has kept the dust down. I have been spraying the floor down, wipe the hull with denatured alcohol, and make 2 passes with a tack cloth. After the dust showing in the first coat, I rigged a plastic tent over the boat.

Tented boat.

A couple tips that took me awhile to absorb:

  1. Start on the hull. This allows for practice before the more obvious deck work.
  2. Taping along the shear leaves a clean line to work from the hull to deck. Typical masking tape worked fine.
  3. Thin the varnish. I added a cap of thinner to about a cup of varnish. This dramatically improved the flow.
  4. Use quality foam brushes. Wooster makes a good 3″ one. Smooth and no hairs in the finish.
  5. Lay on the varnish parallel to the keel down to shear. The stroke perpendicular to the keel down to the shear and finally stroke parallel again into the previously wet area. This helps level the coat and eliminate runs. Stick with 12″ – 18″ length portions to avoid having the finish skin over.
  6. Allowing the varnish 24hrs to dry helps harden it enough for light sanding.
By the 5th coat I felt I had gained some competence. There are a few sags there, but hard to detect.
Now on to the deck and accessories.

Shine from 5 coats.
Bow
Mid section.

The Morning After

Well, as usual, things don’t look so bad the morning after. I’ve maybe 8-10 sags/drips in the 1st coat of varnish. Despite my best vacuuming, washing, and cleaning of the garage floor and later wetting the floor a few hours prior to varnishing, there is dust trapped in the finish. I must back up and comply with the Master’s instructions (VaclavStejkal’s One Ocean Kayaks) and place a plastic canopy over the work, try a little thinner, and see if I can locate better foam brushes (not all wood handled ones are the same). If I haven’t touted it before, Vaclav’s Building Manual is a valuable resource I’ve in my “boat” library now. Clear instructions with good photos make it very worthy, … if you heed the advice.

First coat.

 
Marked sags.

She certainly passes the “6′ rule”. Perhaps I’ll back up further …

I broke down and sanded the hull by using the RO sander with 120 grit. I was quick and avoided any potential cutting through to the fiberglass thankfully. I followed that with a wet sanding using the medium foam block. Any residual scratches are gone in the first coat of varnish. Hand sanding just got too tedious.


The few sags in the finish are marked for light sanding before the next coat.


Smoothing for the Finish

Began the dreaded sanding phase today. However, I purchased a few foam sanding blocks that really make the job easier. These readily conform to the curves and can be used to wet sand. These happen to be 3M products. I highly recommend them. In fact, they made the process almost therapeutic. After only 2 hrs of sanding, the boat is ready for varnish. I bought a gallon of RAKA epoxies’ “Last N’ Last” in gloss. Only 2 quarts may be needed, but Interlux or Petit spar varnish cost twice and this LNL varnish has had good reviews. It comes in semi-gloss too. I’ll get a couple quart cans to preserve the excess.

Fine, Medium, and Coarse foam blocks.

So, since the garage has been washed down, I sanded with the blocks, a bucket, and hose on carpeted saw horses. In all, as pain free as it could be. I think the ROS would have made matter worse and potentially tear through the epoxy too fast.

The Fine block is perhaps 220 grit, Medium 120, and Coarse 80. I used Coarse and Medium at this stage. The Fine may do well for the varnish work.

Up close after a water rinse.

She shines.

I’m not sure I’ve owned anything this beautiful. Sure there are wonders like combustion engines, automobiles, and computers, but for for pure elegance suited to purpose, I can’t think of better around our abode. Jay Babina has captured some gorgeous lines.

Next up: a quick sanding of the interior. We are now at 202 hours of labor.

fore deck’s beauty.

Sunsets or 30 Knot Winds

Had a short, but wonderful cruise this past weekend. Sadly, most likely listened to NOAA’s “chance of showers and thunderstorms” warnings and stayed away. This is the final line to just about every single report on the Chesapeake Bay during the summer months. Had we accepted the “prediction” we would have missed this wonderful sunset over Sarah Creek off the York River. Instead we nearly had the place to ourselves.

It was fresh sailing all weekend. We did some fishing, had enjoyable swims, ate too well, and gazed at a near full moon.


Of course there is sailing, and then there is broad reaching in 25+ knots apparent sustained. Gusts hit 30+. Couldn’t resist posting a video from a 10 day trip taken back in May. Here we made a personal, and perhaps boat best, of 70 nautical miles in 10 hrs with a 7 kt average. The 1st 2 hrs were spent bashing our heads against the gale force winds out of the Miles River, but once we turned into Eastern Bay and out into the Chesapeake … we rolled! Saw 9 knots regularly (turn down the sound). We flat out boogied.

This weekend may offer time to make some kayak progress. I’ve scrubbed down the garage in preparation for varnishing. All sanding from here on out will be done outdoors. More sooner than later-

I like boats, especially this one.

I’ve been away from my dear boat for far too long. She has patiently waited in her cradle, alone in the garage. Too many distractions of late have stopped any progress of note. Setting up a new business has dominated my time. However, we did sneak down to the nearby “members only” lake for a “swim”. We trespassed, and despite the protest of a policing neighbor “member”, we quickly took a dip. It was ever so brief, but I now have a report. The kayak’s motion was steady, graceful, straight and effortless. In fact, I was pleasantly surprised how well the strong turn of her bilges provided good secondary stability when heeled.

There is still much finish and accessory work yet to be done (seat, back rest, deck lines, toggles, and much varnishing), but … wow … what a lovely craft she is and deserves a proper name. Suggestions are welcome. I simply couldn’t resist a taste of future paddles today. Had it not been for the lake patrol, I might have stayed out there for hours, just me and my boat. What a delight.

And here are two rough videos with some herky-jerky camera action. We will do better on the true maiden trip.

and more …

Closing the Joint

Began the joining of the hull to deck yesterday. This was after the cockpit coaming was faired, sanded and glassed (looking back on that, a laminated glass or carbon rim may have been easier and quicker).

coaming and epoxied holes for deck lines.

The joint was sanded to a slight bevel toward the interior for a tight joint. The fit was good and very little prodding was necessary to make the halves flush. Strapping tape holds the halves in check for glassing the interior joint with 1″ glass tape and then 2″ over  tape.  A run of plastic tape along the seam keeps the epoxy from oozing out.

taped & tight.

I strapped the boat on edge to lay in the tape. A small cup and brush glued on the ends of sticks aided in spreading and brushing the epoxy. It went well, but I may try wetting the tape prior to rolling it out on the opposite side. A pointed stick also aided in positioning the tape on the joint. Another helpful technique was to use tape only half the length of the boat which kept control of the rolls.

tools

spooled tape rolls cut to 1/2 boat length.

illumination needed for far dark reaches.

One side down!

Essential Tips

It has taken practically an entire boat, but I finally have gained some competence in working fiberglass cloth and epoxy. All of my observations are readily available in other blogs and largely in the Gougeon Brothers’ book “On Boat Construction”, but I’ll list a few tips that have made huge differences for me:

  1. Make certain the surface to be glassed is completely clean of dust and debris. Whatever you leave behind will be there entombed forever on your hard won boat.
  2. Take especial care to keep the fiberglass cloth clean. Given the coarse weave of 6 oz. cloth, it readily picks up all sorts of trash in the shop if set on the wrong surface or left out too long to collect whatever is floating in the air. Be sure to keep glass in a plastic bag to safe guard it from dust & trash. I’ve also read to wear nitrile gloves in handling the glass as oil from your paws can contaminate the weave. Personally I have not been so conscientious and haven’t noticed any imperfections as a result.
  3. I do wear the blue nitrile gloves in handling the epoxy. Its nasty stuff to have to remove with thinner or acetone. I’d recommend wearing a size smaller then normal. With a tight fit you hardly realize you have them on and you can work unconscious of the fact they are on.
  4. There is a huge difference in the setting time of epoxy based on the temperature.  Raka epoxy will set almost 4 times faster at 85 degrees F vs 65-70 degrees. I’d recommend starting your job with smaller batches of epoxy until you have a good feel of how much you can work before it thickens & sets. Epoxy is “liquid gold” and waste here can be costly. Other than time, it is the single largest material cost to your build.
  5. Keep a small amount of acetone and clean cotton rags available to clean your chip brush, vinyl scraper, and the inevitable drip or spill of epoxy.
  6. Keep your eye out for large cardboard boxes. While hardened epoxy can be chipped off the garage floor, why mess with doing so? Cardboard placed on the floor is more durable and cheaper, if found, than heavy craft paper. On side can be used up, flipped for the second half of the project, and tossed when done.
  7. Biased cut glass cloth is a heck of a lot easier to mould around compound curves than square cut. This is never more evident than when trimming out the cockpit coaming.
  8. This is a big one. Aside from large areas to be glassed, wet out strips of glass on waxed paper over a flat nearby surface. This will eliminate much of those pesky “hairs” that inevitably find their way into the work. Placing the cloth dry on the boat and working epoxy into the weave with a chip brush can make a horrible sanding job later (guess how I know).
  9. Keep any successive epoxy fill coats close enough so sanding isn’t necessary. Read the manufacturer’s literature. All brands are not the same.
  10. At 10, it becomes too long a list. Suffice it to say as a newcomer, the process seemed overwhelming. Taking it slow and attending to your work will make all the anxiety fade away. My biggest fear in the build was forming this wonderful strip vessel and then botching it with a rotten glass job. Save for some shadows from using epoxy to fill nail holes, the process moved along just fine. Be patient, work with deliberation, and your boat will be beautiful. I sound like a pro now (far from it).
Now we’re ready to glue the halves.

This and That

Production has slowed of late. Life has its distractions, but some details are taking shape. One item here is actually new seat backs for our 2 SOF kayaks. This can be considered a prelim to this build’s back rest. A couple previous solutions didn’t deliver comfort, so we’ve cedar stripped a couple backs, glassed both sides and laminated 1″ Minicell foam on the seat side. Slotted holes are on either end and fiberglass loops are on the back for boat installation. Varnishing still remains to be done, but you can get the gist here.

Both back rests. One still on jig.

The jig was traced from the rear of each cockpit with a 1″ offset. The rest of the construction was just like those forms defining the hull.
Minicell back. Indents of clamps will disappear.

The loops will help hold the brace up and be adjustable to comfort.

Rear strap loops made from fiberglass laminates.

The cockpit rim was cut down to size and eight 1/16″ strips were laminated for an edge to attach spray skirt. This required a few clamps. Once dry, filing, belt and hand sanding allowed for the proper shape. Glassing still remains to be done for durability.
I added wooden stops to the underside of the hatches to prevent the “dogs” from spinning underneath. This arrangement is quite satisfactory and doesn’t clutter the storage area with shock cords. If anything, the on deck wing nuts could be reduced in size, but they are handy as is.  
After quadruple checking of measurements, holes were made for the foot pegs.
Finally, I’ve ordered some 3/16″ soft double braid line to try as deck lines. Should that fail, Latigo leather straps should fit the same holes to be drilled.

No, that isn’t all. Took a windy journey in my son’s kayak last week. Short clip here:


Minicell foam may be too thick. We’ll see. Contact cement grabs quickly, so be precise.